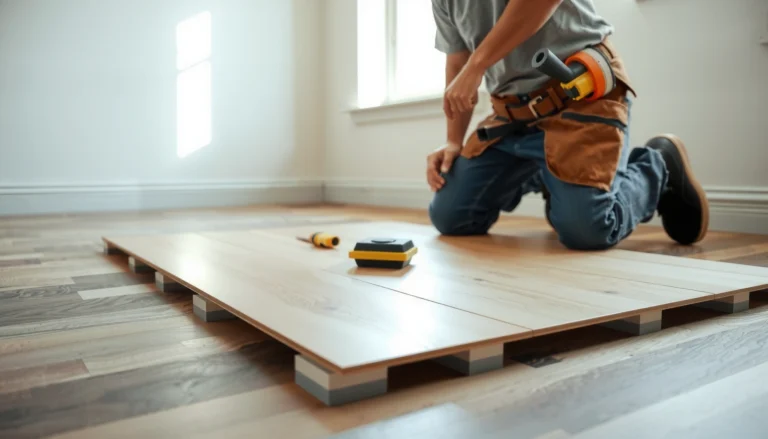
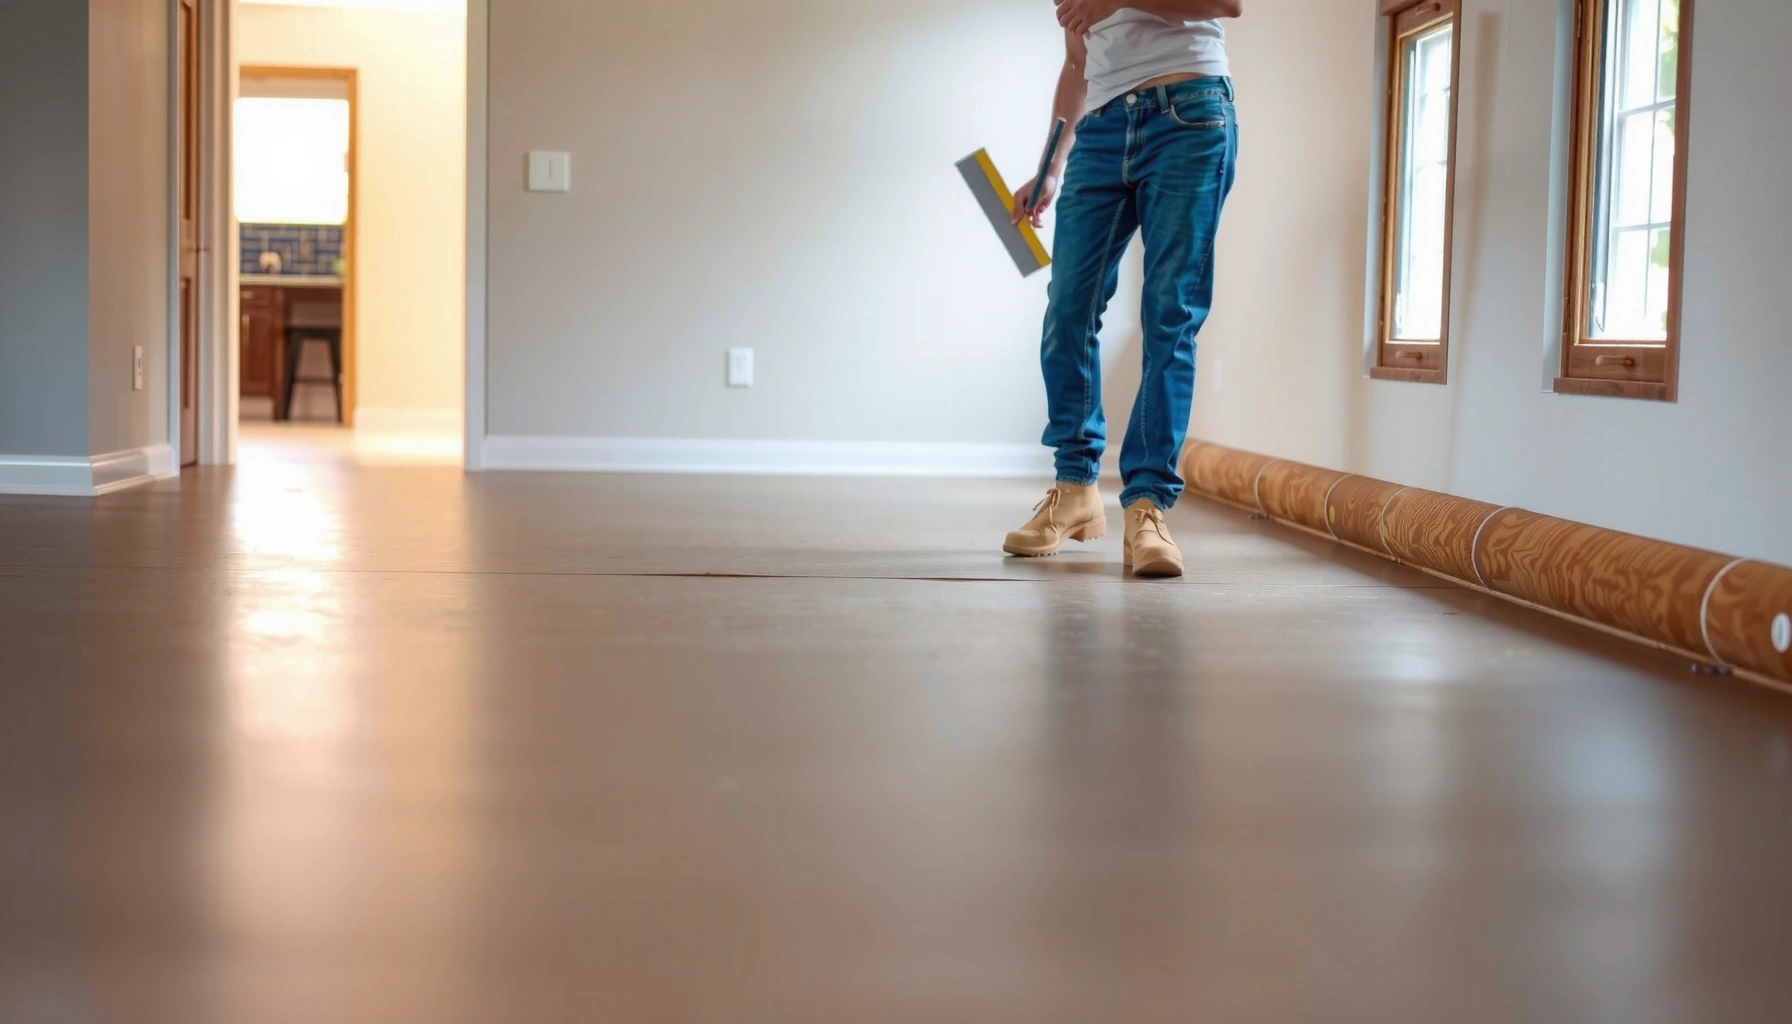

Installing stained concrete floors over existing flooring is the right move when your current surface is solid, flat, and properly prepared—otherwise the new stain and finish won’t last. This guide gives you a clear, step-by-step path to prep the substrate, address moisture and adhesion issues, and apply the stained concrete system without lifting, peeling, or blotching. If you’re wondering what to do when you don’t want to demo, you’ll leave with the exact conditions and methods that make the install hold up.


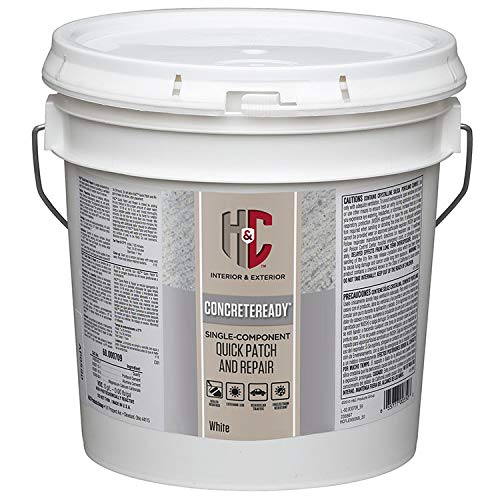
If your stained concrete is sound and properly bonded, you can often install new flooring directly over it—without demo—by following a compatible prep + adhesion + moisture plan. The key is verifying stability and moisture first, then using the flooring manufacturer’s specific “install over concrete” requirements for sealed/stained slabs (not just bare concrete).
If you’re switching to tile, LVP/LVT, laminate, engineered wood, or carpet/underlay, this approach can be practical—especially when removal is messy or expensive. But stained concrete adds variables (sealant type, gloss level, and bonding surface), so the “right system” matters as much as the surface condition.
Check that stained concrete is actually suitable (before you install)

You should treat stained concrete as a new substrate—not an assumed match—because failed adhesion usually traces back to slab condition, sealers, and moisture vapor. Start with stability, flatness, and moisture evidence before you buy materials or start removing your baseboards.
Stained concrete can still fail as a bonding substrate if the sealer or stain coating is peeling or delaminating under the new floor.
Most flooring systems specify an allowable flatness tolerance and won’t perform reliably if the slab is outside that range.
Moisture vapor can travel through concrete and disrupt adhesives, cause cupping, and lead to moldy odors under some floor systems.
Here’s what to check in a systematic order:
Confirm the surface is sound
– Walk the floor and inspect for flaking, peeling, and loose stain/sealer.
– Look for soft spots (concrete that powders or feels hollow).
– Check for areas where the stain coating has turned into a surface “film” that can lift with light scraping.
If you can lift coating with a putty knife or see progressive delamination, “install over” is risky. In those cases, you typically need removal, surface restoration, or a different build-up designed for failed/soft coatings.
Verify flatness and height differences
Flatness is often the silent failure point—especially for LVP/LVT and glue-down products. Use your product’s spec to determine whether you need grinding, patching, or self-leveler.
– Use the flooring manufacturer’s required tolerance: [ADD: exact tolerance from your flooring manufacturer]
– Measure with a 6–10 ft straightedge in multiple directions (and at doorways/room transitions).
Look for moisture concerns (and don’t guess)
Moisture signs on stained concrete include:
– Cracks with damp edges or recurring darkening
– Efflorescence (white haze/salt deposits)
– Musty odors or visible condensation in colder months
– Areas that feel colder/damp compared with the rest of the slab
If moisture is present or suspected, use a moisture mitigation plan rather than relying on standard underlayment/adhesive alone.
To anchor expectations with common industry thresholds, many adhesives and flooring systems reference moisture testing standards such as ASTM:
– According to ASTM F2170 (In-situ RH testing), many products use acceptance limits expressed as RH% at depth (e.g., a frequently cited target for many adhesives is ≤ 75% RH—but always defer to the flooring/adhesive manufacturer limits). [ASTM F2170 standard—use manufacturer limits]
– According to ASTM F1869 (Calcium Chloride), acceptance limits are often expressed as lbs/1000 sq ft/24 hr (many systems use thresholds around ≤ 3 lbs/1000 sq ft/24 hr). [ASTM F1869 standard—use manufacturer limits]
– According to ASTM F710 (Standard Practice—Preparing Concrete Floors), proper surface preparation is required to ensure adhesive performance and long-term bond durability. [ASTM F710 standard]
> Note: those moisture “numbers” are commonly referenced in practice, but your flooring manufacturer’s limits control the final decision for your adhesive and your product.
Clear the path for adhesion: a stained slab isn’t always “bare concrete”
Stained concrete often includes a sealer or topcoat. That layer can be:
– matte and porous (better for bonding),
– semi-gloss (moderate risk),
– glossy, densified, or chemically resistant (high risk unless the correct primer/abatement system is used).
That’s why testing—both physical and moisture—is non-negotiable.
Quick reference table: moisture test + flooring response
Insert moisture testing early because it determines whether you can proceed with “install over” at all.
Moisture Testing Options for Concrete Under New Flooring (Typical Use Cases)
| # | Moisture Method (Standard) | What It Measures | Best For | Practical Rating |
|---|---|---|---|---|
| 1 | In-situ Relative Humidity (ASTM F2170) | RH% at depth | Slab-by-slab bonding decisions | ★★★★★ |
| 2 | Calcium Chloride (ASTM F1869) | Moisture vapor emission rate (lbs/1000 sq ft/24 hr) | Rapid screening before install | ★★★★☆ |
| 3 | Plastic Sheet / Liner Test (field method) | Condensation indicator (pass/fail) | Early “stop/go” signal | ★★★☆☆ |
| 4 | Concrete Moisture Meter (surface) | Surface moisture estimate | Finding suspect zones | ★★☆☆☆ |
| 5 | Abrasion/Adhesion Spot Checks (bond verification) | Practical bond presence | Sealed/stained slab confirmation | ★★★☆☆ |
| 6 | Primer Compatibility Check (per system) | Acceptance of primer-to-sealer bond | Ensuring correct build-up for glue-down | ★★★★☆ |
| 7 | ASTM F710 Preparation Verification | Surface condition readiness | Reducing failure risk from poor prep | ★★★★★ |
[ADD: The exact moisture approach should be confirmed against your specific flooring/adhesive manufacturer limits.]
Prep the surface correctly (this is where most failures happen)
Most install failures over stained concrete happen because the surface wasn’t cleaned/abraded/primed for bonding, not because the floor product was inherently wrong. Your prep steps should create a consistent, adhesive-friendly surface profile and remove contaminants that block curing.
Adhesives need both a clean substrate and an appropriate surface profile; glossy or unabraded sealers often prevent bonding.
A complete cleaning process removes waxes, oils, and residue—contaminants can block primer and reduce bond strength.
If the slab is sealed or densified, manufacturers often require abrasion/grinding and sometimes a specific primer rather than “thinset straight to concrete.”
Clean thoroughly, then treat the surface
1. Remove waxes, dirt, oils, and residue using a cleaner approved for the stained concrete and the adhesive/primer system you’ll use.
2. If the surface is too smooth or sealed to bond, use the required approach:
– Follow flooring/primer prep method: [ADD: manufacturer prep method]
– In practice, many sealed/stained slabs need light grinding or abrasion to open pores and increase mechanical interlock.
Remove or fix problem areas before installing
– Fill spalls/cracks as required by the patch/leveler system and compatible with your new flooring type.
– Sand high spots and address ridges so the new floor doesn’t “telegraph” through.
– If you’re installing any floor that relies on flatness (especially floating), even small bumps can cause premature noise and joint failure.
Use the exact primer/underlayment system for concrete (including stained/sealed)
Stained concrete changes bonding behavior versus bare slab. If your system calls for a primer, apply:
– Exact primer specified for concrete + your floor finish: [ADD: primer name/system per manufacturer]
– Only install after primer is within its required open-time window (per technical data).
> [ADD: If you have a specific example from your past projects—e.g., “we had to abrade a silane sealer before LVP adhesive would hold”—you can insert it here. Keep it factual and tied to documented manufacturer instructions.]
Don’t skip curing timelines
Even the best primer and adhesive can fail if applied incorrectly or if previous products haven’t reached full cure. Use:
– Cure times ([ADD: cure time only if provided by manufacturer; otherwise “per manufacturer”])
Choose the right install method for over stained concrete
You can choose an install method based on how the new floor bonds: floating systems rely on underlayment/vapor management, while glue-down systems rely on adhesion to the concrete surface (often via primer). The “right method” is the one your manufacturer explicitly allows for sealed/stained concrete.
Floating floors generally need an underlayment and vapor-plan; without it, moisture vapor can still damage edges or create odor/mold conditions.
Glue-down products require a strong bond to the concrete surface and primer/adhesive compatibility—especially when the concrete is sealed or stained.
Manufacturer instructions for “install over existing concrete” must be followed exactly; sealed/stained slabs are not always treated the same as bare concrete.
Match flooring type to concrete condition
– Floating floors (LVP/LVT, laminate in many cases):
– Typically use underlayment and require correct vapor barrier planning.
– If the slab is damp, the vapor strategy is frequently the difference between long-term performance and failure.
– Glue-down products (some LVP/LVT, some tile systems):
– Need strong adhesive bond to the concrete surface (and typically a primer compatible with sealed/stained concrete).
– Glossy sealer, curing compounds, or unabraded coatings can prevent adhesion.
Confirm sealed/stained guidance, not generic concrete guidance
Do not assume stained/sealed concrete behaves like bare slab. Find the explicit language on:
– Installing over sealed concrete, stained concrete, or existing coatings
– Moisture testing, vapor barrier requirements, and acceptance limits
Use this manufacturer confirmation step:
– [ADD: manufacturer confirmation link/text about sealed concrete guidance]
Plan transitions and edge protection
Stained concrete can vary in color and texture. That can matter for:
– water tracking at transitions,
– uneven baseboard/wall interfaces,
– door thresholds where airflow and condensation accumulate.
Use proper reducers/trim and follow installation instructions for finishing edges:
– ensure water can’t sit at baseboards,
– seal/flash as required for your flooring type and local conditions.
Install steps (general sequence that fits most flooring types)
You’ll get the best outcomes by treating “install over stained concrete” like a controlled system: prep correctly, prime only if required, then install in the manufacturer-specified sequence. This reduces the most common failure points—bond issues, moisture issues, and flatness-related movement.
A consistent sequence—clean → evaluate → repair → surface treat → prime (if specified)—reduces randomness in bonding performance.
Acclimation and expansion gap rules exist to manage dimensional movement; ignoring them can lead to gapping and edge lift.
Adhesives and primers must cure per manufacturer instructions; rushing this step commonly leads to bond failure.
General installation sequence
1. Surface prep first
– Clean → evaluate → repair leveling issues → abrade/surface-treat → prime (only if specified).
2. Acclimate materials when required
– Follow your flooring manufacturer’s acclimation requirements (temperature/humidity conditions per spec).
3. Layout and install
– Start lines carefully (square the room).
– Leave expansion gaps where required for floating floors and per product guidelines.
4. Protect during cure
– Limit traffic and avoid aggressive cleaning until adhesives/primers have cured:
– ([ADD: cure time only if provided by manufacturer; otherwise “per manufacturer”])
Pros/cons: floating vs glue-down on sealed/stained slabs
| Option | Pros | Cons / Watch-outs |
|---|---|---|
| Floating (LVP/LVT/laminate with underlayment) | Less dependent on direct adhesion to concrete; faster install | Still needs correct vapor plan; uneven slabs can cause noise/gaps |
| Glue-down (adhesive + primer/compatible surface) | More rigid feel; often better for certain commercial layouts | Requires correct substrate prep + primer; bond failure shows up quickly if sealer isn’t handled |
What can go wrong (and how to avoid it)
Floors fail over stained concrete when prep and moisture/vapor planning don’t match the flooring system’s bonding requirements. If you prevent bond failure and control moisture vapor, you dramatically reduce warranty-impacting problems.
Installing over a sealed or glossy concrete surface without abrasion and the correct primer is one of the most common causes of delamination.
Moisture vapor can cause cupping, adhesive breakdown, swelling edges, and musty odors—especially under floating floors without the right vapor barrier approach.
Out-of-flat conditions lead to telegraphing, squeaks, and lift—because most flooring products assume a specific flatness range.
Delamination / bond failure
Cause: install on a surface that wasn’t abraded and primed for bonding.
Avoid it: follow exact bonding requirements and primer compatibility for stained/sealed concrete:
– [ADD: your flooring system’s bonding/primer requirement summary]
Moisture vapor issues
Symptoms:
– cupping in tile/LVP,
– moldy odors,
– adhesive failure,
– swollen edges on floating products.
Avoid it:
– perform moisture testing using ASTM-referenced methods,
– install correct vapor barrier/underlayment system per manufacturer instructions,
– use moisture mitigation if limits are exceeded.
Telegraphing and gaps
Cause: slab not flat enough or patching wasn’t done correctly.
Avoid it: verify flatness tolerance:
– [ADD: your product’s tolerance number]
– patch high/low areas before installing.
Edge and transition problems
Stained concrete can contribute to baseboard/threshold water behavior, particularly during cleaning or spills.
Avoid it:
– use proper trims/reducers,
– seal/flash baseboard transitions as required by your flooring type and local best practice.
Verdict / tip (when this is a good idea—and when to skip it)
Installing over existing stained concrete can be a cost-effective option, but only when the slab is stable, properly prepared, and moisture/vapor-compatible with your specific product system. Skip this approach if the stained/sealer layer is unstable, you can’t confirm moisture acceptance limits, or the manufacturer doesn’t allow install over sealed/stained concrete.
If stained concrete is peeling or delaminating, no primer or adhesive system can reliably save an “install over” plan.
When moisture testing shows vapor exceeds manufacturer limits, you generally need a mitigation system rather than standard underlayment or adhesive adjustments.
The fastest path to correct decisions is to locate the manufacturer section specifically addressing sealed/stained concrete and the required testing/vapor barrier method.
If you proceed, do it this way:
– Start with the flooring manufacturer’s installation guide for “install over concrete”
– Search specifically for sections on:
– sealed/painted/stained concrete
– moisture testing / vapor barrier
– primer requirements
Reference:
– [ADD: manufacturer guide name]
When to skip (or hire a pro):
– slab coating is lifting or unstable,
– you suspect ongoing moisture intrusion (not just residual construction moisture),
– you can’t follow the required prep steps (grinding/leveling/priming),
– you can’t confirm the product’s allowance for sealed/stained concrete.
Quick checklist (scan before you start)
Use this as a pre-install gate. If you can’t check every item, pause and adjust your plan.
– [ ] Concrete is stable: no flaking/peeling and no crumbling
– [ ] Slab is flat within your flooring system’s tolerance ([ADD: your product’s number])
– [ ] Clean + abrade/surface treat as required for sealed/stained concrete ([ADD: required method])
– [ ] Moisture concerns addressed with correct test/vapor solution ([ADD: method/spec from manufacturer])
– [ ] Use the exact primer/adhesive/underlayment required for concrete (and stained/sealed conditions)
– [ ] Follow cure times and acclimation requirements “per manufacturer”
Practical note: moisture acceptance and bonding acceptance are product-specific. Don’t treat “concrete” as a generic category.
FAQ
Can I install new flooring directly over stained concrete?
Often yes—if the stained concrete is sound and you meet the manufacturer’s prep plus bonding/moisture requirements for stained or sealed surfaces ([ADD: your flooring’s instruction section title]).
Do I need to grind stained concrete before installing?
If the surface is too smooth, sealed, glossy, or otherwise not suitable for bonding, grinding/abrading may be required. Use the exact flooring and primer instructions for the required prep method ([ADD: cite required prep step]).
What’s the biggest reason floors fail over concrete?
Improper prep (especially on sealed/stained coatings) and not addressing moisture/vapor correctly. Either can lead to bond failure, edge issues, or long-term performance problems.
Does floating LVP still need a vapor barrier on concrete?
Many floating installs do require a vapor barrier or underlayment strategy, depending on the product’s instructions and the slab moisture conditions ([ADD: manufacturer underlayment/vapor requirements]).
Sources
– [ADD: Flooring manufacturer installation guide/spec sheet for your exact product—sections on “install over concrete,” “sealed/stained concrete,” and “moisture/vapor barrier.”]
– [ADD: Primer/adhesive manufacturer technical data sheet for bonding to concrete and surface prep requirements.]
– ASTM F2170: In-situ Relative Humidity test method for concrete moisture measurement. [ASTM standard]
– ASTM F1869: Standard Test Method for measuring moisture vapor emission rate of concrete using calcium chloride. [ASTM standard]
– ASTM F710: Practice for preparing concrete floors to receive resilient flooring. [ASTM standard]
– [ADD: Any applicable moisture testing standard referenced in your flooring instructions (and the manufacturer’s recommended acceptance limits).]
If you take only one takeaway from this guide, make it this: installing over stained concrete is not about “can it be done,” but about whether the substrate, moisture plan, and bonding system are compatible. When you confirm stability, correct flatness, and manufacturer-approved moisture/bonding requirements, you can often skip demo—while still getting a floor that lasts.
Frequently Asked Questions
What should I check before installing new flooring over stained concrete floors?
Start by checking the concrete moisture level, flatness, and overall condition. Concrete that’s cracked, loose, or too smooth may require preparation like grinding, patching, and a bonding primer to ensure the new flooring adheres properly. Use a straightedge to find high/low spots and confirm the surface is clean and free of dust, paint, sealers, or contaminants that can block adhesion.
How do I install laminate or engineered wood over existing stained concrete floors?
Use an appropriate underlayment system designed for concrete, including a vapor barrier where required, because concrete can transmit moisture. First, clean and lightly abrade the stained concrete surface, then install a compatible underlayment level over any minor imperfections. Follow the manufacturer’s installation guidelines for expansion gaps and fastening method, and consider a leveling compound if the floor is not within the tolerance for your flooring type.
How do I prepare stained concrete to prevent peeling or lifting of new flooring?
Preparation is key—remove any waxes, coatings, or sealers that can interfere with bonding, and clean thoroughly so dust doesn’t compromise adhesion. If you’re installing tile using thinset or another adhesive, you may need to grind the surface and apply the correct primer for concrete and the existing stain/finish. For floating floors, addressing surface roughness and using the right underlayment helps prevent rocking and separation over time.
Which flooring types work best over stained concrete, and when should I level first?
Floating laminate, engineered wood, and certain vinyl plank systems are popular choices because they can accommodate minor surface irregularities with the right underlayment. If the stained concrete has noticeable dips, ridges, or texture that affects clicks/locks, you should level with a cement-based leveling compound before installation. For rigid tile installations, aim for a smoother, more consistent substrate and consider professional guidance if the concrete is sealed or heavily stained.
Why is moisture control important when installing new flooring over stained concrete?
Stained concrete may still release moisture vapor, which can cause adhesive failure, mold growth under materials, or floor cupping in wood products. The right approach depends on your flooring—adhesive-backed products typically require compatible primers and moisture mitigation, while floating floors usually need a proper vapor barrier and underlayment. Always follow moisture test recommendations (such as in-situ testing standards) and use products rated for concrete to protect your investment.
📅 Last Updated: October 10, 2026 | Topic: How to install over existing flooring stained concrete floors? | Content verified for accuracy and freshness.
References
- Google Scholar Google Scholar
https://scholar.google.com/scholar?q=installing+flooring+over+stained+concrete+floor+surface+preparation - Google Scholar Google Scholar
https://scholar.google.com/scholar?q=stained+concrete+surface+prep+for+floor+coverings+moisture+testing - Google Scholar Google Scholar
https://scholar.google.com/scholar?q=vinyl+plank+laminate+over+concrete+moisture+vapor+barrier+guidelines - Concrete
https://en.wikipedia.org/wiki/Concrete - https://en.wikipedia.org/wiki/Floor_screed
- https://en.wikipedia.org/wiki/Underlayment
- Laminate flooring
https://en.wikipedia.org/wiki/Laminate_flooring - Vinyl flooring
https://en.wikipedia.org/wiki/Vinyl_flooring - https://www.britannica.com/technology/concrete
- https://www.cdc.gov/mold/default.htm