
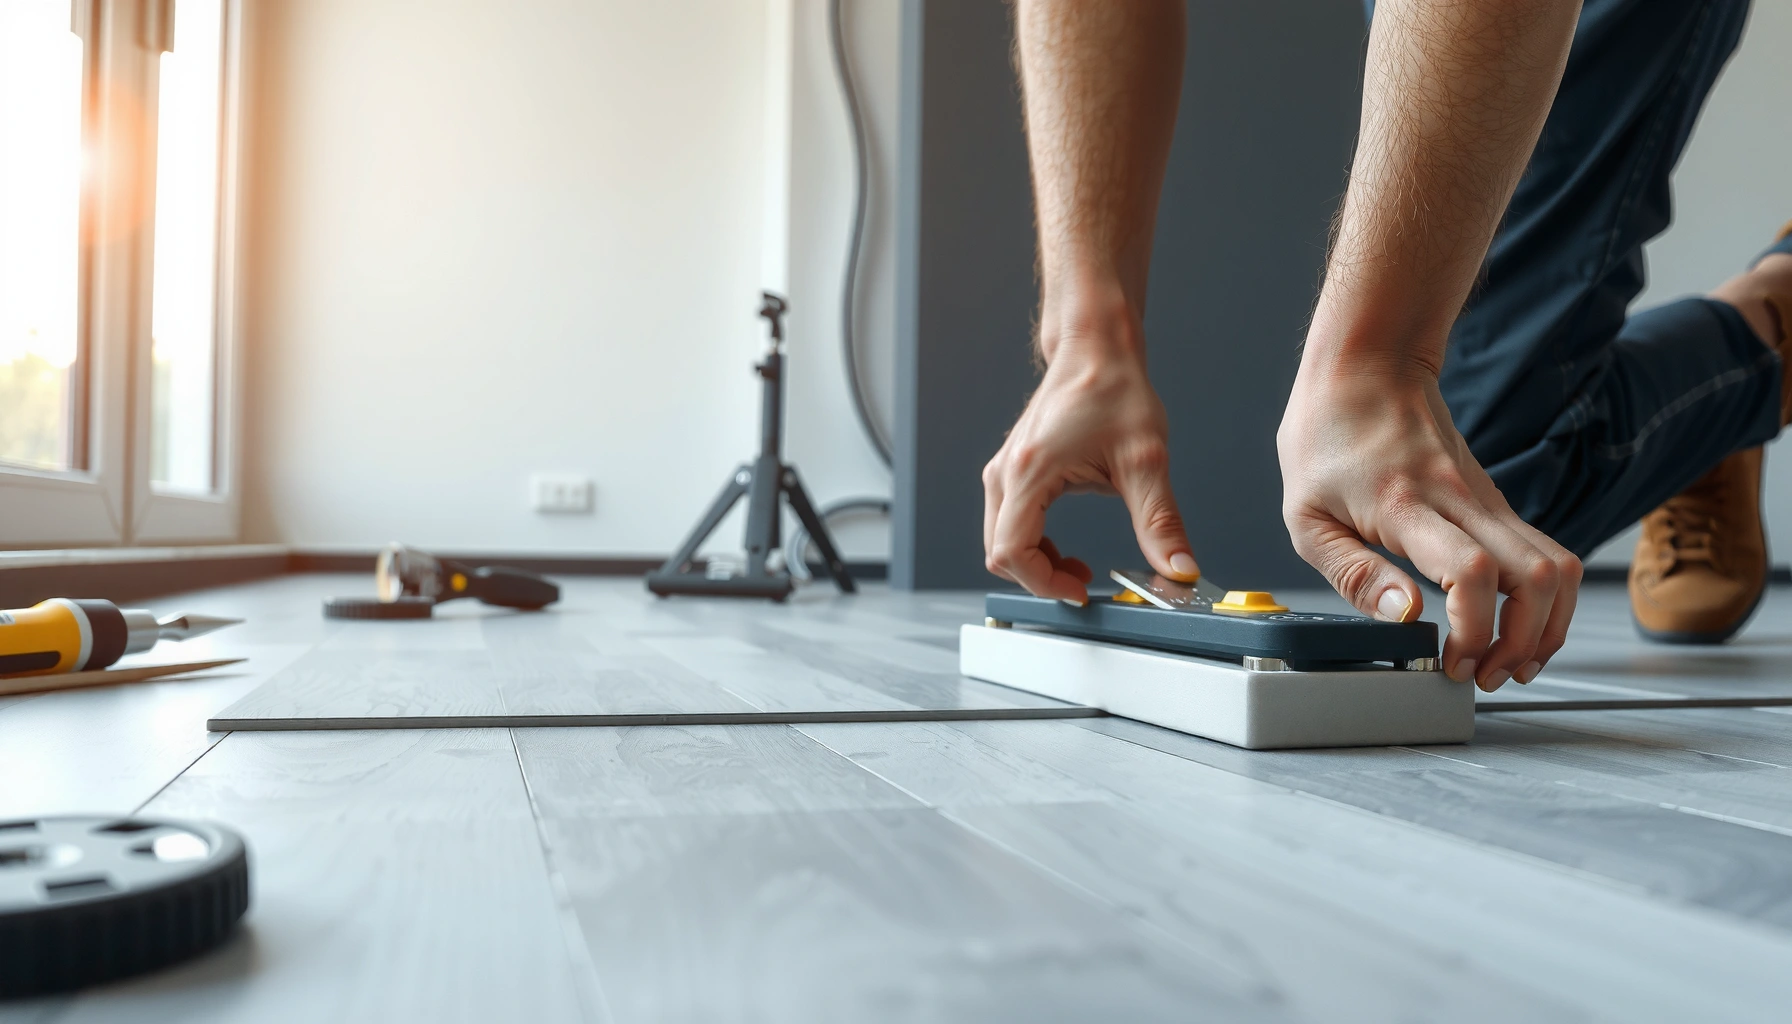

Looking for how to install vinyl floors step by step? This guide gives you a clear, do-this-first-to-finish path—subfloor prep, accurate measurement, proper adhesive or click-lock setup, and clean finishing—so the job locks in correctly the first time. If you want a fast, forgiving floor install that doesn’t require flooring pro-level tools, follow these steps and you’ll get a durable, good-looking result.




If you want vinyl floors that lay flat and look straight, the key is proper subfloor prep and following the flooring’s locking/gluing instructions exactly. Start by cleaning and leveling the surface, then measure and dry-fit your layout before installing planks or tiles. This guide walks you through prep, installation, finishing, and the checks that prevent buckling and gaps.
If you’re tackling a room, hallway, or small renovation project and you’re choosing between click-lock floating vinyl and glued-down vinyl, this is for you. It’s also helpful when you’re unsure what to do around doorways, vents, and baseboards.
Choose the Right Type of Vinyl and Read the Instructions

Choose the right vinyl type first—because click-lock (floating) and glue-down installations fail for different reasons. Then read the manufacturer’s instructions end-to-end, since acclimation, underlayment, and subfloor flatness requirements are product-specific and control the “how.”
Click-lock (floating) vinyl relies on an engineered locking system plus correct expansion spacing; if either is wrong, seams can open and edges can lift.
Glue-down vinyl depends on the correct adhesive and the correct subfloor condition; the adhesive bond is what prevents movement and later separation.
Resilient flooring installation guidance repeatedly emphasizes achieving the required subfloor flatness before installation to avoid “telegraphing” and seam issues.
Decide between click-lock (floating) vinyl and glued-down vinyl based on your room conditions and the floor type you’re installing:
– Click-lock floating vinyl: Boards “click” together and float over the subfloor (typically over an attached pad or approved underlayment). Your biggest enemies are insufficient expansion space, out-of-flat subfloors, and misaligned reference lines.
– Glued-down vinyl: Planks or tiles are adhered to the subfloor. Your biggest enemies are dusty/porous subfloors, incorrect adhesive coverage, and working time violations (you spread adhesive, then boards must be installed within the adhesive’s tack window).
Important: “Vinyl” covers multiple constructions. Even within LVP (luxury vinyl plank) or LVT (luxury vinyl tile), the installation system can vary. Before you buy tools or open a box, confirm what your product’s instructions require for:
– Acclimation (how long to let material sit where it will be installed)
– Underlayment (attached pad vs separate underlayment, and whether vapor barrier is required)
– Subfloor flatness (how much variation is allowed)
– Perimeter spacing / expansion gap (how much room to leave at walls, posts, and fixed objects)
Also note: flooring instructions sometimes require specific transitions at doorways or between dissimilar floorings. If you ignore those, you can end up with rubbing, movement, or visible height steps.
Prep the Subfloor (This Is Where Install Quality Starts)
Prep your subfloor thoroughly, because vinyl only “hides” problems up to its tolerance for flatness and moisture. If the surface is dirty, uneven, or damp beyond the flooring system’s allowances, you’ll see it later as buckling, separated seams, or edge failure.
RFCI installation guidance commonly cites a maximum subfloor variation of 3/16 inch over 10 feet for resilient flooring to prevent ridges and seam problems.
Moisture control is usually governed by the flooring manufacturer; common test methods include ASTM F2170 (in-situ RH probes) and ASTM F1869 (calcium chloride) with limits set by the product.
Before adhesive installation, subfloor cleanliness matters because dust, drywall compound, paint overspray, and inconsistent porosity can break bond consistency.
Here’s what “prep” really means in practice:
Remove what’s still there
– Remove old flooring residue (adhesive remnants, paint overspray, texture buildup) that can interfere with leveling or bonding.
– Pull nails, staples, screws, and any fasteners that can create bumps.
– Sweep and vacuum thoroughly, then wipe with a cleaner recommended for your subfloor type. (Avoid “wetting” the subfloor unless your moisture plan allows it.)
Level high/low spots (don’t just spot-fill)
Vinyl is thin compared with many surfaces, so it reflects subfloor irregularities more than people expect. Address:
– High spots: scrape or grind down to reduce ridges
– Low spots: use a patch/feather finish appropriate for the substrate
A good workflow is to:
1. Check flatness with a straightedge (and/or a dedicated flatness tool).
2. Mark problem areas.
3. Fix only after you know what’s off.
Confirm moisture conditions (especially on concrete)
Concrete slabs and basements are where moisture surprises happen. Most vinyl systems are approved for concrete only when:
– Moisture testing meets the flooring manufacturer’s limits, and
– You install any required vapor barrier / moisture mitigation system exactly as specified.
Common standards used in industry include:
– ASTM F2170 for in-situ relative humidity (RH) testing
– ASTM F1869 for moisture vapor emission rate (MVER) testing
As of recent resilient flooring practice, the test method itself is only half the story—the acceptable values are set by the specific vinyl product and its backing/adhesive system.
Subfloor flatness: a concrete planning target
According to RFCI (Resilient Floor Covering Institute) resilient floor installation guidance, a widely referenced tolerance for resilient flooring is no more than 3/16 inch variation over 10 feet. Use that as a planning target, then defer to your vinyl manufacturer’s requirement if it is more strict.
Standards & Test Methods Commonly Used for Resilient/Vinyl Floor Prep
| # | Reference (Real Standard/Test) | What It Covers | Why It Impacts Vinyl Install | Installer Risk If Skipped |
|---|---|---|---|---|
| 1 | ASTM F2170 | RH testing in concrete | Helps determine if moisture exceeds product limits | ★★★☆☆ |
| 2 | ASTM F1869 | MVER (calcium chloride) | Often used when RH probes aren’t practical | ★★★☆☆ |
| 3 | ASTM F710 | Moisture/relative humidity for slabs | Supports standardized moisture evaluation planning | ★★☆☆☆ |
| 4 | RFCI Resilient Floor Covering Installation Guidance | Subfloor prep & workmanship | Provides flatness and prep expectations | ★★★★☆ |
| 5 | ASTM C920 | Sealants (general) | Relevant for perimeter/transition sealing details in some systems | ★☆☆☆☆ |
| 6 | ASTM D4263 | Plastic sheet method (surface dryness) | Helps screen surface vapor conditions prior to flooring decisions | ★☆☆☆☆ |
| 7 | Manufacturer installation spec sheets | Product-specific requirements | Defines allowed flatness, moisture limits, spacers, and transition pieces | ★★★★★ |
Plan Your Layout and Dry-Fit the First Rows
Plan your layout to control seam appearance and to keep cuts manageable. Dry-fit the first rows so you can lock in a straight reference line and verify expansion spacing before any boards are installed.
Most visible vinyl issues trace back to layout choices—an off-square starting line turns “minor” geometry errors into obvious seam drift.
Floating click-lock vinyl requires an expansion gap at fixed vertical surfaces; removing or trimming that gap too early can prevent normal floor movement.
Dry-fitting helps you confirm seam placement relative to doors, vents, and transitions, reducing the risk of narrow plank strips at walls.
Choose a direction that reduces awkward cuts
– Decide which way the planks/tiles will run based on the room’s longest sightline (or the direction that best hides transition seams).
– Mark the centerline or a consistent starting wall, then check whether that wall is actually straight.
Dry-fit before you commit
Lay the first row(s) with the required spacing—especially for **click-lock floating** systems. This is where you verify:– Which wall gets what type of cut (full plank vs rip cut)
– Where seams land relative to doorways and openings
– How seams will “stagger” (most products require a minimum and sometimes a recommended staggering pattern)
Expansion gap planning (critical for floating floors)
Floating floors expand and contract. Your product instructions usually specify:
– Perimeter expansion gap size (often maintained using spacers)
– Whether the gap is continuous under certain trim types
– How to handle toilet flanges, built-ins, or columns
Follow the instructions exactly—don’t assume the “common” gap used for other brands applies to yours.
Install Vinyl Floors (Planks or Tiles, Step Order Matters)
Install in the correct sequence and use the system-specific technique—locking boards wrong or gluing too broadly can cause long-term separation. For best results, keep your line straight, work methodically, and avoid forcing joints.
Click-lock vinyl must be engaged correctly so the tongue-and-groove (or similar) mechanism fully seats without lifting elsewhere.
Glue-down vinyl installation depends on adhesive coverage and timing; spreading too much adhesive or missing the tack window can weaken the bond.
For any vinyl plank, forcing misaligned edges increases the risk of peaking seams that show through as ridges.
Use a different technique depending on your product:
For click-lock (floating) vinyl: keep the reference line tight
1. Establish a straight starting line (string line, chalk line, or a straight reference board if your room is irregular).
2. Engage locks according to the instruction method:
– Many products use a “drop” angle engagement for the side seam, then lock by pressing down/up as specified.
3. Maintain pressure only where the system indicates it—forcing can distort the tongue-and-groove.
Cutting approach matters too. For many click-lock products:
– Use the manufacturer’s recommended knife scoring/blade method for clean edges when applicable.
– Save saw cuts for cases where the instructions indicate they’re needed (thicker sections or specific backing).
For glue-down: spread adhesive in the approved pattern and timeframe
1. Use the recommended adhesive type and not a “general purpose” substitute.
2. Apply adhesive using the coverage method specified (trowel notch and spread pattern are often defined by the adhesive and flooring instructions).
3. Lay boards promptly and avoid excess adhesive at seams—squeeze-out can create bumps and interfere with tight fitting.
4. Clean adhesive from the surface immediately if your instructions allow cleaning and specify a method.
Cut quality still matters:
– Keep edges square to reduce visible gaps.
– Fit boards without forcing joints. If a joint won’t close, the cut or subfloor flatness is usually the culprit, not the locking system.
Click-lock vs glue-down: practical tradeoffs (pros/cons)
| Category | Click-lock (Floating) | Glue-down |
|---|---|---|
| Subfloor sensitivity | High—out-of-flat can show as peaking seams | Moderate to high—bond depends on cleanliness/porosity |
| Expansion gap needs | Yes—follow spacer requirements | Still required—verify product perimeter method |
| Skill bottlenecks | Straight starting line + lock engagement | Adhesive timing + seam cleanliness |
| When DIY works best | Dry rooms with stable conditions and forgiving geometry | When you can control moisture and follow adhesive instructions strictly |
From my planning experience, the install “moment of truth” is the first 2–3 rows. If those aren’t straight (or if you skip required spacers for floating floors), everything that follows becomes harder to correct without rework.
Finish Edges, Transitions, and Trim Cleanly
Finish edges correctly so your floor can move (where it must) while staying visually tight. Install trim and transitions using the manufacturer’s details so you don’t trap movement or create rubbing points.
Perimeter finishing on floating vinyl often requires maintaining the expansion gap under or beside trim—cutting it off at the wrong time can lead to buckling.
Transitions at doorways help manage movement across rooms and can reduce visible height differences and joint stress.
Before final trim, remove debris from seams; trapped grit under edges can create squeaks or prevent trim from sitting flat.
Key finishing tasks:
Baseboards / quarter-round
– Follow the flooring instruction for whether baseboards are installed over the flooring (often yes for floating, but check) and whether any spacer clearance is needed behind certain profiles.
– If you’re removing existing baseboards, vacuum and wipe the wall line before reinstalling trim so you don’t lock debris under edges.
Transitions between rooms and flooring types
Transitions aren’t just cosmetic. They handle:
– Height differences between materials
– Expansion and contraction movement
– Joint safety at “pinch points” like door thresholds
Use the manufacturer-recommended transition pieces when possible, especially for products designed around a specific joint type.
Re-check seam alignment before final cleanup
Before you install final trim, do a quick close inspection:
– Are seams straight and consistently closed?
– Is any edge slightly lifted?
– Are there adhesive smears or dust in grout lines/seams?
Remove debris now—once trim is installed, you may not be able to clean without damaging trim or the floor.
What Can Go Wrong (And How to Avoid It)
Most failures come from skipping the “boring” steps: subfloor flatness, moisture control, expansion rules, or correct product-specific technique. If you treat those as optional, vinyl installation problems often show up within months or seasons.
Gaps and buckling commonly indicate expansion-space mistakes or subfloor conditions that exceed the flooring system’s flatness and movement allowances.
Peaky seams usually point to subfloor ridges or incorrect locking/placement that prevents full seating.
For glue-down vinyl, adhesive performance is highly sensitive to surface cleanliness, moisture, and exceeding the adhesive’s intended working time.
Here are the most common issues and what they usually mean:
Gaps or buckling
Likely causes
– Missing acclimation
– No expansion gap where required (common for floating)
– Subfloor issues that allow differential movement
Avoid it
– Follow the spacer and perimeter instructions for your exact product.
– Confirm flatness before you start.
Peaky seams or movement
Likely causes
– Uneven subfloor
– Locks not fully engaged
– Boards forced into place
Avoid it
– Keep the straight reference line during installation.
– Re-check flatness, particularly near doorways where framing can be uneven.
Adhesive failure (glue-down)
Likely causes
– Subfloor dust, paint, or inconsistent porosity
– Wrong adhesive type or wrong trowel/coverage method
– Installing after adhesive has passed its intended tack window
Avoid it
– Use the adhesive specified by the flooring system.
– Apply adhesive only in manageable sections and install promptly.
Bad transitions
Likely causes
– Using generic trim where a designed transition is required
– Not matching height and movement between rooms
Avoid it
– Use transition pieces recommended for the product line or system.
– Ensure transitions are installed flat and secure so they don’t become trip points or rubbing hazards.
Verdict: Worth DIY, But Skip It If Your Subfloor Isn’t Ready
Vinyl flooring is a practical DIY project when you can prep the subfloor thoroughly and you’re comfortable following product-specific installation rules. The downside is that bad subfloor conditions and incorrect expansion/underlayment choices can lead to visible seams, gaps, or edge lifting—problems that are hard to fix after the floor is down.If your subfloor exceeds the resilience installation flatness tolerance, DIY repairs often turn into repeated rework because the vinyl will reveal ridges.
For glue-down products, success depends on adhesive system compliance—if you can’t test moisture and follow timing rules, consider professional help.
Manufacturers’ installation guides are the controlling document for acclimation, underlayment, vapor barrier requirements, and expansion gaps.
When DIY is reasonable
– You can clean and level the subfloor to the required flatness.
– You can maintain spacing and straight lines during install.
– You’re installing in a stable environment (temperature/humidity) and can acclimate the material per instructions. (Exact acclimation time varies—use your product’s manual.)
When you should skip DIY or get help
– Chronic moisture concerns or you can’t complete moisture testing to the manufacturer’s requirements.
– Major subfloor leveling issues that can’t be corrected within the time and budget you have.
– Your product instructions are unclear or require specialized underlayment/moisture mitigation that you can’t source/verify.
Quick Install Checklist (Scan Before You Start)
– [ ] Identify click-lock vs glue-down vinyl
– [ ] Read manufacturer instructions for acclimation, underlayment, and spacing
– [ ] Clean and remove old residue; remove nails/debris
– [ ] Level the subfloor and verify flatness requirements
– [ ] Address moisture/vapor barrier requirements (if applicable)
– [ ] Plan layout and dry-fit the first rows
– [ ] Maintain straight lines during installation
– [ ] Use correct cuts and proper seam/locking technique
– [ ] Finish transitions, edges, and trim per instructions
– [ ] Final walkthrough for gaps, alignment, and debris
FAQ
Do I need underlayment for vinyl floors?
It depends on the product: some click-lock vinyl includes an attached pad, while other systems require specific underlayment. Follow the manufacturer’s underlayment guidance for your exact model.
How do I handle expansion gaps around walls?
Use the expansion spacing called out in the flooring instructions, usually maintained by spacers during install. Don’t remove the gaps early with trim if your product requires them to remain.
Can I install vinyl over concrete?
Often yes, but only if the concrete meets the manufacturer’s moisture/flatness requirements. You may need a vapor barrier depending on your product and conditions.
What’s the best way to cut vinyl planks?
Use the method recommended by the flooring instructions (knife scoring for some products, saw for others). Keep cuts square to prevent seam gaps.
Why are my seams separating?
Most common causes are an uneven subfloor, incorrect locking/fit, or ignoring expansion guidance. Recheck subfloor flatness and confirm you installed according to the product steps.
Sources
– RFCI (Resilient Floor Covering Institute) Resilient Floor Covering Installation guidance — subfloor preparation/flatness expectations for resilient flooring (including commonly cited “3/16 inch over 10 feet” guidance).
– ASTM F2170 — Standard Test Method for In Situ Relative Humidity (RH) in concrete.
– ASTM F1869 — Standard Test Method for Measuring Moisture Vapor Emission Rate of concrete subfloor using calcium chloride.
– ASTM F710 — Standard Practice for Preparing Concrete Floors to Receive Resilient Flooring.
– [ADD: manufacturer installation guide/spec sheet for your specific vinyl flooring type (click-lock vs glue-down), including subfloor flatness, acclimation, underlayment, expansion gap, and transition requirements]
– [ADD: manufacturer guidance on subfloor moisture/vapor barrier requirements for vinyl installed over concrete or in basements]
Vinyl flooring can look professional and install smoothly when you treat prep as the main project and the installation instructions as the technical “recipe.” If you plan the layout, verify flatness and moisture, and follow the correct click-lock or glue-down sequence, you’ll dramatically reduce the chance of gaps, buckling, and seam drift—and you’ll get a floor that stays straight for years.
Frequently Asked Questions
What tools and materials do I need to install vinyl floors?
To install vinyl flooring, you’ll typically need a tape measure, utility knife, straightedge, pull bar, and a rubber mallet for locking planks or tiles. You’ll also want spacers (for expansion gaps), a roller (for sheet or loose-lay vinyl where recommended), and subfloor repair materials like patch compound or leveling compound if the surface is uneven. For adhesive-down vinyl, use the manufacturer’s recommended flooring adhesive and trowel size, and have a damp-proofing product if your subfloor requires it.
How do I prepare my subfloor before installing vinyl floors?
Start by checking that the subfloor is clean, dry, flat, and structurally sound—vinyl floors can show bumps and imperfections through the surface. Remove old debris, nails, or adhesive residue, then fill cracks or low spots and sand high spots to achieve a smooth finish. If moisture is a concern (especially on concrete), confirm whether your vinyl type needs a moisture barrier or underlayment and install it according to the manufacturer’s instructions.
Which vinyl flooring installation method is best for my home: click-lock, peel-and-stick, or glue-down?
Click-lock vinyl plank is usually the easiest DIY option because it uses an interlocking system and often doesn’t require adhesive on the floor. Peel-and-stick vinyl can be quick for small areas, but it depends heavily on having a smooth, well-prepared subfloor for strong bonding. Glue-down vinyl is often best for spaces with heavy traffic or where extra stability is needed, but it requires precise adhesive application and timing to avoid bubbles or unevenness.
How do I handle expansion gaps and trimming when installing vinyl floors?
Most floating vinyl floors (like click-lock) require an expansion gap around walls and fixed objects to allow for temperature-related movement. Use spacers during installation, then remove them before installing baseboards or quarter-round trim to cover the gap. Plan your layout to minimize short end joints, and cut around doorways and vents using a utility knife or vinyl flooring cutter for clean edges.
Why does vinyl flooring lift or separate after installation, and how can I prevent it?
Vinyl floors often fail when the subfloor is not flat, moisture is present, or the vinyl wasn’t acclimated to the room temperature before installation. If seams lift on click-lock planks, check that you fully engaged the joints and used the recommended rolling or tapping method; if adhesive fails on peel-and-stick, ensure the surface was clean and dry and that you applied pressure correctly. Prevent issues by following the manufacturer’s installation instructions, including acclimation, subfloor tolerances, and the correct underlayment or moisture barrier requirements.
📅 Last Updated: October 07, 2026 | Topic: How to install vinyl floors? | Content verified for accuracy and freshness.
References
- Vinyl flooring
https://en.wikipedia.org/wiki/Vinyl_flooring - https://en.wikipedia.org/wiki/Resilient_flooring
- Floor
https://en.wikipedia.org/wiki/Subfloor - https://en.wikipedia.org/wiki/Floor_underlayment
- Floating floor
https://en.wikipedia.org/wiki/Floating_floor - https://en.wikipedia.org/wiki/Floor_leveling
- Underlayment
https://en.wikipedia.org/wiki/Underlayment - Google Scholar Google Scholar
https://scholar.google.com/scholar?q=vinyl+floor+installation+guidelines - Google Scholar Google Scholar
https://scholar.google.com/scholar?q=vinyl+plank+installation+moisture+subfloor - Google Scholar Google Scholar
https://scholar.google.com/scholar?q=sheet+vinyl+floor+installation+seams+adhesive+techniques


