
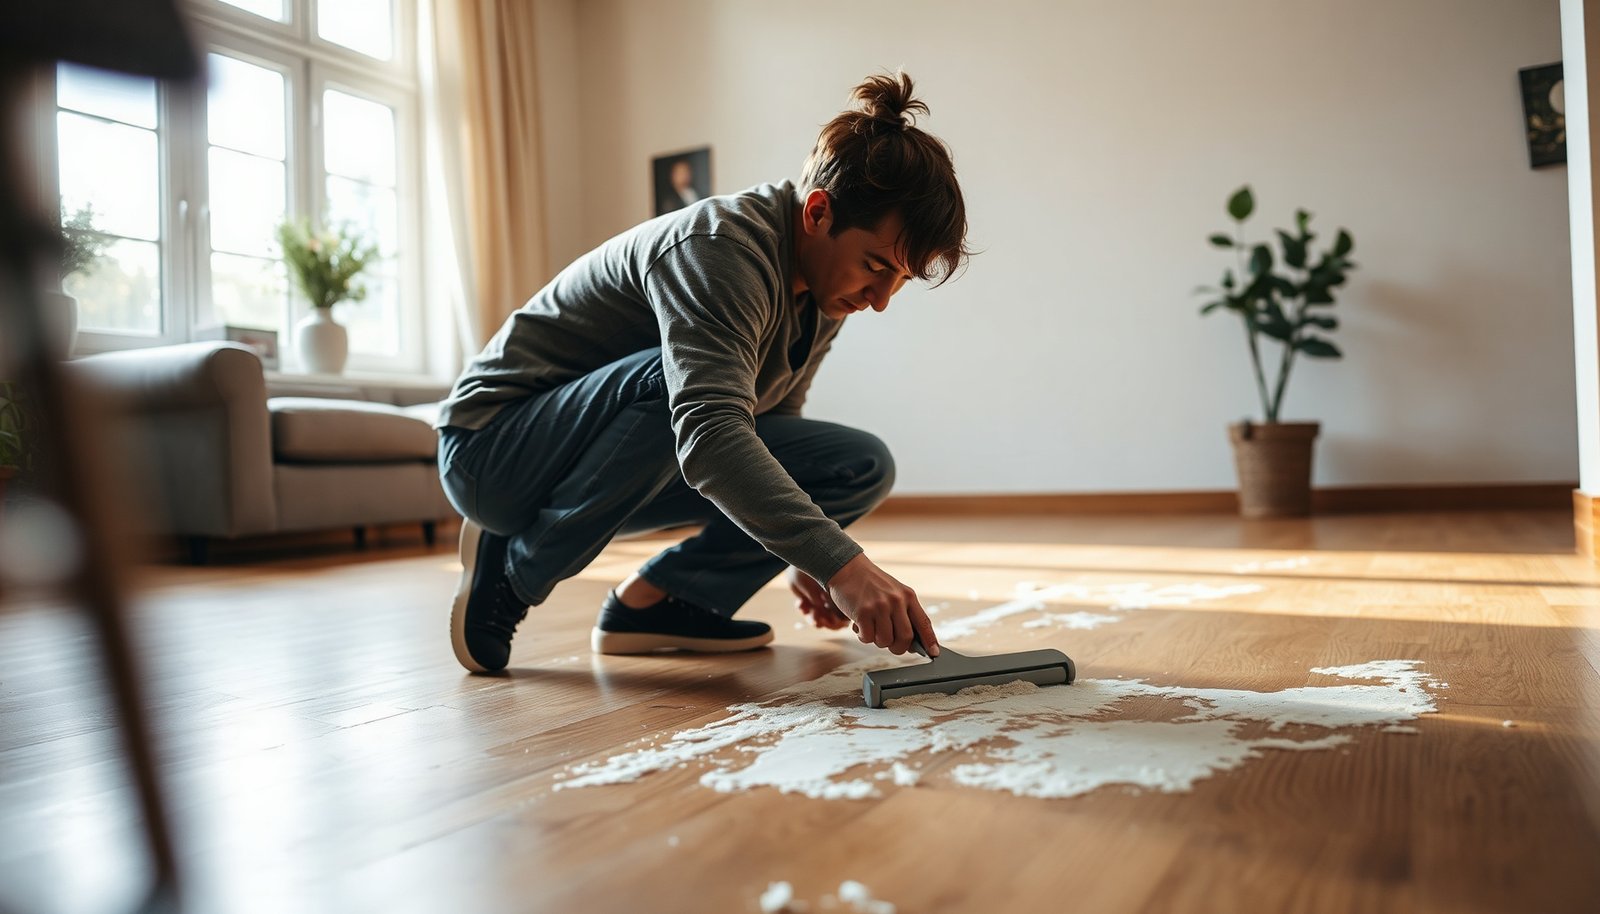

Plaster dust and dried residue can cling to hardwood grain and leave a chalky film that makes floors look permanently dull. Most people try scrubbing with water, vinegar, or abrasive pads, but those can discolor or damage the finish. With the right approach—dry removal, careful mopping, and a finish-safe cleaner—you can lift the residue without stripping or scratching, usually within an hour.




Plaster residue on hardwood usually comes off best when you remove the dry crust first, then clean with a barely damp microfiber and a mild, pH-neutral cleaner. If spots are stubborn, re-dampen briefly to soften the plaster, then wipe away—don’t soak the floor; doing it this way helps prevent scratches and the hazy, cloudy look that can form when abrasive dust is ground into a finish. This article will walk you through a safe, step-by-step method to avoid scratching or damaging the finish.
This is for homeowners and renters dealing with chalky plaster dust, dried drips, or small patches left after tiling, patching walls, or construction—especially when you want to protect the hardwood’s finish and prevent cloudy spots.
Materials & prep for hardwood-safe cleanup
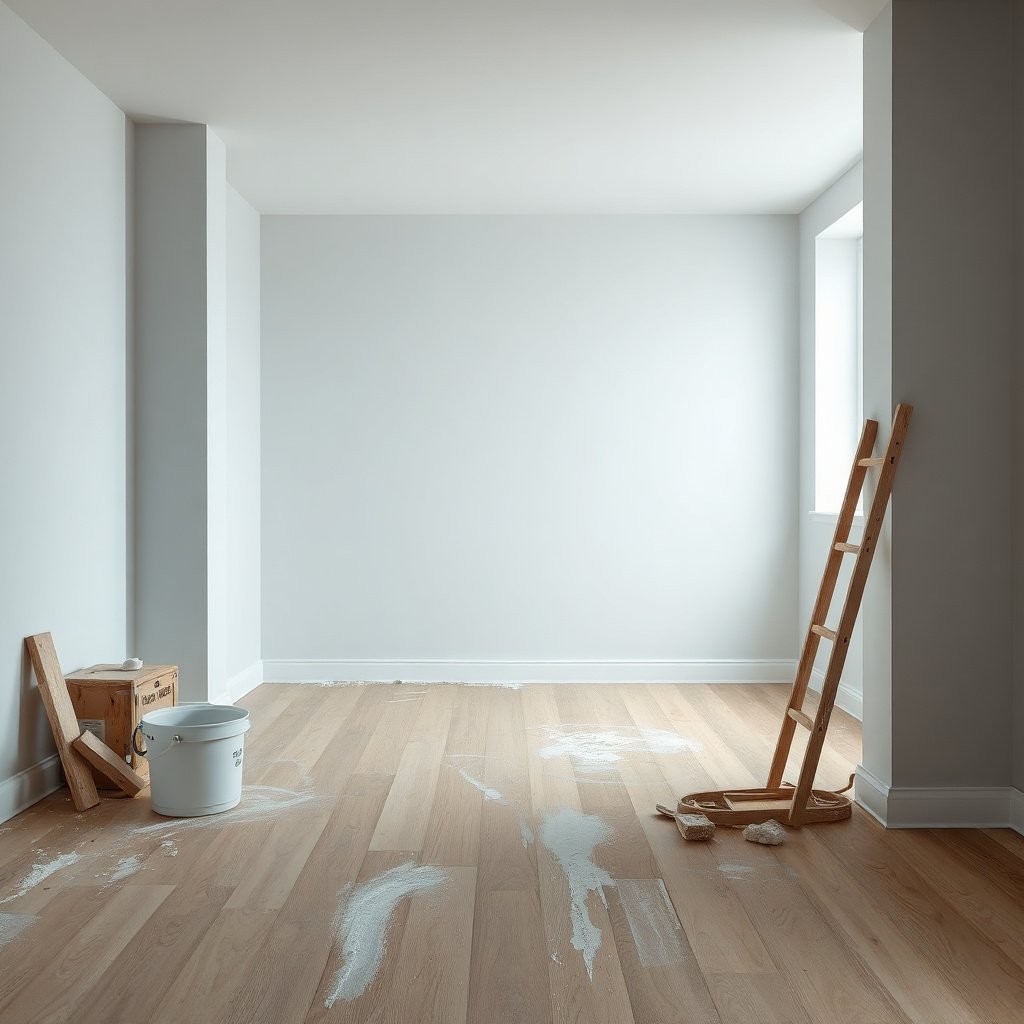
Start with the right tools so plaster residue removal stays controlled and doesn’t grind abrasive dust into the finish. For hardwood floors, the goal is “lift and wipe,” not “scrub and abrade,” because the topcoat can be dulled quickly once residue turns into paste.
Use these hardwood-safe items:
– Use a plastic scraper (not metal) to lift dried crusts without gouging.
– Use a soft nylon brush to loosen softened spots without scratching.
– Use microfiber cloths (at least two): one for cleaner pass, one for immediate dry follow-up.
– Use a mild, pH-neutral floor cleaner—pH-neutral means the cleaner’s acidity/basicity stays near neutral (neutral water is pH 7). According to S. P. L. Sørensen, neutral water at 25°C is pH 7 (1909).
Avoid these common finish-risky options:
– Avoid abrasive pads, steel wool, and “magic” scrubbers unless the hardwood finish manufacturer explicitly approves them.
– Avoid household degreasers, strong acids, heavy solvents, and bleach-based cleaners—many can strip or haze finishes even if the plaster residue itself looks cleaned.
Prep before you start cleaning plaster residue on hardwood floors:
1. Test your cleaner on a hidden area (like inside a closet edge) and wait for the finish to dry fully.
2. Work in small sections (about a few square feet at a time). If you see haze developing, you can stop and correct the method right away.
3. Make sure your floor is dry before wet cleaning—wetting over dry grit increases the chance you’ll smear plaster residue into the coating.
Plaster-Related Materials Commonly Left on Hardwood Floors: Cleanup Sensitivity & Finish Safety (Typical Ranges)
| # | Material residue | Typical alkaline level (pH) | Typical hardness (Mohs) | Finish-safe compatibility* |
|---|---|---|---|---|
| 1 | Gypsum plaster (dried) | 6–8 | ~2 | ★★★★☆ |
| 2 | Drywall joint compound dust | ~7–9 | ~2–3 | ★★★☆☆ |
| 3 | Portland-cement mortar / thinset | ~12–13 (fresh) | ~4–5 | ★★☆☆☆ |
| 4 | Lime-based plaster | ~10–12 | ~1.5–2 | ★★★☆☆ |
| 5 | Calcium carbonate dust (filler / debris) | ~8–9 | ~3 | ★★★☆☆ |
| 6 | Grout residue (cementitious) | ~11–13 (fresh) | ~4–5 | ★★☆☆☆ |
| 7 | Concrete dust / mortar fines | ~11–13 | ~4 | ★☆☆☆☆ |
Compatibility assumes you use the hardwood-safe method in this article: dry lift first, then barely damp microfiber with a pH-neutral cleaner, and quick drying.
Dry removal: get the bulk off without grinding
Start by lifting the dry plaster crust—this is the highest-impact step for preventing scratches on hardwood floors. When plaster residue is left to sit, it hardens and mixes with everyday grit; once you add moisture and wipe, that mixture can behave like sand.
How to do it safely:
– Gently scrape only what lifts easily. Keep the scraper at a low angle and let the edge skim rather than dig.
– Vacuum thoroughly right after scraping using a soft brush attachment. Loose plaster dust is abrasive; if it remains, it can act like micro-sand while you clean.
– Do a dry microfiber wipe once before any liquid touches the wood. This picks up remaining grit and prevents smearing plaster residue into the finish.
What I watch for during plaster residue removal: if you press too hard while scraping, you can create faint “tracks” that later catch light when the wood dries. Take your time—removing the crust first usually means you’ll need much less wet cleaning later.
Gentle wet cleaning: remove the haze safely
Use barely damp microfiber and pH-neutral cleaner to remove the fine plaster film without over-wetting the wood. For hardwood floors, the risk isn’t just visible residue—it’s moisture getting under the finish or into seams.
The method that usually avoids damage:
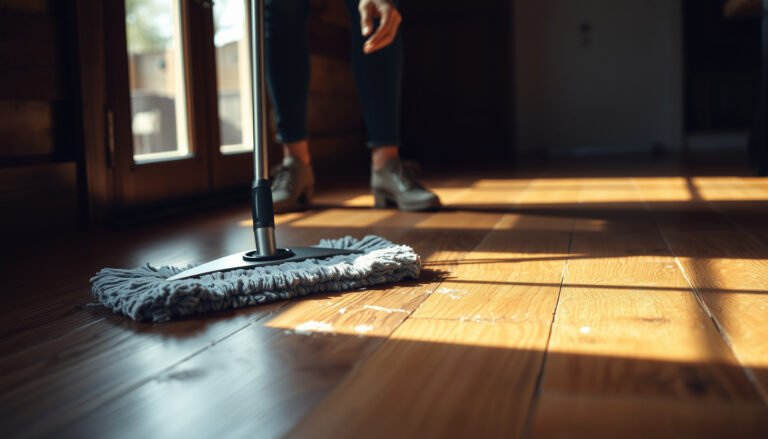
– Lightly dampen a microfiber cloth with pH-neutral cleaner, then wring it out so it’s damp, not wet. Avoid mops and avoid puddling.
– Wipe with the grain, using gentle pressure and consistent passes.
– Immediately follow with a second dry microfiber cloth to pull moisture away and reduce the chance of cloudy streaks.
– Repeat in small, controlled passes rather than adding more water.
Why quick drying matters: wood swelling is strongly tied to moisture uptake. According to USDA Forest Service Forest Products Laboratory, Wood Handbook, the fiber saturation point is roughly 28–30% moisture content, and wood dimensional changes are closely linked to moisture movement in that range (1999). The takeaway for plaster residue cleanup on hardwood floors: don’t give water time to penetrate—wipe, then dry.
Tackling stubborn plaster residue (without soaking)
Re-dampen only the stubborn spots for a short time, then wipe—this “soften and lift” cycle is usually safer than repeated scrubbing. Over the years, the most common failure I see with plaster residue on hardwood floors is people trying to brute-force baked-on spots until the finish begins to look dull or smeary.
Step-by-step for stubborn areas:
– Re-dampen only the affected area: hold a damp cloth on top briefly to soften the residue (don’t flood the spot or chase it outward).
– Use a soft nylon brush on the loosened area, just enough to lift residue from the finish texture.
– Wipe immediately with a clean, damp cloth, then follow right away with a dry microfiber.
– If residue persists, repeat the soften-and-wipe cycle.
– Stop if you see finish dulling, smearing, or a persistent haze that doesn’t clear with drying.
Tip that prevents spread: keep your “wet zone” tight. Feather the cleaning path only on dry areas; avoid widening the damp area around the plaster residue.
What can go wrong (and how to avoid it)
Avoid scratching, swelling, and cloudy finish haze by matching the technique to how plaster residue behaves on finished hardwood floors. Most problems come from skipping the dry-lift step, using too much water, or choosing an abrasive tool.
Here’s a quick comparison of typical mistakes vs. safer alternatives:
| Mistake | What you’ll usually see | Safer alternative |
|---|---|---|
| Using a metal scraper | Micro-gouges and rough patches that catch light | Use a plastic scraper and low-angle skimming |
| Scrubbing with abrasives | Dull finish spots and hairline scratches | Use nylon brush + microfiber; repeat soften-and-wipe |
| Wet-mopping through the spot | Raised look near seams or edges | Use damp cloth only; wipe dry immediately after each pass |
| Leaving cleaner to dry | Cloudy film or streaks | Always do a dry microfiber follow-up after the cleaner pass |
| Using harsh chemicals | Finish softening, blotchiness, or permanent haze | Stick to pH-neutral cleaners unless manufacturer approves otherwise |
Specific “stop” signs to respect while removing plaster residue:
– Scratches from metal tools or abrasive pads: stop immediately and switch to plastic + nylon.
– Swelling/warping from over-wetting: stop and dry thoroughly with clean, dry microfiber.
– Cloudy streaks from leaving cleaner behind: do another quick dry pass; don’t add more liquid.
– Harsh chemicals: stop—some finishes can be sensitized and never fully return to their original sheen.
Verdict: the safest approach (and when to stop)
The safest approach for plaster residue on hardwood floors is dry scrape + vacuum first, then a barely damp pH-neutral microfiber cleaning method, and only brief re-dampening on stubborn spots. This workflow prioritizes control: you lift the dry material before you introduce moisture, and you keep wiping/drying tightly to prevent haze.
Why this works: dry crust removal prevents abrasive grit from turning into paste, and quick dry follow-ups reduce the odds of cloudy film. I’ve found that the “few gentle cycles” approach beats aggressive scrubbing almost every time when the goal is preserving finish sheen on hardwood floors.
Downside (honesty):
– It can be slower than aggressive methods, especially if plaster has been on the floor for a long time or if it was allowed to cure heavily into the finish texture.
Who should skip DIY and/or bring in a floor professional:
– If plaster residue has been present for weeks (not just a day or two) and the finish is already showing breakdown.
– If the floor is very old, very thin-finished, or previously stripped/untreated (finish behavior can vary).
– If you see ongoing dulling or smearing even after switching to the gentle soften-and-wipe method—continuing can permanently change the surface.
Quick checklist: do this in order
| Step | What to do | Stop if you notice… |
|---|---|---|
| 1 | Vacuum + dry microfiber wipe | Plaster feels like it’s still gritty underfoot |
| 2 | Plastic scrape only loose chunks | You see scratches or gouges |
| 3 | Wipe with barely damp pH-neutral cleaner | Clouding, smearing, or finish dulling |
| 4 | Re-dampen stubborn spots briefly (cloth-on) | The wood looks lifted/wet longer than expected |
| 5 | Dry thoroughly after each pass | Lingering dampness at edges/seams |
After the residue is gone, keep the area dry and avoid heavy foot traffic for a bit so the finish isn’t stressed while it’s settling. If any spots remain, repeat the gentle soften-and-wipe steps rather than switching to harsher abrasives—your hardwood’s finish and appearance are worth the extra patience.
Frequently Asked Questions
How do I remove dried plaster residue from hardwood floors without damaging the finish?
Start by letting the plaster fully dry, then gently scrape it with a plastic scraper or a soft putty knife to avoid scratching the hardwood. Next, vacuum thoroughly to remove loose dust, then wipe the area with a slightly damp microfiber cloth using clean water or a wood-safe cleaner. Avoid soaking the floor; if residue remains, use a small amount of pH-neutral floor cleaner and buff lightly rather than scrubbing aggressively.
What’s the safest way to clean plaster dust off hardwood after renovation?
Use a vacuum with a soft brush attachment to pick up plaster dust first, since dry dust can act like abrasive grit. Follow with a damp microfiber mop or cloth, changing it often to prevent redepositing residue. If any chalky film remains, use a mild, wood-safe cleaner and rinse-wipe with clean water to ensure no chemical residue is left behind.
Which cleaning solution works best for plaster stains or chalky residue on hardwood?
For most plaster residue, a pH-neutral cleaner designed for hardwood floors is the best option because it’s less likely to dull the finish. If the residue is mineral-like and still won’t lift, try a diluted solution recommended for stone/mineral deposits, but test it in an inconspicuous spot first. Never use strong acids, bleach, or abrasive cleaners, since they can damage the polyurethane or varnish coating on hardwood.
Why does plaster leave a film on hardwood, and how can I prevent re-deposition?
Plaster contains fine mineral particles that can smear when mixed with moisture, leaving a chalky film on the wood finish. To prevent re-deposition, remove dry debris first with vacuuming and dry scraping, then wipe with minimal water and fresh cloths frequently. After cleaning, do a final rinse-wipe with clean water and dry immediately to reduce residue that can settle back onto the floor.
How do I remove stuck plaster residue from hardwood cracks or seams?
For residue in gaps, use a soft nylon toothbrush or a cotton swab lightly dampened with pH-neutral cleaner, working carefully along the seam. Avoid metal tools that can gouge hardwood or lift finish edges. After loosening the plaster, vacuum again and wipe with a damp microfiber cloth, then dry the area thoroughly to protect the wood and prevent lingering chalkiness.
📅 Last Updated: November 04, 2026 | Topic: How to get plaster residue off hardwood floors? | Content verified for accuracy and freshness.
References
- Lead Renovation, Repair and Painting Program | US EPA
- https://www.cdc.gov/nceh/lead/default.htm
- Silica, Crystalline – Overview | Occupational Safety and Health Administration
- 404 Error
- Plaster
- Wood flooring
- https://scholar.google.com/scholar?q=plaster+residue+removal+from+hardwood+floor Google Scholar
- https://scholar.google.com/scholar?q=gypsum+dust+cleaning+hardwood+floor Google Scholar
- https://scholar.google.com/scholar?q=wood+floor+cleaning+construction+debris+mortar+residue Google Scholar
[…] can lift the residue without dulling the finish. Set aside about an hour and use a plastic scraper, soft nylon brush, microfiber pads, and clean towels to get the surface looking even […]
[…] without scratching or dulling the finish? Soak and loosen the dried material, lift it gently with a plastic scraper, then follow with a pH-neutral cleaner and dry thoroughly; most stubborn spots take about 20–40 […]
[…] and tools for wood—without risking scratches or clouding. Plan on 20 to 45 minutes, and have a plastic scraper, soft cloths, clean water, and a pH-neutral wood-safe cleaner ready to […]