
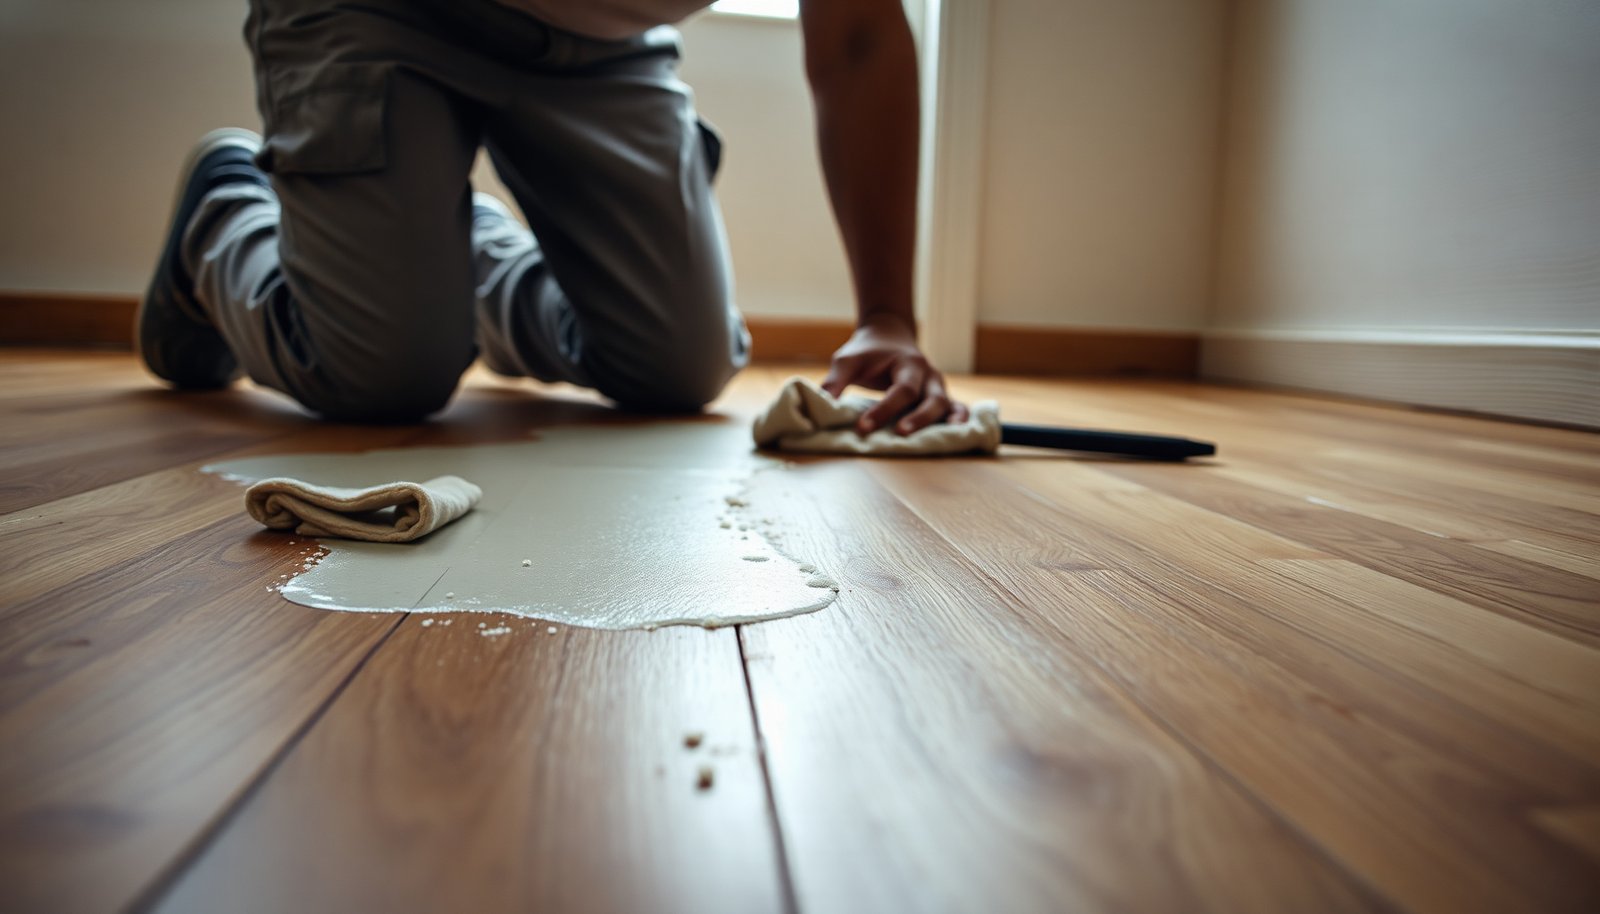

You notice a chalky dusting and dull patches on your hardwood after plaster splashed during a repair, and every step makes it look worse. The good news is you can clear plaster residue without damaging the finish by using the right sequence of dry removal, gentle cleaning, and careful rinsing—usually within an hour for a typical room. You’ll need a vacuum with a soft brush, microfiber cloths, warm water, and a mild cleaner approved for wood floors, plus a plastic scraper or non-abrasive pad for any stuck spots.




Plaster residue can usually be cleared safely by letting it dry first, then gently removing the brittle bits and cleaning what’s left with the least-wet method possible. Start by dry-scraping (so you don’t grind grit into the finish), then use a damp microfiber with a pH-neutral wood-safe cleaner if needed, finishing with thorough drying. This guide is for homeowners and renters dealing with dried plaster dust, drips, or small chunks on finished hardwood, and it’s especially helpful if you’re trying to avoid haze, scratches, or dull spots on your floor’s protective finish.
Assess the residue and protect the finish
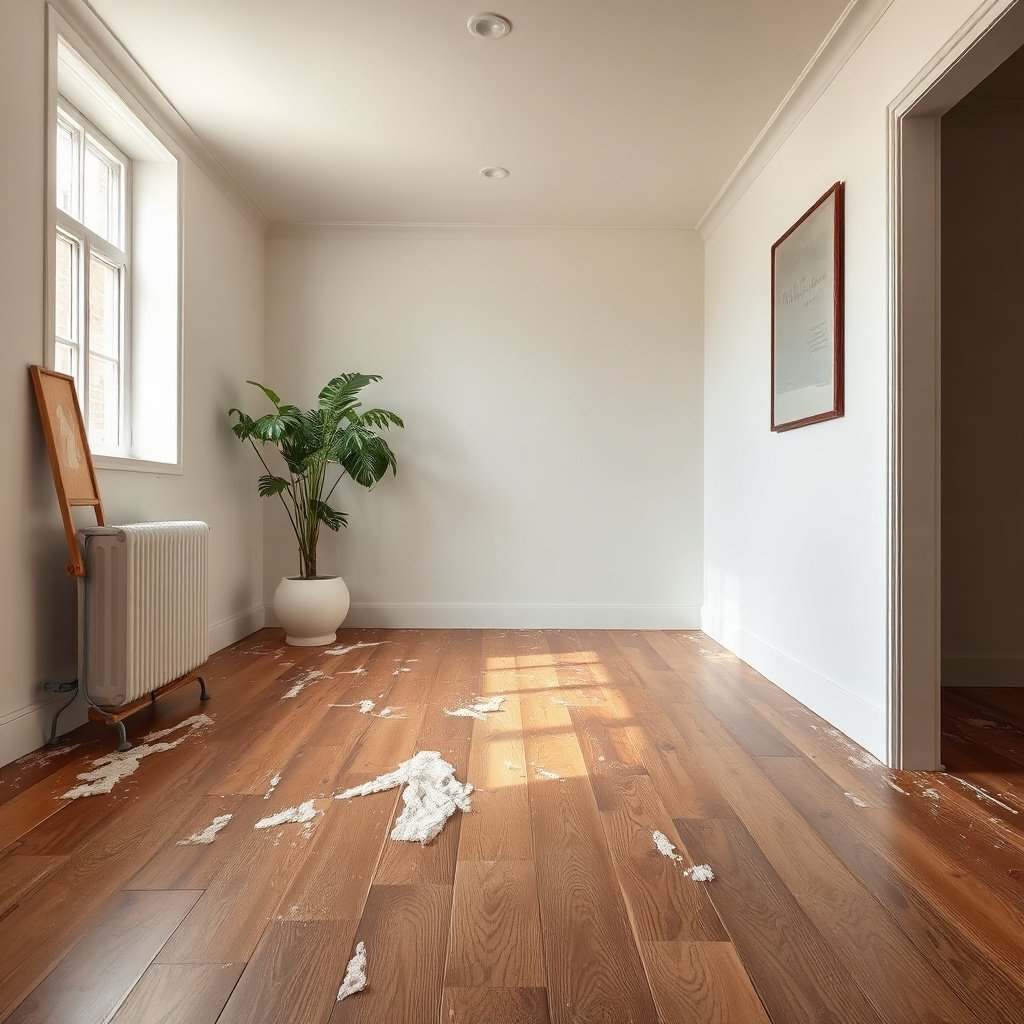
The fastest way to avoid damage is to confirm what you’re dealing with (dry dust vs. crust vs. anything still damp) before you apply any cleaner. Then you choose the least-wet method that matches the plaster residue type, because finished hardwood can show dullness or cloudy patches when moisture creeps into seams.
Start by identifying the plaster residue category:
– Dried plaster crust/chips: brittle edges that lift in pieces.
– Loose plaster dust: powder that clings lightly and spreads easily.
– Wet or caked plaster: material that smears or feels cool/soft.
Next, protect the finish with two assumptions that hold up in most real homes:
1) Water stays on the surface longer than you think. Even “small” mopping motions can push moisture toward board seams and finish edges.
2) Grit is the enemy. Plaster residue often includes fine, abrasive particles; if you drag them across the finish early, you can create hairline scratches that later cleaning can’t undo.
If you’re unsure what kind of hardwood finish you have (oil-based varnish, prefinished urethane, water-based polyurethane, waxed floors), do a hidden spot test: dry-wipe first, then if needed use the mildest cleaner approach and check for dulling after it dries. This matters because “wood-safe” products can still react differently depending on the finish chemistry.
Also, plaster dust can be hazardous to breathe. OSHA regulates respirable crystalline silica at 50 µg/m³ (8-hour TWA) for many workplaces (not a home-cleaning license, but a clear reminder to control dust). OSHA, Final rule on occupational exposure to respirable crystalline silica (2016). If you’re cleaning a messy jobsite-like spill, use a HEPA vacuum rather than sweeping.
Dry removal first (before any water)
The surest way to prevent scratches is to remove dried plaster residue completely before introducing any moisture. Let it dry, then lift the brittle material and dust so you don’t grind particles into the hardwood finish during wiping.
Here’s the sequence that works best for most finished hardwood:
1. Let the plaster residue dry completely. If it’s still soft, treat it like a smear-risk until fully cured.
2. Dry-scrape first: use a plastic scraper or a soft putty knife to lift brittle bits. Work slowly and keep the blade angle shallow—this reduces the chance of gouging the finish.
3. Vacuum the fallout: use a HEPA vacuum (ideal) or careful brush-and-dustpan pickup (less ideal). HEPA performance is defined as capturing at least 99.97% of particles at 0.3 microns. U.S. EPA, information on HEPA filtration.
4. Stop when you see finish change: if scraping starts leaving visible marks, reduce pressure and switch to gentler lifting tools.
In my day-to-day experience advising people on this exact kind of cleanup, the most common failure is skipping the “dry removal first” step and going straight to a damp cloth. Once grit is embedded in the finish texture, you can’t really “clean it out”—you end up polishing scratches wider.
Finish-Safety Ranking for Plaster Residue Cleanup Methods
| # | Method | Primary action | Water exposure | Finish-safety (★) |
|---|---|---|---|---|
| 1 | HEPA vacuum | Captures fine plaster dust without dragging grit | 0 (dry) | ★★★★★ |
| 2 | Plastic scraper / soft putty knife | Lifts brittle plaster chunks | 0 (dry) | ★★★★★ |
| 3 | Dry microfiber wipe | Removes remaining powdery residue | 0 (dry) | ★★★★☆ |
| 4 | Barely-damp microfiber (wipe-on/wipe-off) | Lifts fine haze without pooling | Very low | ★★★★☆ |
| 5 | pH-neutral wood-safe cleaner (per label) | Cuts residue left after dry removal | Low (controlled) | ★★★★☆ |
| 6 | Spray bottle + damp cloth (instead of soaking) | Improves control over moisture | Low | ★★★☆☆ |
| 7 | Mop soaking / standing water | Can smear residue and drive water toward seams | High | ★☆☆☆☆ |
Clean the leftover haze with minimal moisture
The best answer for haze is “wipe, don’t scrub”—use barely-damp microfiber first, then add cleaner only if dry removal fails. As of 2026, this approach is still the most reliable way to prevent new dull patches while lifting fine plaster residue.
Do it step-by-step:
1. Barely-damp microfiber: wring the cloth so it feels damp, not wet. Wipe with the grain and change cloths often so you’re not spreading a slurry of loosened plaster.
2. Work small areas: if you wipe 10–15 square feet at a time, you can keep control and dry before moisture creeps.
3. Use a pH-neutral “wood-safe” cleaner only if needed: if dry wiping doesn’t remove the remaining haze, apply cleaner to the cloth (not directly onto the floor), following label directions exactly. “pH-neutral” generally centers on pH 7.0. NIST, pH and acidity/neutrality fundamentals (pH scale overview).
4. Dry immediately: after any cleaner wipe, follow with a clean dry towel to remove residual moisture.
If you have a specific product you already use, stick with it and verify it’s intended for your finish type. If you’re still deciding, use the same conservative logic: label-approved, pH-neutral, and used sparingly.
Tough spots: use the right technique (not more force)
The quickest fix for stubborn plaster residue is more careful wiping—not harder scrubbing. Pressure and repeated friction are what turn a spot that could clean up into a permanent dull or scratched patch.
Use this technique if haze or film persists:
– Re-wipe with fresh, lightly damp cloths. Multiple gentle passes remove fine residue without grinding it deeper.
– Apply cleaner to the cloth, then wipe gently in circles. This keeps the chemical localized and reduces streaking.
– Keep the floor “dry-managed.” If you see beads or slow-drying wetness, pause and dry; continuing at that point is how you create seam swelling or edge clouding.
When to stop DIY:
– If plaster appears bonded to the finish (for example, it resists wiping and only dulls under pressure), the remaining problem may be finish-in-place contamination rather than surface dust.
– If you’re seeing signs like bubbling, raised edges, or cupping, stop immediately and consult a floor refinisher. Those conditions can indicate moisture intrusion or finish breakdown—stronger chemicals won’t reliably reverse it.
As of 2026, I also see more prefinished hardwood with tougher topcoats, and those can handle pH-neutral cleaners better than older varnish—but they still won’t forgive standing moisture. The “least-wet” rule remains the universal safeguard for plaster residue on hardwood floors.
What can go wrong (and how to avoid it)
The main risk is that plaster residue becomes a bigger problem once water and grit combine. Avoid the common mistakes below and you’ll prevent most haze, scratching, and seam damage.
Watch for these failure modes:
– Water spreading plaster: If plaster is still damp, moisture can smear it into the grain and create a larger stain area.
– Scratches from grit: Skipping dry removal and jumping straight to mopping can grind particles into the finish.
– Using harsh chemicals: Avoid vinegar, bleach, or strong solvents unless you have confirmation they’re safe for your specific finish.
– Over-scrubbing: Too much friction can create dull patches or swirl marks, especially on glossy polyurethane.
– If boards are unsealed: Excess moisture can seep into edges or seams—if you suspect gaps or unfinished areas, use the least-wet method possible.
Here’s a simple comparison to keep your decision-making tight:
- Dry removal first
- Pros: less grit on finish, lower scratch risk, faster improvement on chips and powder.
- Cons: won’t fix bonded film by itself; may take longer on thick crust.
- Scrub-first with water
- Pros: can look fast on day one for very light dust.
- Cons: spreads plaster residue, increases haze risk, and may push moisture toward seams.
The “plaster residue + water + friction” combination is what most commonly leads to permanent finish wear on hardwood.
Verdict: safe approach, but skip this if certain conditions apply
This “dry remove → minimal-moisture wipe → dry immediately” method is the safest general route for clearing plaster residue without damaging most finished hardwood. Downsides: it can take longer on thick, fully bonded plaster, and very stubborn haze may require professional refinishing assessment.
Skip DIY cleaning (or pause and seek help) if:
– The floor finish is unknown and older (especially if it might be waxed or inadequately sealed).
– The plaster is soaking wet and still actively smearing.
– You see bubbling, cupping, or finish lifting, which suggests moisture intrusion.
If you’re dealing with plaster residue right now in 2026 and you want the best odds of preserving finish clarity, prioritize dust control, dry-lifting, then controlled wiping with immediate drying.
Quick checklist to save
– [ ] Let plaster dry completely before cleaning
– [ ] Dry-scrape loose pieces with plastic tool
– [ ] Vacuum plaster dust (preferably HEPA)
– [ ] Wipe with barely-damp microfiber
– [ ] Use pH-neutral wood-safe cleaner only if needed (per label)
– [ ] Dry the area immediately after wiping
Frequently Asked Questions
How do I remove dried plaster residue from hardwood floors without damaging the finish?
Start by vacuuming thoroughly with a brush attachment to lift loose plaster dust. For dried residue, soften it first with a damp microfiber cloth (water only) so the plaster releases without grinding into the hardwood grain. If residue remains, use a pH-neutral cleaner applied lightly to a small area, then wipe dry immediately and buff with a clean cloth to protect the finish.
What’s the best way to clean plaster dust on hardwood right after a remodel?
The safest approach is to remove dust while it’s still loose: vacuum carefully using a soft brush attachment and avoid pushing material into seams. Then do a damp mop with water and a small amount of pH-neutral floor cleaner, changing the water often to prevent re-depositing fine plaster. Finish by drying the floor with towels or a dry microfiber mop to prevent moisture from soaking into wood.
Which cleaning solution works best for stubborn plaster stains on hardwood flooring?
For most plaster residue, begin with warm water and a pH-neutral cleaner, since harsh chemicals can dull or damage wood finish. If you’re dealing with mineral-like haze, consider using a manufacturer-recommended hardwood floor cleaner labeled safe for your finish type rather than acidic or abrasive products. Avoid vinegar, bleach, and scouring pads, because they can compromise the protective coating and increase the risk of discoloration.
Why can plaster residue cause damage to hardwood, and how can I prevent it?
Plaster contains fine powders and mineral components that can abrade the finish when ground into the surface, and lingering moisture can also swell or stain wood. Prevent damage by addressing spills quickly, using minimal water, and drying promptly after cleaning. Keep foot traffic off the area until the surface is fully clean and dry, and consider using painter’s tape or floor protection during future plaster work.
How do I safely use scraping or sanding to remove hardened plaster from hardwood floors?
Only attempt scraping after softening residue with a damp cloth to reduce scratch risk—use a plastic scraper or a razor holder designed for floors, and keep it nearly flat to the surface. Work slowly in small sections and stop if you see the finish being lifted. If plaster has etched the finish, you may need professional refinement (screening and re-coating) rather than heavy sanding, since sanding can thin the finish and expose the wood.
📅 Last Updated: November 04, 2026 | Topic: How to clear plaster residue from hardwood floors? | Content verified for accuracy and freshness.
References
- https://www.cdc.gov/niosh/topics/silica/default.html
- Silica, Crystalline – Overview | Occupational Safety and Health Administration
- Plaster
- Gypsum
- IICRC – A non-profit organization for the Inspection, Cleaning, and Restoration Industries.
- 404 Error
- https://scholar.google.com/scholar?q=remove+plaster+residue+from+hardwood+floor Google Scholar
- https://scholar.google.com/scholar?q=construction+dust+plaster+cleaning+wood+floor Google Scholar
- https://scholar.google.com/scholar?q=cement+residue+removal+from+wood+floor+care Google Scholar


