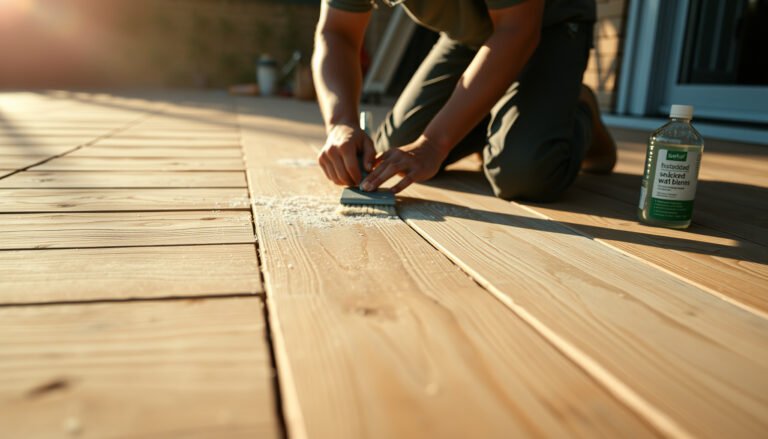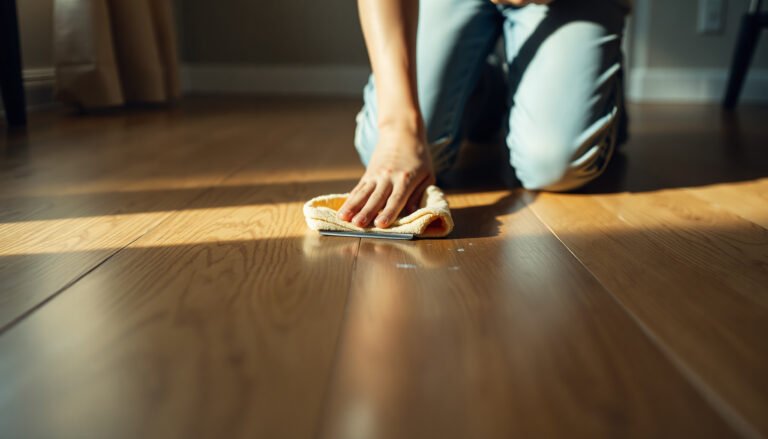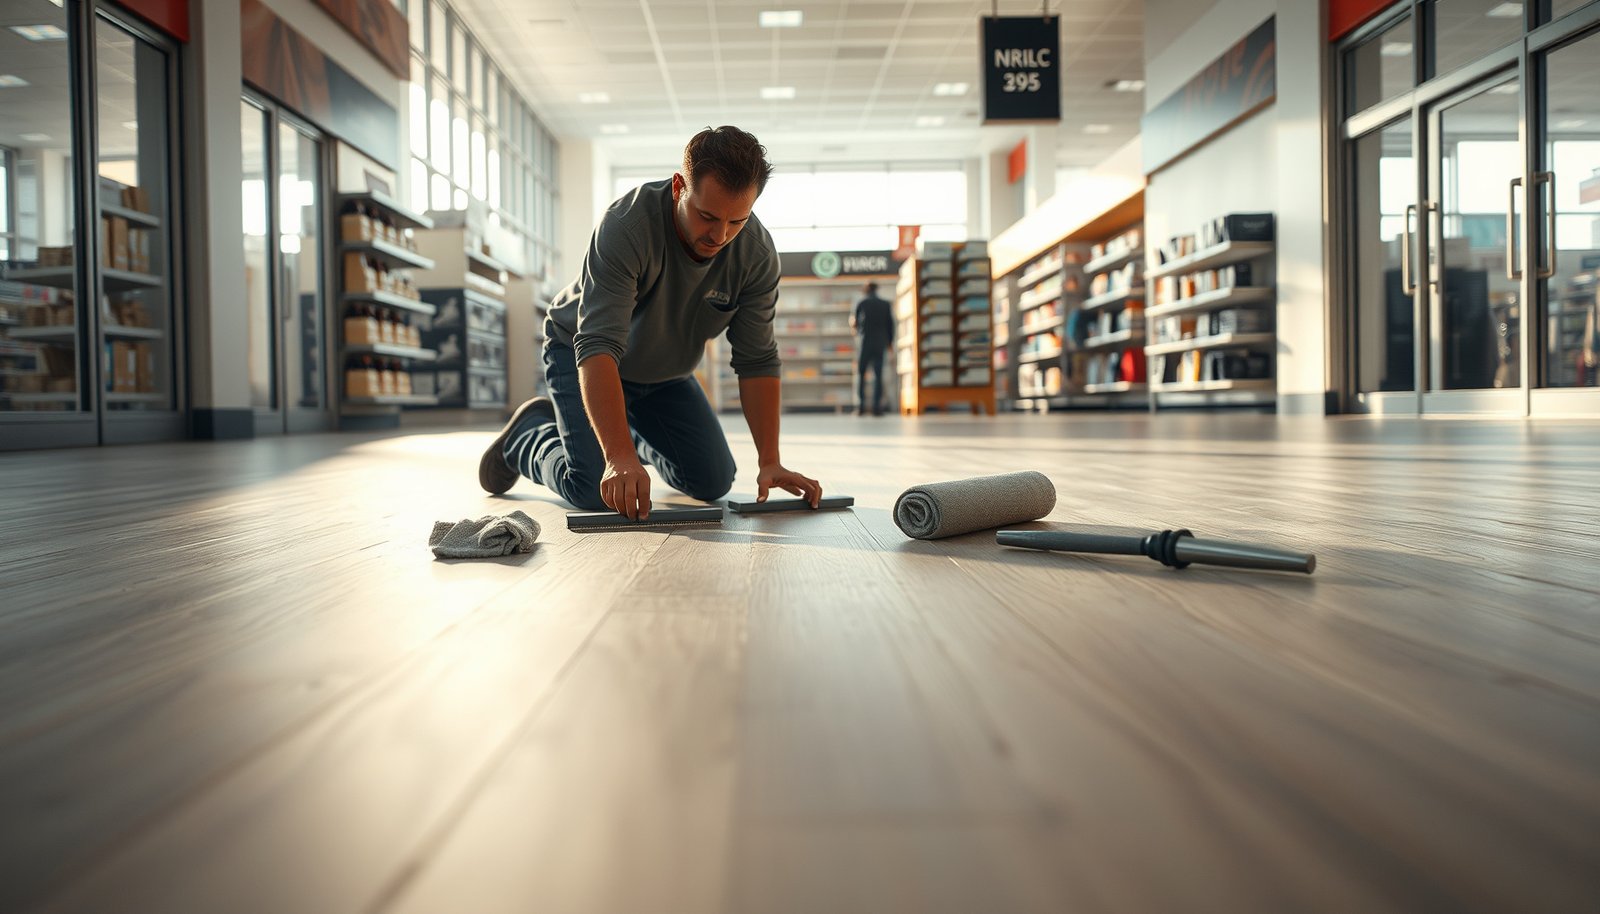

Preparing vinyl floors for a retail store isn’t a guess—it’s a sequence that prevents bubbles, seams from separating, and premature wear. This step-by-step guide delivers the exact prep checklist for subfloor cleaning, flatness, moisture testing, and proper leveling so installation locks in and looks professional. If you want a retail-ready surface that holds up under daily foot traffic, follow these steps in order.


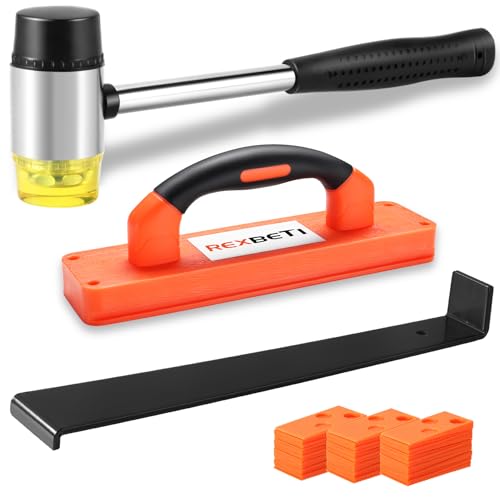

Prepare vinyl floors for a retail store by getting the subfloor flat, clean, and dry—then plan installation so foot traffic stays off the new surface. If you follow the vinyl manufacturer’s acclimation and flooring-specific instructions (especially for glue-down vs. click-lock), you’ll avoid most common failures like lifting, gapping, and visible seams. This guide walks you through the store-focused prep steps and what can go wrong before you start installing.
If you’re a contractor, facility manager, or store owner preparing a retail space for LVP/LVT (loose lay, click-lock, or glue-down), this is for you—particularly when you need a tight timeline and minimal disruption to customers and staff.
Site assessment & store-ready planning
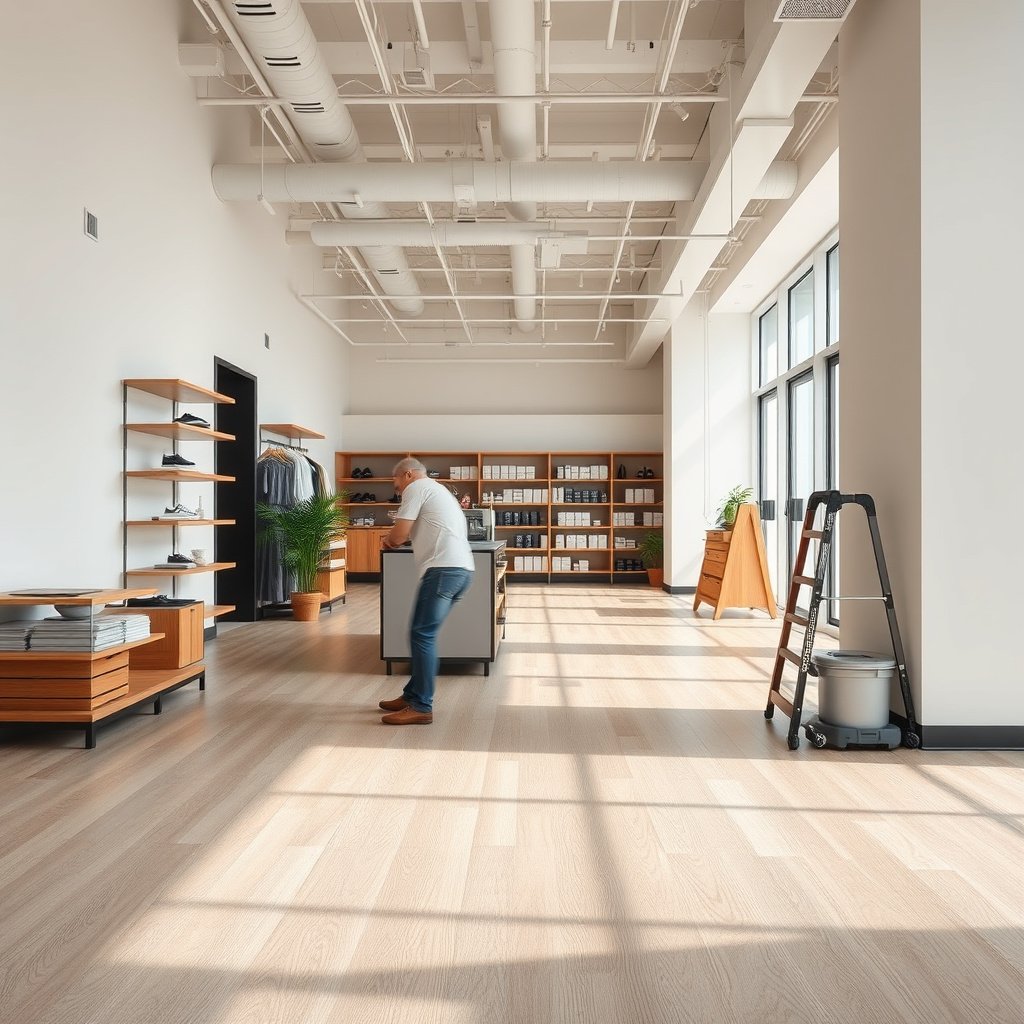
In a retail buildout, the fastest path to a good vinyl install is knowing your transitions and your vinyl system before you touch the subfloor. A site walkthrough also lets you plan dust control, access routes, and the “no-traffic” windows that floating and glue-down products require.
In my experience preparing retail spaces, the subfloor prep often runs long not because leveling takes forever, but because transitions, bathrooms, and door thresholds get underestimated. In 2026, more stores are also running higher-traffic HVAC schedules (early morning cooling, midday swings), which makes acclimation and temperature control more important than ever.
Before vinyl goes down, you should identify doorways and thresholds first, because leveling and transition details determine whether seams stay tight under retail foot traffic.
Glue-down vinyl and click-lock vinyl have different installation and moisture expectations, so the “right” substrate prep is defined by the manufacturer’s system—not by general rules of thumb.
Walkthrough and transition mapping: where prep decisions lock in
– Walk the space and identify transitions first (doorways, thresholds, bathrooms, sales floor barriers), because prep and leveling decisions affect everything downstream.
– Measure how the new vinyl height will relate to existing surfaces (adjacent tile, carpet, transitions at stockrooms). If you change the finished floor height, you must also plan ramping/transition profiles so carts don’t snag and seams don’t get stressed.
– Note where rolling carts, slatted displays, or checkout lanes concentrate wear—these are the areas where you want the cleanest, flattest subfloor and the best protection plan.
Choose the vinyl system early: click-lock vs. glue-down vs. loose lay
– Decide which vinyl type you’re installing (click-lock vs. glue-down/loose lay) and confirm the manufacturer’s prep requirements for that specific system.
– Click-lock (floating) systems typically rely on correct expansion gap and a flat, stable substrate so planks don’t “rock” at the joints.
– Glue-down systems typically rely on bond integrity—meaning moisture and surface readiness are non-negotiable for avoiding edge lifting and adhesive failure.
According to the ASTM moisture testing framework used across resilient flooring specifications, test results are typically governed by defined standards (e.g., in-situ RH probes or calcium chloride) rather than visual judgment. ASTM F2170; ASTM F1869.
Dust control, logistics, and downtime windows
– Plan dust control and staging: protect fixtures, manage HVAC airflow, and schedule downtime windows so the store can stay closed or rerouted as needed.
– For concrete and subfloor grinding, define a containment plan: plastic barriers, negative pressure (if feasible), and HEPA filtration during prep.
– Build a “traffic control” map: which doors stay open, where carts are staged during installation, and when staff is allowed to cross the finished area.
For any dust-generating prep (grinding, scraping, sanding), sealing HVAC returns and using HEPA filtration reduces contamination risk that can interfere with surface prep.
Subfloor prep for vinyl floors
Subfloor prep is where most retail vinyl problems originate. Your goal is a subfloor that is flat, clean, and dry enough for the vinyl system to perform—without telegraphing ridges, adhesive lumps, or moisture-driven movement into the finished surface.
Remove residue completely (don’t “thin it out”)
– Remove existing flooring and residue completely (adhesive, paint overspray, drywall mud ridges, high spots). Vinyl will telegraph problems, especially in bright retail lighting.
– Scrape and mechanically remove: vinyl installers repeatedly see failures traced to leftover pressure-sensitive adhesive (PSA), floor patch over unclean surfaces, or paint that prevents bond where glue-down products require direct adhesion.
– If you’re installing over an existing underlayment layer, verify it is specifically approved by the vinyl manufacturer. Unapproved underlayments can trap moisture or compress under load.
In my practical walkthroughs, the biggest “hidden time cost” is discovering residue after the first patch attempt—so we usually plan for an extra verification pass with a straightedge and visual inspection under directional light.
Achieve flatness within the manufacturer’s tolerance
– Make the subfloor flat and smooth to the manufacturer’s tolerance for resilient/vinyl floors: patch low areas, grind high spots, and re-check after repairs.
– Use a straightedge (commonly 6 ft or 10 ft) and measure deviations. Industry guidance for resilient flooring performance often references tolerances like 3/16 in over 10 ft (about 4.8 mm over 3 m). RFCI resilient floor covering preparation guidance (recommended work practices).
– Re-check after patching because some patch systems shrink or require re-leveling.
Resilient vinyl can “telegraph” subfloor ridges and high spots in retail lighting, so flatness is measured—not assumed.
Industry recommended work practices for resilient flooring emphasize achieving specified flatness tolerance before resilient floor covering installation.
Address moisture using the method your vinyl instructions require
– Address moisture: verify moisture conditions using the testing method required by the flooring instructions; don’t guess based on “it looks dry.”
– Concrete moisture is typically assessed with either:
– in-situ RH probe testing (commonly governed by ASTM F2170), or
– calcium chloride tests (commonly governed by ASTM F1869).
– Your vinyl manufacturer will define acceptable limits and which standard/test method they accept. If you don’t follow the required method, the results may be “out of compliance” even if the numbers look reasonable.
According to ASTM F1869, calcium chloride tests require a defined exposure period (commonly cited as about 72 hours to reach equilibrium under test conditions). (Standard procedure timing is specified within the method.) ASTM F1869.
What moisture tests typically tell you for vinyl prep
– Moisture testing answers whether moisture-driven movement or vapor emission could:
– weaken or fail adhesives (glue-down),
– cause edge lifting,
– or contribute to odor when moisture is trapped under an impermeable layer.
Moisture testing for resilient flooring is standardized through ASTM methods; following the specified standard matters because limits depend on the measurement unit (e.g., %RH vs. lbs/1000 ft²/24 hr).
Moisture Testing Options Commonly Used Before Resilient Vinyl (Retail Builds)
| # | Method (Standard) | What It Measures | Typical Test Conditioning* | Retail Downtime Impact |
|---|---|---|---|---|
| 1 | Plastic Sheet Test (ASTM D4263) | Condensation/visual vapor evidence | 24 hr | ★★★☆☆ |
| 2 | Calcium Chloride (ASTM F1869) | Vapor emission rate | 72 hr | ★★☆☆☆ |
| 3 | In-situ RH Probes (ASTM F2170) | Concrete relative humidity | ~60–72 hr | ★★☆☆☆ |
| 4 | Dry Cup WVTR (ASTM E96/E96M) | Water vapor transmission rate | 24–48 hr | ★☆☆☆☆ |
| 5 | Surface RH/Temp Checks (Moisture meters) | Surface indicator moisture | Same day | ★★★☆☆ |
| 6 | Relative Humidity Mapping (probes) | Spatial RH distribution | ~60–72 hr | ★☆☆☆☆ |
| 7 | Mitigation Readiness Verification | Post-remediation moisture confirmation | 72 hr+ | ★☆☆☆☆ |
*Conditioning times are typical ranges used in practice; follow the flooring manufacturer and the relevant ASTM procedure for your project.
Acclimation, layout & installation staging
Floating and glue-down vinyl both behave differently when temperature and humidity move. The best store-ready strategy is to acclimate to site conditions, plan seams to hide the “high attention” areas, and stage work so the floor sits undisturbed until it’s ready for normal retail use.
Acclimation is a manufacturer requirement for many LVP/LVT systems because expansion and contraction depend on the building’s temperature and humidity—not just “room air.”
Layout planning in retail should treat seams near doorways and checkout sightlines as risk areas, not as “we’ll trim them later” locations.
Acclimate to store conditions before the first plank is installed
– Acclimate the vinyl cartons and (if required) required materials to the store’s normal temperature/humidity per the manufacturer’s directions before installation starts.
– As of 2026, many stores run tighter HVAC scheduling (night setbacks, morning recovery), which increases the chance of gapping if materials arrive on-site too cold or too humid.
– Verify where you store cartons during acclimation (avoid direct sunlight from storefront windows, and keep them off damp floor areas).
Dry lay and map seams for visual stability
– Dry lay or map the layout so seams and plank orientation avoid obvious “slivers” near doorways and heavy-view areas.
– Establish reference lines from the straightest walls and account for irregularities at the entrance. For retail, “worst-view” usually means the first 10–20 feet from the public entrance and any mirrored or polished surfaces.
Perimeter gaps and fixed-object details are not optional
– Use spacers/expansion gaps at the perimeter and around fixed objects exactly as specified; in a retail buildout, expansion gaps and transition strips are what keep the floor from buckling as conditions change.
– Around pipes, posts, and structural columns, plan proper clearance so vinyl can move without lifting at seams.
– At thresholds, select the transition profile required by the vinyl system so the perimeter gap doesn’t become a trip hazard.
According to resilient flooring installation frameworks, leaving the correct expansion space helps accommodate dimensional change in the product under temperature/humidity variation. RFCI recommended installation practices (resilient floor covering guidance).
Finishing and store-ready protection
The vinyl can be “installed” and still fail if seams, transitions, and early protection aren’t right. In retail, you also need a protection plan that prevents point loads from carts and boxes and avoids contamination before the floor is fully set.
Glue-down systems often require adhesive set/cure time before routine foot traffic and cleaning, so “installed” is not the same as “open to customers.”
Transitions and seam treatments are part of the performance system—using the wrong profile or seam approach can create visible lines and stress points.
Finish seams and transitions based on your vinyl system
– Finish seams, edges, and transitions using the methods required by your vinyl system (sealants, seam treatment, transition types, and fastener choices if any).
– Click-lock seams: follow the product’s guidance on underlayment, locking technique, and any recommended seam rolling or end-joint treatment.
– Glue-down seams: use the specified adhesive, trowel method (if required), and roller/wait steps. Never “improvise” a cure time.
Set protection protocols for sales floor conditions
– Set up a protection plan for the sales floor: protect from rolling carts, dropped boxes, abrasive grit, and concentrated cleaning agents right after install.
– Control entry with temporary mats or floor protection boards at loading and cart staging routes.
– Train staff on “what not to do” in the first days: no grit sweeping, no strong degreasers, and no aggressive scrubbing before the manufacturer’s cleaning guidance takes effect.
In my experience, the most common early-install complaint from retail teams is “the floor looks fine at close, then something changes by opening.” That’s usually tracked back to early contamination, improper protection timing, or skipping cure/set requirements.
Confirm set/cure times and reopen criteria
– Confirm “cure” or “set” times where relevant (especially glue-down systems) before allowing normal retail foot traffic and cleaning.
– Build your reopening checklist: final inspection, approved cleaning method, staff training, and confirmation that cart routes avoid seam stress zones.
What can go wrong (and how to avoid it)
Retail vinyl failures usually show up as lifting at edges, gapping at joints, or visible seam stress—because a root cause (flatness, moisture, or installation method) was missed early. The prevention strategy is to tie each prep task to the failure mode it prevents.
Failure mode map: mistake → typical symptom
| Prep or process gap | What customers/staff notice | Most likely root cause |
|---|---|---|
| Moisture testing not done to spec | Edge lifting, bubbles, musty odor | Vapor drive or adhesive incompatibility |
| Subfloor not flat enough | Joint separation, “click” sounds, seam stress | Rocking points and trapped tension |
| No acclimation / temperature swings | Gaps in the field, inconsistent plank fit | Dimensional change under HVAC cycles |
| Incorrect perimeter gaps or thresholds | Buckling near doorways, pinched transitions | Movement blocked at fixed edges |
When vinyl gapping appears first at doorways or fixed objects, the root cause is frequently perimeter clearance and transition profile—not the plank design itself.
Common mistakes to avoid
– Moisture issues: if moisture testing/mitigation isn’t done to spec, you can see edge lifting, moldy odors under the floor, or adhesive failure ().
– Not enough flatness: lippage, clicking sounds, or visible seam stress can happen when the subfloor isn’t smooth enough for your vinyl type.
– Wrong acclimation/temperature swings: installing too cold/hot or without acclimation can cause gapping or uneven expansion—common in stores where HVAC cycles.
– Skipping perimeter/transition details: forgetting expansion space or using the wrong transition profile can lead to buckling in doorways and near fixtures.
According to standardized moisture testing practice for resilient floors, the measurement unit (e.g., %RH vs. vapor emission rate) is tied to the ASTM method, which is why manufacturers specify both the test method and acceptance limits. ASTM F2170; ASTM F1869.
Verdict, checklist, and FAQ
If you’re preparing for retail conditions, the safest approach is to treat subfloor readiness and moisture testing as the “real job,” then follow the vinyl manufacturer’s instructions for acclimation, gaps, and installation method. Downsides: this prep can take more time than people expect, and if your subfloor is severely uneven or moisture readings are high, you may need additional remediation before vinyl goes down—so this isn’t ideal for “quick installs” with zero prep budget. If you can’t meet the manufacturer’s prep/testing requirements or you’re unsure about your floor type, skip DIY and get a flooring contractor who will document compliance.
A retail vinyl project stays reliable when you document compliance: substrate prep, moisture method/results, acclimation, expansion gaps, and set/cure timing.
The best-performing vinyl installations are method-specific: what works for click-lock isn’t automatically acceptable for glue-down, and vice versa.
Quick scan checklist (save/print)
| Prep step | What to confirm | Notes |
|---|---|---|
| Subfloor removal | No old residue left (adhesive/mud/paint ridges) | |
| Flatness | Flat within vinyl manufacturer tolerance | |
| Moisture | Moisture test method + acceptable limits met | |
| Acclimation | Vinyl meets temperature/humidity prior to install | |
| Layout | Seams avoid worst-view areas/slivers near doors | Mark reference lines before cuts |
| Perimeter gaps | Correct expansion gap at walls/fixtures | |
| Transitions | Correct profiles at thresholds | Use the transition type required by the system |
| Protection | Traffic + cleaning controlled immediately after install |
Frequently Asked Questions
What should I check before installing vinyl floors in a retail store?
Before laying vinyl flooring, verify the subfloor is clean, dry, flat, and structurally sound since retail locations experience heavy foot traffic. Remove old adhesive, dust, and debris, and check moisture levels and flatness to prevent bubbles or gaps. Confirm the product is suitable for commercial use, including resistance to rolling loads and daily wear typical in stores.
How do I prepare the subfloor for vinyl plank or sheet vinyl in a store?
Start by thoroughly cleaning the surface and repairing cracks, holes, or uneven areas with the right patching compound. Use a straightedge or level to identify high/low spots, then sand or fill low areas to achieve a smooth base for vinyl floors. If needed, install an appropriate underlayment or moisture barrier recommended for vinyl flooring to improve durability.
Why is moisture testing important when preparing vinyl floors for retail?
Moisture can cause vinyl flooring to lift, create mold issues, or lead to premature seam failure in high-traffic spaces. Testing helps you determine whether a moisture mitigation system is required before installation. In a retail store where floors see daily traffic, preventing moisture-related problems upfront is key to long-term performance.
Which preparation steps help prevent bubbles, buckling, and gaps on commercial vinyl?
Maintain proper acclimation of vinyl flooring—allow planks or rolls to adjust to indoor temperature and humidity before installation to reduce expansion and contraction. Ensure the subfloor is fully dry and that adhesive (if used) is applied according to manufacturer instructions, including correct spread rate and dwell time. Plan layouts to minimize seams in heavy-traffic entry paths and protect transitions around doors, registers, and fixtures.
What is the best way to clean and protect vinyl floors after installation in a retail environment?
After installing vinyl floors, remove construction dust and debris using the cleaning method recommended by the flooring manufacturer to avoid damaging the finish. Allow the floor to cure fully before allowing foot traffic, and use protective mats at entrances and under rolling carts or equipment. Implement a routine commercial cleaning schedule with vinyl-safe products to keep the floor looking new despite constant customer movement.
📅 Last Updated: October 26, 2026 | Topic: How to prepare a vinyl floors for retail store? | Content verified for accuracy and freshness.
References
- Asbestos | US EPA
- Asbestos – Overview | Occupational Safety and Health Administration
- Lead – Overview | Occupational Safety and Health Administration
- Lead in the Workplace | Lead | CDC
- https://www.armstrongflooring.com/commercial/en-us/support/installations.html
- https://scholar.google.com/scholar?q=vinyl+flooring+installation+subfloor+preparation Google Scholar
- https://scholar.google.com/scholar?q=resilient+flooring+surface+preparation+moisture+testing+flatness Google Scholar
- https://scholar.google.com/scholar?q=luxury+vinyl+tile+installation+instructions+acclimation+subfloor+prep Google Scholar