
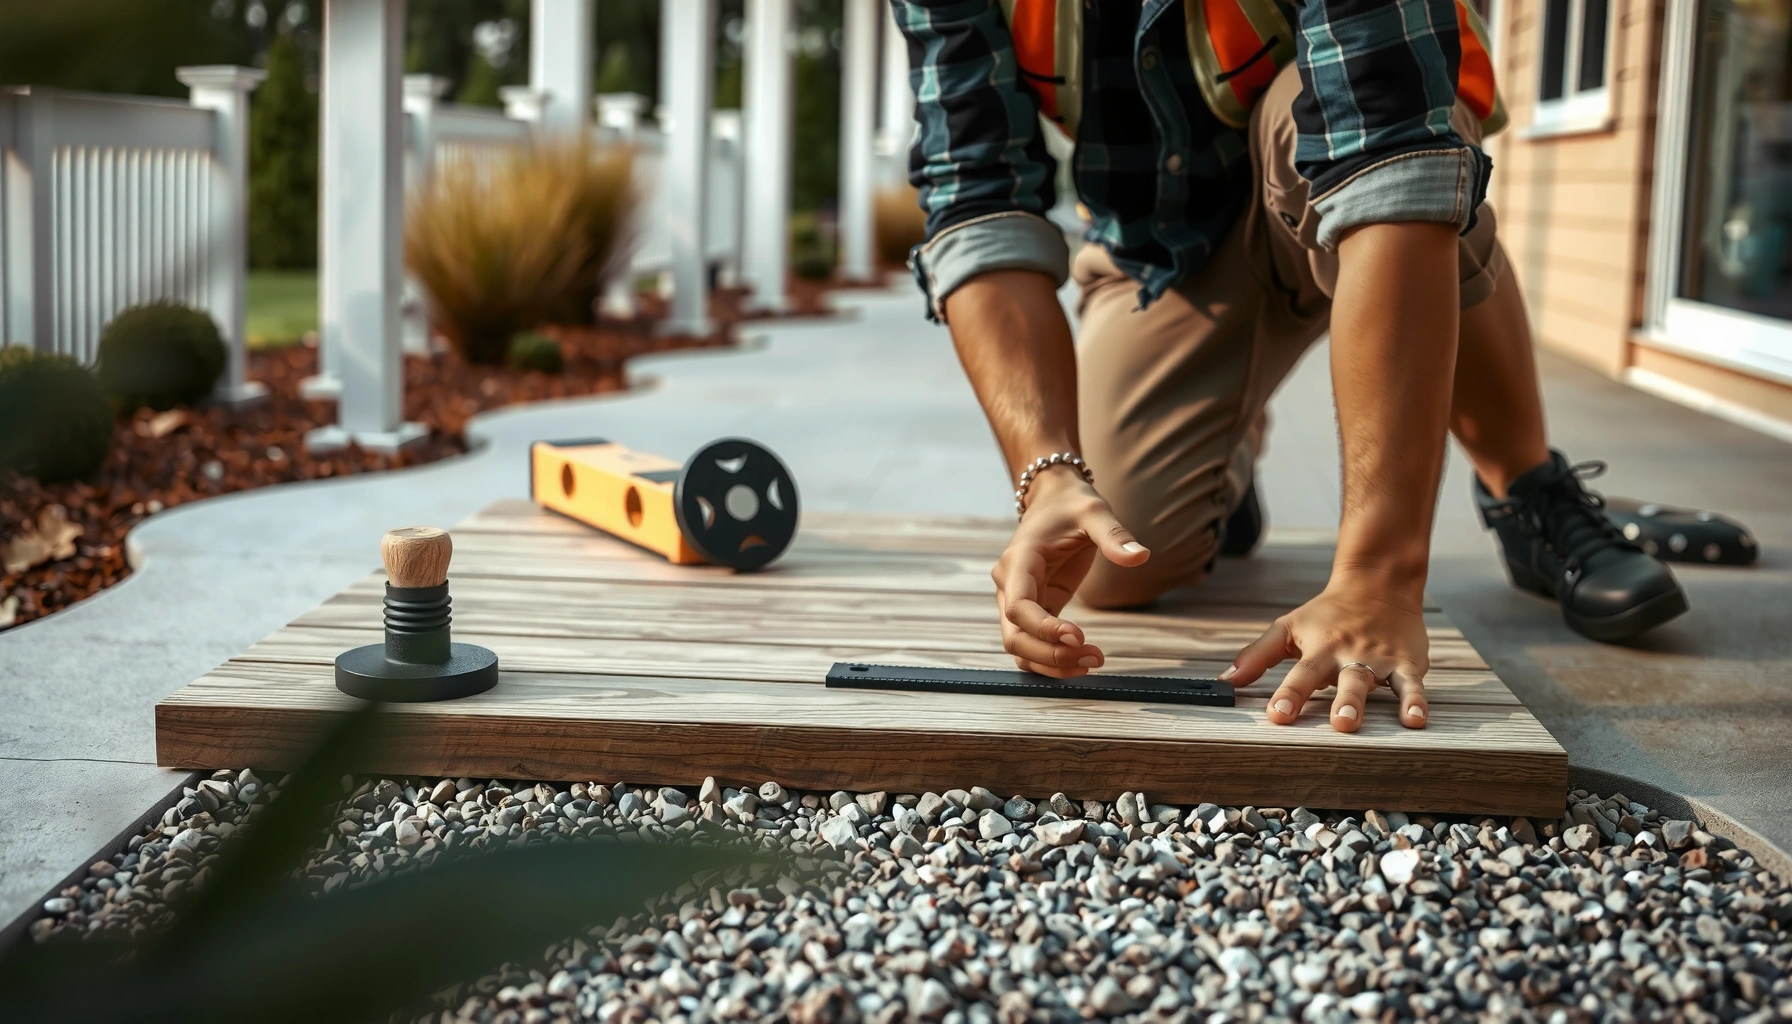

Wondering how to install outdoor floors the right way, from subbase to finishing? This step-by-step guide walks you through the exact process—prep, leveling, layout, installation, and sealing—so your floor stays tight and weatherproof. Follow it and you’ll finish with a durable outdoor surface built for freeze-thaw, rain, and heavy foot traffic.




Outdoor floors last when you build a stable, well-draining base and use an exterior-rated assembly that can handle moisture and—if applicable—freeze/thaw. If you plan the water path first, then follow the correct subfloor/drainage method before you set planks, tiles, or pavers, your surface stays cleaner, safer, and more consistent for years.
If you’re planning a patio, deck, balcony, pool surround, or exterior entry area, this is for you—especially if you want a practical checklist you can follow. It applies whether you’re installing wood-look deck boards, stone/porcelain pavers, or outdoor tiles, with some steps varying by material system.
Plan for drainage, layout, and the right product
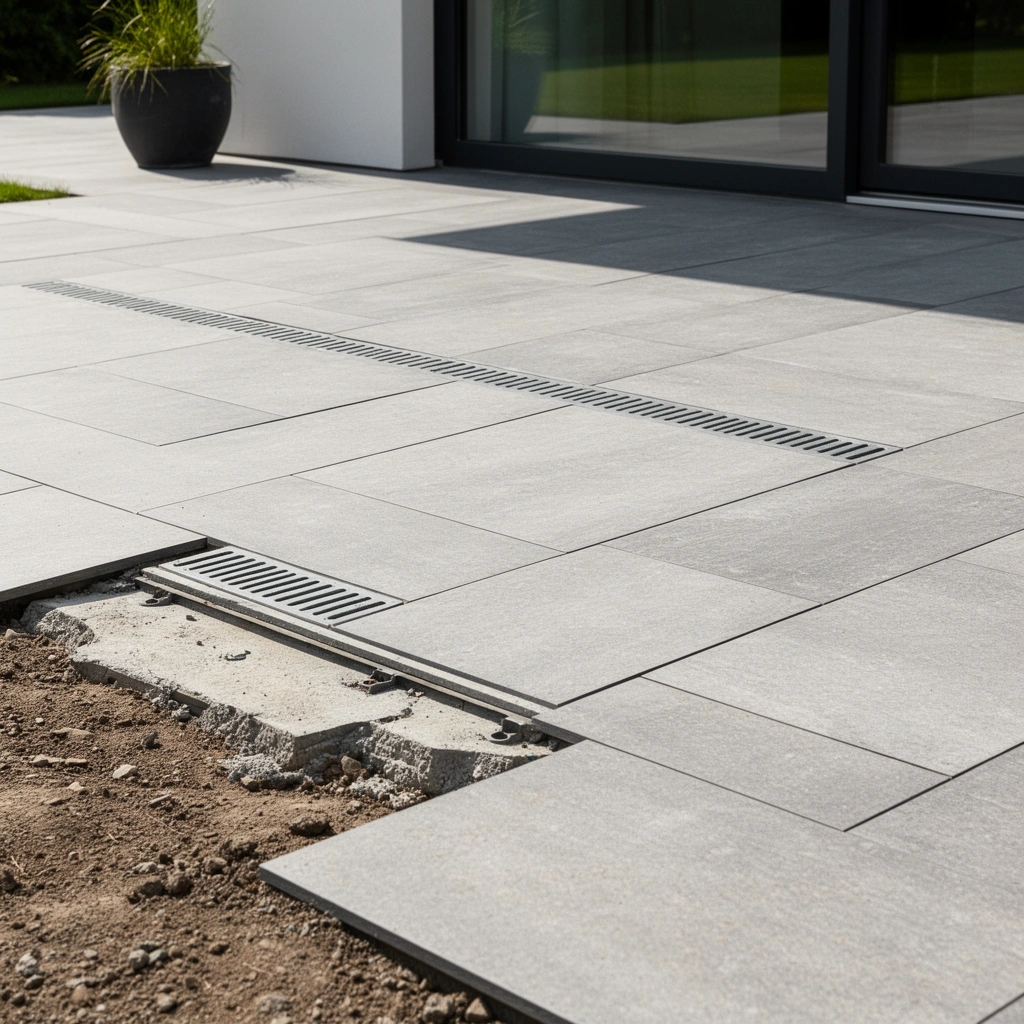
Plan your drainage first, because “good-looking” outdoor floors fail fastest when water pools or migrates under the surface. Choose an outdoor flooring system that’s explicitly rated for wet exposure, and map your layout now so you can manage cut lines and expansion gaps from day one.
Outdoor floors require a designed water path (slope and drainage) before any finish material is installed, because the base assembly is what controls long-term moisture movement.
Manufacturers typically require outdoor-rated products (boards, tiles, underlayment, adhesives, grout, sealers) and will specify minimum/maximum exposure conditions for warranty eligibility.
Layout decisions (starting line, expansion gaps, and transitions) affect both appearance and performance, since blocked movement or poor edge detailing can drive cracking and lippage.
Decide how water will leave the area
A practical rule for outdoor floors is to establish a predictable slope and drainage path so water doesn’t sit on the surface or penetrate at edges. Many exterior hardscape guidelines use about 1/4 inch per foot (≈2%) slope as a target for effective drainage. [ADD: source for recommended exterior slope (e.g., building code guidance or industry technical standard)]
If you’re using a permeable base (for some paver approaches) or a drainage plane (for certain deck or tile assemblies), treat “drainage plan” as part of your floor system—just like subflooring is for interior work. Outdoor floors repeat this pattern: base + water management first, finish second.
Confirm freeze/thaw compatibility (if you get it)
If your climate has freeze/thaw cycles, outdoor floors must be built with materials and assemblies that tolerate expansion from water freezing. This is where people get burned: they might pick a beautiful deck board or tile but pair it with a base/bedding that traps water.
In general, follow the flooring system’s stated conditions (freeze/thaw rated? water absorption limits? grout and sealer suitability?) and ensure each layer is intended for exterior use. If any layer is not specified for outdoor freeze/thaw, treat that as a red flag.
Map the layout before you buy
Map your finish area with:
– Your starting edge (often aligned to the house, a walkway, or a visual centerline)
– Cut-line strategy (avoid tiny slivers near doorways or pool edges)
– Expansion gaps and perimeter allowances
– Transitions to indoors (door thresholds, step noses, ramps)
Outdoor floors are easiest to install accurately when the layout is drawn first and checked against your framing or existing structure.
Prepare the subbase for a solid, level foundation
Prepare a compact, stable subbase so your outdoor floors don’t shift after installation. Remove topsoil/organic material, build the correct base profile, and verify level/grade before you place any finish.
Topsoil and organic material are unstable and can continue to settle, which is a common root cause of uneven outdoor floors and cracked joints.
Proper compaction of the base reduces movement after installation, which helps prevent paver rocking, tile lippage, and grout failure.
Fixing high/low spots during subbase prep is far easier than correcting them after outdoor floors are installed.
Remove organics and compact
Start by clearing vegetation, topsoil, and any material that will decompose. Then compact the soil so it cannot “pump” when wet or freeze/thaw occurs. Many installations use compaction targets based on geotechnical guidance and/or material supplier requirements—so use the standard or spec that matches your base material and region. [ADD: source for target compaction criteria or test method relevant to your base type]
Build the correct base build-up for your system
Outdoor floors don’t share one subbase recipe. What you build depends on whether you’re installing:
– Pavers (typically a compactable base + bedding layer)
– Outdoor tiles (often a specific drainage/underlayment approach—especially for freeze/thaw)
– Decking (joists/supports and elevation off moisture rather than a “tile bedding” concept)
For paver-type exterior surfaces, common practice is a layered approach: subgrade → compacted base → bedding. Exact thickness varies by load (residential foot traffic vs. vehicles), local frost depth, and manufacturer instructions for paver systems. Outdoor floors should follow the chosen system’s documented assembly.
Verify level and grade before the finish
Check grade frequently while you build:
– Use a level and slope method (laser or string-line)
– Re-check after compaction (compaction can change height)
– Address low spots early (water collects there)
Outdoor floors are unforgiving: even a small grade issue can create puddling, algae growth, or freeze damage at the lowest point.
Typical Exterior Base Thickness Ranges (Residential Use)
| # | Outdoor floor assembly | Typical compacted base depth | Moisture risk if underbuilt | Performance impact |
|---|---|---|---|---|
| 1 | Concrete paver patio (foot traffic) | 3–4 in (76–102 mm) | High | ★ ★ ★ ★ ☆ |
| 2 | Concrete pavers (vehicle-capable design) | 6–8 in (152–203 mm) | Very high | ★ ★ ★ ☆ ☆ |
| 3 | Sand-set pavers (not for freeze/thaw locations) | 1–2 in (25–51 mm) | Extreme | ★ ★ ☆ ☆ ☆ |
| 4 | Outdoor tile (over drainage-friendly assembly) | Varies by system (base often engineered) | Moderate–High | ★ ★ ★ ★ ☆ |
| 5 | Decking over piers/support pedestals | Use pier height per grade | Low (if vented) | ★ ★ ★ ★ ★ |
| 6 | Permeable base paver approach | Typically engineered to specs | Lower (if maintained) | ★ ★ ★ ★ ☆ |
| 7 | Pool deck pavers/tiles (heavy wetting) | Often 4–6 in (102–152 mm) | High | ★ ★ ★ ☆ ☆ |
*Note: Thickness ranges are typical for common residential assemblies; always follow your specific outdoor floor system’s installation instructions and local frost/drainage requirements.* [ADD: source for thickness guidance by paver/tile system or technical standard]
Install the support system (subfloor, joists, or paver base)
Install the correct support system for your chosen outdoor floor type, because it controls stiffness, alignment, and moisture behavior. Use manufacturer spacing and fastening requirements, and keep the support layers compatible with the flooring above them.
Deck support assemblies (joists and pedestals) must be installed to manufacturer spacing and elevation guidance to prevent sagging and moisture damage.
Pavers/tiles rely on a firm base and properly selected bedding so units don’t shift and joints don’t pump water.
Outdoor floors perform best when each layer is part of a documented assembly—mixing incompatible systems increases failure risk.
For decks: joists, spacing, and elevation
For decks, “subfloor” usually means joists and structural supports. Set them according to the deck board and joist system specs:
– Correct spacing between joists/supports
– Proper fastening and corrosion resistance
– Elevation above grade so moisture can dissipate
– Blocking/bridging where required for stiffness
From my experience on real exterior builds, the biggest deck issues I’ve seen aren’t the deck boards—they’re the support layout being off by small amounts, which later shows as bounce, uneven board lines, or gaps at the perimeter.
Outdoor floors built as decks also benefit from ventilation under the surface (airflow reduces trapped moisture).
For pavers/tiles: base firmness and bedding choices
For pavers, the support concept is a rigid-enough base plus bedding and edge restraint. For tiles, the support concept often includes a drainage-capable underlayment or an engineered exterior tile system—especially critical in climates with freeze/thaw.
No matter which outdoor floors approach you’re using, you should:
– Use bedding/bagged materials intended for exterior use (and freeze/thaw when needed)
– Install edging restraints to reduce lateral movement
– Maintain consistent height so units don’t “rock” later
Keep layers compatible
Outdoor floors fail more often when people “improvise” between systems—like using an interior adhesive outdoors, or pairing an underlayment that isn’t intended to manage exterior moisture. Check each layer’s documentation before installation.
Lay the outdoor flooring and manage expansion gaps
Lay outdoor flooring by following the manufacturer’s installation method exactly—fastening/adhesive rules, surface prep, and expansion spacing. Outdoor floors need room to move; managing expansion gaps and grout/setting system details is what prevents cracking and buckling.
Expansion allowances are not optional on most outdoor floors; temperature swings and moisture changes create movement that can crack tile or buckle decking if gaps are ignored.
Outdoor tile performance depends on a complete exterior-rated setting method (underlayment/setting bed, thinset/mortar, and grout) designed for wet exposure.
Fastening and spacing instructions in deck and paver systems control both alignment and long-term stability under repeated wetting and drying.
Follow fastening/adhesive and spacing rules
For deck boards:
– Use the specified fasteners and hardware
– Leave the specified perimeter and intermediate spacing
– Verify board straightness as you go (don’t “correct” after the surface is anchored)
For pavers:
– Maintain joint width requirements
– Use the recommended joint sand/grout-like infill (if applicable) and lock it per spec
– Ensure edges are restrained to prevent spreading
For outdoor tiles:
– Use an exterior-rated setting method (thinset/mortar and/or leveling underlayment where specified)
– Use the correct grout type and curing schedule
– Maintain correct movement joints per the tile system’s guidance
Keep lines straight and consistent
Use layout strings, spacers, and frequent checks. Outdoor floors look great when the installer controls the invisible parts—plane/grade plus consistent joint lines.
Ensure expansion and movement joints are detailed
Outdoor floors typically need:
– Perimeter gaps (around posts, walls, and fixed objects)
– Movement joints in larger or more complex areas
– Proper detailing at door thresholds, stairs, and transitions
If you skip expansion, the flooring can “fight” the structure as temperatures change.
Seal, grout, or finish—then protect against water intrusion
Seal and finish outdoor flooring only with products intended for the specific material system and exposure conditions. After installation, focus on edges, transitions, and joints so water cannot migrate into the base.
Outdoor tile and stone assemblies typically require exterior-rated grouts and sealing methods to reduce water penetration and staining.
Transitions and edges are common failure points for outdoor floors because water accumulates and can move laterally under the surface.
Applying the correct sealer/finish at the manufacturer’s recommended time and conditions helps manage moisture exposure but does not replace proper drainage.
Use the right exterior sealer/finish (when required)
Some deck materials need specific finishes; some pavers/tile surfaces benefit from sealing. Outdoor floors require the timing to match the product instructions (some finishes must be applied after curing; others after cleaning and drying).
For tiles/pavers: grout and sealing for wet conditions
Confirm:
– Grout rated for exterior and wet exposure
– Whether sealing is recommended and compatible
– Whether additional waterproofing layers are part of your exterior tile system
Detail transitions so water doesn’t pool or migrate
Pay close attention to:
– Door thresholds and step edges
– Edges next to lawns or planters
– Pool surround wetting zones
– Penetrations (posts, drains, conduits)
Outdoor floors often fail at these interfaces because water finds pathways where movement joints or flashing are missing.
What can go wrong (and how to avoid it)
Outdoor floors fail when water control, movement management, and assembly compatibility are treated as “afterthought” steps. Most preventable problems come from base/grade issues, missing expansion allowances, or mixing non-rated materials.
Water pooling increases freeze/thaw damage risk and accelerates surface degradation, so re-check slope and drainage before final surfacing.
Ignoring expansion spacing can lead to buckling in decking, cracked tile edges, and grout failure as outdoor conditions cycle.
Overlooking base compaction allows shifting, which shows up as uneven outdoor floors and prematurely failing joints.
Pros/cons: the three common outdoor floor paths
Outdoor floors can be built as decking, tiled assemblies, or paver systems. Here’s a practical contrast to help you decide the right approach for your conditions:
| Approach | Pros (typical) | Cons (typical) |
|---|---|---|
| Deck boards on joists | Ventilation under surface; easier to troubleshoot localized framing issues. | Requires accurate joist layout; must maintain correct fasteners and spacing for movement. |
| Outdoor tiles (exterior system) | Rigid, attractive finish; good for wet areas when waterproofing/setting is correct. | Less forgiving if layers aren’t engineered for freeze/thaw and water management. |
| Pavers on base + bedding | Good drainage potential; individual units can be serviced. | Base thickness/compaction is critical; poor restraint can cause shifting or edge settlement. |
Common failure points to watch
Outdoor floors commonly break down due to these issues:
1. Water pooling or poor slope: Standing water accelerates algae growth and increases freeze/thaw damage. Re-check grades and drainage routes before final installation. [ADD: source for drainage/slope guidance]
2. Ignoring expansion gaps: Temperatures and moisture movement force outdoor floors to move—without allowances, you get cracks, buckles, and grout breakdown.
3. Using the wrong materials: Interior adhesives, non-rated grouts, or underlayment not intended for exterior moisture can degrade even if the finish looks fine initially.
4. Overlooking subbase compaction: If the base moves, outdoor floors telegraph that movement through rocking pavers or uneven tile planes.
Verdict / tip: do this yourself only if you can meet the “prep” standard
Outdoor floors are DIY-friendly when you can reliably hit the “prep” standard: correct slope, stable base compaction, and strict compliance with outdoor-rated product specifications. The tradeoff is that outdoor installs are less forgiving—small prep mistakes often show up later as movement, unevenness, or premature wear.
Consider hiring a pro if your area has major drainage issues, you’re working over an existing structure that needs assessment, or you’re unsure which outdoor-rated assembly (deck/subfloor or tile/paver system) matches your climate and water exposure. This is especially true in freeze/thaw regions, where the wrong layer order can turn a “small” error into repeated damage.
Quick checklist (scan/save)
– [ ] Flooring is explicitly rated for outdoor/wet use (and freeze/thaw if needed)
– [ ] Area has proper slope and a clear drainage plan
– [ ] Subbase/topsoil removed where required; base compacted and stable
– [ ] Support system installed to manufacturer spacing and secure mounting
– [ ] Expansion gaps/spacing followed exactly
– [ ] Correct grout/sealer/finish used for outdoor conditions
– [ ] Edges and transitions sealed or detailed to prevent water intrusion
FAQ
How do I choose between outdoor decking boards, tiles, and pavers?
Choose based on climate exposure, maintenance comfort, and your preferred look; also confirm each option is rated for outdoor wet conditions and (if relevant) freeze/thaw.
Do I need expansion gaps for outdoor floors?
Most outdoor systems require them to handle temperature and moisture movement—follow the manufacturer’s spacing guidance for your specific flooring type.
What’s the most important step in installing outdoor floors?
Subbase/support prep and water management are typically the biggest drivers of long-term performance.
Can I install outdoor flooring directly over existing surfaces?
Sometimes, but only if the existing surface meets the requirements of the flooring system (levelness, stability, moisture conditions, and compatible underlayment/adhesives). When in doubt, check the product documentation.
What tools do I usually need?
At minimum: measuring/layout tools, level/slope checking tools, cutting tools appropriate to the flooring, and installation basics specified by the flooring system (fasteners, spacers, bedding/adhesive/grout as required).
Sources
– [ADD: Manufacturer installation instructions/spec sheets for your chosen outdoor floor system (decking/joists; tile thinset/grout; paver bedding; sealer), since requirements vary by brand and assembly.]
– [ADD: Outdoor flooring installation guidance from relevant building code bodies or technical standards applicable to your region, if needed for drainage/slope or safety detailing.]
Outdoor floors succeed when you treat them as an engineered system, not just a surface. Plan the water path, build a stable base/support layer, install with the exact exterior method and expansion allowances, and finish with exterior-rated sealing/grouting and careful edge detailing—then your patio, deck, balcony, or entry area is far more likely to stay safe, clean, and durable through real weather cycles in 2026.
Frequently Asked Questions
What type of outdoor flooring is best for my climate and weather conditions?
The best outdoor floors depend on freeze-thaw cycles, rainfall, and UV exposure. For wet or freeze-prone areas, choose water-resistant and slip-resistant options like outdoor porcelain pavers, stone, or composite decking rated for exterior use. In hot climates, select UV-stable materials that won’t warp, fade, or crack under high temperatures.
How do I prepare the subbase before installing outdoor floors?
Start by removing vegetation, topsoil, and debris, then level the ground to the correct slope so water drains away from the surface. Install a stable subbase (typically compacted gravel and/or crushed stone) and compact it thoroughly to prevent settling and uneven outdoor flooring. If you’re laying pavers or tiles, include edge restraints and verify level and grade with a string line before setting materials.
How do I install outdoor tile or pavers so they don’t crack or shift?
Use a proper exterior installation system: frost-rated mortar or polymer-modified thinset for tiles, and the correct bedding sand layer for pavers. Leave required expansion gaps and avoid overfilling joints, which can trap water and cause lifting. After installation, use the right outdoor grout or jointing sand, and keep the surface clean so the joints lock properly and outdoor floors stay stable.
Which tools and materials do I need to install outdoor floors DIY?
Common essentials include a plate compactor (for paver bases), a level and string line, a masonry saw or tile cutter, and spacers for consistent joint width. You’ll also need exterior-rated adhesive or mortar, edge restraints, drainage materials, and the correct sealant for your specific outdoor flooring type. For safety and clean cuts, have PPE like gloves and eye protection, and consider hiring or renting specialized tools if you’re working with large-format tile or stone.
Why is proper drainage critical when installing outdoor floors?
Drainage prevents standing water that can damage outdoor floors, cause freeze-thaw failure, and promote mold or algae growth. Ensure the base is graded correctly—typically a gentle slope away from buildings—and use permeable base layers or drainage channels if needed. Paying attention to drainage during installation helps maintain a level, durable surface and extends the lifespan of your outdoor flooring.
📅 Last Updated: October 12, 2026 | Topic: How to install outdoor floors? | Content verified for accuracy and freshness.
References
- Google Scholar Google Scholar
https://scholar.google.com/scholar?q=how+to+install+outdoor+decking+foundation+joists+ledgerboard - Google Scholar Google Scholar
https://scholar.google.com/scholar?q=how+to+install+interlocking+pavers+outdoor+drainage+base+compaction - Google Scholar Google Scholar
https://scholar.google.com/scholar?q=how+to+install+concrete+patios+slab+base+preparation+reinforcement+curing - https://en.wikipedia.org/wiki/Deck_(building
- https://en.wikipedia.org/wiki/Patio
- https://en.wikipedia.org/wiki/Interlocking_pavers
- https://www.epa.gov/green-infrastructure/green-infrastructure-permeable-pavements
- Concrete – Pavement & Materials – Pavements – Federal Highway Administration
https://www.fhwa.dot.gov/pavement/concrete/ - Office Of Research, Development, And Technology At The Turner-Fairbank Highway Research Center | …
https://www.fhwa.dot.gov/pavement/pccp/ - https://www.fhwa.dot.gov/pavement/research/ltpp/


