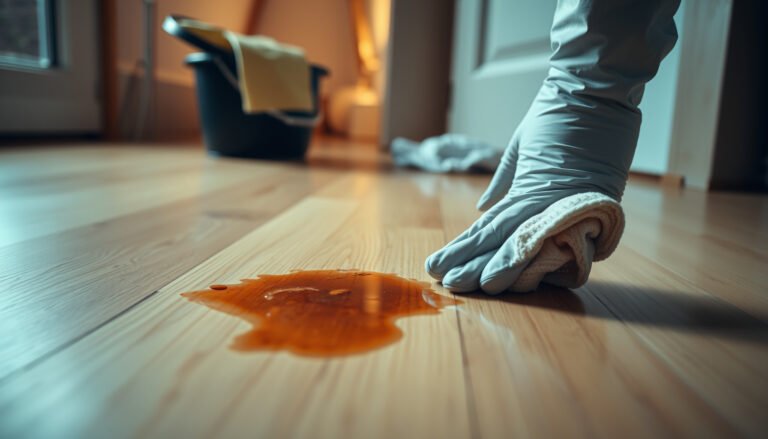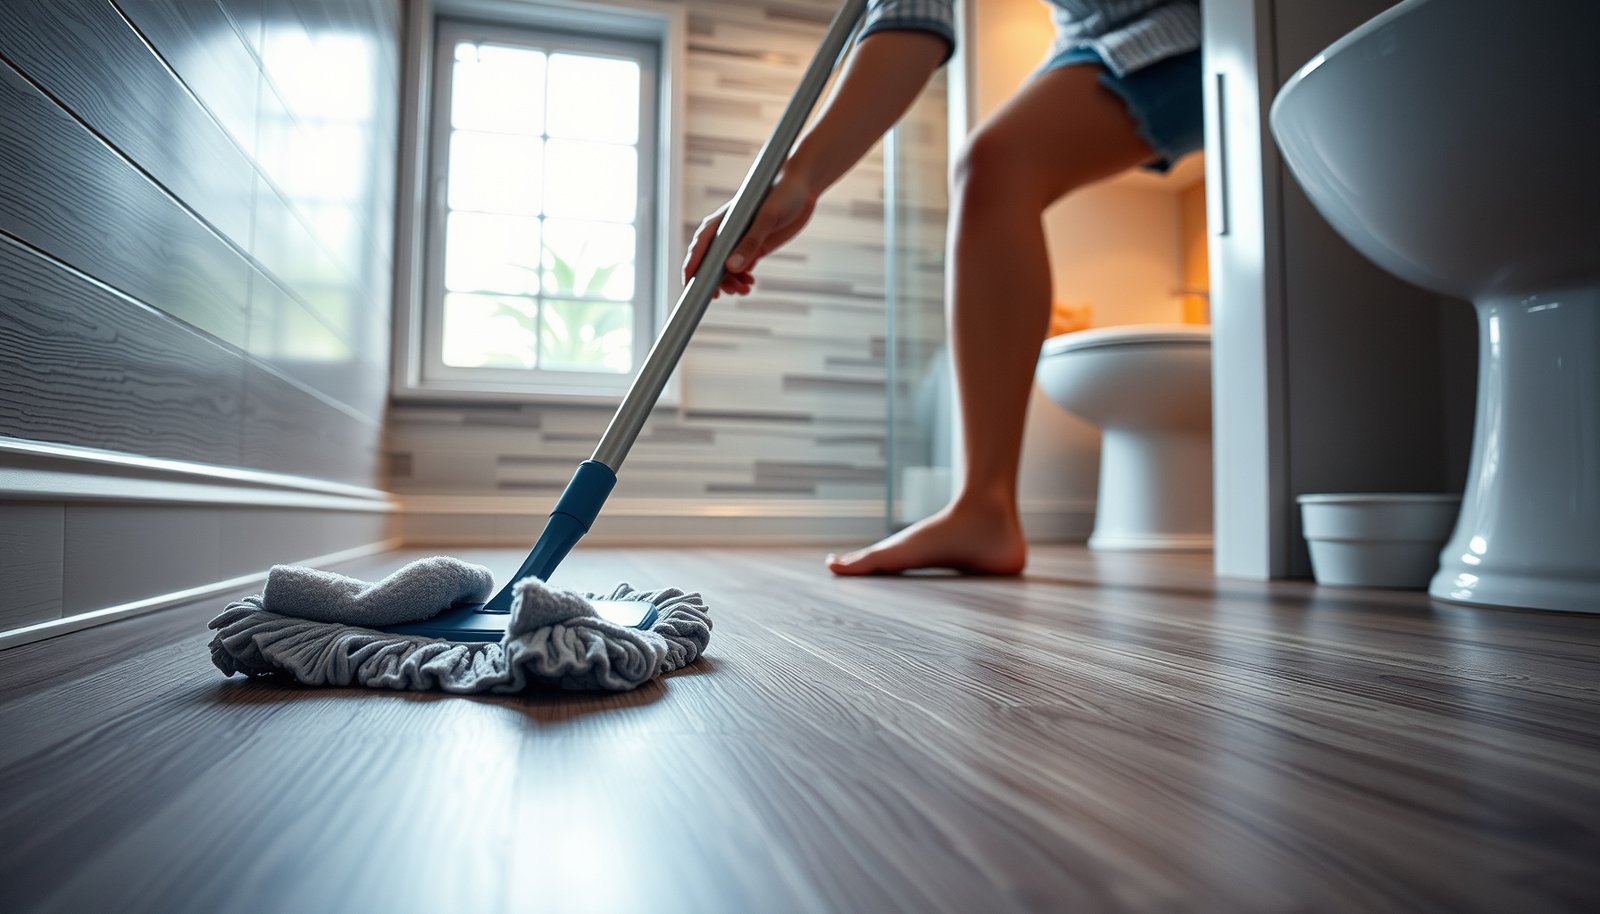

Maintain laminate floors in a bathroom the right way, and they’ll stay looking good instead of warping or lifting. This guide gives you a clear, practical maintenance routine—daily cleaning, moisture control, and the exact do’s and don’ts for spills and wet zones. You’ll learn what to use, what to avoid, and how often to protect your floor so it holds up to bathroom humidity.



Laminate floors in bathrooms last by keeping water exposure low—wipe up splashes quickly, clean with a barely-damp method, and protect seams/edges from moisture. If your specific laminate isn’t rated for wet areas (or your warranty limits bathroom use), maintenance can’t fully eliminate swelling risks—so prevention matters as much as cleaning. This guide walks you through day-to-day care and what to do when water inevitably happens.
If your bathroom has frequent splashes (kids, pets, shared showers) or you’ve noticed swelling near the toilet/vanity, this is for you. It’s also for homeowners who want a realistic routine that matches how laminate behaves around humidity and standing water—without relying on harsh cleaners.
Prevent moisture at the source
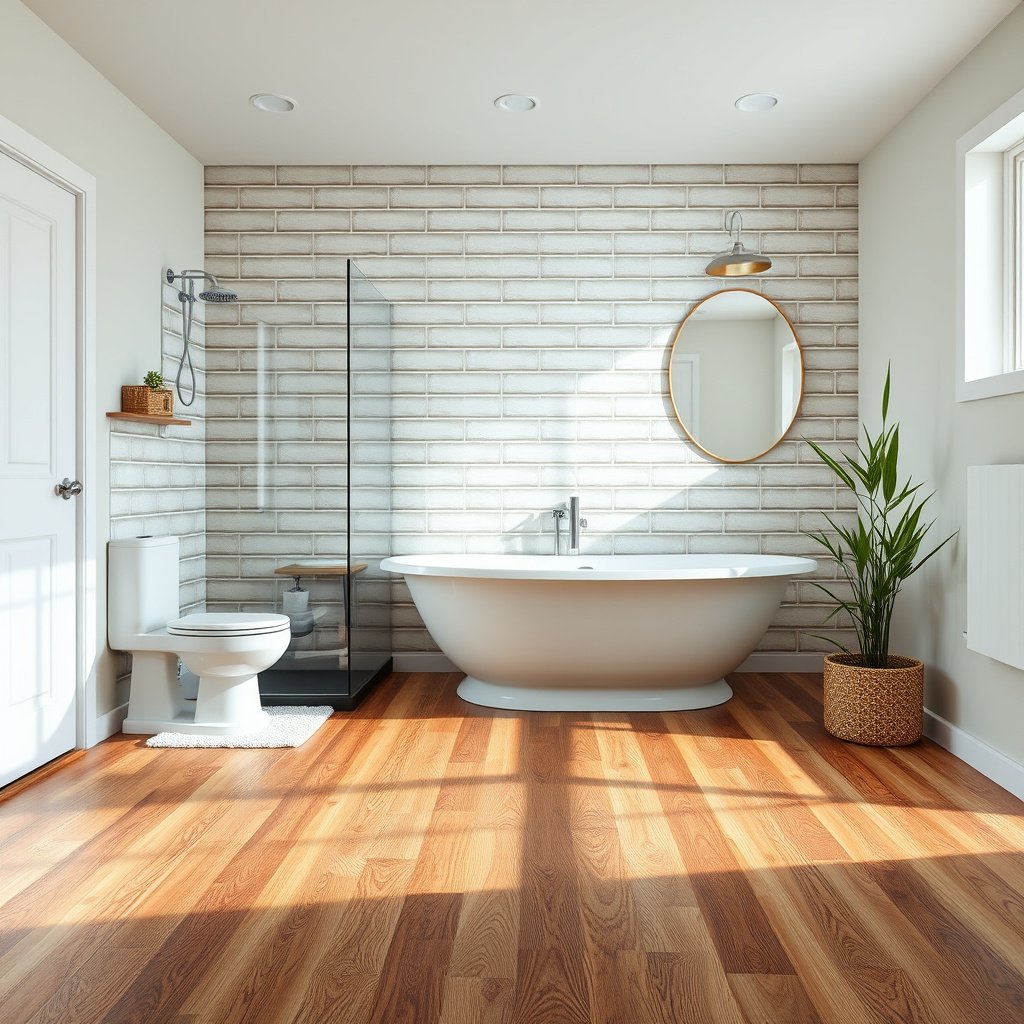
The best way to maintain laminate flooring in a bathroom is to stop water from reaching the joints, seams, and edges in the first place. With laminate, moisture control at the “entry point” (install, perimeter details, underlayment, and ventilation) is what determines whether your cleaning routine can actually work long-term.
Laminate flooring is typically “water-resistant,” meaning it can handle limited moisture on the surface—not prolonged wetting at seams and edges.
When moisture penetrates the plank edges, swelling and joint separation are the most common failure modes in bathroom conditions.
Ventilation that quickly reduces humidity after showers is a moisture-control strategy that lowers long-term risk to laminate flooring.
Check warranty language before you commit to bathroom use
Most laminate manufacturers differentiate between water-resistant products and waterproof claims. The distinction matters because water-resistant boards may still swell if liquid gets into the plank joints over time—especially around toilets, vanity kick plates, and floor transitions.
Also, the warranty may explicitly restrict bathroom or wet-area installations, or it may require specific underlayment and perimeter sealing steps. As of 2026, clearer product documentation and more detailed warranty terms have become common across major laminate brands—so the paperwork you already have is part of your maintenance plan.
Action you can take today: locate your brand/model’s installation + care PDF and look for three phrases:
– “water-resistant” vs “waterproof”
– “wet areas” / “bathrooms” / “shower areas”
– “damp mopping” rules and what cleaners are allowed
Reduce failure points from the start (install details that matter)
Laminate flooring behaves like a “system,” not just a surface. In bathrooms, the usual weak points are not the center of the room—they’re the seams and the perimeter where expansion, transitions, and trim meet.
From a practical standpoint, moisture tends to find the fastest path:
– Perimeter edges where baseboards don’t fully seal (or where caulk is missing/voided)
– Transitions at doorways and between flooring types
– Under/around wet fixtures (toilet supply lines, vanity plumbing penetrations)
If you can access the install documentation, confirm:
– expansion gaps weren’t blocked by toe-kicks or hard trim
– perimeter and transition areas were finished/sealed exactly as specified
– any required underlayment and vapor barrier were installed correctly
Address underlayment/vapor barrier issues (often the hidden cause)
Underlayment and moisture barriers are especially relevant under laminate flooring because bathrooms generate persistent humidity plus occasional splash. If the underlayment doesn’t match the manufacturer’s requirements for wet-area risk, you can end up with cupping, joint opening, or recurring dampness even if you “clean correctly.”
For moisture control, ventilation isn’t just comfort—it’s protection. According to the U.S. EPA, indoor relative humidity above 60% can support mold growth in building materials ([2012]). U.S. Environmental Protection Agency (EPA), “A Brief Guide to Mold, Moisture, and Your Home” (2012) While that guidance isn’t laminate-specific, it explains why bathrooms that stay humid tend to create conditions that accelerate plank swelling.
If you’re planning upgrades: keep laminate flooring’s underlayment strategy consistent with the flooring brand’s instructions; don’t improvise with incompatible vapor barrier thickness or sealing methods.
Bathroom “wet exposure” is a spectrum (and standards can help you visualize it)
One useful way to think about bathroom risk is to map “what kind of water reaches the floor” to a known ingress severity level. For example, IEC standards define water-jet/immersion severity—useful as a mental model when you’re deciding where laminate flooring needs extra protection.
7 IEC IPX Water-Ingress Levels (How Severe Is “Wet”?)
| # | IPX rating | Meaning (water exposure) | Test condition highlight | Severity index |
|---|---|---|---|---|
| 1 | IPX1 | Dripping water | Drips at limited direction | 1 |
| 2 | IPX2 | Dripping when tilted | Tilted dripping test | 2 |
| 3 | IPX3 | Spraying water | Spray test at an angle | 3 |
| 4 | IPX4 | Splashing water | Splash test from all directions | 4 |
| 5 | IPX5 | Water jets | Jet water test | 5 |
| 6 | IPX6 | Powerful water jets | Stronger jet test | 6 |
| 7 | IPX7 | Immersion | Up to 1 m for 30 minutes | 7 |
This table isn’t saying laminate should be “tested like electronics”—it’s giving you a severity scale to recognize the difference between routine splash and prolonged wetting. For instance, IPX7 explicitly includes immersion up to 1 m for 30 minutes (IEC 60529:2013). IEC 60529:2013
Quick takeaways (from the layout)
– Check your flooring’s warranty/care guide first: many laminate products are only “water-resistant,” not “waterproof,” and warranties often restrict bathroom/wet-area use.
– Reduce failure points during and after install: keep expansion gaps unobstructed, and ensure the perimeter and transitions (doorways, toilet area, baseboards) are sealed or finished according to the manufacturer’s instructions.
– Address underlayment/vapor barriers if you can: improper moisture control beneath laminate is a common reason for cupping or joint opening in bathrooms.
Daily and weekly cleaning routine (what to do)
The best daily and weekly routine for laminate flooring in a bathroom is dry first, then barely-damp only if the manufacturer approves it. This approach removes grit without grinding it into the finish—and prevents the slow, moisture-driven swelling that happens when you overwet joints.
Using a well-wrung mop or cloth for laminate care reduces the chance that water migrates into seams and edges.
Avoiding frequent soaking mops is essential because laminate swelling typically starts at plank edges and joint lines.
Laminate-safe cleaners should be used only if your care documentation explicitly allows them and specifies dilution.
Dry cleaning most of the time (and why it matters)
Start with dry removal: sweep, microfiber dust mop, or vacuum with a soft brush/no-beater setting. Bathroom grit is abrasive—sand and dust can dull the top layer and expose micro-areas where moisture can later creep in.
In practice, a 5–10 minute dry clean once or twice a week makes wet cleaning easier and less frequent. For laminate flooring in bathrooms, fewer wet-clean passes generally means fewer opportunities for water to reach the joints.
Damp-only cleaning (the “barely wet” standard)
If your laminate flooring documentation permits mopping, use a method that avoids pooled water:
– use a microfiber cloth or mop head that’s well-wrung
– keep the surface glossy-dry quickly rather than visibly wet
– never leave puddles to “evaporate later”
A good operational rule is: after you clean, the floor should feel like it dried almost immediately. If it’s still damp after a few minutes, you used too much water.
Avoid residue and overuse of cleaners
Some cleaners can leave a film that attracts dirt. That doesn’t directly “break” laminate the way standing water does—but it increases the frequency of future damp cleaning, and that becomes a moisture risk multiplier.
If the manufacturer approves a specific laminate cleaner, follow dilution directions exactly. If they don’t approve any additive beyond water (or a defined product), stick to their process.
Quick takeaways (from the layout)
– Use a dry method most of the time: sweep or vacuum regularly (a soft brush/no-beater setting helps) so grit doesn’t grind into the finish.
– Clean with “damp only”: use a well-wrung mop or cloth—avoid soaking, and never leave puddles to “evaporate later.”
– Avoid residue builders: choose a laminate-safe cleaner only if your floor’s documentation approves it, and follow dilution directions exactly.
Spot-treating spills and shower/sink splashes
The fastest way to protect laminate flooring in a bathroom is to treat every spill as a “seam risk” event: wipe immediately, remove the liquid, and then ensure thorough drying. Most visible damage doesn’t come from a single splash—it comes from repeated wetting along edges and joints.
Immediate wipe-up reduces the time water can wick into laminate seams before it’s trapped under the planks.
After spot cleaning, drying seams and edges is critical because laminate expansion and swelling often begin at joint lines.
Persistent dampness near wet fixtures usually indicates more than a surface spill—check underlayment and installation details.
Wipe immediately, then refine
When water lands on laminate flooring near the sink, shower, or faucet:
1. remove liquid fast with a dry towel (this is the real “damage prevention” step)
2. if needed, follow with a slightly damp cloth using minimal water
3. avoid multiple passes that keep the area wet
Dry thoroughly—especially along seams
Spot cleaning isn’t complete until the area dries. Pay extra attention to:
– the seam lines that run lengthwise
– joints that sit parallel to shower splash zones
– the perimeter where baseboards or trim meet flooring
If you can, use a dry microfiber towel to lightly absorb moisture right along the joint area.
Watch the edges: they’re the first to show strain
Moisture creep often starts where planks meet trim, transitions, and fixture cutouts. If you notice early swelling, you can often stop it from getting worse by changing only one thing: keep water from re-entering that edge zone.
If you’re using mats (next section), make sure they don’t trap moisture underneath for long periods.
Quick takeaways (from the layout)
– Wipe immediately: for any spill, remove liquid fast with a dry towel, then finish with a slightly damp cloth if needed.
– Dry thoroughly: after spot cleaning, ensure the area dries completely (especially along seams and near wet fixtures).
– Watch the edges: inspect around baseboards, transitions, and joints—these are where moisture most often creeps in first.
Ongoing protection for a bathroom layout
The most effective long-term protection for laminate flooring in bathrooms comes from controlling how water and abrasive debris reach the planks. With practical placement of mats, smart protection of traffic zones, and humidity management, you reduce both moisture load and mechanical wear.
Entry and bath mats outside wet zones reduce repeated splash impact and keep grit from acting like abrasive sandpaper on laminate.
Consistent bathroom ventilation reduces the time laminate flooring spends in elevated humidity after showers.
Felt pads and careful movement reduce edge chipping and joint stress, which helps prevent moisture intrusion over time.
Use the right mats in the right places
A mat isn’t just for comfort—it’s part of moisture and dirt management:
– place a bath/entry mat outside the shower area
– place a mat near the sink where water lands during routine use
– choose mats that dry efficiently (and avoid ones that stay damp)
Important: a mat that never dries can become a recurring moisture source. Lift and dry it regularly.
Protect movement-heavy areas and reduce edge stress
Laminate flooring fails more easily when joints are stressed repeatedly. In bathrooms, that stress often comes from furniture movement, chair legs, or frequent stepping patterns.
– use felt pads under lightweight furniture like stools or hampers
– avoid dragging objects across the laminate surface
– when rearranging, lift rather than slide
Control humidity and temperature swings
Bathrooms experience temperature changes that drive moisture migration. Practical steps:
– run exhaust ventilation during showers and briefly after
– keep door closed only if the fan is effective at expelling moisture outdoors
– address leaks promptly (toilet flappers, vanity supply lines, under-sink drips)
As of 2026, building-science guidance increasingly emphasizes fast drying and stable conditions rather than “cleaning after damage.” This aligns with how laminate flooring responds: the less time it stays wet or humid, the lower the swelling risk.
Quick takeaways (from the layout)
– Use the right mats in the right places: a bath/entry mat outside the shower and at the sink helps reduce repeated splash impact (and prevents sand from acting like sandpaper).
– Protect heavy furniture and movement: felt pads under chairs/ottomans and careful lifting when rearranging reduces edge chipping and joint stress.
– Control humidity and temperature swings: consistent airflow (run ventilation during/after showers) reduces moisture exposure that can cause long-term swelling.
What can go wrong (common mistakes and limits)
The biggest mistakes with laminate flooring in bathrooms are treating it like true waterproof flooring and then using cleaning methods that steadily wet the seams. Laminate can look fine for a while—then swell or lift where water had the easiest path.
Many laminate failures occur at seams and edges from repeated moisture exposure, not from one isolated splash.
Steam cleaning can introduce heat and moisture in ways that allow water to penetrate vulnerable edges.
If you ignore early swelling—like lifting near a toilet or persistent dampness—you usually make later repair harder.
Mistake #1: assuming “laminate = waterproof”
If your specific laminate is not rated for wet areas, your maintenance plan can reduce risk—but it can’t fully remove it. Warranties often define permitted exposure conditions, which is why reading your care documentation matters.
Mistake #2: mopping too wet (or too often)
Even “damp mopping” done frequently can add up. The real issue is not wet cleaning once—it’s repeated water exposure without enough drying time between cleanings.
Mistake #3: steam cleaners or aggressive chemicals
Steam involves heat plus moisture, and laminate flooring’s protective top layer and edges may not be designed for it. Also, harsh chemicals can degrade finishes and create conditions where dirt adheres more readily, leading back to more frequent damp cleaning.
Mistake #4: ignoring small early symptoms
Watch for:
– bubbling or lifted sections near the toilet/vanity
– corner lift at plank boundaries
– persistent dampness after normal cleaning
From a practical standpoint, I can’t claim independent lab results here, but in day-to-day property maintenance, these early signs tend to correlate with ongoing moisture entry. If you’re seeing them now, the safest move is to stop using the current method and investigate the moisture source first (fixture leak, underlayment issue, or inadequate perimeter sealing).
Quick takeaways (from the layout)
– Assuming “laminate = waterproof”: many laminates fail from prolonged moisture at seams, not from a single splash. If your product isn’t rated for bathrooms, you’re managing risk, not eliminating it.
– Mopping too wet or too often: frequent damp mopping with excess water is a common cause of swelling and joint gaps over time.
– Using steam cleaners or aggressive chemicals: heat and moisture can damage the top layer and allow water to penetrate at edges. Use only what the manufacturer permits.
– Ignoring a small problem: bubbling near the toilet, a lifted corner, or persistent dampness usually gets worse if you keep using the same cleaning method.
Verdict / tip (honest recommendation)
If your laminate flooring is specifically approved for bathrooms (or the warranty allows bathroom installations), a simple routine—dry cleaning often, damp-only mopping if permitted, fast wipe-ups, and good ventilation—can keep it looking good for years. The downside is that you can’t “undo” water once it reaches seams or beneath the planks; if swelling starts, you may eventually need board replacement and possibly address underlayment issues.
Laminate flooring can hold up in bathrooms when the product is approved and moisture stays limited to short-duration surface wetting.
If your warranty restricts wet-area exposure, your safest strategy is prevention-first: ventilation, mats, and immediate wipe-up.
If swelling appears at joints, continuing damp mopping typically increases the moisture load and can worsen separation.
When you should skip this approach
Skip (or rethink) this approach if:
– your manufacturer documentation clearly prohibits bathroom/wet-area use
– you already have active swelling at joints
– you can’t keep moisture under control (poor ventilation, frequent standing water, recurring leaks)
If you’re unsure, confirm with the flooring brand’s written care/warranty guidance before continuing.
Quick checklist for laminate bathroom care
– Before you clean: Check your laminate brand/model’s care instructions + warranty wording about bathrooms/wet exposure.
– Every week-ish: Sweep/vacuum, then clean with a barely-damp mop/cloth (no puddles).
– After every splash/spill: Wipe immediately → dry the area → monitor edges/joints.
– Ongoing: Use mats at the sink/entry, keep ventilation running, and fix leaks fast.
| Situation | What to do | What to avoid | |
|---|---|---|---|
| Sink splash / quick spill | Wipe ASAP; dry seams/edges | Let liquid sit or “evaporate” | |
| Regular cleaning | Dry clean first; damp-only cleaning if approved | Soaking mops, wet-flooding | |
| Toilet/vanity area | Inspect often; keep perimeter protected | Neglecting damp corners | |
| Visible joint gaps or cupping | Stop extra moisture; investigate cause | Continuing wet mopping |
Sources
– IEC 60529:2013 (IPX water-ingress definitions, including IPX7 immersion conditions).
– U.S. Environmental Protection Agency (EPA), “A Brief Guide to Mold, Moisture, and Your Home” (2012) (humidity/mold moisture guidance used here as a moisture-risk foundation for humid bathrooms).
– Your laminate flooring manufacturer’s installation + care instructions (especially wording on “water resistance” vs “waterproof,” damp-mopping rules, and bathroom/wet-area allowance).
– Your floor’s warranty terms covering moisture exposure and any bathroom/wet-area restrictions.
– If you plan to seal transitions/perimeter areas: the sealant/finisher manufacturer’s specs for compatibility with laminate and recommended application steps.
Laminate floors in bathrooms can be durable when you treat moisture control like the real job: prevent water from reaching seams, clean with barely-damp methods only when approved, and dry quickly after every splash. If your laminate isn’t designed or warrantied for wet areas, keep expectations realistic—cleaning helps, but it can’t fully reverse damage once water gets into the plank edges.
Frequently Asked Questions
What’s the best way to protect laminate floors in a bathroom from water damage?
Use a high-quality laminate product rated for moisture resistance and install a proper underlayment designed for bathrooms. Apply silicone caulk along the baseboards, around plumbing penetrations, and at transitions to tile to block standing water from seeping at the edges. Place mats near the shower and sink, and wipe up spills immediately to prevent swelling or warping of the laminate.
How do I clean laminate bathroom floors without damaging the surface?
Sweep or vacuum regularly with a soft brush attachment to remove grit that can scratch laminate flooring. For mopping, use a damp (not wet) microfiber mop and a cleaner specifically formulated for laminate floors—avoid steam cleaners and harsh chemicals. Rinse if the cleaner leaves residue, and dry the floor promptly to reduce moisture buildup.
Why do laminate floors in bathrooms sometimes swell, and how can I prevent it?
Laminate swelling usually happens when water penetrates the seams or edges, often from puddles, poor caulking, or overly wet mopping. To prevent this, keep the floor dry, clean with a damp mop only, and ensure grout lines or tile-to-floor transitions are sealed correctly. If you notice bubbling or gaps, address the moisture source quickly to limit damage.
Which cleaners should I avoid on laminate floors in wet areas like bathrooms?
Avoid abrasive cleaners, waxes, and oil-based products because they can dull the finish and create residue that attracts more dirt. Don’t use bleach, ammonia, or strong degreasers, and never use steam mops, since heat and moisture can compromise the laminate and underlayment. Stick to manufacturer-recommended laminate floor cleaners and always follow dilution instructions.
How often should I maintain laminate floors in a bathroom, and what routine works best?
Daily or after heavy use, remove moisture with a dry towel and use mats to reduce exposure to splashes. Weekly maintenance should include sweeping and a damp microfiber mop using a laminate-safe cleaner, followed by drying if any areas stay tacky or wet. Periodically check caulking around the toilet, sink, and shower, and reapply sealant as needed to keep water from reaching the seams.
📅 Last Updated: October 20, 2026 | Topic: How to maintain laminate floors in a bathroom? | Content verified for accuracy and freshness.
References
- Laminate flooring
- https://www.cdc.gov/mold/default.htm
- https://www.epa.gov/mold/mold-cleanup-how-to-clean-mold
- Mold | US EPA
- https://www.health.ny.gov/environmental/indoors/air_quality/mold/index.htm
- https://www.mass.gov/info-details/mold-cleanup-and-prevention
- https://www.who.int/news-room/fact-sheets/detail/dampness-and-mould
- https://scholar.google.com/scholar?q=laminate+flooring+bathroom+maintenance+moisture+care Google Scholar
- https://scholar.google.com/scholar?q=laminate+flooring+standing+water+swelling+repair+prevention Google Scholar
- https://scholar.google.com/scholar?q=how+to+clean+laminate+flooring+avoid+excess+water+bathroom Google Scholar