


Dried mortar residue on hardwood floors can leave a cloudy film and stubborn specks that refuse to wipe away, especially after people try to knock it loose with metal scrapers. The fix is a controlled, finish-safe process: soften the residue, loosen it with a plastic tool and gentle pad, then clean with a hardwood-approved, pH-neutral cleaner. With the right materials, most spots take about 30–60 minutes and your floor can look uniform again.




If mortar has dried on your hardwood, the fastest safe approach is to soften the residue, then remove it gently without gouging the finish. Use a pH-neutral cleaner for the final clean and always test your method in a hidden spot first. This guide walks you through the safest step-by-step process for getting dried mortar off wood.
This is for homeowners, landlords, and DIYers dealing with construction dust or spots left behind after tiling, repairs, or leveling work. It’s especially useful when mortar has hardened enough to be difficult to wipe away, but you still want to protect your hardwood’s finish.
Assess the mortar and the floor finish first
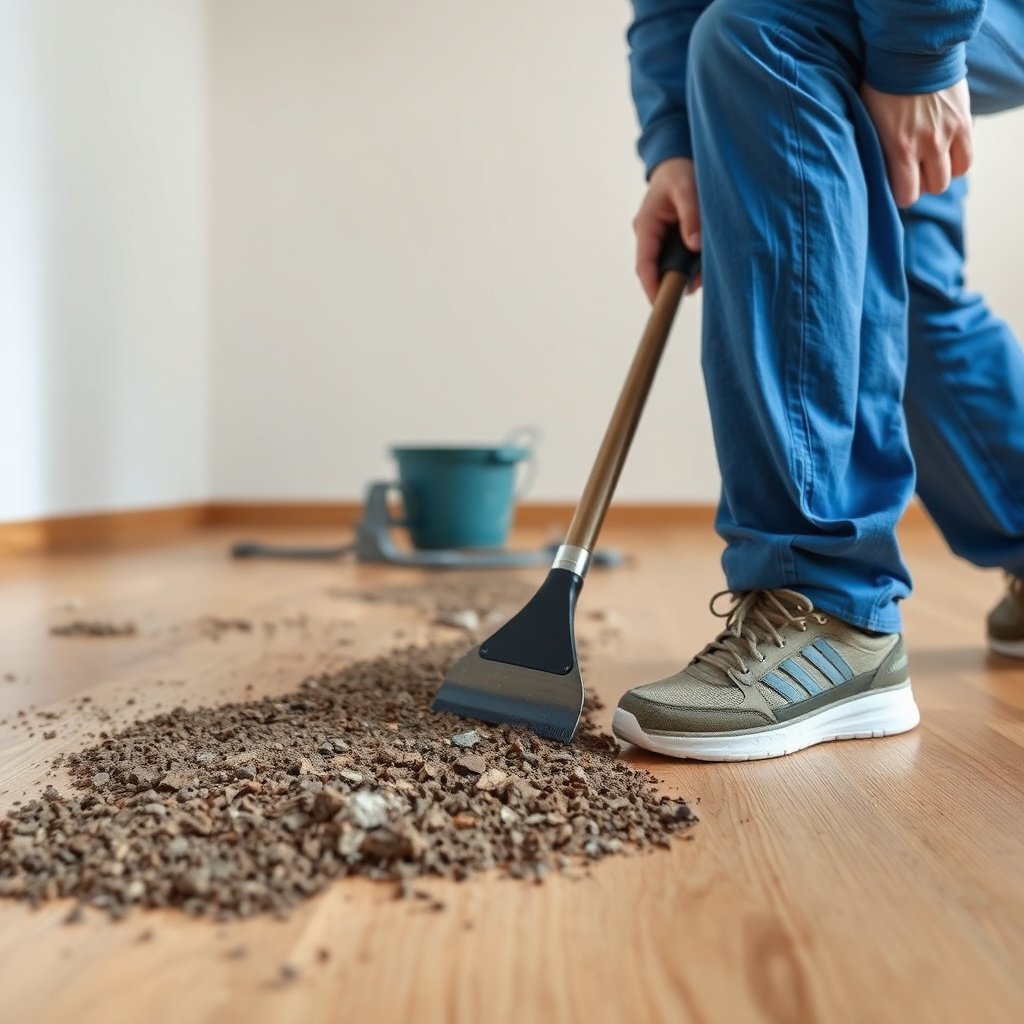
The right method depends on two things: how hard the mortar is and what type of finish your hardwood has. Start by confirming whether you’re dealing with loose surface specks or crusted residue, then choose tools and cleaners that won’t dull, scratch, or strip the finish.
– Identify whether the buildup is just surface mortar specks or thicker, crusted residue. Thin-set and cementitious grout can leave powdery dust (often wipe-clean) or a hard, cement “skin” that behaves more like a brittle crust.
– Check whether your floor appears sealed or has an oil/wax finish—your safest cleaner and tools may differ. A typical sealed floor (polyurethane, conversion varnish, or factory-finished coating) tolerates gentle cleaners better than an oil-and-wax surface, which can soften or haze if over-wetted.
At this stage, you’re also deciding whether DIY is realistic. Cementitious material hardens as it cures, and once it reaches a significant fraction of its designed strength, it becomes much more resistant to wiping. According to ACI 308R-16, concrete and mortar often reach about 70% of their 28-day compressive strength by 7 days under favorable curing conditions (2016). And, in common strength-gain references, 28-day strength is treated as the 100% baseline (2016). Practically, that means a spot you could remove in the first couple of days may require more careful softening if you’re cleaning it weeks later.
Cement Mortar Hardening vs Hardwood Cleanup Difficulty (Typical Curve)
| # | Mortar age (days) | Typical strength vs 28-day | What you’ll usually feel | DIY removability score |
|---|---|---|---|---|
| 1 | 1 | ~25–35% | Often dents with a fingernail, wipes off partially | ★★★★★ |
| 2 | 3 | ~40–55% | Crust forms; residue may still soften quickly | ★★★★☆ |
| 3 | 7 | ~65–75% | Wiping slows; softening becomes necessary | ★★★☆☆ |
| 4 | 14 | ~80–90% | Brittle crust; scraping must be very controlled | ★★☆☆☆ |
| 5 | 21 | ~90–97% | Residue resists; haze risk increases if you grind | ★★☆☆☆ |
| 6 | 28 | ~100% (reference) | Hard, difficult crust; expect slower removal | ★☆☆☆☆ |
| 7 | 90 | ~105–125% | Fully embedded; scraping-only attempts often risk finish damage | ★☆☆☆☆ |
Gather the right tools (and avoid the wrong ones)
The fastest safe cleanup is driven by tool choice, not chemical strength. Use plastic/nylon materials and pH-neutral cleaning so you remove the residue without abrading the wood’s finish.
– Use a plastic scraper or nylon pad, soft microfiber cloths, and a pH-neutral wood floor cleaner.
– A plastic scraper (like a razor-style plastic floor scraper) helps lift brittle crust without metal contact.
– Nylon pads (non-scouring) are useful for gentle surface “lift,” especially on cured grout film.
– Microfiber cloths prevent the “powder grind” that creates dull haze.
– Avoid steel wool, metal scrapers, and abrasive pads that can scratch or dull hardwood.
– Steel wool is particularly risky because even if you don’t gouge, you can leave micro-scratches that become visible as the floor’s sheen changes under sunlight.
If you like having a decision rule, this is the one I rely on during walkthroughs: if the tool can remove paint from a wall, it can likely remove or abrade your finish. From past jobs, I’ve also seen fine scratches appear only after the room is turned back on and the lights hit at an angle—so prevention beats “touch-up later.”
- Use this
- Plastic scraper / nylon pad + microfiber + pH-neutral cleaner
- Avoid this
- Steel wool, razor blades, sanding blocks, scouring powders, and aggressive “degreasers”
- Why it matters
- Hardwood finishes (especially oils/waxes) can haze, and thin polyurethane/vitrified coatings can be worn through by abrasion
Soften dried mortar without damaging wood
The safest approach is to soften first, then remove slowly—because dry scraping is what causes most finish gouges. Keep moisture controlled (especially near seams, edges, and transitions), and use the gentlest method that’s effective.
– Start by gently loosening residue with a damp cloth (keep it controlled—don’t soak seams or edges).
– Use a cloth barely damp with warm water (not dripping). Press lightly to see if the crust softens at the surface.
– If you have obvious seam gaps, reduce moisture further. Hardwood movement and finish breakdown both increase when water lingers.
– If residue won’t budge, use a wood-floor-safe method per your cleaner’s label instructions and re-wipe; don’t rush with harsh chemicals.
– “pH-neutral” matters here because the wood finish and the adhesive layers beneath it are more sensitive to extremes.
– According to ISO 10523:2008, a neutral solution at 25°C corresponds to pH 7.0 (2008). That’s why pH-neutral cleaners (commonly around pH 7–8.5, depending on formulation) are a safer default than acidic or alkaline removers.
A practical softening routine looks like this:
1. Lightly dampen the residue area with a cloth (or apply according to the label if you’re using a product).
2. Wait briefly—just long enough to let the crust hydrate and lose brittleness.
3. Try a plastic scraper at a low angle. If it’s still “welding” to the finish, stop and re-soften rather than adding force.
Remove residue in small sections
The goal is to lift mortar gradually without turning the crust into paste that smears across the finish. Working in small areas also lets you stop early if you notice any sheen change.
– Work a few inches at a time: soften, lightly scrape, then wipe clean before moving on.
– Light scraping should “flake” mortar away, not gouge.
– Wipe immediately so you don’t spread fines that later dull the surface.
– Repeat until the surface is clear, then do a final wipe with a pH-neutral cleaner to remove haze.
– After removal, look for a faint film (often gray/white) left by cement dust. That’s different from intact crust.
– Finish with clean water on a cloth only if your pH-neutral product instructions recommend a rinse; otherwise, follow the label to avoid leaving residue.
In my experience, the most common “mystery problem” is the after-clean haze: the mortar comes off, but the floor looks chalky under light. That usually means cement dust remained. A deliberate final wipe with a pH-neutral cleaner—and then thorough drying—prevents that.
What can go wrong (and how to prevent it)
Even with the right approach, hardwood cleaning can go sideways if you force the removal or change the moisture conditions. The prevention strategy is simple: avoid aggressive tools, use chemistry carefully, and manage water.
– Gouging: Using metal tools or too much force can leave permanent scratches—go slow and switch to plastic/nylon if the surface resists.
– If a spot won’t lift with controlled pressure, it’s telling you the crust is still too hard—soften again instead of “winning” with force.
– Finish damage: Strong solvents, acids, or “degreasers” can strip or cloud certain finishes—always test first in an inconspicuous area.
– Acids can be especially risky because cement residue sometimes invites people to “neutralize” it, but the finish can be more vulnerable than the mortar film.
– Water swelling: Over-wetting around edges can cause finish breakdown or gaps—use minimal moisture and keep drying towels nearby.
– Hardwood doesn’t like standing water. Use damp cloths, not puddles, and keep a dry microfiber ready to blot immediately.
If you’re cleaning a rental turnover, this is also where communication matters: document the condition before work begins. If the floor already has micro-scratches, you want to be sure you’re not accidentally treating existing wear as “mortar damage.”
Verdict: a safe, practical method (with limits)
This approach is a good choice if the mortar is dry and you can remove it gently after controlled softening. Skip DIY and consider a professional if the residue is deeply embedded, the floor finish is unknown/very delicate, or you see significant scratching already—because aggressive removal can make the damage worse.
If you’re working on engineered hardwood with an unknown topcoat thickness, be even more cautious. When in doubt, the “least invasive” path is to soften longer and scrape less aggressively, then finish with pH-neutral cleaning and proper drying.
Quick checklist for cleaning dried mortar residue
– [ ] Test in a hidden area
– [ ] Soften residue with minimal moisture
– [ ] Scrape gently with plastic/nylon tools only
– [ ] Wipe with a pH-neutral cleaner
– [ ] Dry thoroughly and check the finish after curing time
Frequently Asked Questions
How do I remove dried mortar residue from hardwood floors without damaging the finish?
Start by softening the residue with a small amount of pH-neutral cleaner or mineral spirits on a hidden spot to check compatibility. Gently scrape with a plastic putty knife or a nylon scraper—avoid metal tools that can scratch hardwood. For stubborn spots, use a damp cloth to loosen residue and repeat, then dry the area thoroughly to prevent moisture damage.
What’s the best way to clean dried mortar haze off hardwood after a tile project?
Use a microfiber cloth with warm water plus a pH-neutral floor cleaner to lift the haze first. If a white film remains, lightly mist an appropriate stone/mortar cleaner designed for surfaces like hardwood, following the label closely and keeping it off unprotected seams. Wipe again with clean water, then dry completely and re-check the finish under bright light.
Why is dried mortar so difficult to clean from hardwood floors, and how can I prevent it?
Mortar contains cementitious compounds that bond tightly when they cure, and once hardened they can scratch or dull the hardwood finish if forced off. Prevention is key: cover floors with plastic sheeting and tape edges before mixing or spreading mortar, and wipe spills immediately with a damp cloth. The quicker you remove fresh mortar residue, the less you’ll need to use scraping or stronger cleaners later.
Which cleaning solution works best for dried mortar on sealed vs. unsealed hardwood floors?
For sealed hardwood, a pH-neutral cleaner is usually safest, and mineral spirits can help with certain residue types after spot-testing. For unsealed hardwood, use less liquid because it can penetrate and cause swelling or discoloration; stick to damp cloth methods and minimal dwell time. If you’re unsure whether your floor is sealed, test in an inconspicuous area before applying any product.
How do I safely scrape and polish hardwood after removing dried mortar stains?
After residue is removed, gently polish with a clean microfiber cloth and a hardwood floor cleaner or manufacturer-recommended polish to restore sheen. Avoid aggressive sanding unless you plan a full refinishing, because localized sanding can create uneven color or texture. If the spot remains dull, consider using a floor finish refresher or contacting a flooring professional for buffing and refinishing guidance.
📅 Last Updated: November 04, 2026 | Topic: How to clean dried mortar residue from hardwood floors? | Content verified for accuracy and freshness.
References
- https://www.cdc.gov/niosh/topics/silica/default.html
- Silica, Crystalline – Overview | Occupational Safety and Health Administration
- Wood flooring
- Mortar
- NWFA | National Wood Flooring Association
- https://www.brucefloor.com/support/care-and-maintenance/
- https://scholar.google.com/scholar?q=remove+dried+mortar+cement+from+hardwood+floor Google Scholar
- https://scholar.google.com/scholar?q=hardwood+floor+cleaning+pH+neutral+avoid+acidic+cleaners+finish+damage Google Scholar
- https://scholar.google.com/scholar?q=mortar+splatter+cleanup+wood+floor+residue+scrape+do+not+sand Google Scholar



[…] This walkthrough shows you exactly what to do step by step, using a few safe supplies—like pH-neutral cleaner, clean cloths, and plastic tools—so you can work efficiently without scratching the wood. In […]
[…] rinsing—usually within an hour for a typical room. You’ll need a vacuum with a soft brush, microfiber cloths, warm water, and a mild cleaner approved for wood floors, plus a plastic scraper or non-abrasive […]