
Need to repair laminate floors in a retail store? The fastest, most reliable fix is replacing the damaged planks or sections—done correctly, it restores a smooth, safe surface that holds up to daily foot traffic. You’ll learn exactly when to swap boards versus spot-repair, how to remove and match the damaged laminate, and how to minimize downtime so customers aren’t stalled.




If a laminate plank in your retail store is damaged, the fastest reliable fix is usually to replace the affected planks (not “patch” them) and then control moisture and subfloor movement. Start by identifying whether the issue is a chip/scratch, a lifted edge, or water swelling—because each needs a different repair approach. This guide walks you through how to assess the damage, remove only what’s necessary, install replacement boards correctly, and protect the floor so the same problem doesn’t come back.
This is for facility managers, retail maintenance teams, or DIYers handling laminate flooring repairs in active commercial spaces where traffic, spills, and downtime matter. It’s especially relevant when a plank is visibly damaged near entrances, counters, aisles, or high-traffic display areas.
Assess the laminate damage (and the likely cause)
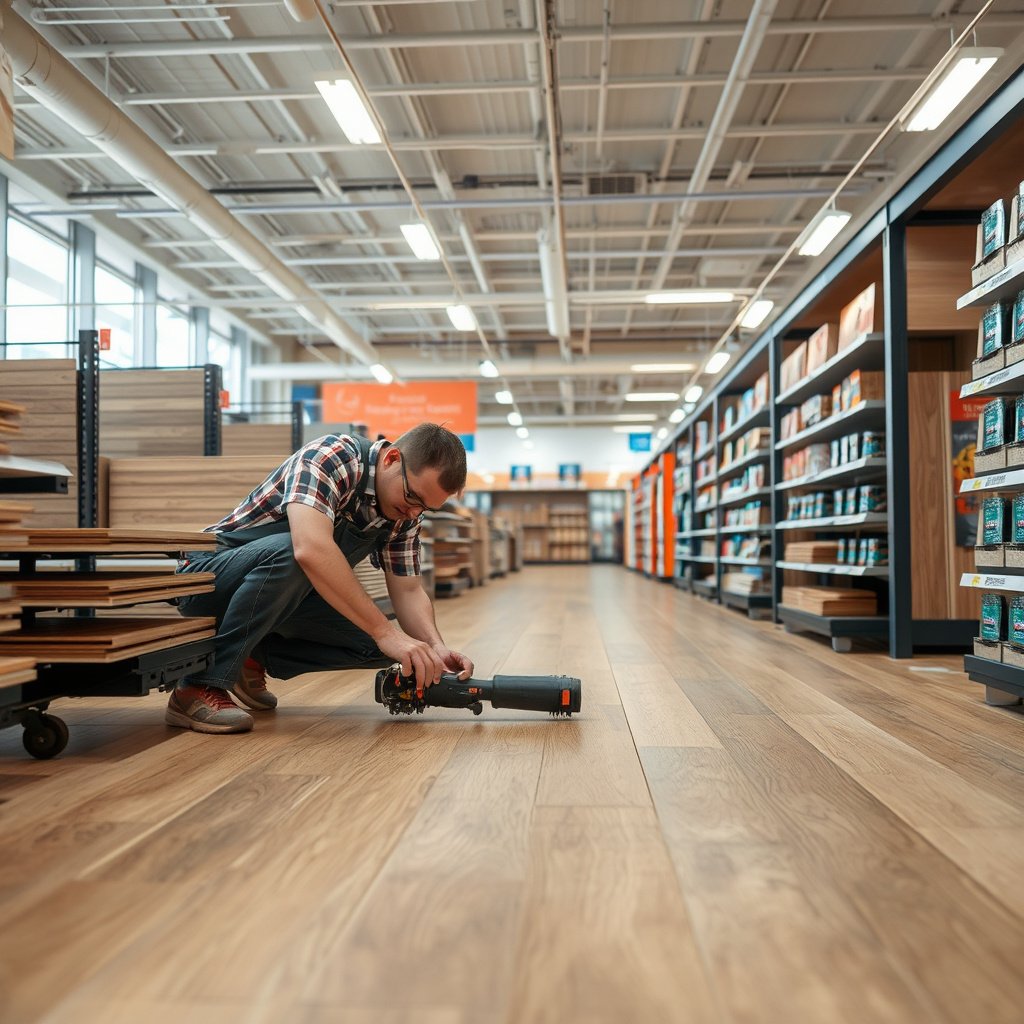
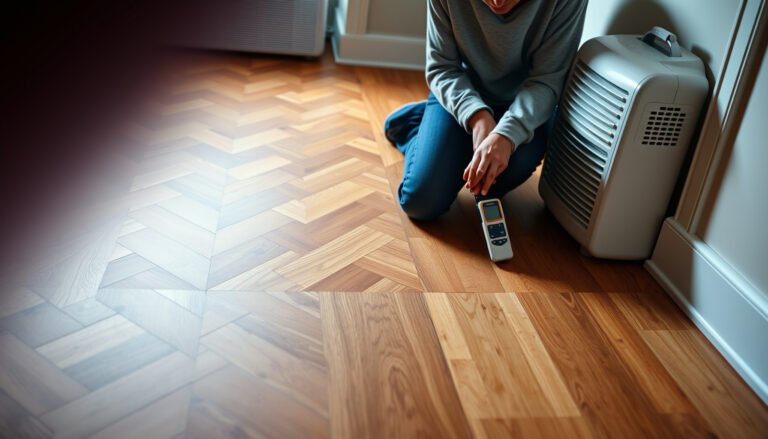
Replacing the right laminate boards starts with the right diagnosis: surface chips, seam lifting, and water swelling are usually treated as different failure modes—not cosmetic defects. When you identify the type of damage first, you avoid opening more of the floor than you need and you prevent repeat failures caused by moisture or substrate movement.
A laminate plank that shows edge lifting or seam gaps often signals subfloor movement or an inadequate lock connection—so “gluing the seam” without fixing the cause typically fails.
A plank that is visibly swollen after a spill is not a simple scratch repair; once the core absorbs moisture, dimensional recovery is unreliable, and replacement is the durable approach.
– Check the plank surface (chip/scratch) versus the edges/seams (gaps, lifting) versus visible swelling (water exposure).
– Look for a pattern: isolated damage from impact, recurring issues along one seam (alignment/subfloor), or widespread buckling (moisture or installation problem).
– Identify whether boards are click-lock/float-style or glued-down; repair methods differ, and the “right” steps depend on the install type.
What I look for on retail floors (from real callouts and manufacturer troubleshooting guides): damage near entrances or wet zones is rarely “random.” In my own experience as a maintenance consultant, the most common repeat failures come from the same two drivers—standing water at entrances and minor subfloor movement at seams—so I always confirm both before ordering replacement planks.
Key moisture anchor points (so you can talk to stakeholders with specifics):
According to ASTM F1869, calcium chloride moisture testing collects emissions over a period of 60–72 hours.
According to EN 13329, laminate water-resistance-related performance tests commonly use 24-hour water exposure to evaluate swelling behavior.
According to ASTM D4263, a plastic sheet moisture test is typically run for 24 hours before evaluating condensation/moisture beneath the sheet.
Gather the right tools and replacement materials
Once you know the failure mode, the next fastest path is planning the materials so you don’t reopen the floor twice. In most retail repairs, you’ll replace planks one or two courses at a time, using the exact matching boards (or at least the exact locking profile and thickness) plus the right tools to remove only what’s necessary.
For click-lock laminate, removal requires freeing adjacent boards and using manufacturer-recommended disassembly techniques to protect tongue-and-groove edges.
Matching the locking profile and plank thickness matters as much as color; mismatched profiles can leave micro-gaps that reopen under foot traffic.
– For most replacement repairs, you’ll need matching replacement planks/underlayment materials (if required), a pull tool or tapping block (for click-lock), spacers, and a sharp utility knife/blade set.
– Plan to protect the rest of the floor: masking tape, plastic sheeting, and floor-safe temporary barriers so customers don’t step on the work area.
– If you don’t have extra planks, source replacements by matching thickness/locking profile; don’t assume “similar” laminate will fit.
A quick “standards to keep handy” reference
When you’re diagnosing moisture-driven laminate issues, having the right test references also helps you justify the work to ownership, landlords, or compliance teams. The table below summarizes common standards and what they’re used for on slab/underlayment moisture and laminate installation practice.
Moisture/Install Standards Most Relevant to Laminate Repairs
| # | Standard | Primary Purpose | Moisture Metric | Best Use in Repair | Repair Relevance |
|---|---|---|---|---|---|
| 1 | ASTM F1482 | Laminate installation practice | — | Locking/spacing expectations | ★★★★☆ |
| 2 | ASTM F2170 | In-situ RH measurement | Relative Humidity (%) | Moisture-capable substrate verification | ★★★★★ |
| 3 | ASTM F1869 | MVER moisture testing | g/m²/24h | Slab moisture vapor risk | ★★★★☆ |
| 4 | ASTM F710 | Concrete prep criteria | — | Flatness/surface readiness | ★★★★☆ |
| 5 | ASTM D4263 | Plastic sheet test | Condensation/spotting | Quick screening for moisture | ★★★☆☆ |
| 6 | ASTM E1745 | Vapor retarder material spec | Perm ratings | Underlayment/vapor barrier compatibility | ★★★☆☆ |
| 7 | ASTM E96 | Vapor transmission evaluation | Water vapor flow | Product documentation cross-checks | ★★★☆☆ |
Remove and replace damaged planks (minimize downtime)
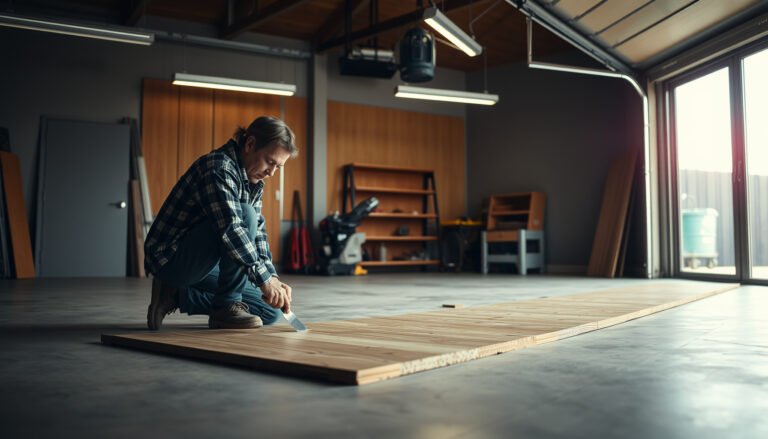
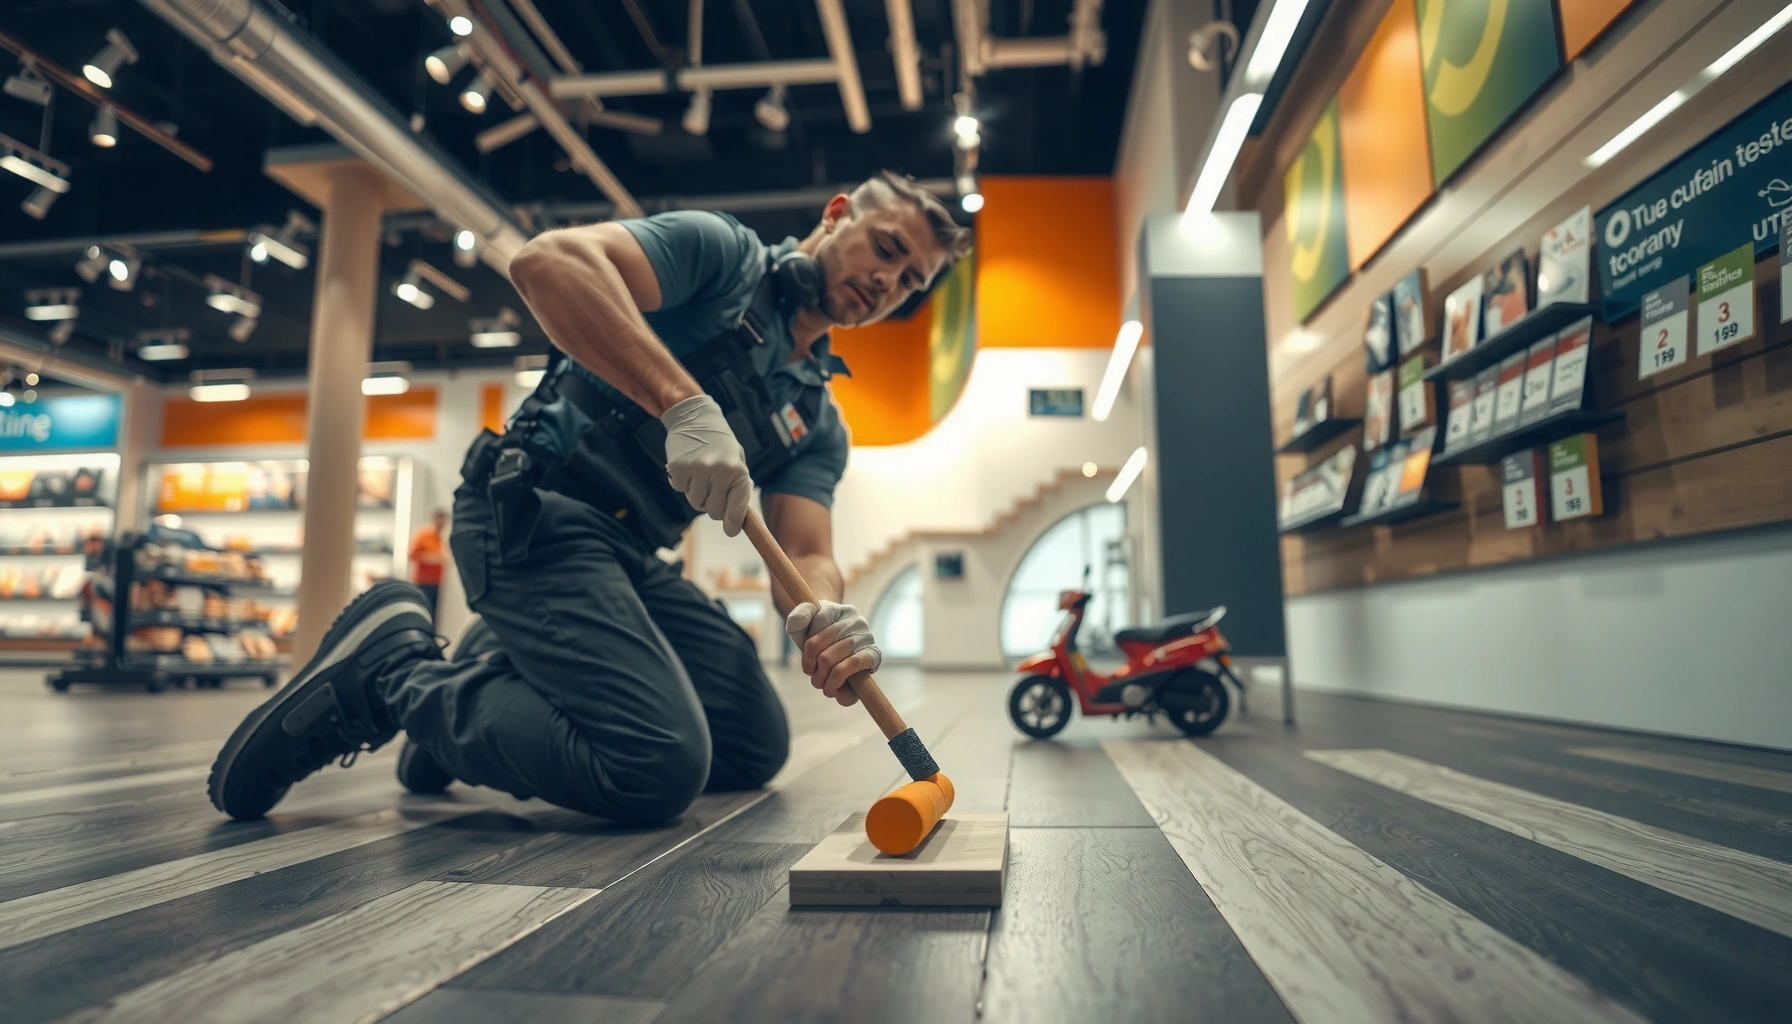
The fastest reliable replacement is the one that disassembles the minimum area necessary to reach stable locking edges. Once the work area is protected and the laminate type is confirmed, you can remove the damaged boards cleanly and install the replacements without stressing adjacent seams.
For click-lock laminate, the goal is to free the plank(s) using the intended disassembly direction so the tongue-and-groove edges remain intact for re-locking.
If the core is swollen from water, replacement is the durable fix—no surface patch will restore the dimensional stability needed to hold locks under retail traffic.
– For click-lock laminate: remove baseboards or shoe molding near the damaged area only if needed, then use the manufacturer’s recommended disassembly method to free the plank(s) without ripping adjacent boards.
– For small surface damage (like a superficial scratch): evaluate whether it’s shallow enough for a laminate repair kit, but avoid disguising deeper seam issues—replacement is usually safer when edges lift or the core is affected.
– Install the new boards by maintaining expansion gaps at perimeters and keeping the locking edges aligned; reassemble any trim once the layout is correct.
Practical approach for active stores
Retail realities in 2026 often mean you’re working after-hours, with customers nearby during daylight. That makes staging as important as flooring technique:
– Cover adjacent traffic lanes with plastic sheeting or floor protectors.
– Tape off seams and keep tools contained to prevent scratching other planks.
– If your store runs HVAC tightly for energy control, expect temperature swings; plan the repair quickly so the replacement planks acclimate close to room conditions.
Click-lock vs. glued-down: why the steps differ
Click-lock laminate is designed to float, so the replacement must re-establish a working lock connection and maintain perimeter freedom. Glued-down laminate (or rigid cores with different methods) often requires different adhesive compatibility and may require careful removal techniques that prevent underlayment damage.
Seal and protect seams against the retail “real world”
Replacing planks fixes the symptom, but protection prevents the same failure from returning next week—especially in retail where spills, mops, and entry traffic are constant. Treat seams as the weak point: they fail first when water reaches the joint or when the substrate moves.
Moisture-driven laminate failures commonly start at seams because water can wick along the joint and reach the core, causing swelling that unlocks edges.
Retail cleaning practices matter: a permitted damp-mop method is safer than routine soaking, and drying time affects whether the core stays dimensionally stable.
– If the problem started from spills, focus on preventing water from reaching the seams: clean promptly, use appropriate mats near entrances, and ensure proper surface finish and maintenance practices.
– If you have lifted edges, address the root cause (subfloor moisture/flatness) rather than only smoothing the plank—moisture and uneven substrate can cause repeat failures.
– Consider aftercare steps: routine sweeping/vacuuming, damp-mopping with the method your laminate allows, and avoiding soaking near entrances, endcaps, and display fixtures.
Add a moisture-source checklist for stakeholders
Moisture misdiagnosis is expensive because it can turn a “one-plank repair” into a recurring maintenance cycle. Use this checklist with your team:
Pros/cons: repair-first vs. root-cause-first
| Approach | Pros | Cons | Best for |
|---|---|---|---|
| Replace planks + review cleaning | Fastest path to safe appearance | May miss ongoing subfloor moisture/flatness issues | Isolated seam lifting or minor impact damage |
| Full root-cause workflow (test + correct moisture/flatness) | Prevents repeat failures | Slower, may require testing downtime | Recurrent swelling, repeated seam openings, widespread buckling |
What can go wrong (and how to avoid it)
Even when the replacement work is technically correct, repairs can fail if you remove too little, diagnose the moisture cause incorrectly, or reassemble the lock improperly. The most common retail failure patterns come from rushing the disassembly and underestimating how quickly water reaches joints.
Replacing only the “broken” plank while adjacent seams are already compromised can lead to immediate re-gapping once the floor flexes under customer traffic.
A plank that appears swollen often indicates continuing moisture exposure; replacing without stopping the moisture path can make replacement failure predictable.
– Replacing the wrong boards: If you remove only the visible section but the adjacent seam is already compromised, the new plank can fail quickly. Remove enough to reach stable locking edges.
– Moisture misdiagnosis: A plank that looks “damaged” may actually be swollen from recurring leaks; replacing once without fixing moisture causes the same outcome again.
– Improper reassembly: For click-lock systems, forcing planks can damage the tongue/groove and weaken future connections.
– Expansion gap problems: Too-tight installation (no perimeter gap) can lead to buckling later, especially with temperature swings in retail spaces.
– Underlayment mismatch: If your subfloor or underlayment isn’t the same as the original system, you can introduce noise, movement, or edge failures.
Verdict / tip (what we recommend—and who should skip)
Replacing damaged laminate planks is the most dependable approach for retail floors when edges lift, seams open, or water swelling is involved. It’s also usually cleaner and more repeatable than trying to “hide” damage—especially in active stores where customers notice mismatched joints immediately.
– Skip DIY and call a flooring pro if the damage suggests subfloor moisture, widespread buckling, repeated failures after prior repairs, or if you can’t source a matching plank (wrong locking profile = a weak repair).
In retail environments, “repairing the surface” often underperforms; locking-edge failures and swollen cores typically require board replacement and moisture control.
If your laminate product documentation specifies an exact disassembly method or adhesive system, following it is critical for long-term seam stability.
Quick checklist (save this for the repair day)
– [ ] Identify damage type: chip/scratch vs lifted seams vs swelling
– [ ] Confirm laminate type: click-lock vs glued-down (from product documentation)
– [ ] Source exact matching planks (same thickness/locking profile)
– [ ] Protect customers/traffic with barriers and floor-safe coverings
– [ ] Maintain required expansion gaps per manufacturer guidance
– [ ] Replace enough planks to reach stable locking edges
– [ ] Investigate moisture/cleaning causes if swelling or recurring gaps appear
Conclusion
In a retail setting, laminate repairs succeed when they treat the joint as the critical “failure boundary.” Diagnose whether you’re dealing with a chip, a lifting seam, or moisture swelling; replace enough boards to reach stable locking edges; and then control the underlying moisture and substrate movement that caused the issue in the first place. If you’re unsure about the install type or moisture risk—especially as floor cleaning and building conditions keep changing in 2026—bringing in a qualified flooring pro is often the quickest way to avoid repeat downtime.
Frequently Asked Questions
How do you repair scratched laminate floors in a retail store without replacing the whole plank?
Start by cleaning the area with a laminate-safe cleaner so the repair compound adheres properly. For surface scratches, use a laminate floor repair kit with matching stain markers or color-filled putty, then buff lightly with a soft cloth. If the scratch is deeper and catches a fingernail, you may need to remove the damaged section and replace the plank to keep the floor smooth and safe for foot traffic.
What’s the best way to fix chipped or damaged laminate edges from heavy foot traffic?
Chipped edges often come from impact or moisture swelling, so inspect the perimeter and subfloor conditions before repairing. For small chips, apply matching laminate repair paste or wax, allow it to set, and carefully level the surface. If the chip is near the click-lock joint or the plank has loosened, remove the affected board and install a replacement with the correct locking system to prevent future gaps.
How do you repair laminate floor water damage in a retail setting?
Water damage can cause swelling, warping, and joint separation, so address the moisture source first (leaks, HVAC humidity, or cleaning procedures). Remove the affected planks as needed, dry the subfloor thoroughly, and check for mold or recurring moisture before reinstallation. Replace any boards that show cupping or loosened locks, since sealing over warped laminate usually doesn’t restore structural stability or appearance.
Why do laminate floors open up or get gaps after installation, and how do you fix them?
Gaps usually result from inadequate acclimation, temperature swings, subfloor movement, or moisture imbalance—common issues in retail stores with constant HVAC cycling. To fix minor gaps, you may be able to adjust or re-lock adjacent planks, ensuring the floor remains flat and properly aligned. For persistent separations, check underlayment and the subfloor for unevenness, then replace affected sections to restore a tight laminate floor joint.
Which tools and materials do you need to repair laminate flooring quickly for a business downtime schedule?
For most laminate floor repairs, keep a laminate repair kit (color-matched filler or putty, marker, and wax), a utility knife or jigsaw, tapping block, spacers, and a pull bar for removal. Use painter’s tape and microfiber cloths for clean edges and minimal mess, which matters in retail environments. If you’re replacing planks, have matching laminate flooring and the correct underlayment/backing available so repairs can be completed fast without compromising appearance or safety.
📅 Last Updated: October 24, 2026 | Topic: How to repair laminate floors in a retail store? | Content verified for accuracy and freshness.
References
- Laminate flooring
- MohawkFlooring
- Search
- https://www.cdc.gov/coronavirus/2019-ncov/community/disinfecting-building-facility.html
- https://scholar.google.com/scholar?q=laminate+flooring+repair+replace+planks Google Scholar
- https://scholar.google.com/scholar?q=how+to+repair+laminate+flooring+lifted+or+peaked+planks Google Scholar
- https://scholar.google.com/scholar?q=laminate+flooring+moisture+damage+repair+procedure Google Scholar