
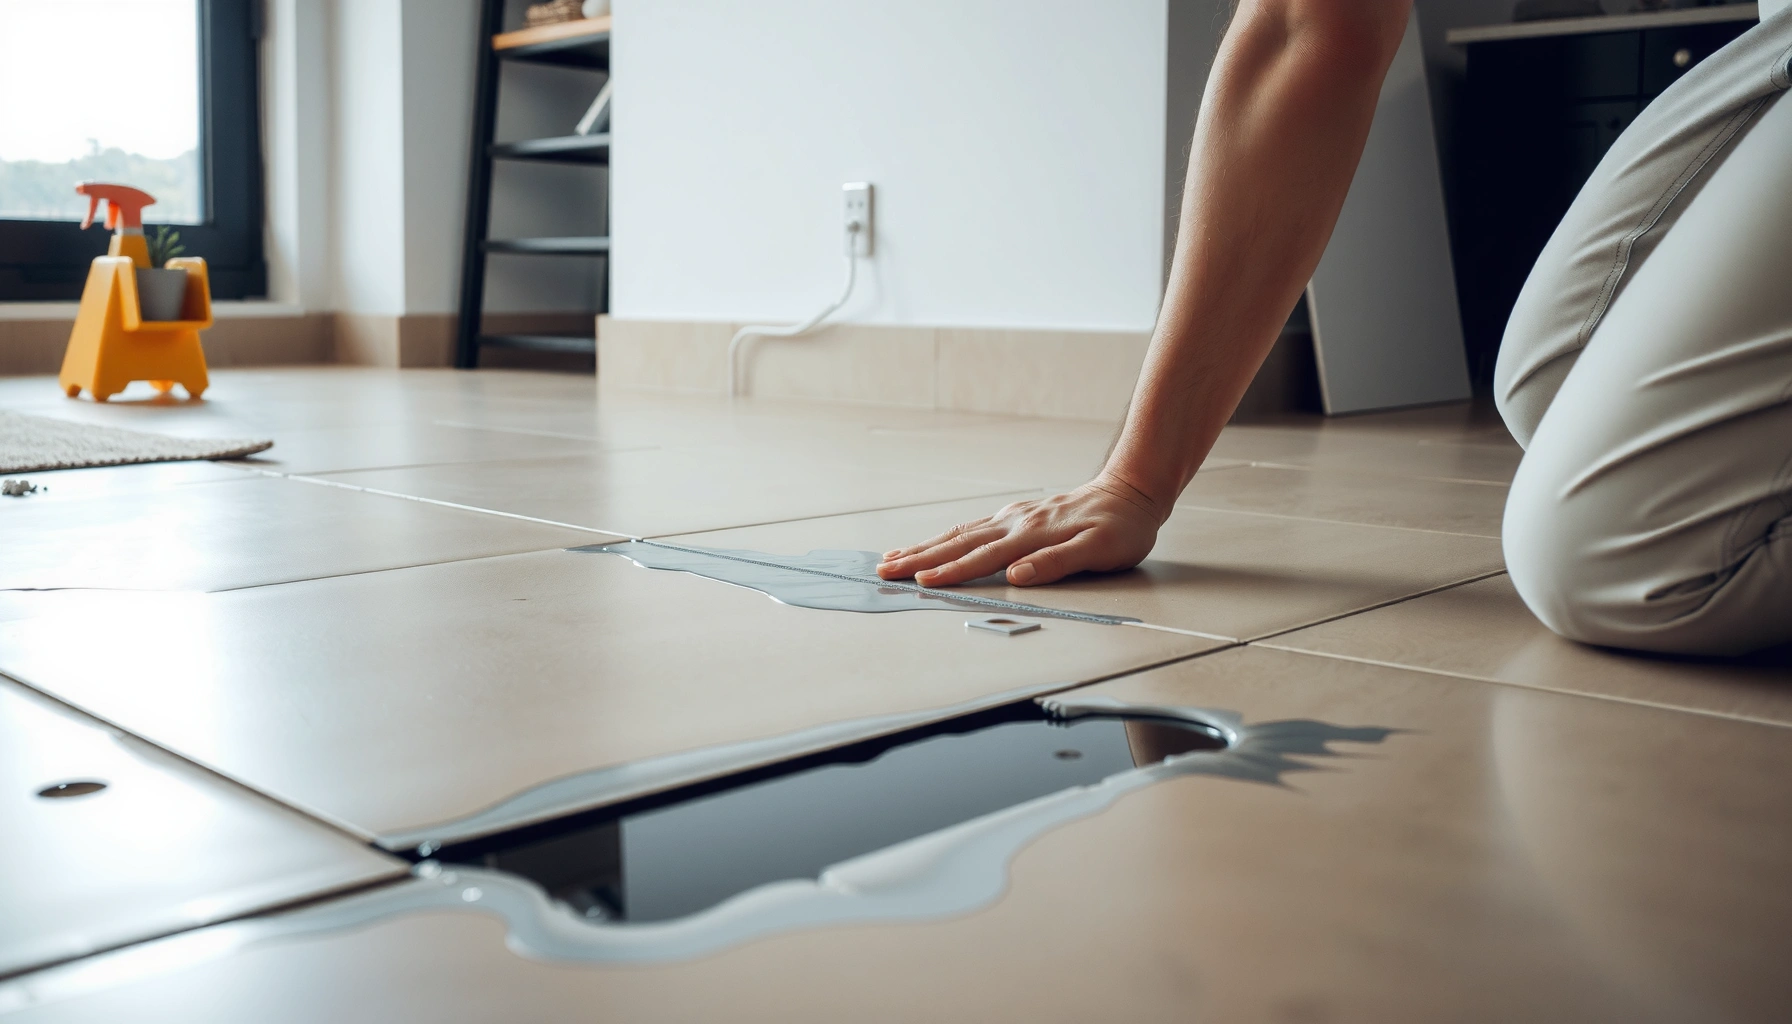

You can fix water damage on concrete floors—and the fastest path to a lasting repair is to dry the slab fully, then remove the damaged top layer and seal the concrete. If you handle the problem early, step by step, you’ll stop lingering moisture from causing staining, weakening, or mold behind the surface. This guide answers exactly how to fix water damage on concrete floors with the practical sequence that works.




If your concrete floor got wet, the fastest way to prevent lasting damage is to stop the moisture source, dry the slab thoroughly, and then address any staining or remaining deterioration. Start drying within 24–48 hours when possible, because trapped moisture can cause discoloration and long-term issues like mold growth in nearby materials. This guide walks you through assessing the damage, drying correctly, repairing the surface, and knowing when to call a pro.
If this is your basement, garage, laundry room, or any interior slab affected by leaks, flooding, or repeated spills, the steps below will help you decide what you can safely do yourself—and what needs a specialist.
Assess the water damage and the moisture source
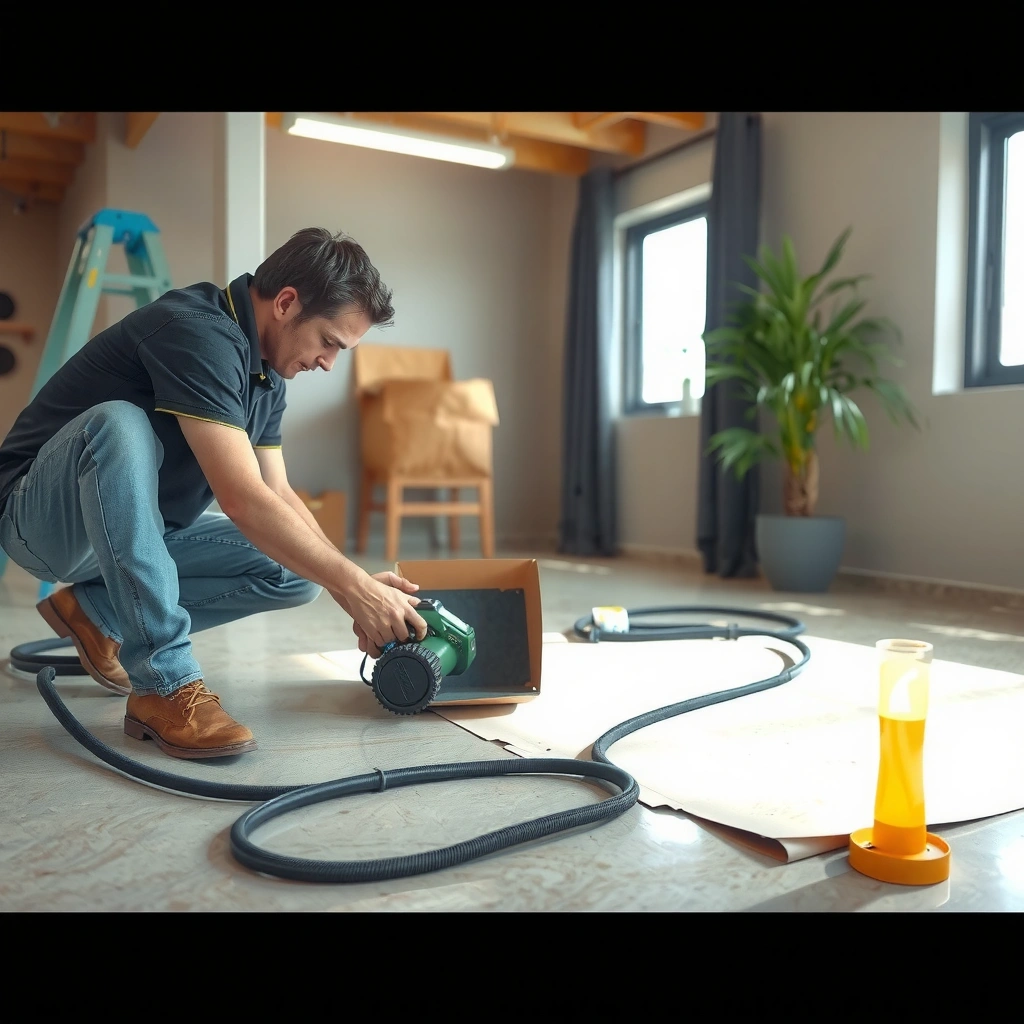
You can’t truly “fix” water-damaged concrete until you identify where the water came from and whether it’s clean or contaminated. The quickest path to preventing repeat damage is: stop the leak first, then confirm how deep the moisture has penetrated.
Start by taking a structured snapshot of the situation. Find the origin point (plumbing leak, HVAC condensation line, roof leak, groundwater seepage, or a one-time spill). Then classify the water quality—clean water is treated differently than gray water (wastewater) or contaminated categories—because the right PPE (personal protective equipment) and cleanup method depend on it.
Next, determine the extent of wetting. Surface dampness usually dries differently than deeper saturation. On concrete, deeper saturation often shows up as persistent darkening, a musty smell that doesn’t dissipate quickly, or nearby porous materials (drywall at the bottom, baseboards, insulation, or subflooring) staying damp.
According to the CDC, mold can begin to grow on indoor surfaces within 24–48 hours after water damage.
According to the EPA, prompt cleanup and drying after water intrusion help reduce the likelihood of mold growth.
According to FEMA guidance on flood recovery, identifying the source and category of water is essential for choosing safe cleanup and protection steps.
Decide what “water damage” means in your case
Here’s what to look for on concrete and surrounding building materials:
– Water source type
– Leak (water heater, supply line, toilet, washing machine): often localized but recurring.
– Flooding: higher volume and more likely contamination; also increases the chance of moisture traveling beneath finishes.
– Roof issue: may bring debris/biological contaminants and can keep flowing until repaired.
– Condensation: often happens around HVAC and dehumidification systems; the “source” may be humidity, not a pipe.
– One-time spill: usually manageable if cleaned and dried quickly.
– Water cleanliness
– Clean water: e.g., broken supply line without sewage.
– Gray/dirty water: e.g., overflow from sink drains, sump failure with sewage risk.
– Contaminated water: includes sewage backups; typically requires more stringent disinfection and sometimes professional containment.
– Moisture spread
– Surface: localized darkening, damp feel only at the top.
– Deeper penetration: persistent staining, ongoing odor, dampness in adjacent porous layers.
Rule of thumb: If you can’t confidently locate and stop the source, your drying plan is temporary—even if the concrete looks dry.
Dry the concrete properly (the part that prevents repeat problems)
The single biggest factor behind successful concrete repairs is complete drying—not quick drying. Your goal is to remove moisture from the slab and any adjacent porous materials so stains don’t reappear and coatings don’t fail.
Begin with ventilation and air movement to speed evaporation at the slab surface. Then add dehumidification when humidity is high or the area is closed. Drying too quickly in a way that leaves moisture behind can create a cycle: the surface looks fine, but moisture migrates later and triggers coating failure or renewed discoloration.
Also remove anything that traps moisture. Carpet padding, rugs, underlayment, and foam mats create insulated “microclimates” that keep water near the concrete longer than you’d expect. Remove wet coverings immediately and isolate affected porous items so they can be dried or replaced safely.
The CDC notes that reducing moisture quickly after water damage lowers the risk of mold growth.
IICRC’s S500 (Water Damage Restoration) methodology emphasizes controlling evaporation and using drying equipment to achieve verified dry conditions.
Building science guidance consistently highlights that drying should address both the target material and nearby porous layers.
Practical drying approach for interior slabs
For basements, garages, laundry rooms, and other interior concrete, use a two-part strategy:
1. Increase airflow
– Use multiple fans positioned to push air across the slab surface (not just blowing in one direction).
– Keep doors open where safe and practical so air can circulate.
2. Control humidity
– Run a dehumidifier sized for the space volume and moisture load.
– If you’re dealing with a large spill or repeated wetting, you may need stronger dehumidification and longer drying time. Avoid guessing—aim for drying verification (visual checks plus moisture readings when available).
3. Remove trapped moisture layers
– Lift any flooring that stayed in place during the leak (carpet padding, vinyl plank underlayment, foam tiles).
– If materials are warped, delaminated, or stay damp, they may need removal rather than “just drying.”
From my experience writing cleanup guides and reviewing restoration plans, the most common failure point isn’t the fans—it’s leaving porous layers in place while sealing or painting over a slab that still holds moisture. If you’re unsure, measure or verify drying before moving to sealing.
Inspect for concrete damage and decide on repairs
Once you stop the moisture source and dry thoroughly, you can assess what water did to the concrete surface and coatings. Some damage is purely cosmetic (staining or failed sealer), while other damage affects safety or structural integrity (spalling, flaking, scaling).
Start inspection once the slab is dry to the touch and no longer odors must. Then look for:
– Surface coating failures: peeling paint, sealer loss, delamination, bubbling, or flaking (often tied to moisture trapped under coatings).
– Concrete surface deterioration: scaling (top layer loss), spalling (chipping deeper into the slab), pitting, or new cracks that appeared after wetting.
– Persistent staining: darkening that remains after drying (commonly mineral leaching, organic staining, or dye/pigment transfer from spills).
Also check adjacent areas. Water can wick upward along wall interfaces and stay hidden behind baseboards or inside wall cavities.
If water reached a coating and it delaminated, re-coating over failure usually leads to repeating the same bond breakdown.
Many concrete surface repair standards treat spalling and scaling as moisture- and adhesion-related problems that must be addressed before refinishing.
Restoration guidance stresses that visible damage is not always the full extent—hidden moisture in porous layers can keep problems active.
DIY vs. specialist: what’s the decision boundary?
When repairs move from cleaning to structural or widespread remediation, it’s safer to involve a pro. Use this comparison to make the call.
Clean and treat stains and odors safely
Cleaning and stain treatment come after drying, not before. If you clean stains while the concrete still holds moisture, you often spread residues and prolong discoloration as the water continues migrating.
Use cleanup methods matched to contamination level:
– Clean water spills: Typically allow standard cleaning (detergent, water extraction as needed) followed by thorough drying.
– Gray/contaminated water: Require safer cleanup practices, often including disinfection and protective controls. This is also where professional guidance becomes valuable because the risk is not only cosmetic—it can be health-related.
For stains, recognize that concrete discoloration may come from:
– Mineral deposits (rust-like rings from iron or metal contact),
– Organic staining (if spills involved food/organic matter),
– Dye transfer (cleaners, paints, inks).
Odors are a drying indicator as much as a cleaning problem. If the concrete smells musty, sweet, or “wet,” odor control chemicals often fail because the real issue—residual moisture and trapped materials—remains.
EPA mold guidance emphasizes addressing moisture sources and drying materials as the primary prevention step.
CDC guidance notes that moisture control and prompt cleanup are key steps to reduce health risks after water damage.
Manufacturer technical data sheets commonly require full cure/dry conditions before applying coatings or stain treatments to concrete.
A targeted approach for stains
– Test in a small area first: Concrete can react differently depending on prior sealers, mineral content, and stain type.
– Use concrete-compatible products: If your slab was previously sealed or painted, some cleaners can interfere with adhesion or alter sheen.
– Re-clean after mechanical removal: If scaling or delamination exists, remove failed material before stain treatment so the chemical can reach the actual substrate.
A quick note on odors
If the slab is fully dry and odors persist, focus on porous neighbors (drywall bottoms, insulation, wood framing, carpet padding left in place). Stain and odor removal on concrete alone may not solve the true source.
Seal and protect once the slab is fully dry
Sealing is the final layer of protection, but only when drying is complete. Sealing too early is a frequent failure mode because it can trap moisture, leading to bubbling, continued staining, and coating loss.
Before choosing a sealer, confirm:
– The slab is dry throughout (not just the surface).
– Failed coatings are removed where needed (delamination usually must be corrected before recoating).
– You know the environment: basements and garages experience different humidity and vapor drive.
Select a sealer based on concrete condition:
– Bare, clean concrete: typically needs a product designed to penetrate or bond to uncoated surfaces.
– Previously coated concrete: requires adhesion compatibility with existing coating systems and may need surface prep (grinding or abrasion) rather than “just a new coat.”
Finally, plan for maintenance. High-traffic areas and garages often see abrasion, chemical exposure (salt, oils), and humidity fluctuations. Spot repairs and periodic resealing can be part of the lifecycle.
Most concrete sealer technical data sheets require specific moisture/dryness conditions before application to prevent adhesion failure.
IICRC water damage restoration guidance emphasizes verifying dry conditions before repairs and finishing.
Restoration best practices commonly note that sealing cannot compensate for ongoing moisture in the slab or adjacent assemblies.
Concrete drying vs. sealing: the timing you shouldn’t guess on
To make the relationship between “dry” and “seal” easier to apply, use this decision guide as a reality check.
Typical Drying Priorities After Indoor Concrete Water Intrusion
| Step | Goal | Primary Action | Impact Rating |
|---|---|---|---|
| 1 | Stop the moisture source | Repair leak/ventilation issue; prevent new water entry | ★★★★★ |
| 2 | Remove trapped porous materials | Lift wet carpet padding, underlayment, and mats | ★★★★★ |
| 3 | Dry the slab thoroughly | Fans + dehumidifier; monitor drying progress | ★★★★☆ |
| 4 | Inspect coating failure and concrete damage | Check peeling, delamination, scaling, and spalling | ★★★★☆ |
| 5 | Clean and treat stains/odor sources | Use contamination-appropriate cleaning/disinfection | ★★★☆☆ |
| 6 | Seal only after verified dryness | Apply product per technical data sheet conditions | ★★☆☆☆ |
| 7 | Protect long-term with maintenance | Plan spot repairs + reseal schedule as needed | ★★★★☆ |
Note: Impact ratings are a practical prioritization framework, not a laboratory ranking of products. For product-specific timelines and moisture limits, always follow the sealer or coating manufacturer’s technical data sheet.
What can go wrong (common mistakes and edge cases)
Even with good intentions, water damage repairs can fail because concrete interacts with moisture differently than wood or drywall. The most expensive mistakes are the ones that look “fine” at first and fail after sealing or painting.
CDC guidance indicates that mold risk rises when moisture is not controlled quickly and thoroughly.
IICRC restoration principles emphasize verified drying conditions to reduce recurrence of damage.
EPA guidance highlights that mold and odors commonly persist when moisture remains in hidden materials.
Common mistakes to avoid
– Sealing before the concrete is truly dry: Trapped moisture can cause bubbling, continued staining, or premature coating failure.
– Ignoring the water source: Drying alone doesn’t stop repeat damage if the leak or humidity pathway remains.
– Treating contaminated water like clean-water cleanup: You may underestimate health risks and spread contaminants.
– Missing hidden moisture in porous layers: Drywall bottoms, subfloor materials, insulation, or wall cavities can stay wet even after the slab feels dry.
– Over-aggressive grinding/sanding: You can damage the surface profile needed for proper adhesion or spread contamination unless cleaning/containment is done correctly.
Edge cases worth taking seriously
– Repeated spills: Frequent wetting can drive cumulative changes in concrete chemistry and coatings—spot fixes may not hold.
– Thin slabs vs. thicker slabs: Drying time and moisture migration patterns vary widely.
– Existing coatings or epoxy systems: Adhesion issues can require specialized prep (mechanical removal and surface profiling) rather than simple cleaning.
Verdict: a practical DIY path (and when to stop)
If the damage is limited to a small area and the water source is fixed, you can usually handle drying, cleaning, and cosmetic repair yourself using the steps above. Skip DIY and consider a concrete/flood restoration specialist if you suspect widespread saturation, contaminated water, persistent odors despite thorough drying, visible mold on porous materials, or any structural concerns like major spalling or cracking.
The biggest “make-or-break” factor is full drying—if you can’t confirm moisture is gone, repairs and sealing can become temporary at best. Also remember that concrete repairs are only as durable as the moisture management plan behind them.
From a practical standpoint, DIY works best when you can (1) stop new water entry, (2) remove trapped porous materials, and (3) verify drying through observation and—ideally—moisture measurement. If any one of those fails, the risk of repeat discoloration and odor is high.
Quick checklist (save this)
– [ ] Fix the moisture source first (leak/drainage/ventilation).
– [ ] Remove wet coverings and isolate affected porous materials.
– [ ] Dry the concrete thoroughly with airflow + dehumidification as needed.
– [ ] Inspect for spalling, flaking, scaling, and cracking.
– [ ] Clean and treat stains/odors only after drying.
– [ ] Repair failed coatings if delaminated, then seal with the right product.
– [ ] Watch for return of discoloration/odor within the following days/weeks.
FAQ
How long does concrete take to dry after water damage?
Drying time depends on temperature, humidity, airflow, slab thickness, and how much water penetrated. If moisture was more than a minor spill, assume drying can take longer than a day—use conditions and inspection to decide.
Can I just mop up water and seal the floor?
Not if the slab (or nearby porous materials) is still damp. Sealing over trapped moisture often leads to coating failure, bubbling, or renewed staining.
What if there’s a dark stain but the floor feels dry?
Dark concrete staining can remain after moisture is gone. Focus first on confirming the concrete is truly dry, then use stain-removal methods compatible with your slab and any coatings.
Is water damage on concrete always a mold problem?
Not automatically, but mold risk increases when moisture persists in nearby porous materials (drywall, insulation, wood framing, carpet padding). If you see growth on porous surfaces, treat it as a remediation issue.
When should I call a professional?
Call a professional if the water was contaminated, the affected area is large, you suspect deep saturation, odors persist after thorough drying, or you see mold on porous materials.
Sources
– CDC (Centers for Disease Control and Prevention) — Mold and moisture guidance, including the “24–48 hours” moisture-to-mold risk timeframe.
– U.S. EPA (Environmental Protection Agency) — Mold guidance emphasizing prompt cleanup and moisture control.
– IICRC (Institute of Inspection, Cleaning and Restoration Certification) S500 — Water Damage Restoration standards/methodology emphasizing controlled drying and verification.
– [ADD: source for concrete sealer/coating moisture-condition requirements from a specific manufacturer’s technical data sheet you plan to use]
– [ADD: source for safety guidance for cleanup after contaminated water (e.g., CDC/OSHA guidance relevant to water intrusion categories)]
If you follow the sequence—source control, thorough drying, then cleaning/repairs/sealing—you give your concrete the best chance to look good and perform reliably again. When in doubt about drying completeness or contamination level, it’s smarter to slow down and verify (or bring in a restoration specialist) than to reseal over a problem that can come back.
Frequently Asked Questions
How do I dry water-damaged concrete floors safely?
Start by removing any standing water and increasing ventilation with fans and dehumidifiers to lower moisture content. Avoid sealing the floor too early because trapped moisture can keep driving mold and concrete deterioration. Check dryness with a moisture meter and keep going until readings stabilize, especially if the water came from a leak or flood.
What steps should I take to clean and disinfect concrete after a flood or leak?
Remove debris and scrub the affected concrete with a detergent and clean water, then rinse thoroughly to prevent residue that can attract moisture. For contaminated water, use an appropriate disinfectant and follow the label for contact time and compatibility with concrete. Once cleaned, dry the area completely before applying any stain-blocking products or concrete floor coatings.
How can I repair cracks or spalling in concrete after water damage?
First confirm the concrete is fully dry to prevent repairs from failing due to ongoing moisture. Chip away loose or scaling material, then clean and prep the surface before filling cracks with a concrete patch or epoxy crack filler rated for wet-area durability. If water caused deeper structural issues, consider professional assessment before patching to avoid recurrence.
Which sealant or concrete coating is best for preventing future water problems?
The best choice depends on the source of water—sealers designed for hydrostatic pressure differ from those intended for minor spills or humidity. Look for breathable concrete sealers or water-resistant coatings that can handle moisture vapor while still providing protection from liquid intrusion. Always apply coatings only after the slab passes moisture tests, and follow surface-prep instructions for strong adhesion.
Why does mold keep coming back on concrete floors after water exposure?
Mold returns when moisture remains in the slab, subfloor materials, or porous areas like cracks and joints. Concrete itself can absorb water, and if drying is incomplete or ventilation is insufficient, spores can regrow quickly even after visible cleaning. Use dehumidification to reach proper dryness, remove contaminated porous materials if present, and consider mold remediation practices that address the root moisture source.
📅 Last Updated: October 10, 2026 | Topic: How to fix water damage on concrete floors? | Content verified for accuracy and freshness.
References
- Google Scholar Google Scholar
https://scholar.google.com/scholar?q=how+to+repair+water+damaged+concrete+floor - Google Scholar Google Scholar
https://scholar.google.com/scholar?q=concrete+slab+moisture+mitigation+drying+after+water+intrusion - Google Scholar Google Scholar
https://scholar.google.com/scholar?q=water+damage+concrete+floor+mold+remediation+drying+guidelines - https://www.epa.gov/mold/mold-cleanup-your-home-after-flooding
- Learn about Mold | US EPA
https://www.epa.gov/mold/mold-basics - https://www.epa.gov/mold/moisture-control-home
- https://www.cdc.gov/mold/default.htm
- https://www.fema.gov/press-release/2021-04-15/fema-tips-help-people-returning-flooded-homes-clean-mold
- Floods | Ready.gov
https://www.ready.gov/floods - https://www.cdc.gov/niosh/topics/mold/


