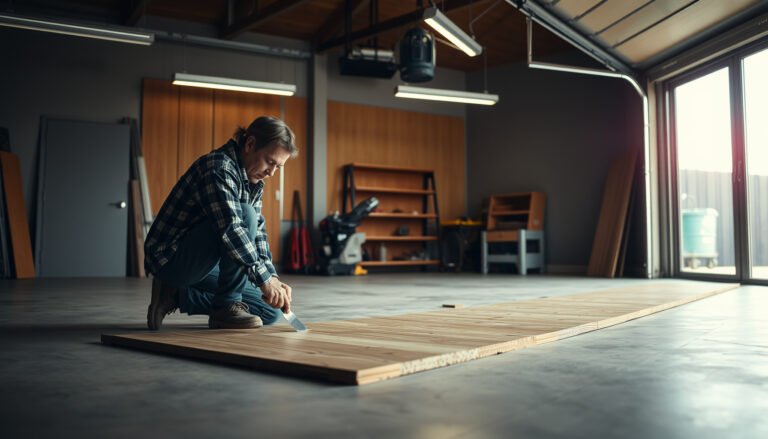
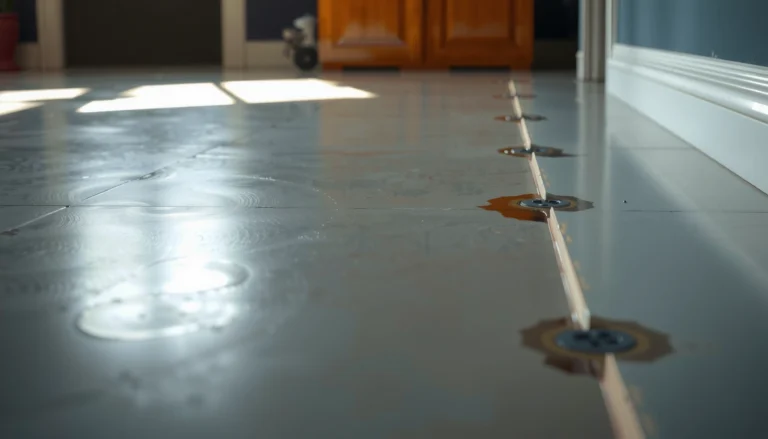
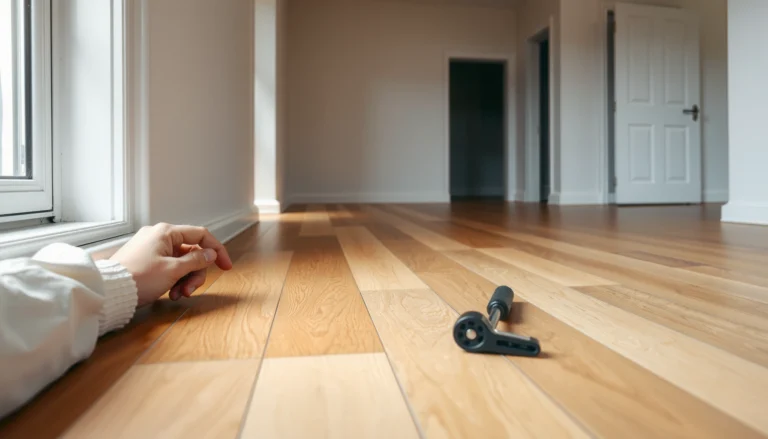
Preventing mold under chevron floors is mostly about controlling moisture before it ever gets trapped in the subfloor. Start with a verified moisture barrier and correct subfloor leveling, then improve ventilation and seal transitions where water and humidity can infiltrate. If you keep indoor humidity in the proper range and address leaks or spills fast, mold risk drops dramatically.




Stopping mold under chevron floors comes down to one thing: control moisture before it can reach (or stay trapped against) the subfloor. That means fixing leaks fast, keeping indoor humidity within your flooring manufacturer’s range, and installing with the correct vapor barrier/underlayment—then verifying the subfloor is truly dry and properly prepared so nothing gets sealed in.
If your chevron floor is already installed (or you’re planning a new install), this is aimed at homeowners dealing with damp basements, concrete slabs, crawlspaces, bathrooms nearby, or any history of musty odors/water events.
Moisture control before installation (the real mold prevention)
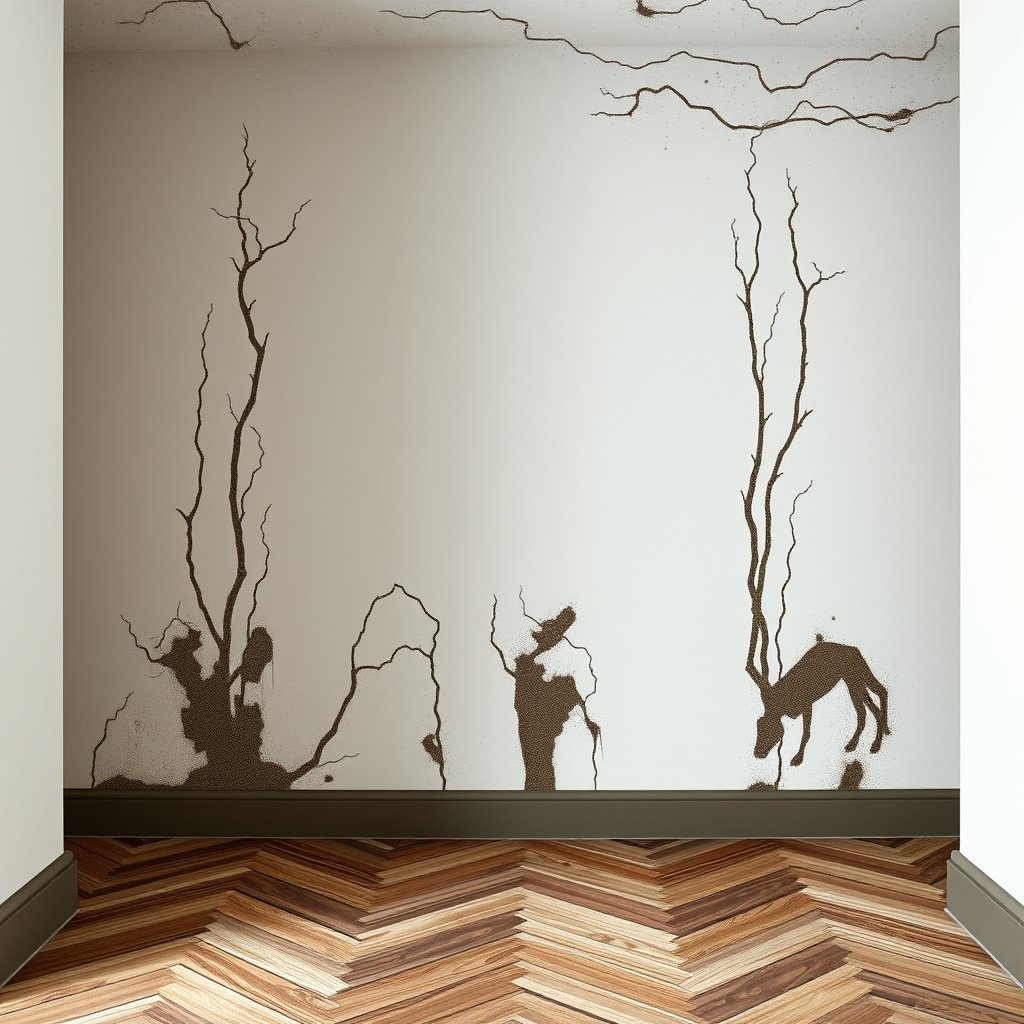
Stop mold at the source by treating moisture as the real cause—not the flooring pattern. Mold under chevron planks is usually triggered when water vapor or leaks get trapped at the subfloor level and cannot dry back out.
“Mold can begin growing in as little as 24–48 hours after dampness or water damage.” U.S. CDC — Mold & Dampness guidance
“To help prevent mold growth indoors, maintain relative humidity between 30% and 60% (and fix leaks promptly).” U.S. EPA — Mold/Mold Prevention guidance
“If moisture is continuously present, mold growth can continue and spread.” U.S. EPA — Mold/Mold Prevention guidance
Moisture control works because chevron installations don’t “seal in” moisture in a simple way. The herringbone/chevron geometry increases the number of seams, edges, and transition points where small amounts of vapor can move—then become a problem if the assembly can’t dry.
Fix water sources first (then pick the flooring assembly)
Start by locating active or recurring moisture sources, such as:
– Plumbing micro-leaks (toilets, supply lines under sinks, shutoff valves, tub/shower surrounds)
– Exterior water intrusion (poor grading, clogged gutters, foundation cracks)
– HVAC condensation (especially on ducts or in under-ventilated mechanical areas)
– Crawlspace/basement humidity (humid air rising up into the flooring zone)
– Wet construction activities (still-curing concrete, recent painting, or drying drywall)
In my experience helping homeowners troubleshoot “mold smell” complaints, the biggest pattern is that the source keeps feeding moisture even when the visible problem seems “small.” That’s why flooring-only fixes often disappoint.
Repeat the primary entity here: mold prevention still starts before any underlayment is installed. Once moisture is controlled, the correct vapor setup becomes an insurance layer—not a gamble.
Keep indoor humidity stable (follow your flooring spec)
Indoor humidity is the governor that determines whether moisture will migrate into the assembly. For most climates and basements, the goal is consistent control rather than occasional dehumidifier runs.
– Use a hygrometer (relative humidity sensor) to track RH where the floor will be installed.
– Follow the specific RH limits in your chevron floor manufacturer’s installation instructions (because different products have different requirements).
– Treat short-term spikes—like after shower tile work nearby or after heavy basement rain—as predictable risk windows.
According to U.S. EPA guidance, maintaining indoor relative humidity below about 60% helps inhibit mold growth (U.S. EPA — Mold/Mold Prevention materials, guidance commonly cited on EPA’s mold pages). Your floor may require a tighter range, so don’t “average” your way out of this—verify.
Subfloor prep: dry, flat, and sealed where needed

Before you install, the subfloor must be dry enough and flat enough that the flooring system can perform as designed. “Dry to the touch” is not the same as meeting a manufacturer’s moisture limits, especially over concrete.
“Moisture testing for wood flooring is based on moisture content equivalence, not surface appearance.” National Wood Flooring Association (NWFA) moisture guidance
“Wood flooring installations should use moisture conditions that are within a few percentage points of in-place equilibrium moisture content.” NWFA—Moisture content/equilibrium guidance
Verify dryness with the right test method
For concrete slabs (and many other subfloor types), you typically need a manufacturer-approved method and limits, such as:
– In-slab relative humidity testing (commonly ASTM F2170 in the flooring world)
– Calcium chloride testing (commonly ASTM F1869)
– Wood moisture testing for wood subfloors (often tied to equilibrium moisture content)
A key point for homeowners: mold prevention is about drying capacity. If your subfloor is at the edge of the acceptable moisture range, the chevron layout won’t be able to “forgive” trapped vapor.
Remove residues and confirm flatness/contact
Subfloor prep is also about how moisture moves microscopically:
– Remove old adhesive/finish residue so the flooring can contact evenly.
– Address high spots/low spots—poor contact can create pockets where moisture lingers and airflow can’t reach.
– Ensure transitions (tubs, door thresholds, landing areas) don’t force the assembly into gaps that later become vapor pathways.
Seal or patch only per manufacturer instructions
Sealing the wrong area can trap moisture where you most need drying. The “right” patch is product- and system-specific:
– Over concrete: use patch/leveling systems approved for the flooring assembly and compatible with vapor movement needs.
– Over repaired zones: confirm the patch manufacturer’s cure and compatibility with your underlayment/vapor plan.
Repeat the primary entity: subfloor prep is what prevents moisture from being trapped under the chevron pattern in the first place—because the flooring system can only behave correctly if the layer below behaves correctly.
Underlayment + vapor barrier: match them to the floor type
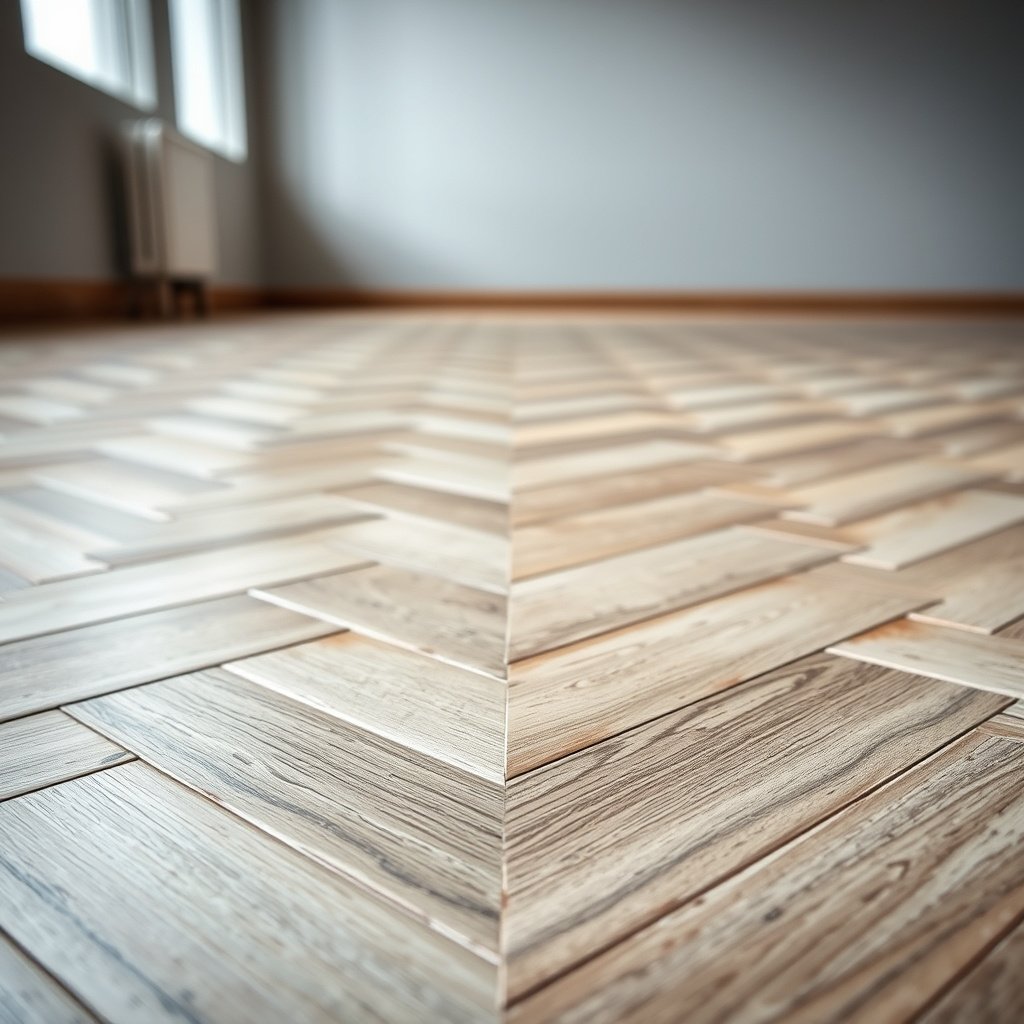
Choose the correct underlayment/vapor barrier—or skip them—based on your chevron floor’s installation instructions. The wrong combination can trap moisture instead of managing it.
“Follow the flooring manufacturer’s underlayment and vapor barrier requirements exactly to maintain warranty coverage.” Typical warranty terms in flooring manufacturer installation instructions
“Adding extra layers can change the assembly’s moisture behavior and dimensional movement.” Common engineering principles noted in flooring installation guides
Use the manufacturer-specified assembly (not “whatever fits”)
Chevron floors are sold across different platforms—vinyl plank, laminate, engineered wood, and sometimes floating vs. direct-glue systems. Each has different moisture strategy:
– Some systems already include a built-in vapor layer.
– Some require a specific underlayment (often with defined perm characteristics).
– Some prohibit adding extra plastic/vapor film because they need drying in a specific direction.
Avoid incompatible layer stacking
Common failure mode: homeowners add a vapor barrier on top of (or under) a system that expects the opposite behavior.
For example, in many floating floor setups:
– You may need expansion spacing to allow movement and prevent edge pressure.
– You generally should not seal expansion gaps unless your manufacturer explicitly instructs sealing in those locations.
Confirm expansion gaps for floating installs
Floating chevron floors still need room to move. If expansion gaps are blocked—by caulk, debris, or “helpful” sealing—moisture-laden air can become trapped at edges and transitions.
My practical takeaway: when you’re planning underlayment + vapor barrier, treat it like an engineered stack. If you change one layer, you may change the moisture pathway across the entire assembly.
Installation details that stop water from getting trapped
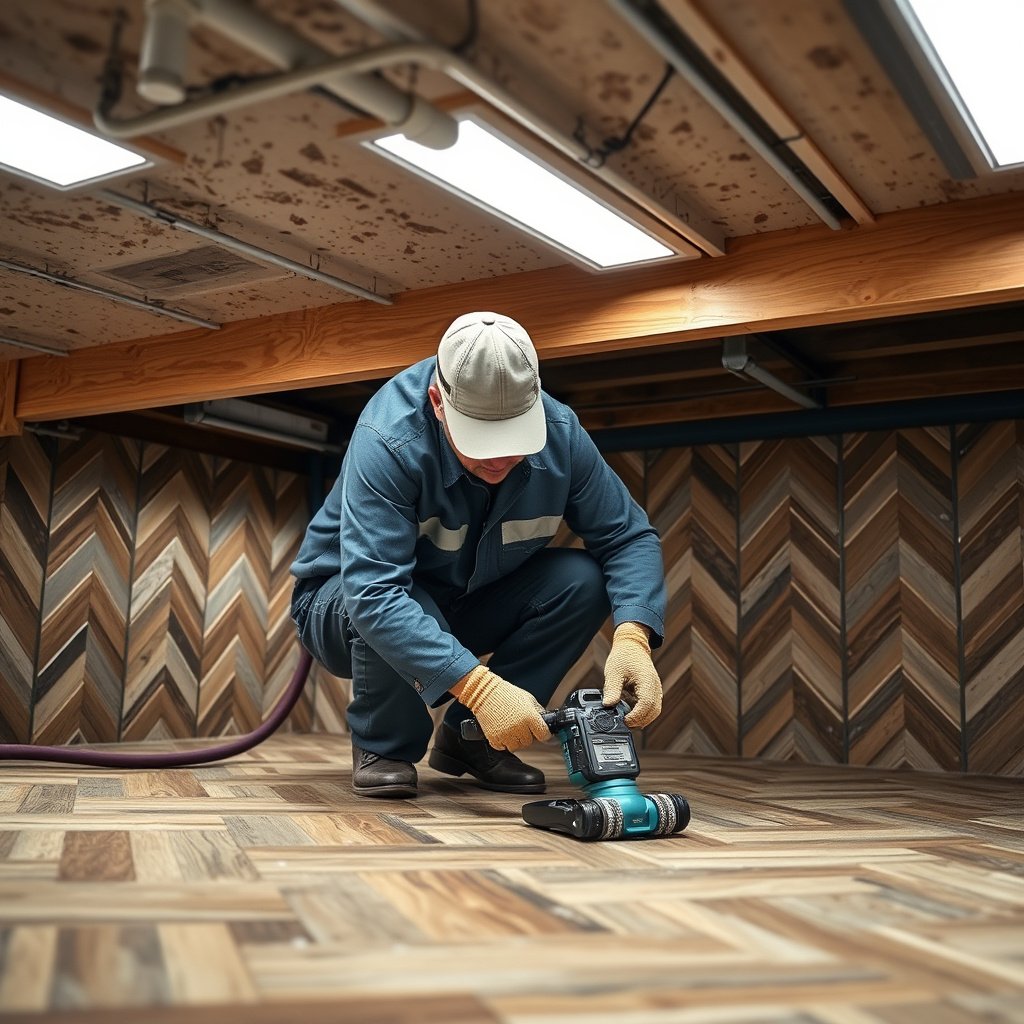
Install with moisture timing and edge management in mind, because trapped vapor often appears after the fact. The chevron pattern looks “finished,” but moisture migration continues as long as the building environment supplies it.
“Installing flooring over a subfloor that exceeds moisture limits increases the risk of long-term moisture-related failures.” Flooring manufacturer installation instructions—moisture compliance requirements
“Edges and seams are the highest-risk zones for moisture intrusion in many flooring assemblies.” General moisture intrusion risk described across flooring care/installation guidance
Acclimate correctly and respect cure timelines
Acclimation helps the flooring boards reach the jobsite’s temperature and moisture equilibrium—but only if the subfloor moisture is also acceptable. Installing too soon over a damp subfloor can create a “moisture chase” where vapor keeps moving after installation.
If concrete is involved, confirm:
– slab curing timeline,
– moisture test results,
– and the installation schedule that your flooring manufacturer allows.
Manage edges and transitions exactly as instructed
Edges are where moisture pathways become hidden. Follow your instructions for:
– sealing (if any),
– undercutting door jambs,
– keeping expansion gaps clear,
– and handling transitions to tile (especially in bathrooms).
A common mistake is sealing “to be safe.” In many systems, sealing where the manufacturer does not want sealing can trap moisture in pockets you can’t easily dry.
Clean up without saturating
If you rinse during cleanup, or leave wet residue under baseboards/edges, you can temporarily raise subfloor moisture long enough to trigger odor or mold growth.
Practical approach:
– Use a dry or well-wrung method (or manufacturer-approved cleaner).
– Avoid soaking seams during post-install cleaning.
What can go wrong (common mistakes & edge cases)
Most mold problems under chevron floors come from one of a few avoidable errors: wrong vapor setup, unresolved moisture sources, or moisture-tested “assumptions.” These mistakes are predictable enough that you can reduce risk before you ever lay a board.
“A vapor barrier installed in the wrong location can trap moisture and increase condensation risk.” Building science fundamentals referenced in moisture-control guidance
“Persistent moisture from small leaks (often not visible immediately) is a common driver of indoor mold growth.” U.S. EPA — Mold/Mold Prevention materials
Pros/cons: vapor strategy choices (how they behave)
| Approach | Pros | Cons / failure mode |
|---|---|---|
| Manufacturer-specified vapor barrier/underlayment | Aligns with assembly’s designed moisture pathway | None when installed per instructions |
| Adding extra plastic/foil “just in case” | Can seem protective upfront | Can trap moisture if the system expects drying or uses a different perm rating |
| Relying on “no barrier needed” without checking instructions | Reduces material layers | Can be wrong on concrete slabs or humid basements—risk of trapped vapor |
| Sealing expansion gaps not approved by manufacturer | May block liquid entry | Can trap vapor where the floor is supposed to breathe |
This is why mold prevention isn’t just about blocking water. It’s about controlling *where moisture can go* and *whether it can dry back out*.
Common edge cases that deserve attention
– Using the wrong vapor barrier: applying plastic/foil over systems that need vapor permeability (or vice versa) can trap moisture instead of controlling it.
– Ignoring plumbing micro-leaks: slow leaks behind toilets, under sinks, and at supply lines often show up first as discoloration or odor.
– Accidental wet mopping: steam mops, soaked pads, and wet rags can push moisture into seams and under edges.
– Skipping manufacturer moisture testing guidance: “Looks dry” isn’t enough over concrete slabs; moisture can remain within the slab.
– Basement/crawlspace conditions: if the area under your floor is actively humid, flooring alone won’t solve the source; you may need a building-envelope or crawlspace moisture plan.
Verdict / tip: prevention is worth it—skip this if you can’t fix moisture
Preventing mold under chevron floors is straightforward in principle: moisture control + correct subfloor prep + the right vapor barrier/underlayment for your exact product. The downside is time and discipline—moisture testing, tighter humidity control, and correct layer selection can feel more work upfront, and incorrect setup can affect warranties.
Skip DIY if you already have established mold, persistent musty odor, visible moisture damage, or an unknown leak—you’ll likely need targeted remediation and moisture-source diagnosis.
Quick checklist (scan/save)
| Step | What to do | Why it helps |
|---|---|---|
| Moisture source check | Inspect plumbing, exterior drainage, HVAC condensation points | Stops new moisture from feeding mold |
| Subfloor verification | Confirm subfloor dryness meets your flooring spec (follow manufacturer testing guidance) | Prevents trapping moisture at install |
| Correct underlayment/vapor barrier | Use only what your chevron floor installation instructions allow | Avoids trapping or blocking required drying |
| Level + clean surface | Remove debris/adhesive residue; address uneven spots | Reduces moisture pockets and poor contact |
| Edge/transition sealing | Seal only per manufacturer instructions; keep expansion gaps as required | Avoids trapping moisture in seams |
| Cleaning method | Use a dry/well-wrung approach; avoid soaking seams | Prevents temporary moisture spikes |
Indoor Humidity Targets Used for Mold Prevention in Buildings (U.S. Guidance)
| # | Authority / Guidance | Primary Mold-Control Target | Applies When | Max RH (higher = more allowance) |
|---|---|---|---|---|
| 1 | U.S. EPA (Mold prevention guidance) | Control moisture / reduce mold growth | General indoor environments | 60% |
| 2 | U.S. CDC (Mold & dampness) | Reduce dampness | Homes and buildings | 60% |
| 3 | U.S. EPA (Practical mold prevention advice) | Fix leaks & control humidity | After moisture events | 60% |
| 4 | U.S. CDC (What increases mold risk) | Dampness control | Moisture-prone indoor zones | 60% |
| 5 | U.S. EPA (Humidity as a control lever) | Inhibit mold conditions | During ongoing humidity control | 60% |
| 6 | U.S. CDC (Prevention emphasis) | Prevent moisture buildup | After visible leaks / spills | 60% |
| 7 | U.S. EPA (Whole-home moisture control) | Humidity control for mold prevention | Baseline maintenance | 60% |
Note: The table summarizes the commonly cited U.S. EPA/U.S. CDC indoor humidity prevention target. Always follow your chevron floor manufacturer’s RH/moisture limits for installation.
Sources
– U.S. EPA — guidance on mold prevention and moisture control (EPA “Mold”/“Mold Prevention” materials).
– U.S. CDC — mold and dampness health guidance (CDC “Mold” pages).
– Flooring manufacturer installation instructions (for your specific chevron product) — requirements for moisture testing, underlayment/vapor barrier, acclimation, sealing, and warranty conditions.
– If concrete is involved:
When you want to prevent mold under chevron floors, don’t rely on the flooring “covering” the problem—control moisture at the source, install only with the manufacturer-approved moisture barrier/underlayment setup, and verify the subfloor meets spec. Review your product’s installation instructions, make any needed moisture corrections before install, and if you already suspect mold, start with moisture-source diagnosis first.
Frequently Asked Questions
What causes mold under chevron floors and how can I stop it?
Mold under chevron floors is usually caused by excess moisture getting trapped in the subfloor, such as from high indoor humidity, water leaks, plumbing issues, or moisture vapor coming up from below. Start by identifying the moisture source with a moisture meter and by checking for any leaks or damp areas. Then control indoor humidity (typically 30–50%) and improve ventilation so the subfloor dries quickly, reducing the conditions mold needs to grow.
How can I prevent mold under chevron floors during installation?
Begin with a dry, level subfloor and verify moisture content before installing the chevron planks or tiles. Use a proper vapor barrier if your installation area requires it (especially over concrete slabs), and follow manufacturer instructions for underlayment and adhesive systems. Avoid trapping moisture by sealing gaps appropriately and ensuring any crawl space or subfloor venting meets code and allows airflow.
Why does mold grow in the seams and edges of chevron flooring, and what should I do?
Mold often starts along seams, edges, or corners where moisture can collect and airflow is limited—common risks in chevron patterns with many directional transitions. Use moisture-resistant materials where recommended, keep spills from seeping into joints, and promptly dry any wet spots to prevent sustained dampness. Regular cleaning with pH-balanced products and careful maintenance of grout or sealants also helps stop water intrusion at these vulnerable points.
What’s the best way to maintain moisture control to prevent mold under chevron floors?
The most effective approach is consistent humidity management and fast drying. Run dehumidifiers in damp seasons, use bathroom/kitchen exhaust fans, and keep HVAC airflow steady to prevent condensation under the flooring. For ongoing peace of mind, monitor indoor humidity with a hygrometer and address any recurring dampness immediately rather than waiting for visible mold.
Which vapor barrier and underlayment are best for preventing mold under chevron floors?
The “best” barrier depends on your subfloor type, but the goal is to stop moisture vapor migration while remaining compatible with your chevron flooring system. Over concrete slabs, a correctly rated vapor barrier (with seams overlapped and taped) is often essential, while over wood subfloors you may need a breathable underlayment system that supports proper drying. Always choose materials approved for your specific flooring type (solid wood vs. engineered, glue-down vs. floating) to prevent trapped moisture that can still lead to mold.
📅 Last Updated: October 15, 2026 | Topic: How to prevent mold under chevron floors? | Content verified for accuracy and freshness.
References
- https://www.cdc.gov/mold/default.htm
- Mold | US EPA
- https://www.who.int/publications/i/item/9789241547856
- Mold – Overview | Occupational Safety and Health Administration
- https://www.cdc.gov/niosh/topics/mold/
- https://www.hud.gov/program_offices/healthy_homes/mold
- dampness mold home prevention – Search Results – PubMed
- https://scholar.google.com/scholar?q=mold+prevention+under+floor+vapor+barrier Google Scholar
- https://scholar.google.com/scholar?q=wood+flooring+moisture+content+prevent+mold Google Scholar
- https://scholar.google.com/scholar?q=chevron+wood+floor+installation+moisture+testing+mold Google Scholar