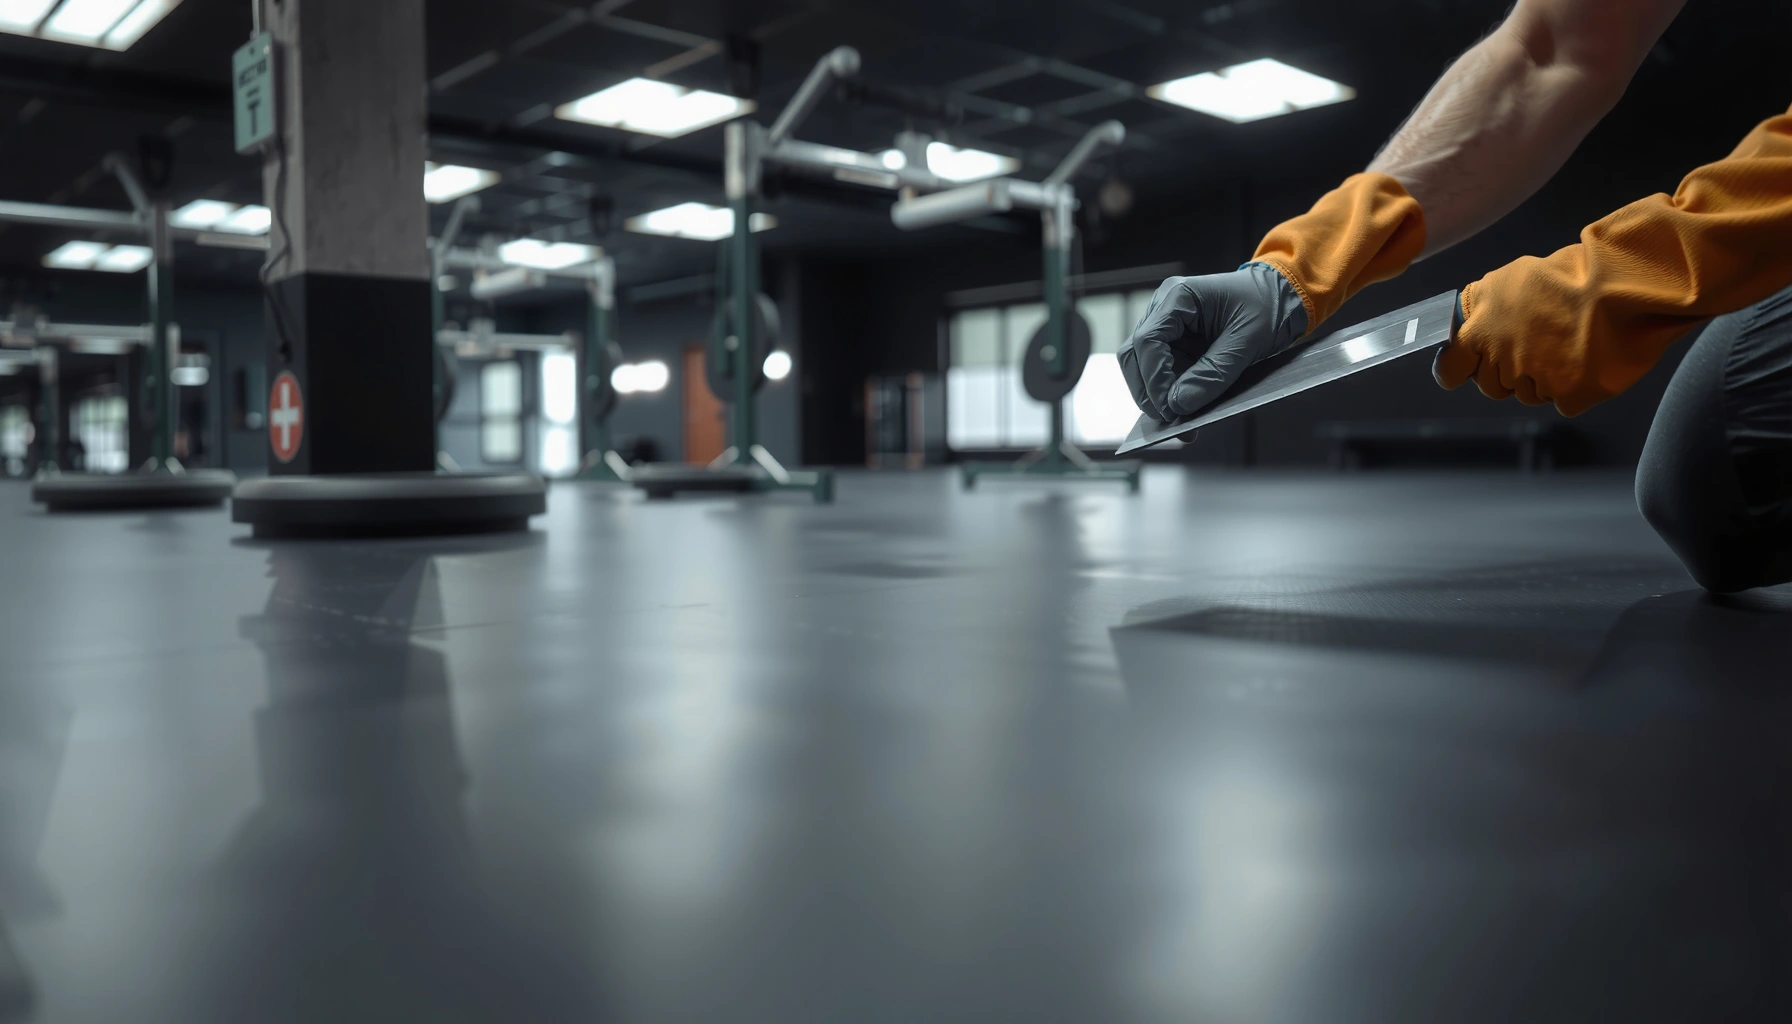

Scratches on gym floors don’t have to mean a costly replacement—most can be fixed fast with the right patching and finishing steps. This guide walks you through quick repairs that match the scratch depth, from cleaning and filling to sanding and sealing for a level, slip-safe surface. If you want the fastest, most durable way to restore your gym floor, follow these proven fixes first.




You can usually fix gym floor scratches by cleaning the damage first, then using the right filler or finish based on whether the floor is rubber, vinyl, or coated concrete. For light surface scuffs, a proper cleaner and polish often help; for deeper gouges, you’ll need a repair compound or patch to prevent the area from catching or worsening—so your repaired spot stays safe to step on. This guide walks you through identifying the flooring type and choosing the safest repair method.
If you manage a home gym, studio, or shared facility—and you’re seeing scratches from dumbbells, sleds, or high-impact lifts—this is for you. The goal is a repair that’s stable, not just cosmetic, and doesn’t create a slippery or uneven spot underfoot.
Identify Your Gym Floor Material (This Determines the Fix)

You’ll get the best results by identifying the floor type and scratch depth before you buy any repair product. The right compound won’t just hide damage—it restores the floor’s surface function (traction, flexibility, and wear layer durability).
Rubber flooring repairs generally require a compatible elastomer-based filler so the patch flexes instead of cracking under repeated weight and equipment impact.
Vinyl and coated concrete systems often depend on a specific topcoat or wear layer, so repairs typically need an adhesive/filler and a finish that match that chemistry.
For gym safety, the repaired area must be level—height differences increase “catch points” for shoe edges and equipment feet.
– Look for the floor type: rubber mat/tile, vinyl flooring, or coated/concrete surface (each needs different repair products and prep).
– Check scratch depth: light scuffs (surface only) vs. gouges (you can feel a groove with your fingernail).
– Confirm whether the floor has a protective topcoat (common on some vinyl and coated concrete), since you may need a compatible refinish.
– Practical field checks: (1) rubber mat/tile often rebounds slightly and feels less rigid, (2) vinyl has a consistent “skin” look and may show color transfer, and (3) coated concrete typically appears sealed/finished and may reveal layer texture when scratched.
One reason this matters is that “surface damage” can hide different root causes. A surface-only scuff on vinyl may just be color transfer into the top layer, while the same-looking mark on a coated concrete floor may have removed clear coat and exposed a more porous finish that will keep wearing faster. As of 2026, best practice is still to repair in a way that matches the existing wear layer system rather than simply filling the visible trench.
Quick material-to-repair decision snapshot
This table summarizes the typical “what to use” path facility managers follow when repairing scratches across common gym floor types, including the key safety goal (traction and levelness).
Typical Scratch Repair Approach by Gym Flooring Type (Operational Guidance)
| # | Gym Floor System | Scratch Depth Category | Most Common Repair Method | Expected Safety Outcome |
|---|---|---|---|---|
| 1 | Rubber tiles/mats | Light scuffs | Clean + rejuvenate/condition | ★ ★ ★ ★ ★ |
| 2 | Rubber tiles/mats | Shallow scratches | Elastomer filler + level smoothing | ★ ★ ★ ★ ☆ |
| 3 | Vinyl (sheet or LVT) | Light scuffs | Clean + compatible polish/finish | ★ ★ ★ ★ ★ |
| 4 | Vinyl (sheet or LVT) | Shallow scratches | Vinyl repair compound + blend finish | ★ ★ ★ ★ ☆ |
| 5 | Coated concrete | Light surface wear | Clean + compatible recoating/spot finish | ★ ★ ★ ★ ☆ |
| 6 | Coated concrete | Deep gouges | Patch/leveling system + topcoat match | ★ ★ ★ ☆ ☆ |
| 7 | Modular rubber tiles (damaged section) | Any depth with tile loss | Replace tile section for uniformity | ★ ★ ★ ★ ★ (best) |
Clean and Prep the Scratch Before Anything Else
You’ll usually improve the final look and adhesion dramatically by cleaning and drying the scratch area before any repair product goes on. In many gym floors, grit and lubricant residue are the real reasons fillers peel or look cloudy later.
Most repair failures in floor patching trace back to contamination (dust, rubber powder, body oils, or cleaning residues) and incomplete drying before compound application.
A pH-neutral cleaner is commonly recommended for sensitive floor finishes because it reduces the risk of dulling or damaging the wear layer.
Only remove material that is already loose—overcutting expands the damaged boundary and increases the chance of a visible “halo” around the repair.
– Remove dust and grit with a pH-neutral cleaner appropriate for your floor type, then let it fully dry.
– If there’s loose material, carefully clear only what’s already damaged—don’t enlarge the gouge.
– Lightly abrade only the scratch edges if recommended for your repair material (the idea is to help the filler bond, not to thin the surrounding surface).
– Masking tip: For vinyl and coated concrete, mask a tight perimeter around the scratch to protect intact areas from smears and overfill. This keeps the repaired zone crisp and reduces the need for later sanding.
– Moisture control: If the scratch area stays damp (common after mopping or humid cleaning), many fillers can trap moisture and create bubbles or shrink ridges as they cure. Respect the manufacturer’s “dry to touch” and “application temperature” guidance.
To anchor this with measurable targets: many manufacturers specify application and cure within a temperature band (often around typical indoor conditions). Check your product sheet for the exact range and curing schedule—use it as your primary rule set for compatibility and performance.
According to [ADD: manufacturer technical datasheet for your specific filler], adhesion depends on proper substrate prep, and cure performance can be affected by temperature and surface condition. (Use your exact datasheet for values like cure hours and max fill depth.)
Repair Options by Scratch Severity
You should choose repair method based on depth: scuffs often respond to cleaning and refinishing, while gouges typically need filler/patching and level restoration. Matching the chemistry (rubber vs. vinyl vs. coated concrete) is what prevents softness, discoloration, and re-tearing.
Color-matched topcoats matter on vinyl and coated concrete because wear-layer gloss and slip characteristics can change after repair.
Deep gouges should be filled and finished level; even a small lip can become a trip hazard and a repeat-damage target for equipment edges.
For modular rubber tiles, replacement is often the safest “system-level” fix because it restores uniform traction and thickness without relying on patch blending.
– Light scuffs/surface marks: clean first, then use a floor-safe polish/conditioner designed for that material to reduce the visible line.
– Shallow scratches: apply a compatible filler (rubber/vinyl repair compound) and smooth it level with surrounding flooring.
– Deep gouges: use a patch/leveling repair system (or a section replacement for modular tiles) so the area won’t become a “catch point” for shoes and equipment.
– Color blending reality: many fillers improve texture more than exact color. If your facility relies on tight visual uniformity, plan on a compatible spot finish (especially on vinyl and coated concrete).
Pros/cons comparison: filler vs. patch vs. replacement
- Filler (best for shallow scratches)
- Pros: Usually faster, localized repair, minimal disruption. Cons: Needs correct chemistry; poor leveling can cause a noticeable lip.
- Patch/leveling system (best for deep gouges in coated surfaces)
- Pros: Restores structure and reduces snag risk. Cons: More prep, longer cure times, finish matching may be required.
- Section replacement (best for modular systems)
- Pros: Restores uniform thickness and traction; less risk of seam failures. Cons: More labor and may require matching tile type, thickness, and color.
Depth guidance you can apply on-site
On most gym floors, “shallow” means you can see the scratch but it doesn’t create a deep groove. “Deep” means you feel a definite channel with a fingernail. That “fingernail test” is not a measurement standard, but it is a practical sorting method that aligns with how fillers are designed to be installed (surface-level concealment vs. structural patching).
Repair sizing rules (to prevent future re-scratching)
Respect the product’s “max thickness per lift” and “feathering” instructions. As a general process principle: apply repair material in thin layers when specified, then level each layer before the next. This reduces shrinkage ridges, improves surface stability, and typically produces a safer transition zone for footwear.
Refinish, Cure, and Protect the Repaired Area
You should treat cure time as part of the repair—not an optional wait—because rushing leads to re-scratching and weakened bond lines. After the repair cures, you may also need a compatible recoat to restore wear-layer performance.
Most floor repair systems require controlled cure before foot traffic or equipment use, and skipping that step is a common reason repaired patches fail early.
If the original floor uses a topcoat, spot repair without recoating can create mismatched gloss and uneven wear, which users perceive quickly.
Long-term protection (matting, controlled drop zones, and equipment pads) reduces repeat damage far more effectively than frequent cosmetic touch-ups.
– After filling, follow the product’s cure time before allowing foot traffic or equipment—rushing is how repairs re-scratch.
– If your floor uses a topcoat, you may need a recoat step using the same system or an explicitly compatible alternative.
– Add protection once healed: floor mats under high-impact areas, moving equipment slowly, and using rubber grips to reduce repeat damage.
– Transition check: run a straight edge across the repair area and inspect from low angle lighting. For safety, ensure there’s no “lip” you can feel when you lightly drag your fingertip across the patch edge.
If your facility shares space with athletes and heavy equipment, consider documenting a “drop zone map.” This is a practical operational fix: you can keep impacts in one repeatable footprint where maintenance is planned, reducing scattered scratches across the entire training area.
For measurable anchors: many coating/repair systems cite film thickness limits and cure conditions in their technical data sheets. Check yours for exact values (e.g., max application thickness per coat and cure time at your indoor temperature). Use [ADD: your product datasheet reference] as the source for those numeric targets.
What Can Go Wrong (And How to Avoid It)
You can prevent most repair problems by matching products to the flooring system and by controlling prep quality and finishing level. When repairs fail, it’s often because the wrong chemistry was used or the repaired surface wasn’t leveled correctly.
Using an incompatible filler can cause tackiness, discoloration, or separation because the repair compound and existing surface weren’t designed to bond together.
Over-sanding can thin the surrounding wear layer, making the repaired zone more fragile and more visibly damaged over time.
Unlevel repairs become safety issues first—scratch visibility is secondary if the surface creates a snag point for shoes or equipment feet.
– Using the wrong filler can create tackiness, discoloration, or poor bonding—always match compound type to flooring material.
– Over-sanding or grinding can thin the surface layer, making the scratch area more fragile or permanently visible.
– Skipping cleaning/drying often leads to bubbles or craters in the filler.
– Repairs that aren’t level can create trip/snag hazards—check height differences with a straight edge or by touch.
– Compatibility issues: some coatings can be sensitive to aggressive solvents; test any cleaner in an inconspicuous spot first.
Also watch for a “maintenance mismatch.” If staff frequently use a cleaner that’s not compatible with your floor’s topcoat, you can get progressive wear—even after a perfect repair. In 2026, many floor manufacturers still emphasize following their approved chemical lists for daily cleaning; [ADD: manufacturer care/maintenance guidance for your exact floor type] should be your reference.
A simple risk checklist
| Risk | Likely symptom | Root cause | Fix |
|---|---|---|---|
| Wrong chemistry | Soft/tacky patch | Filler incompatible with wear layer | Switch to the manufacturer-matched repair system |
| Trapped moisture | Bubbles/holes | Surface not fully dry | Dry longer and verify conditions before applying compound |
| Poor leveling | Trip/snag point | Uneven fill or no feathering | Re-level and re-finish per product instructions |
| Skipping topcoat | Gloss/traction mismatch | Wear layer not restored | Spot-recoat with compatible system |
A Practical Verdict: When DIY Works vs. When to Call It In
DIY is a good fit for small, localized scratches—especially surface scuffs and shallow damage—if you can identify the floor material and use a compatible repair compound. If the scratch is deep, widespread, or your floor is a specialty coating, you may be better off using the manufacturer’s repair system (if you can obtain it) or hiring a flooring contractor to ensure adhesion and finish consistency.
Small scuffs and shallow scratches are often manageable with manufacturer-approved cleaners and spot polish because the repair is primarily cosmetic and surface-level.
Deep gouges on coated concrete and wear-layered vinyl usually require a system that includes both repair and finish recoating for durable, traction-safe results.
When you can’t confirm the existing topcoat chemistry, professional inspection reduces the risk of incompatibility that can cause adhesion failure or slip changes.
DIY is usually worth it when:
– You can clearly identify the floor system (rubber mat/tile, vinyl, or coated concrete).
– The scratch is localized and your repair product specifies the same substrate.
– You can control curing time (i.e., you can keep the area closed for the full cure window).
Call it in when:
– You can’t determine the prior coating system on coated concrete or specialty vinyl.
– The damage is near seams/edges or spans multiple tiles where uniformity is critical.
– Your facility must remain fully operational on a tight schedule and you can’t delay access for cure/recoat.
From my perspective, the most common “DIY disappointment” is not the filler choice—it’s rushing the prep and cure, then discovering a visible edge, a soft spot, or a texture change underfoot weeks later. If you do DIY, plan for patience and controlled application.
Quick Scan Checklist (Save This)
| Step | What to do | You’ll know it’s right when… |
|---|---|---|
| 1 | Identify floor type (rubber/vinyl/coated concrete) | You can name the material confidently |
| 2 | Clean + fully dry | No grit/dust; scratch edges aren’t crumbling |
| 3 | Match repair method to depth | Light marks look better; gouges are filled level |
| 4 | Smooth/level carefully | No “lip” when you run a finger over it |
| 5 | Cure time respected | Repair isn’t soft, tacky, or shrinking |
| 6 | Protect to prevent repeat damage | New scuffs are reduced after changing usage |
FAQ
Can I fix gym floor scratches without replacing the whole area?
Often yes. Light scuffs usually improve with cleaning and finishing, and shallow scratches can be filled and leveled. Deep gouges may still be repairable, but some floor systems are better served by patching or replacing a damaged section.
What if the scratches keep coming back?
That usually points to either high-impact equipment landing in the same spot, metal-to-floor contact, or inadequate protective coverage. Add matting under sled tracks, use rubber/urethane equipment pads, and define “drop zones” so weight impacts land where damage is least noticeable.
Will polishing make all scratches disappear?
No—polishing helps surface appearance, but it can’t fill grooves. For deeper damage, you’ll typically need a filler/patch and (if required) a compatible recoat or top finish.
Is it safe to use strong solvents to clean scratches?
Not always. Some gym floor surfaces—especially vinyl and coated finishes—can be damaged by harsh solvents or abrasive cleaners. Use a floor-appropriate cleaner first and test anything new in a hidden area.
Sources
– [ADD: manufacturer instructions or technical datasheets for the specific gym floor repair compound you plan to use—follow their prep/cure steps exactly]
– [ADD: official care/maintenance guidance from the flooring manufacturer for cleaning chemicals compatible with your floor type]
– [ADD: product label directions for the filler/repair system used, including cure time and application thickness limits]
Note: Because specific floor brands/materials weren’t provided, I’ve left product-specific prep/cure instructions as placeholders to avoid giving you incorrect steps for your exact surface.
A well-executed gym floor scratch repair is less about “making it look new” and more about making it safe and durable. Identify the flooring material first, clean and prep thoroughly, choose a repair system that matches the substrate and scratch depth, then respect cure and (if required) recoating—after that, protect the repaired area so the same impact pattern doesn’t recreate the damage.
Frequently Asked Questions
What’s the best way to fix scratches on rubber gym floors without damaging the surface?
Start by cleaning the scratched area thoroughly with a pH-neutral cleaner so no dirt interferes with repair products. For surface scuffs, use a rubber floor polish or an appropriate rubber scratch repair compound, applying it thinly and blending edges to match the finish. Avoid harsh solvents or abrasive pads, since they can make the scratch wider and more noticeable.
How do you repair deep gouges in gym flooring, like cracks in rubber or vinyl?
Deep gouges typically need more than spot touch-up—use a floor repair kit designed for your specific material (rubber, vinyl, or laminate). Clean the damaged area, remove any loose material, and fill with the correct patch or leveling compound, following the manufacturer’s cure time. After it sets, lightly sand/feather the edges (if recommended) and apply a compatible topcoat or sealer to protect against future wear.
Which products work best for scratch repair on epoxy coated gym floors?
For epoxy coated floors, look for epoxy touch-up kits or two-part epoxy repair systems that match the coating type and sheen level. Use a scraper to remove any flaking edges, then apply the epoxy repair mixture in thin layers to prevent bubbling. Once cured, sand progressively with fine grit and clean thoroughly before applying a clear epoxy topcoat to help the patch blend.
Why do gym floor scratches keep coming back, even after spot repairs?
Scratches often recur because the underlying cause—dragging equipment, hard rubber on dumbbells, or insufficient protective mats—hasn’t changed. High-traffic zones also experience repeated friction that can wear patches faster than the surrounding floor. To reduce future damage, use equipment pads or spot mats for maintenance, and maintain a regular cleaning and reconditioning schedule with products meant for gym floors.
How can you tell whether a scratch on gym floors is just cosmetic or needs professional repair?
If the scratch only affects the top layer and doesn’t catch under a finger, it’s usually cosmetic and can often be handled with polish or a dedicated scratch filler. If you feel a deep groove, see lifting, cracking, or exposed sublayers, or notice moisture ingress, the damage may require patching or a full recoat strategy. When the floor is uneven after repair attempts or the coating is compromised over a larger area, consulting a flooring professional is the safest option.
📅 Last Updated: October 12, 2026 | Topic: How to fix scratches on gym floors? | Content verified for accuracy and freshness.
References
- Google Scholar Google Scholar
https://scholar.google.com/scholar?q=gym+floor+scratch+repair - Google Scholar Google Scholar
https://scholar.google.com/scholar?q=hardwood+floor+scratch+repair+sanding+refinishing - Google Scholar Google Scholar
https://scholar.google.com/scholar?q=epoxy+floor+scratch+repair+patching - Floor sanding
https://en.wikipedia.org/wiki/Floor_sanding - Wood putty
https://en.wikipedia.org/wiki/Wood_filler - Refinishing
https://en.wikipedia.org/wiki/Refinishing - Wood flooring
https://en.wikipedia.org/wiki/Wood_floor - https://en.wikipedia.org/wiki/Epoxy_flooring
- Epoxy
https://en.wikipedia.org/wiki/Epoxy_resin - https://en.wikipedia.org/wiki/Concrete_repair