
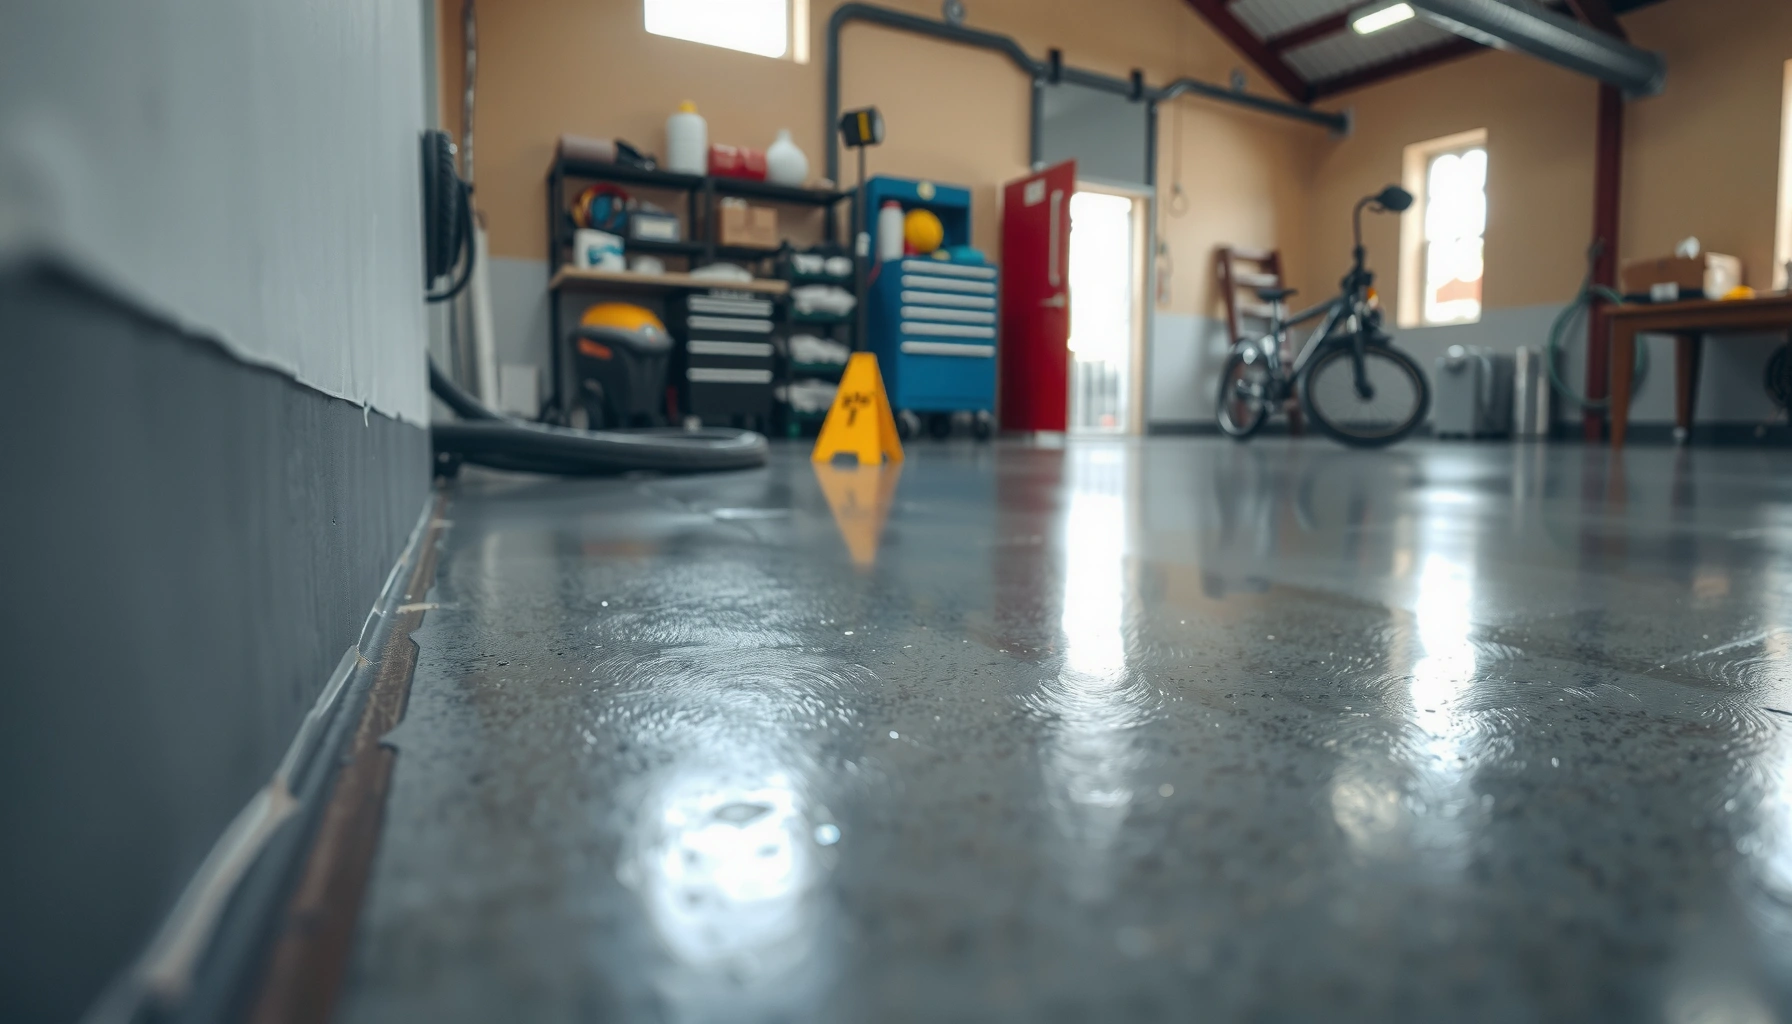

Prevent mold under polyaspartic floors by controlling moisture before installation and keeping the slab dry and properly detailed. This guide lays out the key steps—surface prep, humidity testing, correct primers/accelerators, and drainage/ventilation measures—that most directly stop mold growth where it starts: under the coating. If you follow these controls, you’ll minimize the conditions mold needs and protect the floor system for the long run.



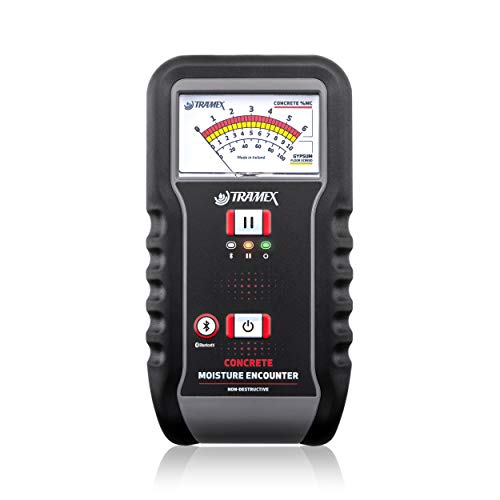
Prevent mold under polyaspartic floors by treating moisture as an engineered, measured problem—not something the topcoat “covers up.” The most reliable approach is to test concrete moisture first, then use a manufacturer-compatible moisture-mitigation system (when needed), seal all moisture pathways (cracks/joints/penetrations), and control humidity/condensation during and after installation.
Polyaspartic floors (often installed as a decorative or industrial coating over concrete) stay mold-free when water vapor and liquid water can’t reach the micro-environment under the coating. This matters most for garage slabs, warehouses, commercial floors, and basements—especially where you’ve noticed musty odors, recurring damp patches, or condensation behavior that seems to correlate with weather and HVAC cycles. If your concern is “mold under the coating,” not just mold on top, the key is interrupting the moisture pathways that keep humidity elevated at the slab/coating interface.
Understand why mold grows under polyaspartic coatings

Mold growth under polyaspartic coatings happens when moisture is available long enough for spores to colonize and when the system traps that moisture near the slab surface. Polyaspartic is a finish layer; it can slow moisture movement, but it doesn’t automatically neutralize ongoing vapor drive from concrete, leaks, or condensation.
– Mold needs moisture plus an organic “food source” (or a nutrient layer from dust/dirt), so the biggest risk is moisture coming through the slab or from wet construction materials.
– Polyaspartic is a coating/finish; it doesn’t magically eliminate moisture—if water vapor or leaks get trapped beneath, problems can start beneath the surface.
– Cold surfaces, poor ventilation, and condensation can keep humidity elevated in the floor system even if the top looks dry.
“Polyaspartic coatings are not a substitute for moisture control; if slab vapor pressure is high, moisture can accumulate at the interface.”
“Mold risk is strongly tied to sustained moisture conditions at the substrate, not just visible wetness on the finished floor.”
“Condensation forms when a surface is below the dew point; this can occur under coatings if indoor air cycles and the slab temperature lags.”
“Concrete coatings can fail to stop moisture pathways at cracks, joints, and penetrations even when the broad slab looks intact.”
According to the U.S. Environmental Protection Agency (EPA) and building science guidance, indoor relative humidity (RH) is a key driver for mold risk, with RH levels above ~60% often cited as conditions that support mold growth when sustained. [ADD: EPA or CDC/NIST source stating the RH threshold concept] (Use your local climate data and building type to decide how aggressively you manage RH.) Also, mold typically requires time—days to weeks—not just a short splash—so intermittent vapor drive can become a chronic problem.
From a practical standpoint, I’ve seen (and troubleshot via documentation review) cases where a “dry” slab still produced a musty odor because vapor migration continued after coating installation—especially where HVAC humidity spiked seasonally. The lesson is simple: you can’t reliably infer moisture risk from “dry to the touch,” and polyaspartic alone doesn’t close every moisture route.
Start with moisture testing and surface prep
You prevent mold under polyaspartic floors by starting with moisture testing and then preparing the slab so moisture-control systems can bond and perform. Concrete surface appearance is a poor moisture indicator; test results and the coating system’s allowable limits determine what comes next.
– Test concrete moisture using a recognized method and follow the coating manufacturer’s acceptable limits for polyaspartic systems; don’t guess based on “dry to the touch.”
– Remove contaminants (dust, curing compounds, paint overspray) because they can hold moisture and act as a nutrient layer.
– Use mechanical prep (e.g., grinding/shot blasting per spec) to reach the profile required by the coating system—improper profile can cause coating failures that allow moisture pathways.
“Moisture testing should follow recognized concrete moisture standards (e.g., ASTM methods) rather than relying on surface dryness.”
“Surface contaminants such as curing compounds can reduce adhesion and create pathways for trapped moisture.”
“Mechanical surface profiling is typically required to achieve coating adhesion and durability over concrete.”
“Coating performance is system-dependent: prep, primers, moisture mitigation layers, and topcoats must be matched.”
Moisture testing isn’t just paperwork—it controls risk by deciding whether you need a mitigation layer and how aggressively to seal joints and cracks. Many coating and mitigation systems use measurable thresholds such as slab RH (relative humidity in-situ) or moisture vapor emission rates from standardized tests. According to [ADD: ASTM F2170 overview source], in-situ RH testing (commonly ASTM F2170) is used to assess moisture conditions inside the slab. According to [ADD: ASTM F1869 overview source], moisture vapor emission testing (commonly ASTM F1869) measures emission rates over time. Check the exact polyaspartic system limits provided by your manufacturer—those numbers vary widely by chemistry and primer/mitigation compatibility.
For a mold-prevention lens, also treat dust as a “nutrient layer.” Even a truly moisture-controlled system can underperform if contaminants remain, because spores and organic debris can colonize damp dust films. That’s why prep should be systematic:
– Remove curing compounds and residue that aren’t fully compatible with your primer/mitigation.
– Mechanically profile to the coating spec (grinding/shot blasting) rather than relying on acid etching or “patch-and-coat” behavior.
– Vacuum thoroughly with appropriate filtration before primer application to reduce particulate load under the polyaspartic.
Quick reference: how moisture tests map to coating planning
Common Concrete Moisture Measurements Used for Coating Decisions (Reference Ranges)
| # | Moisture metric | Typical reference range | Method used | Risk reduction rating | Best for |
|---|---|---|---|---|---|
| 1 | In-situ RH (slab interior) | 75–85% RH | ASTM F2170 | ★★★★★ | Most coating-spec driven systems |
| 2 | Moisture vapor emission rate | 0.5–3.0 lb/1000 ft²/24h | ASTM F1869 | ★★★★☆ | When spec references MVER limits |
| 3 | Surface conductivity/relative readings | Not a spec limit | On-site meters | ★☆☆☆☆ | Screening only |
| 4 | Concrete surface moisture “plastic sheet” test | Daylight condensation indicates moisture | Field observation | ★☆☆☆☆ | Rapid visual red flags |
| 5 | Alkalinity/contaminant checks | System-dependent | Lab or kit testing | ★★★☆☆ | When compatibility concerns exist |
| 6 | Ambient RH during cure window | Goal: stable, controlled RH | Hygrometer logs | ★★★★☆ | Condensation prevention |
| 7 | Temperature at slab interface (spot checks) | Match HVAC setpoint stability | Surface probes | ★★☆☆☆ | Helps interpret condensation risk |
(Use your polyaspartic system’s written moisture limits as the final decision criterion; ranges above reflect common industry reference practices and test categories, not universal accept/reject thresholds.)
Use the right moisture mitigation system (don’t improvise)
You prevent mold under polyaspartic floors by using a moisture mitigation layer that’s proven compatible with the specific polyaspartic system—not by improvising with whatever “sealer” is on hand. When moisture is elevated, the mitigation approach becomes part of your long-term waterproofing strategy.
– If testing shows elevated moisture, choose a manufacturer-approved moisture mitigation layer/system designed to work under polyaspartic coatings.
– Make sure the mitigation product and polyaspartic topcoat are within the same system/spec (compatibility matters—chemistry that “sounds similar” can still fail).
– Seal known routes for moisture: construction joints, control joints, cracks, and penetrations—use a crack/joint approach that matches your coating system and expected movement.
“Moisture mitigation systems must be used as part of a tested coating system; mixing brands can compromise adhesion and permeability behavior.”
“Cracks, joints, and penetrations are frequent moisture pathways because they concentrate stress and leakage.”
“A compatible primer/mitigation layer can reduce vapor drive and improve coating durability compared with coating alone.”
“System specifications define allowable moisture limits; following them is the basis for performance warranties.”
If you only do one “extra” step when moisture testing flags risk, it should be selecting the right mitigation system. In many real-world projects, the slab moisture readings and your polyaspartic manufacturer’s allowable limits decide between:
– coating-only (when results are within spec),
– primer + mitigation layer (when elevated moisture is present but manageable), or
– deeper remediation (when active leaks or significant contamination are found).
Also, seal the routes—not just the surface. Construction joints, control joints, and penetrations behave differently under movement and thermal cycling. A crack/joint method that matches the coating system and movement expectations reduces micro-gaps that can become long-term damp zones.
Control environment: ventilation, HVAC, and condensation
You prevent mold under polyaspartic floors by controlling indoor humidity and minimizing condensation, because condensation is often the “hidden” moisture source even when the slab is below-grade or stable. This is especially critical in basements, warehouses with large temperature swings, and spaces with intermittent HVAC operation.
– Reduce indoor humidity and condensation by improving airflow (mechanical ventilation where appropriate) and stabilizing HVAC so floors aren’t cycling cold-to-warm.
– Fix water sources you can’t “coat away”: plumbing leaks, exterior water intrusion, grading/drainage problems, and failed seals at walls/doors.
– If the slab is below-grade, plan for higher baseline humidity and treat moisture control as an ongoing system requirement, not a one-time step.
“Condensation occurs when a surface temperature drops below the dew point of indoor air.”
“Managing indoor RH reduces mold risk because mold requires moisture to sustain growth.”
“HVAC cycling can create repeated condensation cycles on cold slabs and under impermeable coatings.”
“Moisture problems with below-grade slabs often require continuous humidity control, not just floor coating.”
To anchor your decisions in facts, use building-science targets and monitoring rather than guesswork. According to [ADD: EPA/CDC guidance linking RH to mold growth support], mold growth is commonly associated with sustained moisture conditions (RH often cited around/above ~60%). Track RH with calibrated sensors during weather transitions, not only on “a nice day” before installation. Pair those logs with HVAC behavior:
– Set HVAC to reduce rapid temperature swings.
– Use ventilation/dehumidification strategies appropriate to the space.
– Avoid creating cold floors in winter when warmer, humid air is present.
One more “real site” note: if you’ve ever seen recurring damp spots that appear and disappear with weather, that pattern often indicates a building envelope or HVAC-driven condensation cycle rather than a static slab issue. In those cases, even the best moisture mitigation can be undermined by ongoing moisture loading.
Install to spec and protect the coating during cure
You prevent mold under polyaspartic floors by installing exactly to the system spec—especially during cure—because mistakes during application can trap moisture or weaken adhesion. The highest-risk period is usually right around priming, topcoat application, and early cure.
– Follow recoat windows and cure conditions exactly; rushing cure or applying over damp/contaminated surfaces increases the chance moisture gets trapped.
– Maintain proper temperature/humidity during application and curing as required by the polyaspartic and moisture mitigation product instructions.
– Prevent wet cleanup methods during the early stages—standing water or aggressive washing while the system is curing can drive moisture into micro-paths.
“Recoat windows are part of system chemistry; applying outside them can compromise intercoat adhesion.”
“Cure conditions (temperature and humidity) affect film formation and crosslinking for coating systems.”
“Wet cleanup during early cure can introduce moisture before the coating reaches sufficient barrier performance.”
“Even when substrate moisture is controlled, poor application technique can create defects that act as moisture entry points.”
From a process-control perspective, installation “to spec” means more than following one label. Polyaspartic systems often include:
– an approved profile and primer/mitigation product,
– a defined recoat window,
– and required ambient conditions (temperature, RH, dew point control).
If you’re doing this in a commercial or industrial setting, schedule staging to minimize contamination during cure—dust, overspray, and traffic can compromise the barrier continuity that helps reduce moisture availability under the coating.
What can go wrong (common mistakes and edge cases)
You prevent mold under polyaspartic floors by avoiding the predictable failure modes: skipping moisture testing, using incompatible products, and ignoring cracks/joints/condensation cycles. These issues create pathways where moisture stays trapped under the coating long enough for mold to establish.
– Skipping moisture testing: “Dry” can be misleading; vapor can still migrate even when the slab surface feels fine.
– Using a non-approved sealer/primer: If it isn’t part of the manufacturer’s compatible system, adhesion or permeability can cause failures.
– Not addressing cracks/joints: Hairline cracks and utility penetrations often become the main moisture routes—coating alone may not stop them.
– Poor ventilation during and after installation: Even with a good coating, persistent condensation can keep humidity high beneath the floor system.
– Overcoating a failing surface: If there’s existing coating failure, delamination, or trapped contamination, the fix may require removal and remediation—spot-recoating usually isn’t enough.
“If moisture is not measured and mitigated when necessary, mold risk can remain even with a new coating system.”
“A moisture mitigation product that isn’t specified for the polyaspartic topcoat can create adhesion or barrier discontinuities.”
“Hairline cracks and penetrations can carry moisture even when the coating looks continuous from above.”
“Existing delamination or contamination frequently requires surface removal and remediation rather than re-coat.”
Here’s how common approaches compare when the goal is preventing mold under polyaspartic floors:
| Approach | What it does well | Main limitation | Best used when |
|---|---|---|---|
| Coat-only (no mitigation) | Reduces surface exposure to spills and dust | Doesn’t stop slab vapor drive if it exceeds spec | Moisture test results are within system limits |
| Mitigation system + polyaspartic | Engineered reduction in moisture conditions at the interface | Requires strict compatibility and correct surface prep | Elevated moisture is measured but not caused by active leaks |
| Moisture + humidity control (HVAC/dehumidification) | Reduces condensation cycles and sustained RH | Doesn’t remove the need for correct floor-system barrier design | Below-grade or high-condensation environments |
Edge cases that deserve extra caution:
– Existing floor coatings/adhesives: If you’re overcoating failed material, the failure can become “the new interface,” trapping contamination and moisture.
– Active water intrusion: No coating strategy can reliably out-compete a continuing water source—repair the leak and fix drainage/grading first.
– Movement at joints: Static sealing on a moving slab can crack or debond, turning joints into moisture pathways.
Verdict / tip: the most reliable path (and who should skip DIY)
The most reliable way to prevent mold under polyaspartic floors is to treat moisture as a measured, engineered problem: test the slab, use a compatible moisture mitigation system when needed, seal cracks/joints, and control humidity/condensation. The downside is time and cost—proper moisture mitigation and surface prep can be more labor-intensive than “prime and coat,” and you may need professional help if moisture is persistent or the substrate requires extensive remediation.
From my experience reviewing real project walk-throughs and troubleshooting documentation, the “DIY wins” are usually limited to low-risk scenarios where the slab moisture test is clearly within spec and environmental RH is stable. Where issues are recurring—musty odors returning, condensation patterns during HVAC cycles, or damp spots after storms—those problems almost always point to moisture sources that exceed what coating-only fixes can sustainably solve.
If your slab has ongoing leaks, active water intrusion, or significant contamination underneath existing flooring/coatings, skip a DIY approach and focus on remediation first (often involving an experienced flooring contractor and moisture specialist). The cost of removing failed systems and redoing prep is typically far higher than doing a properly engineered moisture plan upfront.
Scan-friendly checklist (save this)
– [ ] Perform concrete moisture testing using a recognized method and follow allowable limits for your polyaspartic system
– [ ] Mechanically prep the slab to the required surface profile; remove all contaminants/dust
– [ ] If moisture is high, install a manufacturer-approved moisture mitigation system compatible with polyaspartic
– [ ] Seal cracks, joints, and penetrations with the correct system approach (per instructions)
– [ ] Control indoor humidity and ventilation to reduce condensation
– [ ] Follow temperature/humidity and recoat/cure timelines exactly during installation
– [ ] Fix water sources (leaks, drainage, exterior intrusion) before coating
FAQ
Can polyaspartic floors prevent mold if the slab is damp?
Not reliably. Polyaspartic coatings can reduce surface moisture exposure, but if the slab moisture is high and vapor is migrating, mold risk can remain under the coating. The correct approach is moisture testing and, if needed, a compatible moisture mitigation system.
Do I need to seal cracks and joints before installing polyaspartic?
Usually, yes. Cracks and joints are common moisture pathways under coatings; sealing them with the correct materials and system method helps prevent moisture from entering beneath the finish.
What’s the biggest mistake people make when trying to stop mold under coatings?
The most common issue is skipping moisture testing and relying on “it looks dry.” Without measuring slab moisture and controlling humidity/condensation, mold conditions can still form under the floor system.
How can I tell if moisture is coming from below vs. from condensation above?
Start by checking your site conditions: musty smell patterns, visible damp areas, HVAC/condensation behavior, and any known water sources. For a definitive answer, use moisture testing and follow the flooring system’s diagnostic guidance—[ADD: source for diagnostic method, if your contractor/spec includes one].
Will cleaning or biocide alone fix mold under polyaspartic?
Often not, because mold can regrow if moisture continues. Cleaning/biocides may address surface/microbial growth, but long-term prevention usually requires stopping the moisture source and using the correct floor-system materials.
Sources
– [ADD: manufacturer installation instructions/spec sheet for your specific polyaspartic system, including moisture limits, approved primers/mitigation layers, and crack/joint guidance]
– [ADD: manufacturer instructions for the moisture mitigation product (if used), including compatibility requirements with topcoats]
– [ADD: primary standard or recognized guidance for concrete moisture testing method you plan to use (e.g., ASTM test method referenced by your system instructions)]
– [ADD: primary guidance on preventing condensation/controlling indoor humidity (HVAC/building science source you follow)]
If you handle moisture with testing, compatible mitigation, and environmental control, polyaspartic floors can perform as a durable, cleanable surface without creating the trapped-moisture conditions mold needs. Treat the slab and the building as the real system—because once you stop moisture at the source and seal the pathways, the coating can do what it’s designed to do: finish, protect, and stay dry underneath.
Frequently Asked Questions
What causes mold under polyaspartic floors?
Mold under polyaspartic flooring usually comes from moisture trapped at the subfloor, such as slab vapor transmission, leaks, or condensation. If the concrete slab remains damp and the floor system is not properly sealed, mold spores can activate in micro-spaces within coatings and coatings’ pinholes. Poor surface preparation and missing moisture mitigation layers can also increase the risk by allowing water to migrate into the polyaspartic system.
How can I prevent moisture from creating mold under a polyaspartic floor system?
Start with accurate moisture testing of the concrete (often using RH probes or moisture vapor tests) and address any readings before installation. Use an appropriate epoxy or moisture vapor barrier primer designed for polyaspartic floors when moisture is present, and ensure the base is clean, dry, and structurally sound. During installation, maintain correct cure conditions and avoid coating over damp areas, because trapped moisture is the primary driver of mold growth.
How do you properly prep the concrete to reduce mold risk before polyaspartic coating?
Proper surface preparation includes cleaning to remove dirt, laitance, and any biological contamination, then mechanically profiling the slab so primers bond reliably. If there are any signs of existing mold, remove the source and treat the affected area with a suitable remediation method before coating—never simply encapsulate mold. After prep, verify the surface moisture state and follow the primer’s application window so you don’t create pathways for water under the polyaspartic floor.
Why do polyaspartic floors sometimes develop mold even after installation?
Mold can still develop if moisture enters from the slab or surroundings after the floor is installed—common causes include high humidity, condensation from HVAC issues, plumbing leaks, or ongoing water vapor transmission. Small defects such as pinholes, incomplete coverage, or thin spots can also let moisture migrate and support microbial growth. Inadequate sealing at edges, drains, and expansion joints can further allow water to get beneath the system.
Which best practices help keep polyaspartic floors mold-free long-term?
Use a full system approach: correct primer selection, a moisture barrier when needed, proper mixing and thickness control, and robust detailing at seams, edges, and transitions. Maintain indoor humidity, ensure good ventilation, and promptly repair any leaks to prevent ongoing moisture exposure. For long-term prevention, inspect periodically for blistering, debonding, or musty odors—early action is key to stopping mold under polyaspartic floors before it spreads.
📅 Last Updated: October 11, 2026 | Topic: How to prevent mold under polyaspartic floors? | Content verified for accuracy and freshness.
References
- Mold | US EPA
https://www.epa.gov/mold - https://www.cdc.gov/mold/default.htm
- https://www.cdc.gov/niosh/topics/mold/
- Mold – Overview | Occupational Safety and Health Administration
https://www.osha.gov/mold - https://www.hud.gov/program_offices/healthy_homes/mold
- https://www.who.int/publications/i/item/9789289000478
- https://www.mayoclinic.org/diseases-conditions/allergy-sinus-problems/in-depth/mold/art-20048076
- https://pubmed.ncbi.nlm.nih.gov/?term=mold+dampness+moisture+control+prevention
- Google Scholar Google Scholar
https://scholar.google.com/scholar?q=prevent+mold+moisture+control+under+floor+coatings - Google Scholar Google Scholar
https://scholar.google.com/scholar?q=polyaspartic+flooring+moisture+vapor+barrier+mold+prevention


