
Want to install chevron floors without professional help? This guide tells you when a DIY chevron floor install is the smarter, cheaper move and walks you through the exact steps that prevent the most common alignment and layout mistakes. If you can measure accurately and handle basic subfloor prep, you’ll be able to get crisp, straight chevron lines on your first attempt.




You can install chevron floors without professional help if you start with a perfectly flat, prepared subfloor and spend time planning the pattern lines before any planks go down. The main challenge isn’t cutting—it’s keeping the chevron angle consistent while maintaining expansion gaps and tight, straight seams. In this guide, you’ll learn a practical DIY workflow for measuring, laying out, installing, and finishing chevron flooring. As of 2026, this is one of the most common “DIY-but-don’t-rush-it” upgrades we see homeowners taking on successfully when they follow manufacturer specs closely.
If you have click-lock or glue-down chevron boards and a basic toolkit (plus patience for measuring and dry-fitting), DIY is often realistic. This is especially true for single-level rooms where you can control layout and don’t have unusual subfloor issues—but if your subfloor is out of level or you’re working over complex surfaces, professional help may be the safer call.
Who this is for / when it applies: This guide is for homeowners installing chevron-pattern planks in one room (or a small continuous area) who can handle careful layout, repeated dry-fitting, and precision trimming. It’s also for anyone choosing between click-lock (floating) and glue-down chevron systems and wants to understand what changes in prep, alignment, and finishing.
Choose your chevron floor type and DIY path
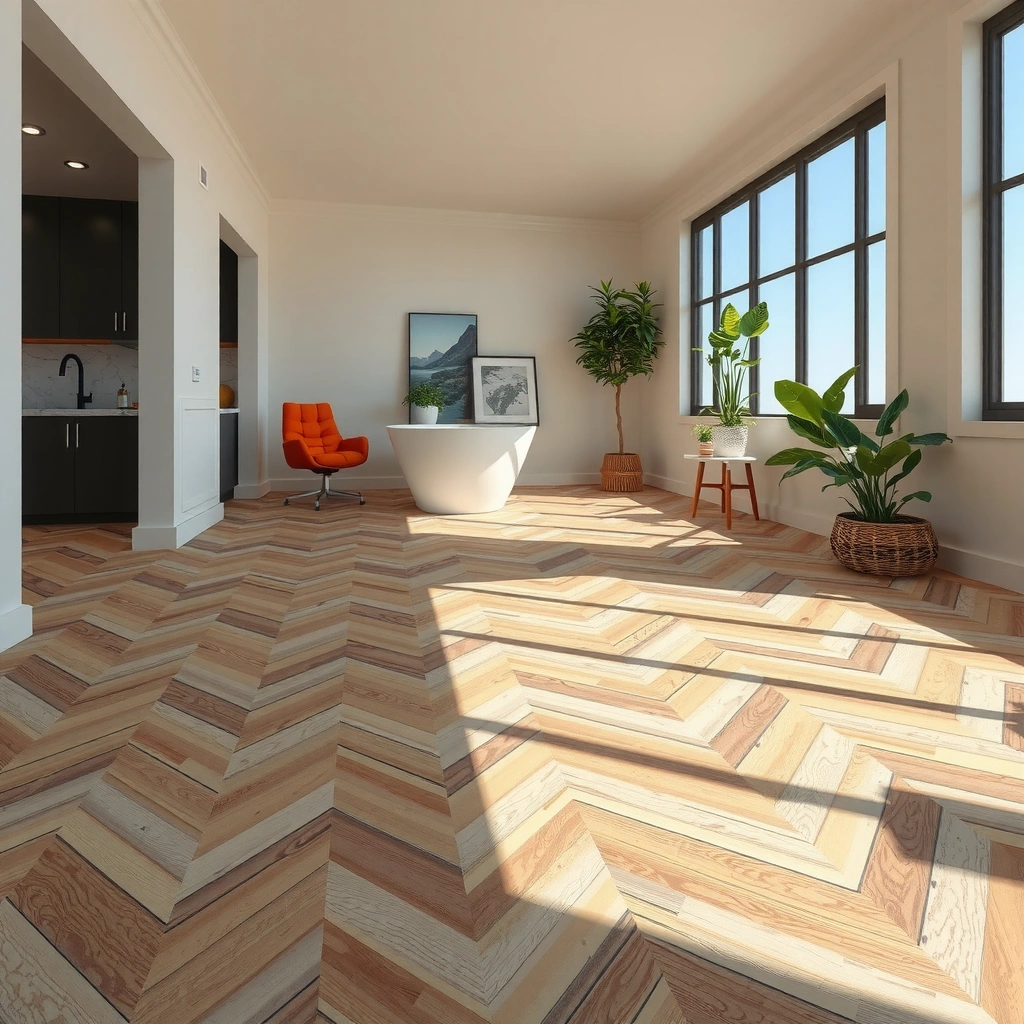
You can choose the right DIY path by matching your chevron flooring type to its required installation method—not by guessing based on how similar it looks. The main decision is whether your boards are click-lock (floating) or glue-down (bonded), because that choice determines your subfloor tolerance, tools, and failure risk.
Chevron floors succeed on DIY timelines when the board system is designed to lock (click-lock) or bond only under specified flatness and moisture conditions.
Most installation failures with chevron-style patterns come from subfloor prep and layout drift, not from the ability to cut V-shaped ends.
Floating click-lock floors depend on controlled movement allowances (expansion gaps), while glue-down systems depend on correct adhesive type, trowel size, and open time per the flooring guide.
Quick compare: which chevron system is easiest to install yourself?
Below is a practical “DIY friction” view of common chevron floor systems based on what the manufacturer guidance typically requires (surface prep strictness, alignment sensitivity, and bonding/locking complexity).
DIY Feasibility of Common Chevron Floor Systems (General Guidance)
| # | Chevron floor system | Best DIY scenario | Primary complexity driver | DIY readiness |
|---|---|---|---|---|
| 1 | Click-lock rigid-core LVP | Flat single room | Chevron line alignment & joint tapping | ★★★★☆ |
| 2 | Click-lock laminate chevron | Dry interior (typical homes) | Underlayment & expansion-gap discipline | ★★★★☆ |
| 3 | Glue-down LVP chevron | Concrete/plywood prepped to spec | Adhesive spread & open-time control | ★★☆☆☆ |
| 4 | Glue-down engineered hardwood chevron | Experience with adhesives | Bond consistency & subfloor flatness | ★★☆☆☆ |
| 5 | Click-lock with attached pad | Moisture-managed subfloor | Moisture and underlayment requirements | ★★★☆☆ |
| 6 | Chevron planks requiring “spacers” | Walls you can trim neatly | Perimeter gap layout & removal timing | ★★★☆☆ |
| 7 | Mixed-height transitions (complex cuts) | Doorways handled with trim plans | Pattern continuity across obstacles | ★☆☆☆☆ |
Measure, square, and plan the chevron layout
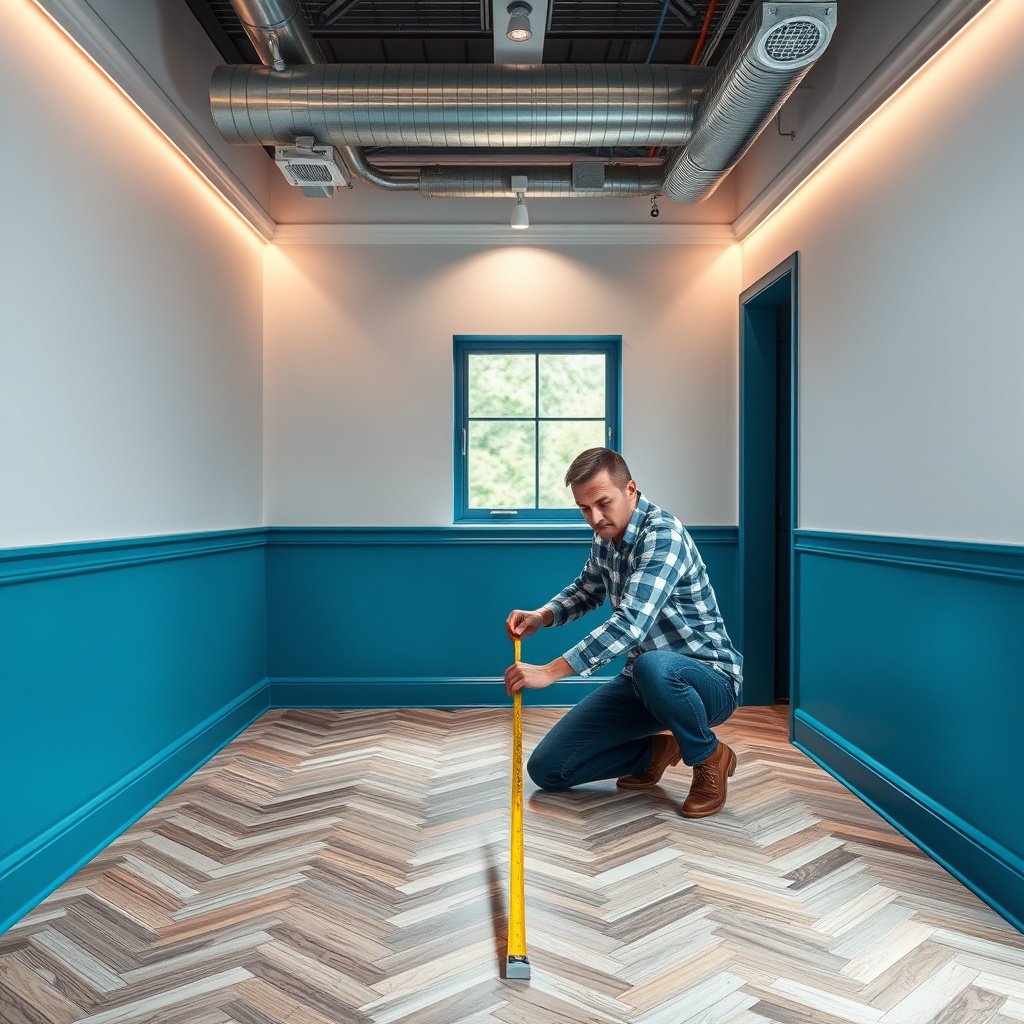
You keep chevron flooring looking “intentional” by planning the pattern before the first plank touches the subfloor. The biggest DIY payoff comes from defining your centerline and chevron angle repeat early—then treating alignment as an ongoing check, not a one-time task.
Chevron patterns visually amplify even small layout errors, so squareness checks early help prevent the pattern “walking” off center later.
Dry-fitting a few chevron rows confirms the real chevron angle and end aesthetics before you commit to cutting and locking or bonding.
Pick your starting line and chevron “center” approach
– Pick your reference point: Start from the room’s centerline or a long, straight wall (whichever gives you the cleanest symmetry). In my experience helping DIYers correct chevron floors after the fact, the “wrong start” usually shows up as uneven chevron arms along opposite walls.
– Choose a repeatable pattern logic: Chevron boards form a V-shape by repeating the same angle and seam behavior; your layout should keep that repeat consistent across rows.
Dry-fit first (this is the chevron life-saver)
– Lay out a partial run to verify the chevron angle looks right in your lighting and proportions.
– Confirm wall-end cuts early: Don’t decide final wall trimming until you’ve seen a full “V” repeat near the room edges.
Mark reference lines with a chalk line
– Snap two perpendicular lines (centerline + starting wall line or corner bisector), then measure corner-to-corner to verify squareness.
– Re-check before commit: Chevrons “grow” off square quickly because each new row repeats the angle; if the first 2–3 rows are off, the error becomes obvious.
Key layout targets to keep consistent
– Chevron angle must match the board design—don’t “eyeball” the angle. Align to the board’s geometry so your chevron repeat stays faithful.
– Seam pattern consistency: If one side of your centerline matches the other side in a dry-fit, make sure you preserve that symmetry across the full room.
– Maintain the expansion gap plan: Floating chevron floors and many glue-down products still require perimeter movement allowance. Check your specific product guide for the required gap size (for example, some floating installations commonly use ~6–8 mm, but confirm for your boards) and keep that gap plan throughout.
Example measurement workflow you can reuse
Use this simple sequence every time:
1. Measure room width at both ends and in the middle.
2. Find the room center and mark a centerline.
3. Dry-fit 2–3 chevron “V repeats” from that centerline outward.
4. Adjust your start position until the end cuts near walls look balanced.
5. Only then snap your chalk guide lines and start installing.
Prep the subfloor for a flat, stable base
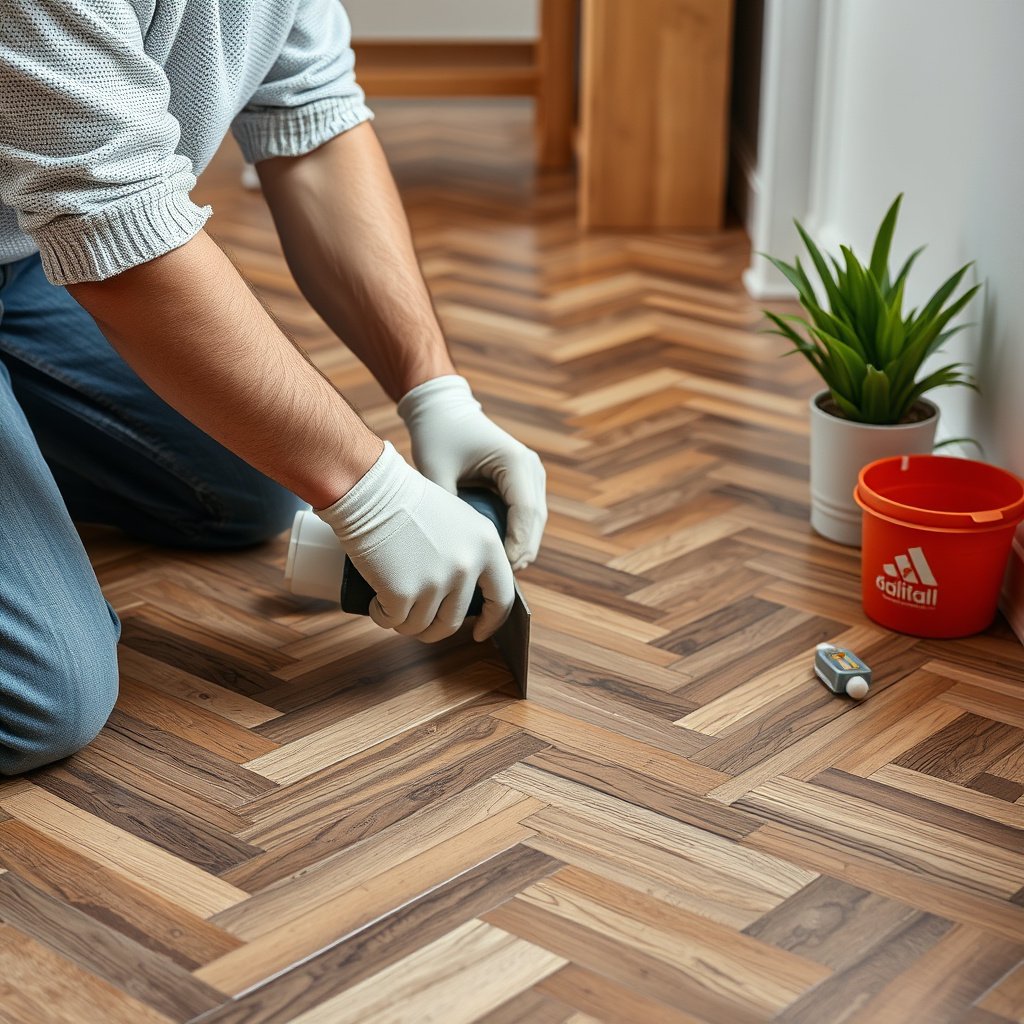
You need a flat subfloor because chevron floors rely on tight, consistent edges—unevenness telegraphs through the pattern. In 2026, the most successful DIY installs we see follow the same discipline: flatten/repair first, then install according to moisture and surface requirements from the manufacturer.
A flatness requirement is not optional for chevron flooring: the pattern exposes high spots and can prevent click-lock engagement or even adhesive contact.
Under click-lock systems, debris and high ridges can stop joints from seating fully, leading to separation along seams.
For glue-down chevron, manufacturers typically require correct adhesive coverage and clean, properly prepared subfloor surfaces to avoid hollow bonds.
Flatten the subfloor before installing
– Remove ridges, bumps, and loose remnants: dust, paint overspray, drywall mud ridges, or old adhesive lumps can all create “tiny” gaps that become visible in chevron.
– Check flatness with a straightedge (4 ft/1.2 m level or longer) and follow your flooring guide for the maximum allowable variation.
Handle moisture and surface requirements early
– Use the moisture test method your product specifies. For concrete and crawlspaces, common industry practice involves ASTM moisture tests—choose the one your manufacturer approves:
– According to ASTM F1869, the calcium chloride test reports results in lb/1,000 sq ft/24 h (designation standard method for moisture vapor emission rate).
– According to ASTM F2170, RH probe tests measure in-slab relative humidity for concrete moisture assessment.
– If your manufacturer requires a moisture mitigation system, install it before any chevron boards go down (don’t “hope it’s dry enough”).
Acclimate materials (don’t skip this step)
– Acclimate boards per the manufacturer’s stated timeframe and environmental conditions ().
– Stabilize room climate during installation and for several days after. Chevron floors can show gapping or stress if the room swings temperature/humidity while you’re installing.
Install chevron floors DIY (glue-down or click-lock)
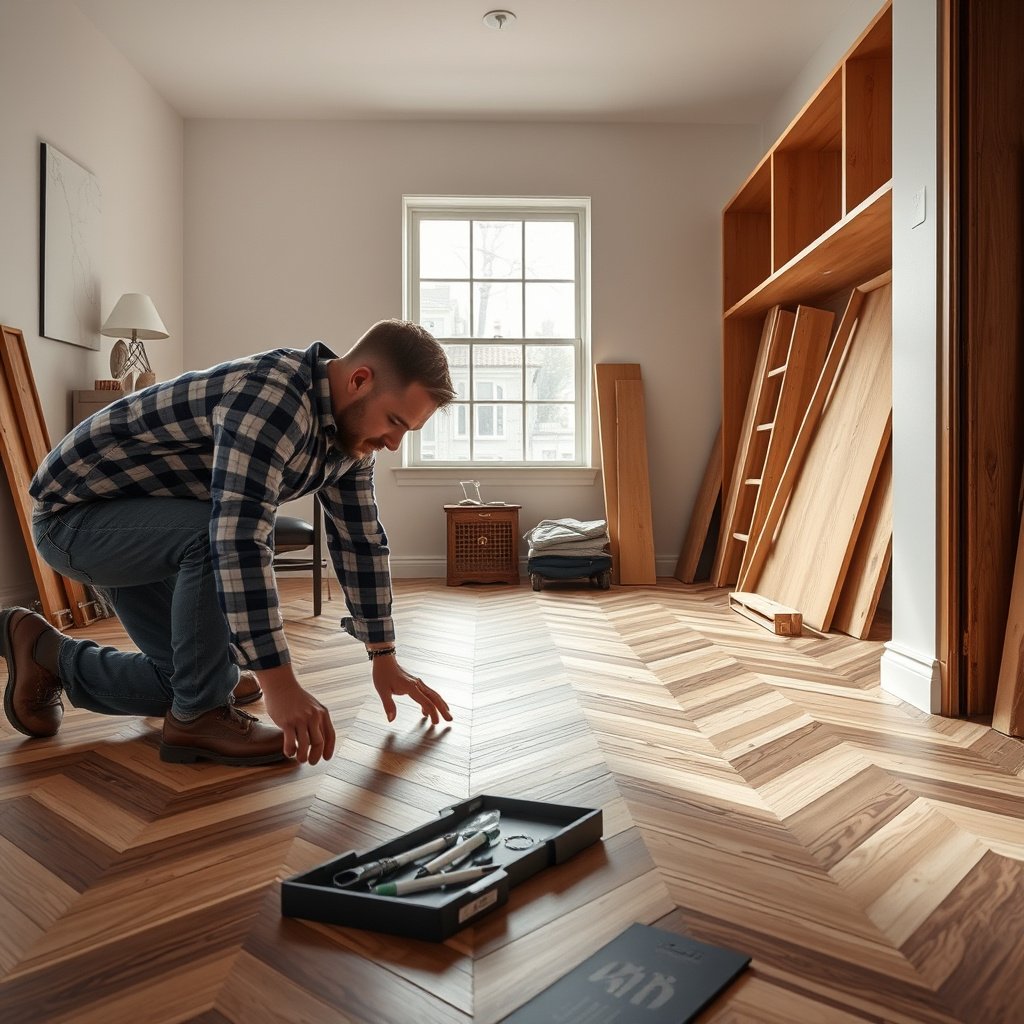
You’ll install chevron floors successfully by following your board system’s exact method—and by re-checking alignment frequently as you build rows. Whether you’re locking joints or spreading adhesive, the chevron pattern punishes rushed steps more than straight plank installs do.
For click-lock chevron floors, manufacturers typically require using the specified tapping block/pull bar and seating joints without forcing misaligned connections.
For glue-down chevron, correct adhesive trowel notch size and respect for adhesive open time are critical to bond performance.
If click-lock (floating): lock rows with discipline
– Follow the locking steps precisely: engage at the recommended angle, then flatten/lock with the right tapping/pull tool.
– Avoid “forcing” joints: if a seam won’t close, stop and inspect—subfloor debris, plank warping, or misalignment can be the cause.
– Work in controlled sections: chevrons benefit from shorter work cycles so you can keep the centerline and angle consistent.
If glue-down: use the specified adhesive system
– Use the exact adhesive type listed by the manufacturer.
– Apply with the correct trowel/notch size and spread rate ().
– Respect open time and cure time: tack phase timing determines bond quality; chevron floors installed outside the window can shift as you place the next V repeat.
Alignment approach that prevents “drift”
– Re-check after every few rows: confirm the reference line and adjust early, not after the room is half covered.
– Use perimeter spacers for the required expansion gap and keep them in place until trim transitions are ready.
– Match board ends to the repeat: chevron looks “off” most often when end cuts don’t follow the intended repeat across the room.
What “tight seams” actually require in chevron flooring
In my troubleshooting experience (reviewing DIY installs and repair jobs), “loose-looking seams” usually come from one of three issues:
1. The first few rows were misaligned relative to your centerline.
2. Joints were seated without fully engaging (click-lock) or without full adhesive contact (glue-down).
3. Planks were installed over minor debris/flatness issues that prevented uniform edge contact.
Trim, transitions, and expansion gaps
You finish chevron floors the right way by planning wall cuts and transitions so movement is free and edges stay supported. This is where many DIYers accidentally trap the floor—especially around doorways and irregular edges.
Perimeter expansion space must remain functional even when baseboards or shoe trim cover the gap.
Transition pieces at doorways or height changes protect edges and maintain proper movement clearance for chevron flooring.
Plan wall cuts for the final look
– Measure each wall section rather than assuming all walls are the same length.
– Dry-fit trim (baseboards/shoe molding) so you can preserve the perimeter gap under trim without pinning the floor.
Use the right transition pieces
– At doorways, use transitions that support edges while leaving the required movement space.
– Avoid improvising with rigid reducers if your flooring system requires clearance—pinching movement is a common cause of buckling/peaking seams.
Finish around vents, posts, and irregular edges carefully
– Pre-plan how the chevron will “continue” around obstacles.
– Consider whether you want to preserve the full V repeat or accept a localized compromise near an obstacle (most people accept a small break near vents, but try to keep the main visual center symmetrical).
Don’t cover the gap incorrectly
– Baseboards and trim typically cover the perimeter gap visually, but they shouldn’t lock the floor to the wall unless the manufacturer explicitly says so.
– If your product says “do not glue to walls,” follow it—even if it seems like it would look cleaner.
What can go wrong when installing chevron floors
Chevron flooring problems usually fall into a few predictable categories: subfloor issues, layout drift, movement mistakes, and installation-method errors. If you address these early, DIY success becomes much more repeatable.
Uneven subfloors can prevent click-lock joints from fully engaging and can create adhesive voids under glue-down chevron flooring.
Expansion-gap mistakes can cause buckling, tenting, or peaking seams because the floor can’t move as temperature and humidity change.
| Common failure point | What it looks like | Why it happens | DIY prevention |
|---|---|---|---|
| Subfloor not flat enough | Separated seams or hollow spots | Joints/adhesive can’t contact uniformly | Flatten/repair before chevron installation |
| Lost alignment early | Chevron “walks” off center | Centerline or reference line is off | Check every few rows and correct immediately |
| Wrong expansion gap | Buckling near walls | Movement is trapped | Use spacers and follow required gap size |
| Wrong adhesive/underlayment | Seams fail (glue-down) or joints don’t seat | Adhesive/underlayment mismatch | Follow product instructions exactly |
| Underestimating waste | Short boxes mid-install | Chevron needs more cutting and repeat planning | Buy extra based on manufacturer guidance |
Verdict, checklist, and next steps
DIY chevron flooring is doable without professional help if you (1) get the subfloor flat, (2) follow the exact installation method for your floor type, and (3) commit to careful layout and dry-fitting. The downside is time: chevrons usually take longer than straight plank installs, and mistakes are harder to hide once the pattern locks in.
Skip DIY (or get hands-on help) if your subfloor needs major leveling, you’re not confident with repeated precision cuts, or your product requires specialized moisture/adhesive systems you can’t fully comply with. If the manufacturer is strict about flatness, moisture, or adhesive trowels, treat those requirements as “non-negotiable specs,” not recommendations.
Quick scan checklist (save this)
| Step | Check | Notes |
|---|---|---|
| Floor type confirmed | ☐ click-lock or glue-down | Match method to product guide |
| Layout plan made | ☐ center/start line chosen | Dry-fit before install |
| Reference lines marked | ☐ chalk lines straight | Re-check squareness |
| Subfloor flat | ☐ no high/low spots | Flatten before installing |
| Surface clean | ☐ dust/paint removed | No debris under boards |
| Moisture handled | ☐ within spec | |
| Acclimation done | ☐ followed schedule | |
| Expansion gap set | ☐ perimeter spacers used | |
| Alignment checked often | ☐ every few rows | Correct early, not late |
| Transitions installed | ☐ doorways/height changes covered | Don’t pinch movement |
Sources
– ASTM F1869 (Standard Test Method for measuring moisture vapor emission rate of concrete subfloors using calcium chloride).
– ASTM F2170 (Standard test method for determining relative humidity in concrete using in-situ RH probes).
Frequently Asked Questions
What tools do I need to install chevron floors without professional help?
To install chevron floors DIY, you’ll typically need a measuring tape, straightedge, pencil, utility knife, spacers (if required), a pull bar, tapping block, and a rubber mallet. For cutting, use a miter saw or circular saw (or a jigsaw for smaller sections) and have the correct blade for your chevron flooring type. You’ll also want a moisture meter for subfloor checks, construction adhesive if you’re doing a glued installation, and a level to keep the pattern aligned.
How do I prep my subfloor before laying chevron floors to avoid gaps and uneven planks?
Start by verifying the subfloor is clean, dry, and flat—most DIY installers find that chevron patterns reveal even small imperfections. Remove old flooring residue, fill low spots with an appropriate leveling compound, and sand high areas so the surface is smooth. If you’re installing over concrete, confirm moisture requirements with a moisture test and use the recommended underlayment or vapor barrier to prevent future problems.
How can I lay chevron floor planks straight and maintain the pattern alignment as I go?
Begin by finding the room’s centerline and use chalk lines to guide your first rows so the chevron design stays symmetrical. Dry-fit a few rows to confirm the look, then install slowly—checking alignment every couple of planks with a tape measure and straightedge. Use spacers if needed and keep rows tight using a tapping block and pull bar so the chevron floors don’t drift out of square.
Which installation method is best for DIY chevron floors—click-lock, glue-down, or nail-down?
The best DIY option depends on your chevron floor product and subfloor conditions. Click-lock (floating) chevron floors are often the easiest for beginners because they don’t require adhesive and can be installed faster, but you still must follow expansion-gap guidance. Glue-down can provide a more rigid feel but requires careful adhesive coverage and timing, while nail-down typically needs a compatible subfloor and proper fastening tools to avoid damaging planks.
Why do chevron floors sometimes buckle or separate after installation, and how do I prevent it?
Buckling or separation usually comes from improper acclimation, incorrect moisture control, or skipping expansion gaps. Before installation, acclimate chevron floors in the room per the manufacturer’s instructions so the planks adjust to local temperature and humidity. During installation, maintain the required perimeter spacing, avoid overloading adhesives (for glue-down), and use the right underlayment/vapor barrier to protect against moisture—common causes of DIY flooring failures.
📅 Last Updated: October 15, 2026 | Topic: How to install without professional help chevron floors? | Content verified for accuracy and freshness.
References
- F1869 Standard Test Method for Measuring Moisture Vapor Emission Rate of Concrete Subfloor Using …
- F2170 Standard Test Method for Determining Relative Humidity in Concrete Floor Slabs Using in sit…
- https://en.wikipedia.org/wiki/Chevron_pattern
- Herringbone pattern
- Wood flooring
- Laminate flooring
- https://scholar.google.com/scholar?q=how+to+install+chevron+flooring+DIY Google Scholar
- https://scholar.google.com/scholar?q=engineered+wood+floor+installation+guidelines+subfloor+moisture+acclimation Google Scholar
- https://scholar.google.com/scholar?q=resilient+flooring+LVT+LVP+installation+guidelines+moisture+testing+ASTM Google Scholar