To make your own flooring, gather the necessary materials and tools, measure and prepare the space, lay down an appropriate underlayment, and install the flooring following the manufacturer’s instructions. Having a durable and aesthetically pleasing flooring is essential in enhancing the overall look of your space.
Instead of buying pre-made flooring, you can create your own customized flooring that perfectly matches your style and budget. By following a few simple steps, you can easily make your own flooring. We will guide you through the process, from gathering materials to installing the flooring, ensuring an easy and successful DIY project.
So, let’s dive into the world of DIY flooring and learn how to make your own flooring.
Materials And Tools Needed
When it comes to DIY flooring, it is important to have the right materials and tools in hand. Here is a list of materials you will need for your DIY flooring project:
| Type of Flooring | Materials Needed | Tools Required |
| Laminate flooring | Laminate planks, underlayment, vapor barrier, transition pieces | Tape measure, circular saw, jigsaw, tapping block, pull bar |
| Hardwood flooring | Hardwood planks, underlayment, nails or staples, wood adhesive | Tape measure, miter saw, drill, flooring nailer or stapler, rubber mallet |
| Tile flooring | Tile, tile adhesive, grout, spacers, sealer | Trowel, tile cutter, tile saw, grout float, sponge, level |
| Vinyl flooring | Vinyl planks or sheets, adhesive, underlayment | Tape measure, utility knife, straight edge, roller, heat gun |
Having the right tools is just as important as having the materials. Make sure you have the necessary tools for each type of flooring, such as a tape measure, saws, trowels, and utility knife. With the right materials and tools, you’ll be well-equipped to make your own flooring.
Preparing The Space
When preparing to make your own flooring, it is essential to start by measuring the area where the new flooring will be installed. This will help you determine the amount of materials needed, ensuring a smooth and cost-effective installation process. Once the measurements are taken, the next step is to clear the room of any furniture, rugs, or other items that may impede the installation. Inspecting the subfloor is also crucial at this stage. Check for any signs of damage or unevenness that may need to be addressed before proceeding with the new flooring. Being thorough in these initial stages will set a solid foundation for the rest of the installation process.
Choosing The Right Flooring Type
Choosing the Right Flooring Type: There are several different types of DIY flooring options available for you to choose from for your home. Each type has its own pros and cons that you should consider before making a decision.
Laminate Flooring: Laminate flooring is a popular choice and offers a durable and affordable option. It is easy to install and comes in a wide variety of designs. However, it may not provide the same level of elegance and natural look as hardwood or stone flooring.
Hardwood Flooring: Hardwood flooring adds a touch of elegance and warmth to any room. It is durable and can be refinished multiple times. However, it can be costly and requires regular maintenance to keep it looking its best.
Engineered Wood Flooring: Engineered wood flooring is relatively easy to install and is more resistant to moisture compared to hardwood flooring. It is cost-effective and provides a similar look to hardwood flooring. However, it may not have the same lifespan as solid hardwood flooring.
Tile Flooring: Tile flooring is durable and easy to clean. It comes in a variety of designs and is suitable for high traffic areas such as kitchens and bathrooms. However, it can be hard and cold underfoot, and the installation process may require professional help.
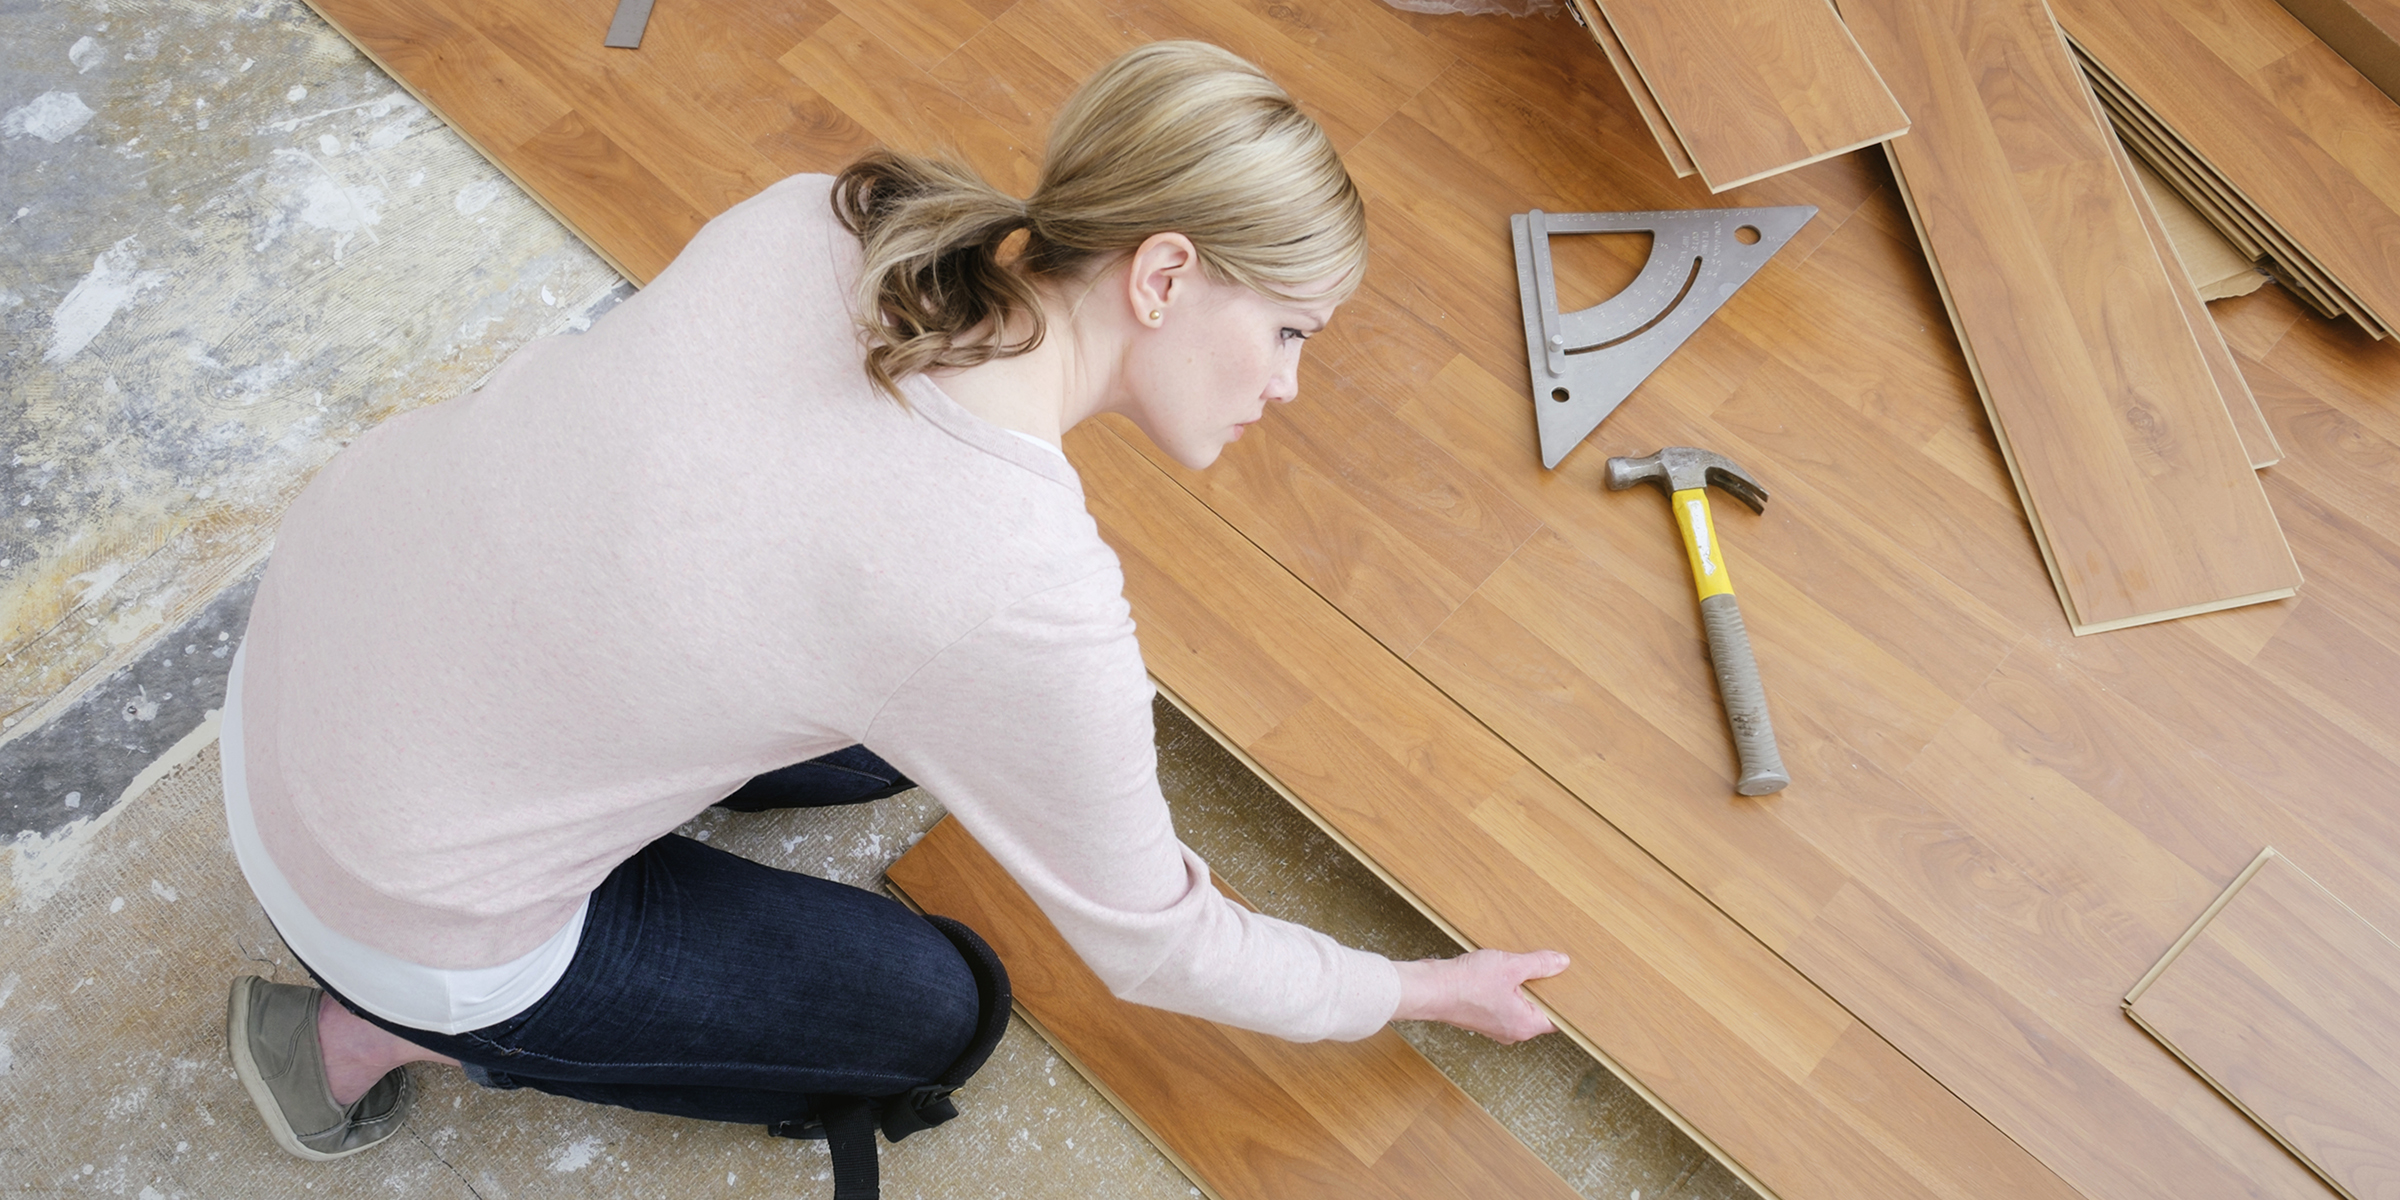
Installing Hardwood Flooring
Preparing the hardwood planks is an essential step before installation. Make sure the subfloor is clean, level, and dry. Remove any existing flooring and fix any loose or damaged subflooring. Measure the room and calculate how many planks you will need.
When nailing or gluing the planks, choose the method that suits your needs and skills. If nailing, start at the longest wall and work your way across the room, using a nail gun to secure the planks to the subfloor. If gluing, apply adhesive to the subfloor and carefully lay each plank, pressing firmly to ensure a strong bond.
After the planks are securely in place, it’s time to sand and finish the hardwood floor. Use a drum or orbital sander to smooth the surface and remove any imperfections. Clean the floor thoroughly to remove dust and debris. Apply the desired finish, such as polyurethane or wax, following the manufacturer’s instructions.
Laying Laminate Flooring
When it comes to laying laminate flooring, it is important to properly prepare the laminate boards before installation. This includes ensuring that the boards are acclimated to the room’s temperature and humidity, as well as checking for any defects or damage. Additionally, it is important to carefully measure and plan the layout of the boards to ensure a smooth and seamless installation.
Once the laminate boards are prepared, you can begin the installation process using the click-lock method. This method involves aligning the tongue and groove edges of the boards and simply clicking them together. The click-lock installation method is not only easy and convenient but also provides a secure and durable flooring solution.
After the laminate flooring is laid, it is necessary to trim and finish the edges for a polished and professional look. This can be done using a saw or a laminate trimmer to ensure clean and precise cuts. Finishing touches such as installing baseboards or transition strips can also be added to enhance the overall aesthetics and functionality of the laminate floor.
Tiling The Floor
Learn how to make your own flooring by tiling the floor. Follow our simple steps and tips to create a beautiful and durable floor for your home.
Preparing The Tile Surface
To begin tiling your floor, it’s important to properly prepare the tile surface beforehand. Start by thoroughly cleaning the floor to remove any dirt, dust, or debris that may interfere with the adhesive. Make sure to repair any cracks or uneven spots in the floor to ensure a smooth surface for tiling. Additionally, check that the floor is dry before proceeding.
Applying Thin-set Mortar
Once the tile surface is prepared, the next step is to apply thin-set mortar. This adhesive material helps to bond the tiles to the floor securely. Use a notched trowel to spread a thin layer of mortar evenly onto the floor. Work in small sections to ensure the mortar doesn’t dry out before laying the tiles.
Laying The Tiles And Grouting
After applying the thin-set mortar, it’s time to lay the tiles. Start in one corner and work your way across the floor, pressing each tile firmly into the mortar. Use tile spacers to maintain consistent spacing between the tiles. Once all the tiles are in place, allow the mortar to dry completely before applying the grout.
| Pros of Making Your Own Flooring | Cons of Making Your Own Flooring |
|---|---|
|
|
In summary, making your own flooring can be a rewarding DIY project. By following the steps to properly tile your floor, you can achieve a beautiful and durable flooring surface that suits your taste and budget. Just remember to take your time, adhere to the guidelines, and enjoy the process of creating your own flooring masterpiece!
Installing Vinyl Plank Flooring
Installing vinyl plank flooring can be a cost-effective and attractive way to update your home. Before you begin, it’s important to properly prepare the vinyl planks for installation. This involves removing any existing flooring, ensuring the subfloor is clean and level, and allowing the vinyl planks to acclimate to the room’s temperature and humidity.
One popular method for installing vinyl plank flooring is the peel-and-stick method. This involves removing the backing from the plank and pressing it firmly onto the subfloor. It’s a straightforward and DIY-friendly installation method that can be completed with basic tools.
Once the vinyl plank flooring is installed, it’s important to trim and finish the edges for a clean and professional look. This may involve using a utility knife or floor cutter to trim the planks to fit perfectly against walls, cabinets, or other obstacles. Additionally, adding baseboards or quarter round moldings can help hide any gaps and provide a polished finish to the overall installation.
| Preparing the vinyl planks | Peel-and-stick installation method | Trimming and finishing the vinyl plank floor |
|---|---|---|
| Remove existing flooring | Remove backing and press onto subfloor | Trim planks to fit against walls and obstacles |
| Ensure subfloor is clean and level | Utilize basic tools for installation | Add baseboards or quarter round moldings |
| Allow planks to acclimate to temperature and humidity |
Finishing Touches
When it comes to making your own flooring, it’s important to pay attention to the finishing touches. Baseboard installation is a crucial step in achieving a polished look. Start by measuring and cutting the baseboards to fit the length of each wall. Use a level and a stud finder to ensure accurate placement. Attach the baseboards using a nail gun or adhesive, making sure they are securely fastened.
After installing the baseboards, it’s time to apply a final coat of finish to your flooring. This helps protect the surface from wear and tear and gives it a shiny, professional appearance. Choose a finish that is suitable for your type of flooring, whether it’s wood, laminate, or tile. Follow the manufacturer’s instructions for application, using a brush or roller to evenly distribute the finish. Allow the finish to dry completely before walking on the floor.
Finally, don’t forget to clean up the space once the flooring project is complete. Remove any debris and sweep or vacuum the floor to remove dust and dirt. Consider using a gentle cleaner to give the flooring a thorough cleaning. This will ensure that your newly finished floor looks its best and is ready to be enjoyed.
Maintenance And Care
Regular cleaning and repairs are essential for maintaining your DIY flooring and ensuring its longevity. To keep your flooring in pristine condition, it is recommended to follow these tips:
- Vacuum or sweep your floors on a regular basis to remove any dirt, dust, or debris that may accumulate. This will prevent scratches and keep your floors looking clean.
- Mop your floors using a mild cleaner specifically designed for your flooring material. Avoid using excessive moisture, as it can damage the flooring.
- Wipe up spills immediately to prevent stains and damage to the flooring. Remember to use a damp cloth or mop rather than a wet one to avoid excessive moisture.
- Use floor mats or rugs in high-traffic areas and entryways to protect the flooring from dirt, moisture, and heavy wear.
- Inspect your flooring regularly for any signs of damage, such as cracks, scratches, or warping. Address these issues promptly to prevent further damage and ensure the longevity of your flooring.
By following these maintenance and care tips, you can enjoy your DIY flooring for years to come.
Frequently Asked Questions Of How To Make Your Own Flooring
How Can I Make My Own Flooring?
You can make your own flooring by following these steps:
1. Choose the type of flooring you want to install. 2. Measure and prepare the space. 3. Gather the necessary materials and tools. 4. Prepare the subfloor and install the underlayment. 5. Install the flooring according to the manufacturer’s instructions. 6. Finish the flooring with the appropriate sealant or finish.
What Are The Benefits Of Making Your Own Flooring?
Making your own flooring offers several benefits:
1. Cost savings: Making your own flooring can be more budget-friendly than purchasing pre-made flooring. 2. Customization: You have the freedom to choose the design, color, and materials for your flooring. 3. Satisfaction: Seeing the end result of your own hard work can bring a sense of fulfillment and pride. 4. Learning experience: Making your own flooring allows you to learn new skills and gain knowledge about the process. 5. Personal touch: You can create a unique and personalized look for your space.
What Materials Do I Need To Make My Own Flooring?
The materials you need to make your own flooring will depend on the type of flooring you choose. Some common materials include:
1. Wood planks or tiles for hardwood or laminate flooring. 2. Vinyl sheets or tiles for vinyl flooring. 3. Carpet tiles or rolls for carpeting. 4. Adhesive or glue for securing the flooring. 5. Underlayment for moisture and sound insulation. 6. Tools such as a measuring tape, saw, hammer, and installation kit specific to the flooring type.
Conclusion
Creating your own flooring is a practical and cost-effective option for homeowners who want to add a personal touch to their space. By following the step-by-step guide provided, you can confidently undertake this DIY project. Not only will you save money, but you will also have the satisfaction of knowing that you were able to create a unique and beautiful flooring solution for your home.
So why wait? Start your DIY flooring project today!


