
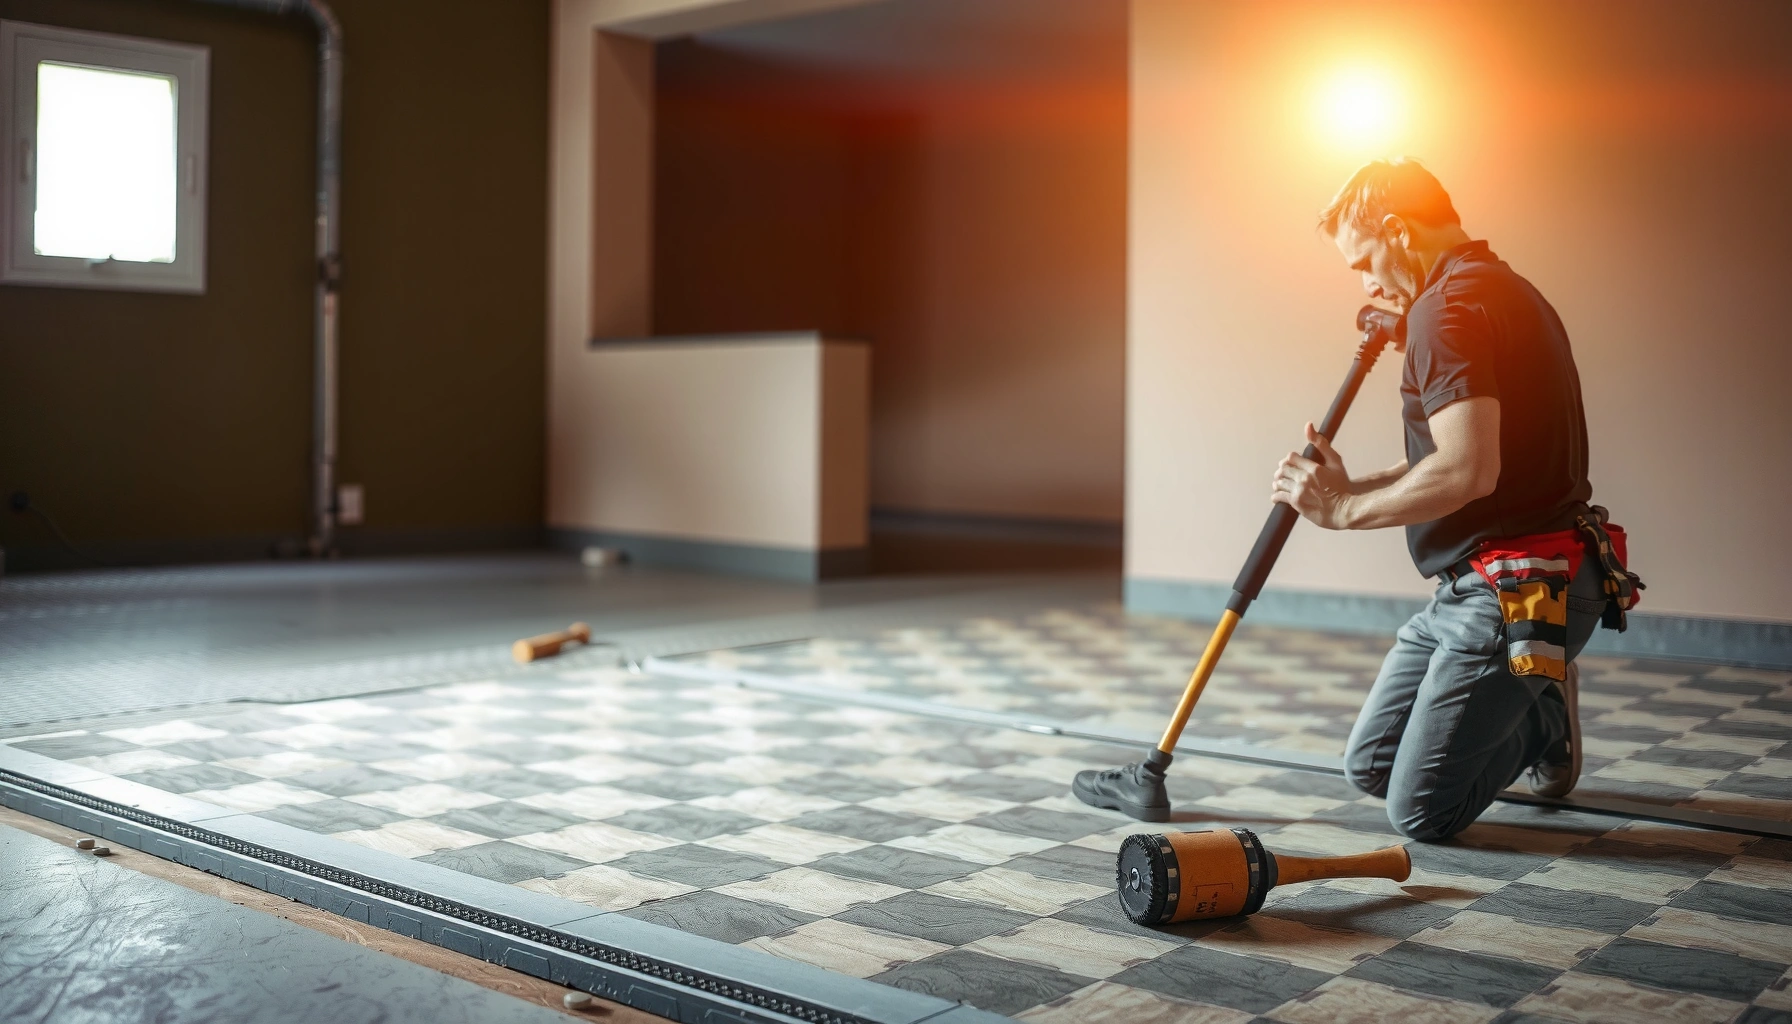

Installing bedroom garage floors doesn’t have to be a guessing game—follow this step-by-step guide for a clean, durable finish. You’ll get a clear, practical walkthrough from surface prep and underlayment to cutting, fitting, and installing your chosen flooring system. If you want the fastest path to a smooth, professional result in a garage-style bedroom area, this is the process to use.




Converting part of a garage into a bedroom is usually doable, but the floor only performs well if you match the flooring system to the slab’s moisture behavior and you don’t skip substrate prep. Start with a proper moisture/alkalinity check, then follow the exact primer/underlayment/moisture-barrier steps required by your chosen system—because most “mystery” failures (peeling, odor, lifting) trace back to incompatible materials over poorly prepared concrete.
This guide is for homeowners converting part of a garage into a bedroom or living space, or for anyone installing new flooring in a garage-like interior. It’s written to help you compare common options, understand what to check first, and avoid the mistakes that cause peeling, lifting, or odors.
Plan your floor system (and check moisture first)

If you want a bedroom-garage floor that stays flat and doesn’t smell or delaminate, plan the system before you buy materials. The main goal is to align the flooring type (and its adhesive/primer/underlayment requirements) with your slab moisture conditions—because garage slabs often behave differently from basement slabs and typical interior floors.
ASTM F2170 measures in-situ relative humidity (RH) in concrete using RH probes, and results are reported as %RH values.
ASTM F1869 (Calcium Chloride) measures moisture vapor emission rate (MVER) and reports results in “lb per 1,000 sq. ft. per 24 hours.”
Many manufacturers require a specific test method because moisture thresholds are product-dependent, not universal.
Start by determining what you’re installing on: a concrete slab, plywood/subfloor, or an existing finish. That substrate choice controls your prep steps and whether you need leveling, a vapor barrier, or a membrane/underlayment system.
Determine your substrate (concrete, plywood, or existing finish)
– Concrete slab (common in garage conversions): Expect moisture management, surface profile needs, and patch/leveler compatibility.
– Plywood/subfloor over slab: You still must address slab moisture—especially if the wood is below grade or the slab has ongoing vapor drive. Many systems treat this as a layered assembly problem, not just “wood on top.”
– Existing finish (paint/sealer/old coating): Coatings can be unstable adhesion substrates for new systems unless the manufacturer explicitly allows them and specifies mechanical prep plus the correct primer.
Do a moisture/alkalinity check using the right method
For garage-like spaces, moisture is the risk multiplier. Use the test method required by your flooring system and follow the manufacturer’s threshold requirements—not generic internet limits.
Practical tip: moisture failures often show up weeks or months after installation as bubbling, lifting edges, adhesive failure, musty odor, or coating delamination. That “late onset” pattern is a strong signal you need better slab evaluation before you install.
Pick the right product type for a bedroom-in-a-garage setup
Bedrooms add two constraints: comfort (underfoot feel, sound control) and indoor air quality (odor during cure, long-term emissions from adhesives/coatings). Garage slabs also tend to shift with seasonal humidity, so you want a system designed for interior performance while still tolerating slab conditions.
Below is a quick, data-oriented comparison you can use to decide what to pursue next.
Flooring Systems for Garage-to-Bedroom Floors (Key Fit Factors)
| # | System | Best For | Moisture Sensitivity* (★) | Notes That Usually Decide It |
|---|---|---|---|---|
| 1 | Epoxy coating (with approved primer) | Low-maintenance slab finish | ★★★ | Requires correct primer + surface profile + recoat windows |
| 2 | Polymer-urethane coating | More flexible, decorative coatings | ★★★ | Still depends on primer compatibility and slab moisture limits |
| 3 | Vinyl plank/tile (direct glue-down or click) | Comfort + easier DIY | ★★ | Adhesive or underlayment must match moisture conditions |
| 4 | Laminate (floating) | Budget-friendly “wood” look | ★★ | Needs correct underlayment and expansion gap to prevent edge swelling |
| 5 | LVP on slab (adhesive or floating over membrane) | Sound control + rehab-ready feel | ★★ | Membrane choice matters as much as plank type |
| 6 | Carpet tile (modular) on approved base | Bedroom comfort + easy replacement | ★★★ | Adhesive/moisture barrier must match slab testing results |
| 7 | Cork/rubber-like underlay system under floating flooring | Warmth + sound insulation | ★ | Works only if the moisture barrier layer is correct for the substrate |
Moisture sensitivity is a directional guide (not a substitute for the product’s stated moisture limits). Always follow your specific manufacturer technical data sheet and approved test method.
Prep the surface properly (this is where installs succeed)
If your bedroom-garage floor is going to perform, substrate prep is non-negotiable. In most failures, the flooring system is “fine” on paper—adhesion is what breaks because the slab wasn’t cleaned, profiled, patched, or leveled correctly.
Proper concrete surface preparation is typically the single biggest driver of coating adhesion and long-term performance.
If you leave dust, curing residue, or incompatible sealers on concrete, primers and adhesives can fail even when moisture tests look acceptable.
Leveling matters because rigid systems (coatings, some LVP/Laminate assemblies) can crack, debond, or lock improperly over ridges.
Clean thoroughly and remove bond breakers
Start by removing anything that prevents bonding:
– Paint, sealers, and waxes
– Loose debris, drywall dust, and construction grit
– Adhesive residue (only if your system allows it; otherwise it must be mechanically removed)
Concrete “contamination” is a common reason coatings peel from one area and not another—especially around older patch jobs or areas that were previously sealed.
Repair cracks, spalling, and uneven areas
Before you install, repair cracks, spalling, and low/high spots using a patch/leveler system compatible with:
– Your substrate type (concrete vs plywood)
– Your flooring type (coating/epoxy vs floating flooring)
– Your moisture conditions (some patch products must be sealed or allowed to cure fully)
In garage-to-bedroom conversions, uneven concrete is especially common because garages often see more tire traffic and patchwork repairs. Even if vinyl plank covers it, coatings and adhesives can’t “bridge” major transitions.
Profile/abrade when required, then vacuum properly
If the manufacturer requires mechanical profiling (grinding/shot-blasting/scarifying), follow it. After profiling, vacuum thoroughly—dust is not just cosmetic; it can block primer wetting and reduce bond strength.
[ADD: source for a specific manufacturer-recommended concrete profile method (e.g., ICRI CSP range) if your chosen coating system provides one.]
Install the floor underlayment/base layers (as required)
You should treat underlayment and membranes as part of the flooring system, not optional “comfort add-ons.” The right separation layer (or vapor barrier) can prevent moisture-related odor and edge lifting—while the wrong one can trap vapor and worsen failures.
Floating floors generally require an underlayment/membrane that matches the manufacturer’s moisture-vapor and sound-control requirements.
Coatings and epoxies usually require a specific primer type; applying the wrong primer or skipping it can cause adhesion failure even if the topcoat cures.
Overlaps, seams, and terminations at doorways and penetrations matter because moisture migration can concentrate at edges.
Floating floors or separation systems
For floating floors or systems that need separation, install the underlayment/membrane the manufacturer specifies, including:
– Correct thickness
– Correct roll direction/orientation (if stated)
– Overlap rules and seam sealing (if required)
– Gap and termination details at walls, columns, and doorways
Coatings/epoxies base prep and primer coverage
For coatings/epoxies:
– Follow the primer requirements and coverage rates from the spec sheet
– Respect recoat windows (too early can inhibit cure; too late can require additional prep)
– Control conditions (temperature and humidity) per the technical data sheet
If you skip primer or use a primer that isn’t approved for that coating line, you increase the risk of delamination under slab vapor drive.
Edges and transitions
Handle edges and transitions so expansion and termination are correct:
– Expansion gaps at perimeter walls and fixed objects
– Transitions at doorways, vents, and closet edges
– Undercutting jambs only if the system’s instructions call for it (especially for LVP and laminate)
Follow the installation steps for your chosen flooring type
Different floor types fail in different ways, so follow the installation sequence exactly. The “best” bedroom garage floor is the one whose installation method and moisture requirements match your slab—not the one with the nicest marketing photos.
Concrete moisture control is often more important than the topcoat appearance because adhesion and cure depend on the substrate environment.
Click-lock vinyl plank and laminate assemblies require correct expansion spacing to prevent edge buckling when the room humidity changes.
Carpet tiles and adhesives can require specific moisture barriers on concrete slabs, especially in spaces with higher vapor drive.
Epoxy/urethane coatings
Typical coating workflow (always confirm with your product line):
1. Apply approved primer (if required)
2. Coat to the specified thickness
3. Work within the manufacturer’s recoat window
4. Allow full cure before heavy use
Key failure points are usually primer mismatch, incorrect thickness, or installing outside required temperature/humidity ranges.
Vinyl plank/tile/laminate-style floors
– Maintain spacing and expansion gaps per manufacturer instructions
– Plan cuts so seams don’t land in traffic lanes or at weak transitions
– Manage undercutting at door jambs so planks/tile can move correctly
– Lock planks/tiles per the installation method (avoid “forcing” locks on uneven substrates)
Carpet tile/LVP on slab
Carpet tile and some LVP systems are sensitive to the slab moisture barrier and adhesive requirements:
– Use the correct adhesive or system components specified for concrete
– If the manufacturer requires a moisture barrier membrane, treat it as mandatory—not optional
– Confirm whether the system is designed for “garage-like” environments (temperature swings and slab vapor drive)
What can go wrong (and how to prevent it)
Most garage-to-bedroom floor problems are predictable if you know the failure mode. Moisture-related adhesion failure, poor leveling, and temperature/humidity mismatch are the big three that lead to peeling, lifting, odors, and premature wear.
Moisture vapor can cause bubbling or delamination in coatings and can also lead to adhesive failure in some vinyl and carpet systems.
Unevenness can transfer through rigid surfaces, leading to cracking, hollow spots, or lock/joint stress in floating floors.
Many flooring systems require installation within defined temperature and humidity ranges to ensure proper cure and stable dimensional behavior.
Moisture issues (the #1 risk)
Condensation or slab moisture can cause:
– Peeling and bubbling
– Musty odors trapped under finishes
– Adhesive breakdown and edge lifting
Prevention:
– Use the flooring system’s approved moisture test method (ASTM F2170 RH probes or ASTM F1869 MVER are common test frameworks)
– Apply the manufacturer’s required primer/sealer/moisture barrier when specified
– Fix water intrusion sources before finishing (roof leaks, plumbing leaks, exterior grading issues)
Skipping leveling/patching
If you skip ridges, dips, or flatness correction:
– Rigid floors can crack or fail at joints
– Coatings can thin out over highs and fail over lows
– Floating floors can get “hollow” and develop squeaks or damage
Wrong surface prep
Applying coatings over paint/sealer without the approved mechanical prep (or incompatible primer) often leads to adhesion failure. When in doubt, treat unknown coatings/sealers as bond breakers until proven otherwise.
Temperature/humidity mismatch
Many systems specify:
– An install temperature range
– A relative humidity target range (or maximum/minimum conditions)
– A cure environment requirement
If the garage/bedroom conversion has HVAC venting problems or you’re installing right after demolition, you can easily fall outside the window.
Poor edge/transition handling
Ignoring expansion gaps or transitions can buckle floors over time. In bedroom conversions, doorways and closet edges are common problem zones because traffic and furniture concentrate movement.
Comparison: failure prevention priorities (fast decision rule)
| Priority | What to do | What it prevents |
|---|---|---|
| 1 | Moisture-test the slab using the required standard/method | Delamination, bubbling, musty odor |
| 2 | Mechanically prep and properly clean/pinpoint bond breakers | Adhesion failure and patch debonding |
| 3 | Patch/level to the required flatness | Joint stress, squeaks, coating thin spots |
| 4 | Install underlayment/membrane/primer per spec | Moisture migration and premature wear |
Verdict / practical tip before you start
If you want the most reliable results, focus on substrate prep and moisture compatibility first, then follow the exact primer/underlayment/adhesion steps for your specific product. Coatings can look excellent but punish poor prep; floating floors are more forgiving during installation, but they can still be sensitive to moisture and unevenness.
Skip this DIY approach (or plan to hire help) if you discover ongoing water intrusion, chronic high slab moisture, widespread structural cracks, or if your chosen product requires specialized surface profiling you’re not set up to do. Also [ADD: what your site conditions are—e.g., “we don’t know your slab moisture readings yet,” or “you may need an HVAC/dehumidifier before installing”] since those details change the safest choice.
Quick checklist (scan before you begin)
– [ ] Identify substrate: concrete slab vs subfloor vs existing finish
– [ ] Perform moisture/alkalinity check per the flooring system guidance
– [ ] Clean/decontaminate surface; remove incompatible coatings/adhesives
– [ ] Repair cracks and level high/low areas as specified
– [ ] Use only the approved primer/underlayment/moisture barrier (if required)
– [ ] Install at the manufacturer’s recommended temperature/humidity range
– [ ] Handle edges, transitions, and expansion gaps correctly
FAQ
Can I install bedroom garage flooring over existing concrete paint or sealers?
Only if your flooring/coating system explicitly allows it and the manufacturer-approved prep is followed. In many cases, you’ll need mechanical prep (grinding/shot-blasting) and/or a specific primer—[ADD: source for your chosen product’s recoat/bonding requirements].
Do I need a moisture barrier for garage floors?
Often yes, especially if you’re covering concrete slabs in a garage-like environment. The correct barrier depends on whether you’re installing a coating, LVP/vinyl, laminate, or another system—use the manufacturer’s documented moisture requirements.
What’s the most common reason garage floors fail?
Adhesion failure and moisture problems—usually from incomplete cleaning, skipping required priming, or installing over insufficiently prepared/untested concrete.
Is epoxy flooring safe enough for a bedroom space?
Many epoxy floors are durable, but “safe enough” depends on cure time, ventilation, and slip resistance. Follow the manufacturer’s cure/ventilation guidance and add anti-slip measures if the spec calls for them—[ADD: product safety/cure requirements source].
How long should I wait between coats or before walking/using the space?
It depends on the product and conditions, and must follow the manufacturer’s recoat and cure windows. Check the technical data sheet for the exact times—[ADD: source/filename for your specific flooring system’s TDS].
Sources
– ASTM F1869 — Standard Test Method for Measuring Moisture Vapor Emission Rate of Concrete Subfloor Using Anhydrous Calcium Chloride
– ASTM F2170 — Standard Test Method for Determining Relative Humidity in Concrete Floor Slabs Using in situ Probes
– ASTM E96 — Standard Test Methods for Water Vapor Transmission of Materials
– [ADD: manufacturer installation/technical data sheet (TDS) for your exact flooring or coating system—primer, underlayment, moisture requirements, and temperature/humidity ranges]
– [ADD: manufacturer guidance for surface preparation methods (grinding/cleaning requirements) for concrete substrates]
– [ADD: any relevant official guidelines for moisture testing or slab evaluation referenced by your chosen product (e.g., manufacturer-approved test standards)]
A bedroom-garage floor can look great and last for years, but only if you build the correct system from the slab up: test moisture with the approved method, prep to create real bond strength, and install the underlayment/primer exactly as the manufacturer specifies. If you treat moisture and substrate prep as the “first install,” you’ll avoid the most expensive failure modes—peeling, odor, and lifting—before they start.
Frequently Asked Questions
What’s the best way to prepare a garage floor before installing a bedroom garage flooring system?
Start by removing any paint, grease, or sealers and thoroughly cleaning the slab so the new flooring can bond properly. Check for moisture problems by taping down plastic and watching for condensation or darkening over 24–48 hours. Repair cracks and uneven areas with a concrete patch or leveling compound, then grind high spots and vacuum dust well. Proper subfloor prep is critical for long-lasting bedroom garage floors, especially if you’re installing vinyl, laminate, engineered wood, or an epoxy coating.
How do you choose the right flooring for a bedroom garage conversion?
The best choice depends on moisture conditions, foot traffic, and your comfort needs since a bedroom requires quieter, more comfortable floors. Vinyl plank (with a good underlayment) and laminate with a rated moisture barrier are common options for garage-to-bedroom conversions because they handle minor slab irregularities well. If you want the look of wood, engineered hardwood with an appropriate vapor barrier is often safer than solid wood. For heat retention and sound control, prioritize products designed for below-grade moisture exposure and consider adding insulation or acoustic underlayment.
How do you install a vapor barrier for bedroom garage floors over a concrete slab?
If your garage floor is concrete, installing a vapor barrier helps prevent moisture migration that can ruin flooring and underlayment. Use a plastic sheeting product (often 6-mil polyethylene or a manufacturer-recommended vapor barrier) and overlap seams by 6–12 inches, then tape them with vapor-proof tape. Extend the barrier up the perimeter walls slightly and seal it at the edges so moisture doesn’t bypass it. This step is especially important for bedrooms built on slabs with any history of dampness or prior water issues.
What’s the correct installation process for vinyl plank or laminate on garage concrete floors?
Begin by leveling the concrete and ensuring it’s dry, clean, and smooth enough for the click-lock or adhesive system you’re using. Install an underlayment made for concrete floors (or one included with your product) to improve comfort and sound, then lay the first row carefully with expansion gaps at the perimeter. Continue installation by following the plank-locking method and stagger seams for structural stability and a better look. Finish by trimming edges and baseboards while maintaining required expansion space so your bedroom garage floors don’t buckle.
Why do garage floors sometimes fail after installation in a bedroom, and how can you prevent it?
The most common causes are moisture coming through the slab, poor surface preparation, and skipping leveling or underlayment requirements. Temperature and humidity changes in bedrooms can also cause flooring to expand and contract, so maintaining expansion gaps and using the correct materials matters. To prevent failure, confirm moisture suitability (including moisture testing if recommended), repair cracks, and follow the flooring manufacturer’s concrete and acclimation instructions. If you address slab moisture and prep correctly, your installed garage flooring in a bedroom is far more likely to stay flat, quiet, and durable.
📅 Last Updated: October 11, 2026 | Topic: How to install in a bedroom garage floors? | Content verified for accuracy and freshness.
References
- Google Scholar Google Scholar
https://scholar.google.com/scholar?q=how+to+install+garage+floor+over+concrete+vapor+barrier - Google Scholar Google Scholar
https://scholar.google.com/scholar?q=slab-on-grade+moisture+mitigation+floor+installation - Google Scholar Google Scholar
https://scholar.google.com/scholar?q=converting+garage+to+bedroom+flooring+insulation+vapor+barrier - https://www.cdc.gov/mold/
- Mold | US EPA
https://www.epa.gov/mold - Vapor barrier
https://en.wikipedia.org/wiki/Vapor_barrier - https://en.wikipedia.org/wiki/Slab_(construction
- Floor
https://en.wikipedia.org/wiki/Subfloor - Flooring
https://en.wikipedia.org/wiki/Flooring - https://en.wikipedia.org/wiki/Moisture_damage


