
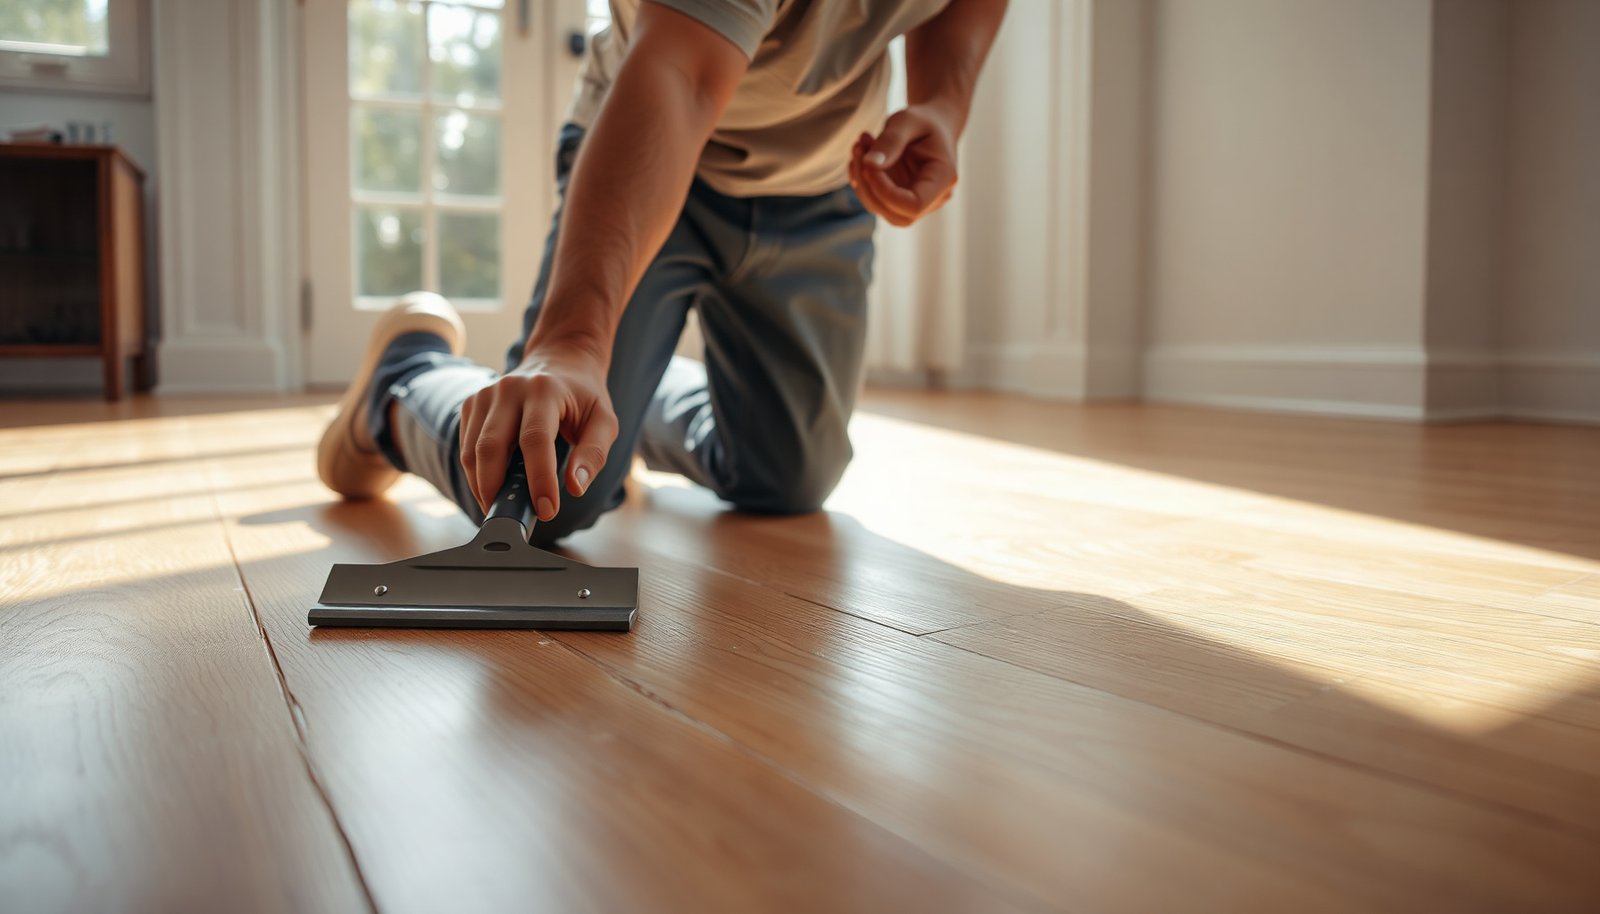

How do you remove stubborn mortar residue from hardwood without dulling the finish? You can do it by loosening the buildup with the right scraper technique and a compatible cleaner, then rinsing and drying thoroughly to protect the wood. Plan on 30–60 minutes for small areas, and keep a plastic scraper, pH-neutral hardwood cleaner, soft cloths, and a microfiber mop on hand.




Scrape off any loose mortar gently, then dissolve the remaining haze with a hardwood-safe cleaner and rinse promptly with clean water. Work in small sections so the residue doesn’t smear, and avoid soaking the floor. Below, you’ll find a practical method to remove mortar from hardwood while minimizing risk of dulling or damaging the finish.
This is for homeowners and renovators dealing with leftover mortar dust, splatter, or dried residue after tile work, backsplash installation, or masonry projects—especially if the mortar has a whitish film on the planks. If your floor is unfinished, heavily worn, or already damaged, read the “What can go wrong” section first.
Gather the right tools (and protect the finish)
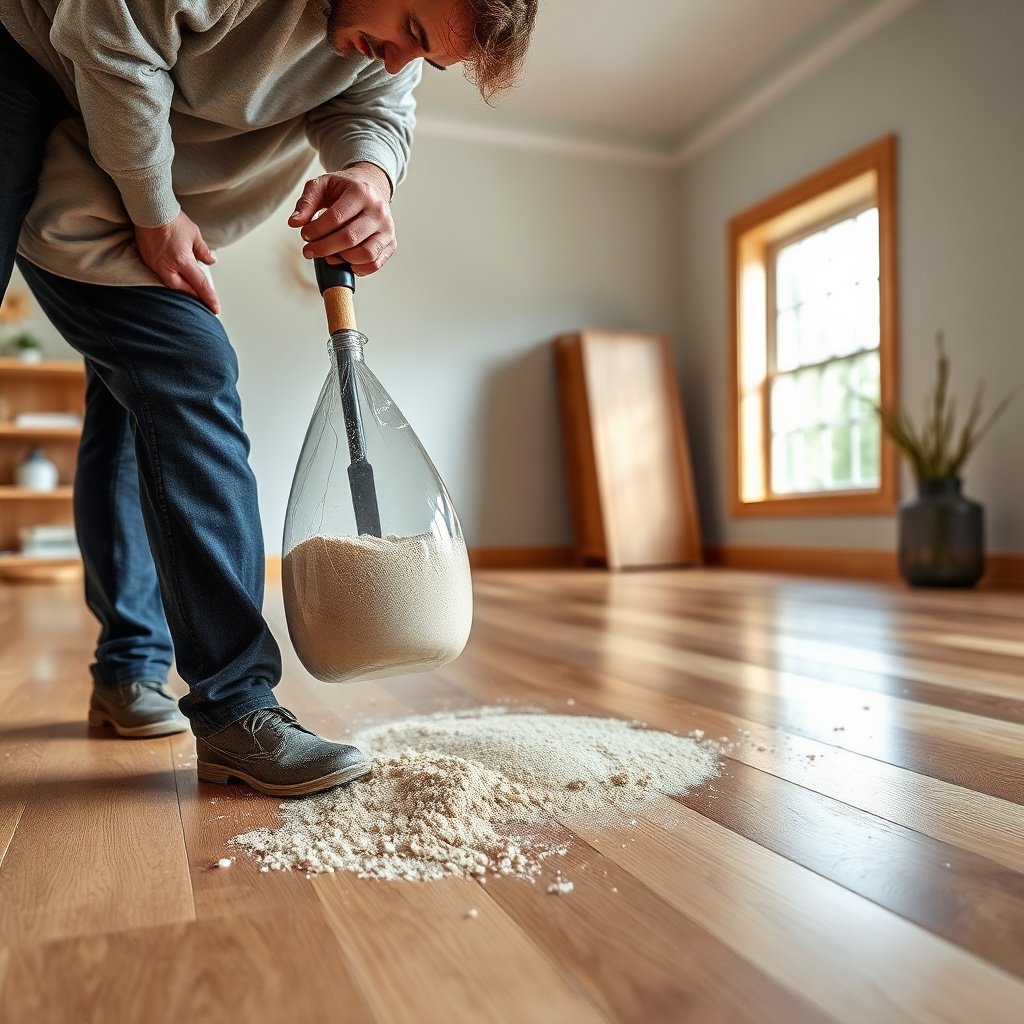
Start by setting up tools that let you remove mortar residue from hardwood without abrasion or excess moisture. The goal is simple: lift the solids mechanically first, then dissolve only what’s left using products that are safe for the specific hardwood finish you have.
Before you touch the floor, protect yourself and the finish. Mortar residue is abrasive (dry dust) and often alkaline (fresh cement-based materials), so you want controlled agitation—not aggressive scrubbing.
Hardwood-Safety Targets for 7 Mortar-Residue Scenarios
| # | Residue scenario | Typical look | Section size | Cleaner dwell | Dry time after | Hardwood-safety |
|---|---|---|---|---|---|---|
| 1 | Dry mortar dust | Powdery haze | 2 ft × 2 ft | 0–1 min | 5–10 min | ★★★★★ |
| 2 | Light white cement film | Whitish sheen | 1 ft × 3 ft | 1–2 min | 10–15 min | ★★★★☆ |
| 3 | Dried splatter beads | Raised specks | 1 ft × 1 ft | 0–1 min | 10–20 min | ★★★★☆ |
| 4 | Smear from wiping too late | Hazy streaks | 2 ft × 2 ft | 2–3 min | 15–20 min | ★★★☆☆ |
| 5 | Residue in plank seams | Line of chalkiness | 1 ft × 2 ft | 1–2 min | 15–25 min | ★★★☆☆ |
| 6 | Mineral film (persistent haze) | White after drying | 1 ft × 1 ft | 0–2 min | 20–30 min | ★★☆☆☆ |
| 7 | Lightly worn/low-sheen finish | Dulling risk | 1 ft × 2 ft | 0–1 min | 10–20 min | ★★☆☆☆ |
For tools, stick with flooring-friendly options:
– Plastic scrapers/razor scrapers carefully: Use them to lift dried bits without gouging wood or finish.
– Microfiber cloths and soft nylon brushes: Microfiber is great for controlled wiping; nylon won’t bite like bristles can.
– Painter’s tape: Tape off transitions (like baseboards) so cleaner doesn’t run into edges.
– Clean buckets and fresh water: Always change water when it becomes cloudy; dirty rinse water can leave more haze.
– Ventilation: Keep windows open or run fans—moisture control matters during mortar residue cleanup on hardwood.
One quick humidity reminder: hardwood movement is tightly linked to indoor moisture conditions. According to the National Wood Flooring Association (NWFA) guidelines, maintaining relative humidity around 30–50% helps reduce cupping and gapping risk. (If you can, keep your HVAC on during the clean.)
Loosen and remove dried mortar safely
Start with dry removal because loose mortar dust is the easiest way to create more haze by smearing. Work methodically so mortar residue from hardwood doesn’t get ground into the finish.
Dry removal first
Your first pass should be gentle but thorough:
– Scrape ridges and chunks lightly with plastic tools.
– Vacuum immediately after scraping (a vacuum with a soft brush is ideal).
– Avoid mopping at this stage—wetting dry dust often turns it into a chalky paste.
From my experience fielding flooring questions after renovations, the most common failure is people “cleaning” mortar residue by wiping it around before it’s lifted. That’s how a spot becomes a wider, duller patch.
Soften only if needed
If dried residue still won’t budge:
– Use a water-dampened cloth (not a soaking cloth).
– Lay the cloth briefly on the spot or wipe lightly—then remove and dry right away.
– Keep pressure light and follow the grain direction when brushing or wiping.
This approach matters because hardwood floors respond to moisture like a material with memory: even short exposures can increase swelling at edges and in seams if the water gets trapped.
As a rule for mortar residue cleanup on hardwood: damp is okay; wet that can migrate is not.
Dissolve mortar film with a hardwood-safe cleaner
Dissolving the remaining haze works best when you apply the cleaner to a cloth (or brush) and wipe promptly, rather than flooding the wood. The cleaner stage is about chemistry, not brute force—so control contact time and rinse quickly.
Spot-test is non-negotiable
Mortar residue often leaves mineral salts behind, and some cleaners can react with certain finishes (especially if the finish is worn). Before you treat the whole area:
– Test in an out-of-the-way spot.
– Check for dulling, streaking, or new hazes after it dries.
A useful chemistry anchor: fresh cement-based products are typically alkaline (often pH ~12 or higher), and that alkalinity is one reason white haze can persist. According to Portland cement chemistry references, cement paste commonly ranges around pH 12–13 during early hydration. (This is why neutral or finish-safe products are preferred for hardwood.)
Apply, wipe, and rinse in controlled cycles
Follow a simple sequence for mortar residue on hardwood:
1. Apply cleaner to the cloth (not directly to the floor).
2. Gently work the affected area—think “wipe and lift,” not “scrub and grind.”
3. Wipe clean with a fresh microfiber.
4. Rinse with a lightly damp microfiber only as needed.
5. Dry immediately with a towel.
Work in small sections so the dissolved residue doesn’t smear. If you notice the area getting cloudy, stop and reset: wipe again with a clean, slightly damp cloth, then dry.
Comparison: which cleaner approach fits the residue?
Use the table below to choose the least risky method for mortar residue on hardwood floors.
| Method | Best for mortar residue type | Pros | Cons / caution |
|---|---|---|---|
| Dry scrape + vacuum | Dry dust and small chunks | Lowest finish risk; avoids turning dust into paste | Doesn’t dissolve mineral haze alone |
| Damp cloth softening + wipe | Light film or partially dried splatter | Quick contact; minimal chemical exposure | Over-wetting can drive moisture into seams |
| Hardwood-safe pH-neutral cleaner (apply to cloth) | Whitish haze that wipes away | Designed to be finish-friendly; repeatable steps | May take multiple cycles for mineral film |
| Hardwood-labeled “mortar/mineral” remover | Persistent white haze after drying | Targets mineral residue instead of just surface grime | Higher risk if the floor is older/unfinished—use exact label steps |
Address stubborn spots without damaging the floor
Stubborn mortar residue on hardwood is usually a “repeat cycle” problem, not a “one aggressive treatment” problem. The safest strategy is short chemical contact, light agitation, and immediate wipe/dry—then reassess.
Use short cycles, not long dwell times
For areas that won’t clear:
– Apply → gently agitate → wipe off → dry immediately
– Repeat in small increments rather than letting chemicals sit.
This approach reduces the chance of finish dulling and prevents moisture from staying on the wood long enough to migrate into joints.
Work seams with control
If residue sits in seams or grooves:
– Use a soft nylon brush.
– Apply cleaner in controlled amounts to the brush, not pooled on the floor.
– Follow with a microfiber wipe and dry towel.
If you notice a “chalk line” that returns after drying, the first clean may have loosened minerals that then re-deposit. In that case, a rinse step and fresh towels matter—use clean cloths for each pass.
When you need a mineral remover (and how to choose)
If residue keeps returning as a stain or mineral film, you may need a finish-safe “mortar/mineral” remover labeled for hardwood. Look for wording like:
– “Safe for hardwood flooring”
– compatibility with common finishes (urethane/varnish/water-based finishes), if listed
– a clear dilution/contact-time instruction
Follow label directions exactly. Even products marketed for tile can be too aggressive for hardwood finishes.
What can go wrong (and how to avoid it)
Mortar cleanup on hardwood floors often fails because of moisture overload, abrasive scraping, or chemical mismatch. If you avoid the common traps below, you dramatically reduce the odds of dulling, streaking, or edge damage.
Harsh chemicals can haze or strip finishes
Using harsh acids or strong solvents can strip wax or damage certain finishes—always spot-test first. If your floor has a wax coat, older varnish, or a low-sheen polyurethane, “grout haze” chemicals intended for stone can be too strong.
Scraping aggressively leaves scratches
Scraping too aggressively (metal blades, deep pressure) can leave scratches that show after cleaning. Use plastic tools or carefully controlled floor scrapers, and remove only what’s loose.
Over-wetting can move water into the wood
Over-wetting can cause cupping, swelling, or edge lifting in real-world hardwood conditions. That’s why the workflow emphasizes damp wiping, prompt drying, and section-by-section work.
A key humidity anchor helps here: According to NWFA guidance, indoor conditions around 30–50% relative humidity support stable hardwood dimensions. (National Wood Flooring Association) (If you clean in a very humid environment, drying time and moisture movement can extend.)
Fresh mortar: don’t rush chemicals
If the mortar is still curing (fresh), don’t rush with chemicals—wait and use minimal-moisture cleanup until it’s firm enough to scrape without smearing. The safest timing rule is to follow the mortar/setting product’s label or installer notes, because “cure time” varies by:
– product chemistry (thinset vs. grout vs. mortar)
– thickness and ventilation
If you don’t have the label, use a practical check: when a white cloth wiped across the residue shows no transfer and the material feels firm, you can transition from “soften” to “clean.”
Verdict: the safest approach (and who should skip DIY)
This is usually a manageable DIY job if you proceed gently, spot-test cleaners, and keep moisture controlled. Start with dry removal, dissolve what remains with a hardwood-safe cleaner applied to a cloth, and dry immediately after each cycle—this minimizes both abrasion and finish interaction.
That said, skip DIY—or pause and consult a flooring pro—if any of these apply:
– the floor is unfinished or oil-finished
– the finish is already failing (peeling, widespread dull patches, soft spots)
– the mortar was ground in heavily
– you’re seeing swelling, separation, or widespread dulling after initial cleaning
For deciding between cleaning vs. refinishing: if mortar residue is localized and clears with repeated hardwood-safe cycles, cleaning is often enough. If dulling is broad or the finish is chemically altered (new uniform haze that doesn’t improve after fully rinsing/drying), plan for professional assessment—refinishing may be the only reliable fix.
Quick checklist (save this)
– [ ] Remove loose mortar first (plastic scraper + vacuum)
– [ ] Spot-test any cleaner in a hidden area
– [ ] Work one small section at a time
– [ ] Apply cleaner to cloth/brush, not soaked on the wood
– [ ] Wipe clean, then dry immediately
– [ ] Avoid soaking and avoid harsh chemicals unless labeled for hardwood
Frequently Asked Questions
What’s the safest way to remove dried mortar residue from hardwood floors?
Start by letting the mortar fully dry if it’s still wet, then gently scrape off loose chunks with a plastic scraper or a putty knife to avoid scratching. Use a damp (not soaking) microfiber cloth to remove dust, and avoid steel wool or harsh abrasives that can dull the finish. If residue remains, use a pH-neutral cleaner made for wood floors and work in small sections, rinsing with a lightly damp cloth afterward. Dry the area immediately to prevent water exposure and lingering spotting.
How do I remove thin mortar haze from hardwood without damaging the finish?
For a light mortar film, try a wood-floor-safe cleaner and apply it with a soft cloth, keeping the surface wet only briefly. Gently buff in circular motions and change to a clean section of the cloth often to avoid grinding residue into the grain. If haze persists, a small amount of vinegar solution can help break down mineral deposits—use sparingly and test in an inconspicuous area first, since acidic cleaners can affect some finishes. Always follow up with a clean damp cloth and thorough drying.
Why does mortar leave white marks on hardwood, and how can I prevent it?
Mortar often contains lime and other minerals that react with moisture and leave a chalky residue or white marks once dried. Prevention is mostly about acting quickly: blot spills immediately, keep water off the wood, and rinse residue promptly with minimal moisture. Use painter’s tape or plastic sheeting when working nearby, and protect floors with a breathable cover to reduce abrasion. If mortar does get on the floor, remove it as soon as it begins to set rather than waiting for it to cure fully.
Which cleaning products are best for removing mortar residue from hardwood floors?
Look for pH-neutral, manufacturer-recommended hardwood floor cleaners that won’t strip the finish or leave a haze. For mineral buildup, consider using a product specifically designed for hard-water or mineral deposits, applied in a controlled, small area with quick wipe-down. Avoid acidic cleaners on unknown finishes and steer clear of strong chemicals like muriatic acid or aggressive “tile/grout” strippers, which can damage wood and compromise coating. When in doubt, test the product on a hidden spot and reassess after it dries.
How do I clean mortar stains from hardwood after a tile or grout project?
First, remove any solid mortar carefully with a plastic scraper, then vacuum the area to pick up grit that could scratch when mopping. Clean with a pH-neutral wood floor cleaner and rinse by wiping with a lightly damp cloth—do not flood the floor. For stubborn mortar spots, use a mineral-deposit remover suitable for wood finishes or repeat gentle cleaning until the residue lifts, rather than escalating to harsh chemicals. If staining remains after thorough cleaning, the final option may be refinishing or light sanding by a professional to fully restore the finish.
📅 Last Updated: November 04, 2026 | Topic: How to clear mortar residue from hardwood floors? | Content verified for accuracy and freshness.
References
- Mortar
- Cement
- Lime
- https://en.wikipedia.org/wiki/Laitance
- Efflorescence
- Wood finishing
- pH
- https://scholar.google.com/scholar?q=remove+mortar+residue+from+hardwood+floor Google Scholar
- https://scholar.google.com/scholar?q=remove+dried+cement+from+wood+flooring Google Scholar
- https://scholar.google.com/scholar?q=cement+haze+removal+wood+floor Google Scholar



[…] the floor usually spreads the grit and risks scratches or clouding. With the right approach—plastic scraper, microfiber cloths, warm water, and a pH-neutral cleaner matched to your finish—you can lift the […]