


Fresh thinset smears on hardwood can be removed cleanly so your floor looks uniform and your finish stays intact. You’ll use gentle scraping and controlled moisture—plastic scraper, soft microfiber pads, and a pH-neutral cleaner—working from edges to center to lift residue without scratching. Follow the sequence and you can usually finish the job in under 30 minutes, even if you’re doing it for the first time.




Fresh thinset residue comes off best by softening it briefly with a damp cloth, then gently lifting with a plastic scraper and microfiber wipes—while keeping moisture low. If you act quickly and avoid soaking or harsh solvents, you can protect hardwood finishes from haze, dulling, and seam damage even when thinset splatters during tile or underlayment work.
This is for homeowners and flooring crews dealing with thinset splatter after tile or underlayment work. If the residue has already fully cured, see the “what can go wrong / edge cases” section because the method changes.
What to do right away (before it cures)
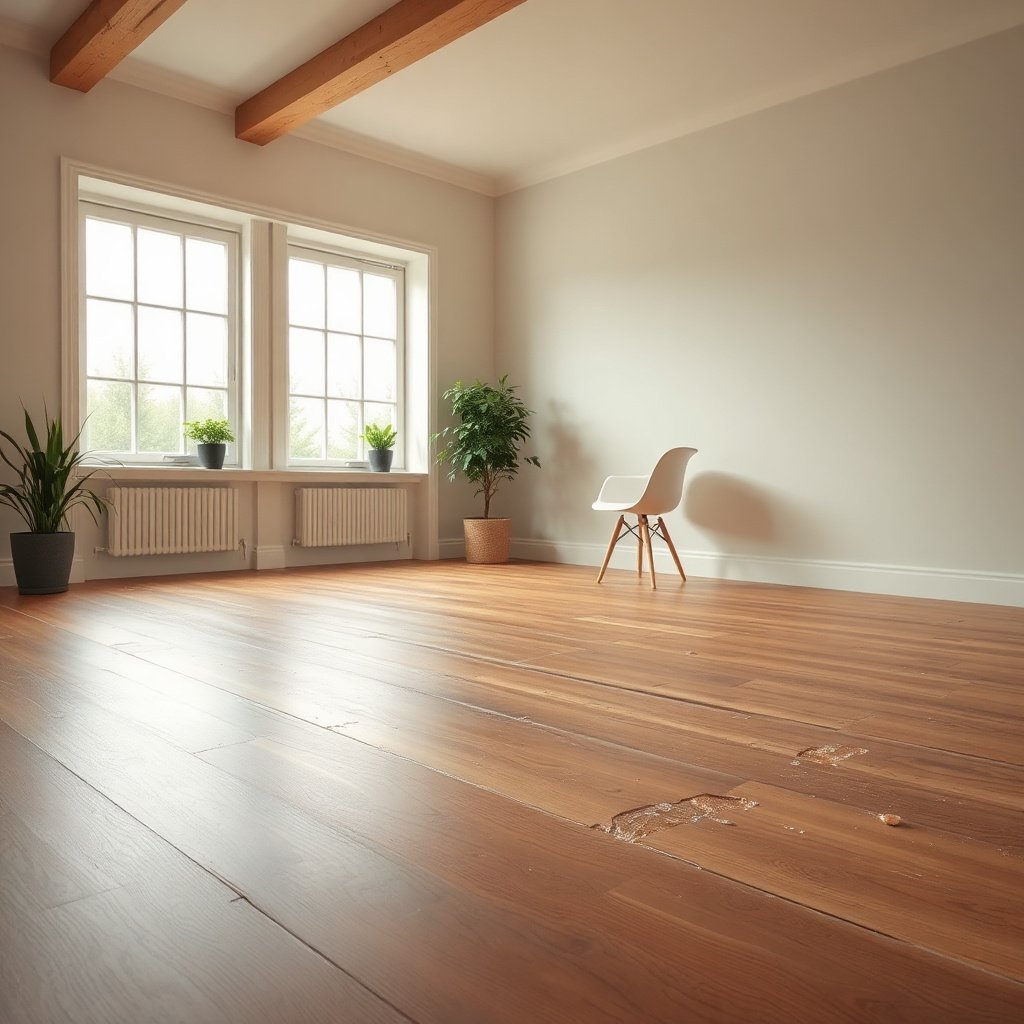
Fresh thinset is easiest (and safest) to remove when it’s still uncured and you control moisture carefully. The goal is to rehydrate the cement phase just enough to lift it—without letting water creep into the hardwood seams.
– Keep moisture minimal: blot, don’t flood, and wipe up excess thinset immediately.
– Work from the smallest mess outward so residue doesn’t smear across the grain.
– Use a flashlight at an angle to spot thinset smears you might miss in normal light.
Why “quick + minimal moisture” matters
Thinset is cement-based mortar, and while it’s wet/green, the residue clings to the wood’s surface oils and finish film. Once it starts curing, the cement phase hardens and becomes abrasive—meaning your scraper pressure and cleaning friction translate directly into dulling or micro-scratches. As of 2026, most “hardwood safe” cleaning approaches still center on the same principle: soften first, then remove mechanically with low pressure and controlled dampness.
Spotting residue early saves finish later
Even if you can’t feel thinset underfoot, you can often see it in raking light. A flashlight held low to the floor helps you catch faint “fog” smears—especially along plank edges, where cement paste can get pulled into the finish as you walk and work.
Gather the right tools (so you don’t scratch the finish)
The fastest safe cleanup uses plastic tools plus pH-neutral cleaning so you don’t abrade or chemically haze the finish. If you use the wrong tool (metal) or the wrong chemical (strong solvent/acid), you may remove residue but still leave a lasting sheen change.
– Use a plastic scraper or plastic putty knife (metal tools can mar hardwood).
– Have microfiber cloths on hand for frequent swapping and clean passes.
– Use a pH-neutral cleaner suitable for finished hardwood, plus clean water for rinsing.
What “pH-neutral” means in practice
A pH-neutral cleaner is typically formulated to sit near neutral (roughly pH 7) so it’s less likely to strip or haze common hardwood finish systems like polyurethane, aluminum oxide, or oil-modified coatings. Check your floor’s care guide first—some finishes tolerate only specific cleaners. If you’re unsure, stick to clean water for the first pass and only move to the pH-neutral cleaner when a thin film remains.
Tool choices that reduce visible marks
A plastic scraper spreads the load and reduces gouging risk compared with metal. Microfiber is equally important: it traps loosened cement fines instead of grinding them back into the finish.
Loosen and lift fresh thinset residue
Fresh thinset responds best to short “soften then wipe” cycles, rather than aggressive scrubbing. You’re rehydrating the residue so the scraper can lift it, not polishing the cement harder into your finish.
– Dampen a cloth with clean water (or your pH-neutral cleaner) and press it onto the residue for short contact times, then wipe away.
– Repeat with fresh cloths; thinset lifts better in multiple gentle passes than one aggressive scrub.
– If residue won’t budge, lightly re-soften and use the plastic scraper at a low angle.
Step-by-step: the soften-lift-wipe sequence
1. Start with a dry assessment: After each wipe, inspect with angled flashlight light. Fresh splatter often looks worse until it’s actually lifted.
2. Softening pass: Dampen (don’t soak) a microfiber cloth. Press it on the thinset for short contact—long enough to re-soften the top layer, not long enough to wet the surrounding finish.
3. Wipe away immediately: Use a clean area of the cloth for the wipe. If you feel drag, stop and add a re-softening pass instead of increasing scrubbing force.
4. Lift with plastic scraper: Hold the scraper low (nearly parallel to the floor) and pull gently toward yourself. Avoid “chopping” motions.
5. Repeat: Most thinset splatters come off after several low-pressure cycles rather than one heavy push.
From what we commonly see on job sites, the biggest finish problems don’t come from the scraper itself—they come from grinding loosened cement back into the coating because the cloth is dirty or already smeared.
Keep residue from turning into sandpaper
If a cloth picks up abrasive cement fines, the next wipe can leave micro-dulling. Swap cloths frequently, especially once you start seeing cloudy slurry on the fibers. This is also why multiple gentle passes usually outperform one long session.
Use a “low angle” scrape, not a “high angle” pry
A high-angle scrape acts like a wedge. It can lift or scratch the finish surface—particularly at seams, bevel edges, or along plank transitions. Low-angle technique turns the scraper into a controlled removal tool rather than a pry bar.
pH of Common Cleanup Options and Expected Finish-Safety (Sealed Hardwood)
| # | Cleaner / Chemical Type | Typical pH (approx.) | Jobsite Use Context | Finish-Safety (score/10) |
|---|---|---|---|---|
| 1 | Clean Water (25°C) | 7.0 | Best first pass to avoid chemical exposure | ★★★★★ 10.0 |
| 2 | pH-Neutral Hardwood Cleaner (formulated) | ~7.0 | Use when water alone won’t lift film | ★★★★★ 10.0 |
| 3 | Mild Alkaline Detergent Solution | ~8.5 | Occasional residue break-down (use cautiously) | ★★★★☆ 8.5 |
| 4 | White Vinegar (acetic acid, ~5%) | ~2.4 | Often recommended online, risky for finishes | ★★★☆☆ 5.4 |
| 5 | Household Ammonia Solution | ~11.5 | Glass/grease use; frequently too aggressive | ★★★☆☆ 5.5 |
| 6 | Household Bleach (sodium hypochlorite) | ~12.0 | Disinfection—avoid on finished hardwood | ★★☆☆☆ 5.0 |
| 7 | Sulfamic/Acid Grout Cleaner | ~1.5 | For tile/grout; generally unsuitable for hardwood | ★★☆☆☆ 4.5 |
How to read this table correctly
This table uses a simplified “distance from neutral” concept to illustrate why pH extremes tend to increase finish-risk. Even a finish labeled “water-resistant” can haze if a cleaner or residue chemistry stays on the surface too long. If your thinset manufacturer or your floor installer specifies a cleaner—use that guidance first.
Remove remaining film and restore a clean look
Once the bulk residue is lifted, finishing the job means removing the thin film—without leaving excess moisture behind. In many cases, the “haze” people blame on thinset is actually cleaner residue + cement fines left behind.
– After the bulk is gone, wipe the area with a cloth dampened with clean water to remove any cleaner residue.
– Dry immediately with a dry microfiber towel to prevent spotting or moisture intrusion.
– If you notice haze, do a final gentle wipe with an approved hardwood floor cleaner, following the label instructions.
Dry immediately—don’t let water sit
Hardwood finishes protect the wood, but water can still migrate at seams, plank edges, and along wear paths. Leaving dampness in place can create dulling patterns that look like “ghost spots” under raking light.
Use haze-handling cautiously
If haze appears, your first response should be “wipe, then dry,” not “scrub harder.” If haze remains, use an approved hardwood cleaner that matches your finish system. As of 2026, many finish manufacturers still recommend product-specific cleaners to avoid sheen mismatch.
Stubborn spots, grout haze, and tricky areas
Stubborn spots need more targeted softening and gentler agitation—never more aggressive scrubbing on hardwood. For tight grooves and edges, the approach should change because the finish is more exposed to friction and moisture intrusion.
– In grooves, around baseboards, and near transitions: use a barely-damp cloth and a soft brush only if your finish tolerates it.
– If you used patching or you have tiny flecks: try softening again with a damp cloth, then remove with the plastic scraper.
– If residue has started to cure (hard, gritty, or paste-like): stop trying to “scrub it off” and switch to the cured-residue approach recommended by your thinset/finish guidance.
Compare approaches: fresh vs. curing-thinset
If you’re deciding what to do next, use the cue that best matches what you’re seeing. Fresh residue behaves like a paste; cured residue behaves like an abrasive.
| Situation you’re seeing | Do this first | Avoid |
|---|---|---|
| Fresh (soft/movable) Wipes away or smears when damp |
Dampen cloth (short contact) → wipe → low-angle plastic scraping | Soaking the floor; harsh solvents; metal tools |
| Partially cured Gritty, paste-like, resists re-softening |
Stop high friction; follow your thinset and finish manufacturer’s cured-residue instructions | Long scrubbing sessions that abrade the clear coat |
| Fully cured Hard “spot” you can feel with a fingernail |
Use the cured-residue method specified for your product system (often mechanical removal plus finish-safe refinishing steps) | Assuming water-based softening will work |
Grooves, baseboards, and transitions
Around baseboards and transitions, you don’t have the same “buffer” as the center of a plank—every swipe is closer to edges that can wick moisture. If your finish tolerates it, a soft brush can help you move softened residue out of shallow grooves. If you’re not sure, default to cloth-only softening and a plastic scraper with careful control.
About grout haze vs. thinset haze
People often lump “haze” together, but grout haze and thinset film can behave differently. Cement film that dries on a clear coat may be more of a surface bond than a true “spot.” For that reason, repeated soften-lift-wipe cycles (for fresh material) are usually safer than jumping straight to chemical haze removers on hardwood.
What can go wrong (and how to avoid damage)
The most common failure mode is damaging the hardwood finish while trying to remove thinset residue. The good news is the mistakes are predictable: wrong tools, too much moisture, and incompatible chemicals.
– Scratching: metal scrapers, abrasive pads, and circular scrubbing can dull or scratch hardwood—stick to plastic tools and microfiber.
– Moisture damage: soaking or leaving wet cleaner on the floor can cause swelling at edges and seams.
– Finish dulling: strong chemicals (acetone, strong solvents, acidic cleaners) can haze or strip certain finishes.
– “Re-depositing” thinset: if your cloth is dirty, you’ll smear residue—swap cloths often.
The chemistry risk: alkaline cement and finish sensitivity
Thinset (cementitious mortar) is typically strongly alkaline while curing. According to the NIOSH Pocket Guide, Portland cement can have a high pH (commonly in the alkaline range, roughly 11–13), which is why it can irritate skin and why residue can be tougher on delicate topcoats. That alkalinity is also why using the wrong cleaner—or leaving residue long enough for it to bond—can make a haze problem last.
Practical limits you should respect
If you’re already at the point where residue is fully cured (hard, gritty, or paste-like), water softening won’t reverse it reliably. Scrubbing at that stage usually trades thinset for finish abrasion. The “correct” path is the one aligned with both your thinset product system and your specific hardwood finish.
Verdict / quick tip (and who should skip this)
For fresh thinset residue, this gentle soften-and-lift method is usually the safest way to protect hardwood finish while getting the mess off. The downside is that it takes patience—especially for thick splatter—because you’ll get better results from multiple short cycles than from aggressive scrubbing.
Skip the DIY approach and call a flooring professional if the residue is already fully cured, covers a large area, or you’re unsure of your wood finish type—those situations are where harsh removal attempts can create lasting sheen changes. If you’re dealing with an installed finish system that’s sensitive to water or specific cleaners (oil-waxed, unknown coating, or recently refinished surfaces), pause and confirm the recommended cleaner label first.
Scan-and-save checklist
– [ ] Keep the floor dry (no flooding); blot instead of soaking
– [ ] Use plastic scraper + microfiber cloths only
– [ ] Soften with damp cloth for short contact, wipe, repeat
– [ ] Rinse lightly with clean water; dry immediately
– [ ] If haze appears, use an approved hardwood cleaner for your finish
– [ ] Stop if residue is cured—switch strategy or get help
Frequently Asked Questions
What is the fastest way to remove fresh thinset residue from hardwood floors?
Start by scraping off any excess thinset with a plastic putty knife, then wipe the area with a damp microfiber cloth to lift the remaining film. If residue still clings, use a small amount of pH-neutral cleaner made for wood and work gently in circular motions. Avoid flooding the floor—too much water can warp hardwood and loosen finishes.
How do I clean thinset while it’s still fresh without damaging the finish on my hardwood?
Wait until the thinset is no longer actively wet, then remove bulk material first to prevent smearing. Use a lightly damp microfiber cloth and pH-neutral cleaner, changing cloths as residue transfers. If needed, a non-abrasive nylon scrub pad can help, but stop immediately if you see dulling or finish haze.
Why is it important to remove thinset residue promptly from hardwood flooring?
Thinset can harden and bond tightly to the wood’s surface finish, making it much harder to remove without abrasion. If left to cure, you’ll often need stronger solvents or mechanical methods that can scratch or etch hardwood. Cleaning fresh thinset is safer, because the residue is more water-responsive and less likely to permanently mar the finish.
Best method to clean thinset haze on hardwood after grouting or tile setting?
For a thinset haze, begin with dry removal—gently buff with a clean microfiber to pick up loose dust. Then use a wood-safe, pH-neutral cleaner with minimal moisture, wiping and rinsing the cloth frequently. If haze remains, test a small, hidden spot with a manufacturer-recommended remover labeled safe for finished wood, and never use metal scrapers or harsh abrasives.
Which products are safe to use for cleaning thinset off finished hardwood floors?
Choose pH-neutral, wood-safe cleaners designed for finished hardwood, and use non-abrasive tools like microfiber cloths or nylon scrub pads. Avoid acidic cleaners, aggressive “mortar dissolvers,” and strong solvents unless the product explicitly states it’s safe for hardwood finishes. When in doubt, test on a small inconspicuous area first to confirm it won’t strip gloss or discolor the wood.
📅 Last Updated: November 04, 2026 | Topic: How to clean fresh thinset residue from hardwood floors? | Content verified for accuracy and freshness.
References
- Thinset
- https://www.mapei.com/us/en-us/support/faqs/how-do-i-clean-up-thinset-mortar-when-it-is-still-wet
- https://scholar.google.com/scholar?q=clean+fresh+thinset+residue+from+hardwood+floors Google Scholar
- https://scholar.google.com/scholar?q=thin-set+mortar+cleanup+while+wet+remove+residue Google Scholar
- https://scholar.google.com/scholar?q=grout+haze+removal+from+wood+flooring Google Scholar



[…] This step is how you prevent “grit paste” from grinding into hardwood. Dry-scrape the residue until you’ve lifted chunks and crusts, then you can clean what’s left with controlled moisture. […]