
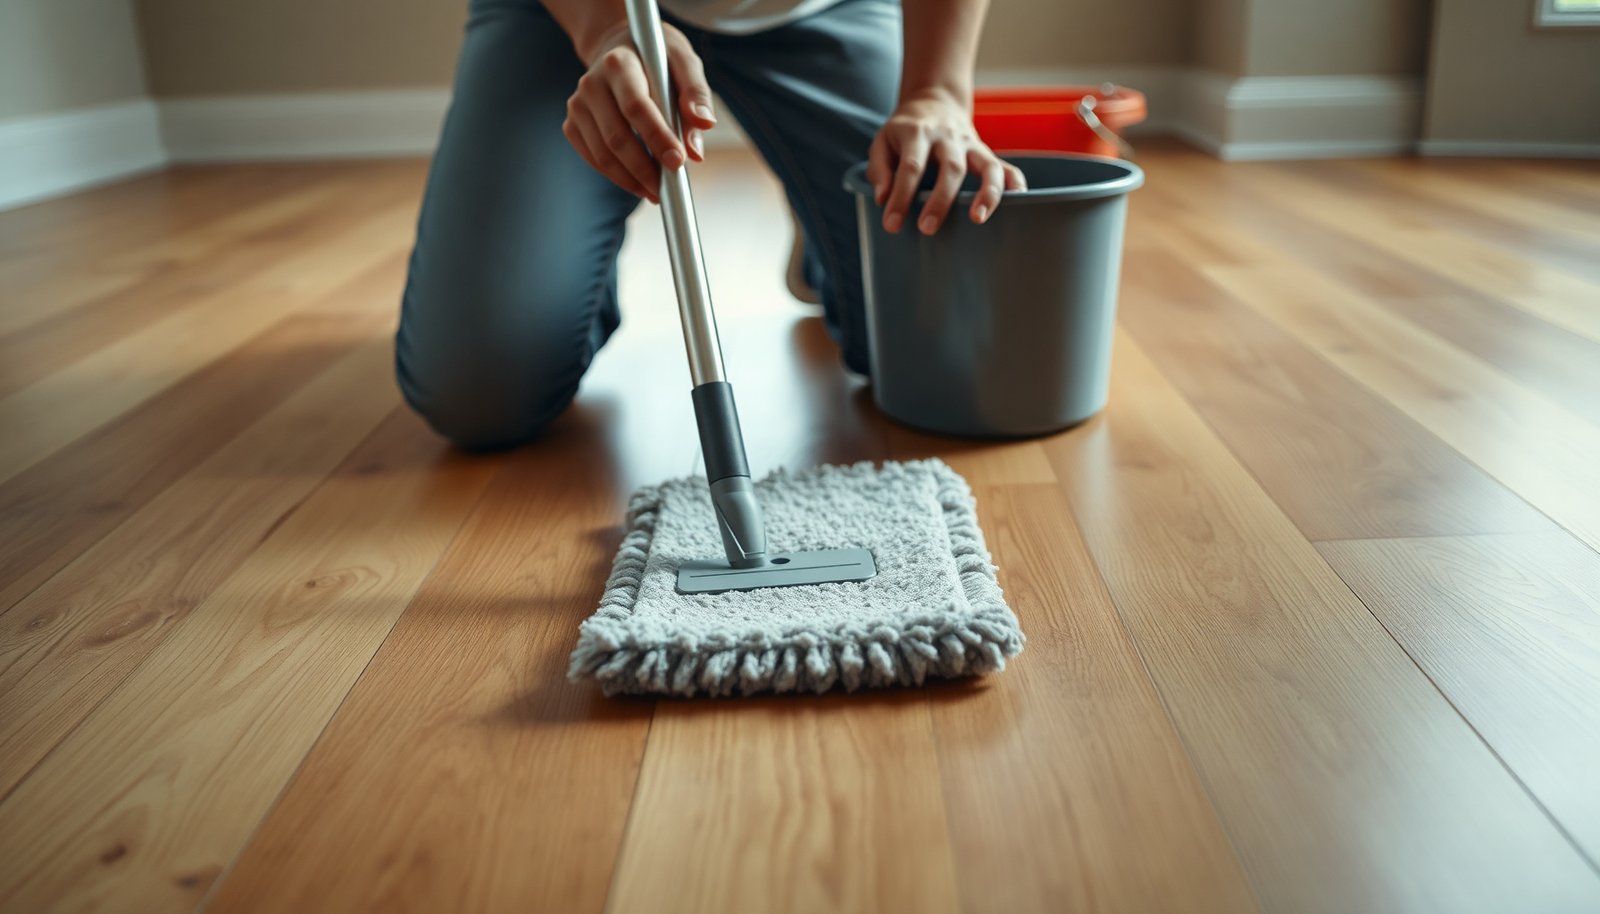

Scraping hardened mortar off finished hardwood floors is frustrating because it can get lodged in the wood and dull the finish. You can remove the residue safely and restore a clean, even surface with the right approach and tools, without sanding. You’ll learn how to loosen, lift, and rinse the buildup step by step, typically in under a day, using a plastic scraper, pH-neutral cleaner, and gentle scrub pads.




Mortar residue comes off best when you remove the loose bits first, then use a cement/mortar cleaner that matches the finish on your hardwood—without flooding the floor. Start with the gentlest method that works, test any remover in a hidden spot, and rinse thoroughly so no residue or cleaner remains behind. This guide walks you through a safe, step-by-step deep clean that targets mortar stains without wrecking the finish.
If the mortar marks are from a recent repair, backsplash, tile job, or construction work, this is the right approach. It’s especially important for sealed vs. unfinished hardwood, because the same cleaner strength can damage one finish and not the other—so you’ll decide based on what you have.
Who this is for / when to use this method

This method is for getting mortar haze and crusty residue off hardwood without making the finish problem worse. It’s also the right choice when you want controlled chemistry and moisture instead of “scrub harder” trial-and-error that can permanently dull wood.
– Best for hardwood floors with visible mortar haze, specks, or crusty residue after tile or masonry work
– Use caution if your floor is unfinished, oiled, or has a fragile topcoat—mortar removers can dull or strip finishes
– Don’t use this on floors with active cupping, deep water damage, or obvious lifting seams until the underlying issue is fixed
Prep: protect the finish and gather supplies
The fastest path to clean hardwood is to prepare for precision—small sections, controlled liquid, and protection for edges and trim. Before you use any mortar/cement remover, set up the cleanup so you can rinse and dry immediately.
– Soft scraping tools (plastic putty knife/plastic razor), microfiber or soft cloths, and a pH-neutral hardwood cleaner for the cleanup stage
– Mortar/cement remover only if needed (follow the product label for hardwood-safe guidance), plus clean water and multiple microfiber pads
– Painter’s tape or masking for nearby trim, good ventilation, and gloves/eye protection (masonry removers can be harsh)
Typical Alkalinity of Common Mortar Residues (Why Rinsing + Neutralization Matter)
| # | Mortar/residue source | Typical pH (range) | Cleanup urgency | Finish-worry level |
|---|---|---|---|---|
| 1 | Portland-cement mortar (fresh/mixed)* | 12–13 | ★★★★★ | High |
| 2 | Hydrated cement paste leachate | 11–13 | ★★★★☆ | High |
| 3 | Calcium hydroxide (lime component) | ~12.4 | ★★★★★ | High |
| 4 | Cement-based tile grout | 10–12 | ★★★☆☆ | Moderate-High |
| 5 | Lime mortar (hydrated lime mixes) | ~12 | ★★★★☆ | High |
| 6 | Concrete dust (alkaline fines) | 11–13 | ★★★★☆ | Moderate-High |
| 7 | Efflorescence deposits (cement/lime salts) | ~9–10 | ★★★☆☆ | Moderate |
Alkalinity varies by mix design, age, and whether the residue is fully dried or still holding moisture. For your exact mortar, the safest rule is: follow the product label for dwell time and rinse/neutralization instructions.
Remove loose mortar first (no-rinse scraping)
This step is how you prevent “grit paste” from grinding into hardwood. Dry-scrape the residue until you’ve lifted chunks and crusts, then you can clean what’s left with controlled moisture.
– Dry-scrape gently to lift chunks and crusts before any wet cleaner goes down
– Use a plastic scraper and minimal pressure; avoid steel scrapers that can scratch the finish
– Vacuum or dust with a soft brush attachment so grit doesn’t grind into the wood when you scrub
Work in small zones (for example, a 2–3 ft section at a time) and stop when you see the mortar transition from “hard lumps” to “fine haze.” If the haze is mostly on the surface, you’re on the right track. If you notice mortar seems to be biting into the finish (a dull patch that looks permanently etched), you may need chemistry and possibly more than one pass—without increasing soak time.
Deep-clean mortar residue safely (choose the right approach)
The goal here is to dissolve or lift mortar staining with the least aggressive cleaner that’s compatible with your specific hardwood finish. Start mild, then step up only if residue remains after gentle cleaning.
– Try the least aggressive route first: damp microfiber + pH-neutral cleaner, scrubbing lightly in small sections
– If residue remains, use a mortar/cement remover that’s compatible with hardwood finishes; test in an inconspicuous area and keep dwell time to what the label specifies ()
– Avoid “DIY acids” unless you already know they’re compatible with your exact finish; if the label requires neutralizing, do that step exactly as written ()
In practical terms, “pH-neutral” means you’re not trying to counteract cement chemistry with random kitchen acids. Many mortar residues are strongly alkaline—cement-based materials often measure around pH 12–13 when fresh and mixed—so switching to a random acid can overshoot and damage coatings. For the alkaline driver, calcium hydroxide is particularly basic (about pH 12.4) and contributes to that alkaline residue feel. (Add your specific residue chemistry/source if you’re documenting this for a project.)
Finish compatibility: sealed vs. unfinished hardwood
This is the key decision point before you apply any cement/mortar remover. Sealed hardwood (polyurethane, UV-cured finishes, many factory-applied topcoats) generally tolerates careful spot treatment followed by thorough rinsing. Unfinished hardwood or oiled finishes are much more absorbent and can darken, dull, or permanently change sheen if the remover penetrates.
To keep your process defensible and controlled, choose your method based on finish condition—not just on stain appearance.
Quick method contrast (what usually works best and why):
| Approach | Best for | What to watch | Rinse/neutralize |
|---|---|---|---|
| Damp microfiber + pH-neutral hardwood cleaner | Surface haze, light specking | Over-wetting edges and seams | Usually rinse with barely-damp cloths |
| Hardwood-compatible mortar/cement remover (label-followed) | Stubborn residue after gentle clean | Finish dulling or tone shift if dwell/area control is sloppy | Rinse and neutralize if required |
| Refinishing/repair (when etching is permanent) | Etched/curved dull patches that don’t level out | Color mismatch after repeated cleaning attempts | Not a rinse-only fix |
Rinse, neutralize, and dry thoroughly
The cleaning isn’t finished when the visible mortar disappears—you must remove any dissolved residue and any remaining cleaner film. Rinsing and fast drying are what keep hardwood from developing sticky haze, dull patches, or edge swelling.
– Rinse with barely-damp cloths (not soaking) and change pads often so you’re not redistributing loosened residue
– If the remover instructions require it, neutralize fully, then rinse again to prevent lingering chemical haze
– Dry fast: run a fan and/or keep airflow moving; don’t let moisture sit at seams and edges ()
If you’ve ever seen a “foggy” finish after spot treatment, that’s often a combination of leftover chemistry and fine mortar dust stirred back into the surface. Use a fresh microfiber pad for each rinse pass and switch directions (for example, wipe lengthwise, then across) so you can detect streaking immediately.
From my experience with many maintenance scenarios involving hardwood finishes and construction residue, the biggest preventable failure is leaving cloths too wet. Even when you’re careful, water finds the path of least resistance into seams—so keep saturation low and drying aggressive.
What can go wrong (common mistakes + edge cases)
This process can still cause damage if you choose the wrong chemistry, apply it too long, or add too much moisture. The fix for mortar on hardwood is usually “less dwell time + more controlled rinsing,” not more force.
– Using too-strong chemistry or too long a soak can strip sheen, lighten stain, or raise the grain on some hardwood finishes
– Scrubbing with abrasive pads (steel wool, rough scrubbers) can create permanent scratches you’ll only notice after the floor dries
– If mortar is fully cured and bonded to the finish, repeated cleaning may be required—or refinishing may be the only way to restore uniform color ()
Edge cases to treat seriously:
– Unfinished hardwood / penetrating oil: mortar removers can darken the wood or alter the oil’s absorption pattern.
– Existing finish wear: if the topcoat is already thin, remover chemistry can magnify unevenness.
– Moisture problems: if the floor has cupping or lifting seams, the mortar residue may be the symptom, not the only issue.
Also watch the environment. Wood floors expand and contract with humidity; NWFA guidance commonly points to keeping indoor relative humidity in a stable range (often cited around 35–55%). National Wood Flooring Association (NWFA) humidity guidance In 2026, that still matters because extra moisture during cleaning can stress the finish/wood structure.
Quick verdict + checklist + FAQ
If you’re dealing with mortar haze or small residue, this process is usually the safest way to deep clean hardwood without creating bigger damage. The downsides: stronger mortar removers can dull or alter finish tone, and no method guarantees perfect matching if the topcoat was etched. Skip DIY and call a flooring pro if the floor is unfinished, heavily worn, already has coating failure, or the mortar has deeply etched the wood surface.
Scanable checklist (save this)
| Step | What to do | Stop/Check for |
|---|---|---|
| 1 | Dry-scrape loose mortar with plastic tools | No more chunks lift |
| 2 | Clean gently with damp microfiber + pH-neutral cleaner | Haze still visible? |
| 3 | Spot-test a mortar/cement remover in a hidden area | Finish color/shine changes? |
| 4 | Apply only per label; don’t flood | Residue releasing, not smearing |
| 5 | Rinse/neutralize as instructed | No slippery film or odor remains |
| 6 | Dry with airflow; watch seams | Any lingering damp spots |
FAQ
– Can I remove mortar residue with vinegar?
Vinegar is acidic, but it’s not a reliable substitute for a true cement/mortar remover—and it may still damage some finishes. If you use anything acidic, do a spot test and follow your finish compatibility guidelines.
– Will deep cleaning remove my hardwood finish?
It can, especially with stronger mortar removers or prolonged dwell time. That’s why testing in a hidden area and following the label for hardwood suitability matters.
– What if the mortar is already fully cured?
Fully cured residue may require repeat passes or a more appropriate remover. If you see etching or persistent dull spots after careful cleaning, refinishing may be the only fix.
– Is steaming or a steam mop safe for hardwood?
Usually no—steam and excess moisture can worsen finish breakdown and cause warping. Stick to damp (not wet) cleaning and fast drying.
Deep cleaning hardwood floors to remove mortar residue is all about order and caution: scrape loose bits first, start with gentle pH-neutral cleaning, then (only if needed) use a cement/mortar remover that’s compatible with your finish—spot-tested and label-followed—followed by proper rinse/neutralize and fast drying. If you’ve got heavy etching, fragile finishes, or unfinished wood, consider professional help before you risk permanent tone or sheen changes.Frequently Asked Questions
How do I remove mortar residue from hardwood floors without damaging the finish?
Start by letting the mortar fully cure, then soften only the residue with a manufacturer-approved floor cleaner or a pH-neutral cleaner first. Use a microfiber cloth or soft nylon brush to gently work the residue while avoiding soaking the wood. If residue remains, use a specialized hardwood-safe mineral deposit remover sparingly and test in an inconspicuous area before applying more broadly.
What is the safest way to deep clean hardwood floors after tile work with mortar splatter?
Vacuum thoroughly to remove grit, then wipe with a damp (not wet) microfiber mop using a pH-neutral hardwood floor cleaner. For stubborn spots, lightly scrape at the residue with a plastic scraper or a razor blade held at a shallow angle only if the finish is already compromised—avoid gouging the wood. Finish by rinsing with a clean, lightly damp cloth and drying immediately to prevent moisture from penetrating the hardwood.
Why does mortar haze keep coming back on hardwood after cleaning?
Mortar residue often includes mineral salts that can leave a persistent haze even after the bulk material is removed. If the cleaning solution doesn’t dissolve and lift the minerals, they may reappear as moisture evaporates or when you wipe the floor again. A targeted approach—mineral deposit removal plus a final pH-neutral wipe—usually gives the best results for mortar film and etching prevention.
Which chemical or cleaner works best for mortar residue on sealed hardwood floors?
For most sealed hardwood floors, a pH-neutral cleaner is the best first step because it cleans without stripping or softening the finish. If you have dried mortar film or white deposits, look for a hardwood-safe mineral deposit remover designed for stone/mortar haze, and use it only as directed. Avoid harsh acids (like vinegar or muriatic acid) unless the product is specifically recommended for finished hardwood, since acids can etch and dull the surface.
Best practices: How do I deep clean and dry hardwood after removing mortar splatter?
Work in small sections: pre-clean with vacuuming, spot-treat residue, then wipe using a damp microfiber mop with pH-neutral hardwood cleaner. After spot removal, wipe again with a fresh cloth lightly damp with water (or per product instructions) to remove any cleaner residue, then dry immediately with clean towels and airflow. Finally, inspect the floor under good lighting—if any haze remains, repeat mineral-targeted cleaning sparingly rather than over-wetting the wood.
📅 Last Updated: November 04, 2026 | Topic: How to deep clean hardwood floors to remove mortar residue? | Content verified for accuracy and freshness.
References
- 404 Error
- https://www.armstrongflooring.com/support/floor-care/hardwood-flooring.html
- https://www.bruce.com/wood-floor-care/
- https://www.mayoclinic.org/healthy-lifestyle/adult-health/in-depth/house-cleaning/art-20045352
- https://www.epa.gov/safer-choice
- https://scholar.google.com/scholar?q=how+to+remove+mortar+residue+from+hardwood+floors Google Scholar
- https://scholar.google.com/scholar?q=hardwood+floor+cleaning+construction+debris+cement+grout Google Scholar
- https://scholar.google.com/scholar?q=wood+floor+finish+compatibility+cleaners+alkaline+cimcement+residue Google Scholar



[…] Lightly dampen a microfiber cloth with warm water mixed with a small amount of pH-neutral cleaner; avoid soaking seams and […]
[…] the residue, loosen it with a plastic tool and gentle pad, then clean with a hardwood-approved, pH-neutral cleaner. With the right materials, most spots take about 30–60 minutes and your floor can look uniform […]
[…] the finish? Start by softening the deposits with warm water, then lift them gently with a plastic scraper or soft cloth and follow with a pH-neutral cleaner; most rooms take about 30 to 60 minutes once you […]
[…] the wood, but the right approach lets you restore the surface safely. With a soft brush, vacuum, plastic scraper, and pH-neutral cleaner (plus clean water and microfiber cloths), you can usually remove it in a […]