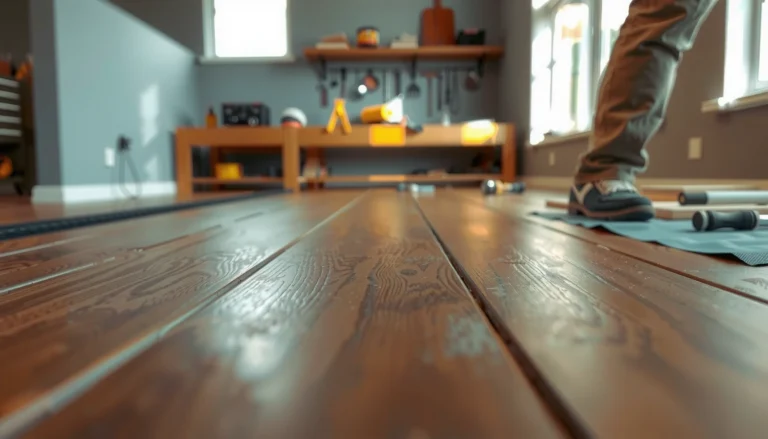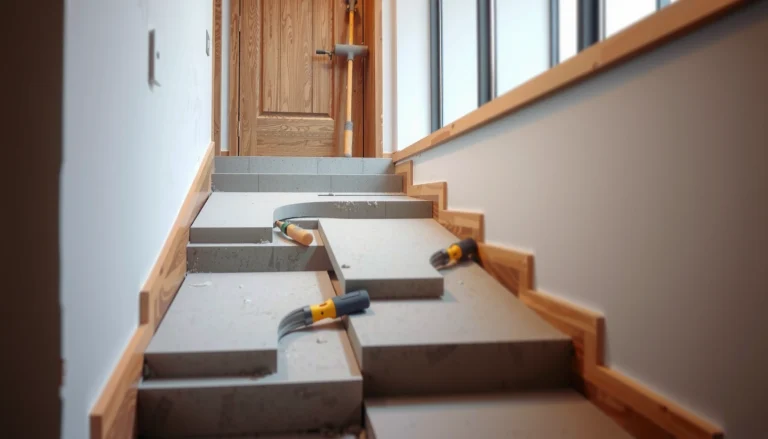

Laminate floors can be installed on uneven floors successfully—if you follow the right leveling strategy and never try to “hide” dips with the wrong underlayment. This guide tells you exactly how to prep an uneven subfloor, choose the best leveling method for your situation, and lay planks so they stay flat, lock together cleanly, and resist bounce and joint failure. By the end, you’ll know whether you should level, skim, or use a specific underlayment thickness before the first board clicks in.




If your laminate floor sits on uneven subfloors, the boards can flex, seams can separate, and you may hear squeaks soon after install. The reliable fix is to verify how flat the surface truly is, then level low spots (and address any high spots) before you click the laminate together.
If you’re planning a DIY laminate install over a slab, plywood, or older flooring—and you’re seeing dips, waves, or persistent ridges—this guide is for you. It’s especially important in high-traffic rooms where laminate movement shows up faster than in quieter spaces.
Assess how uneven the floor really is
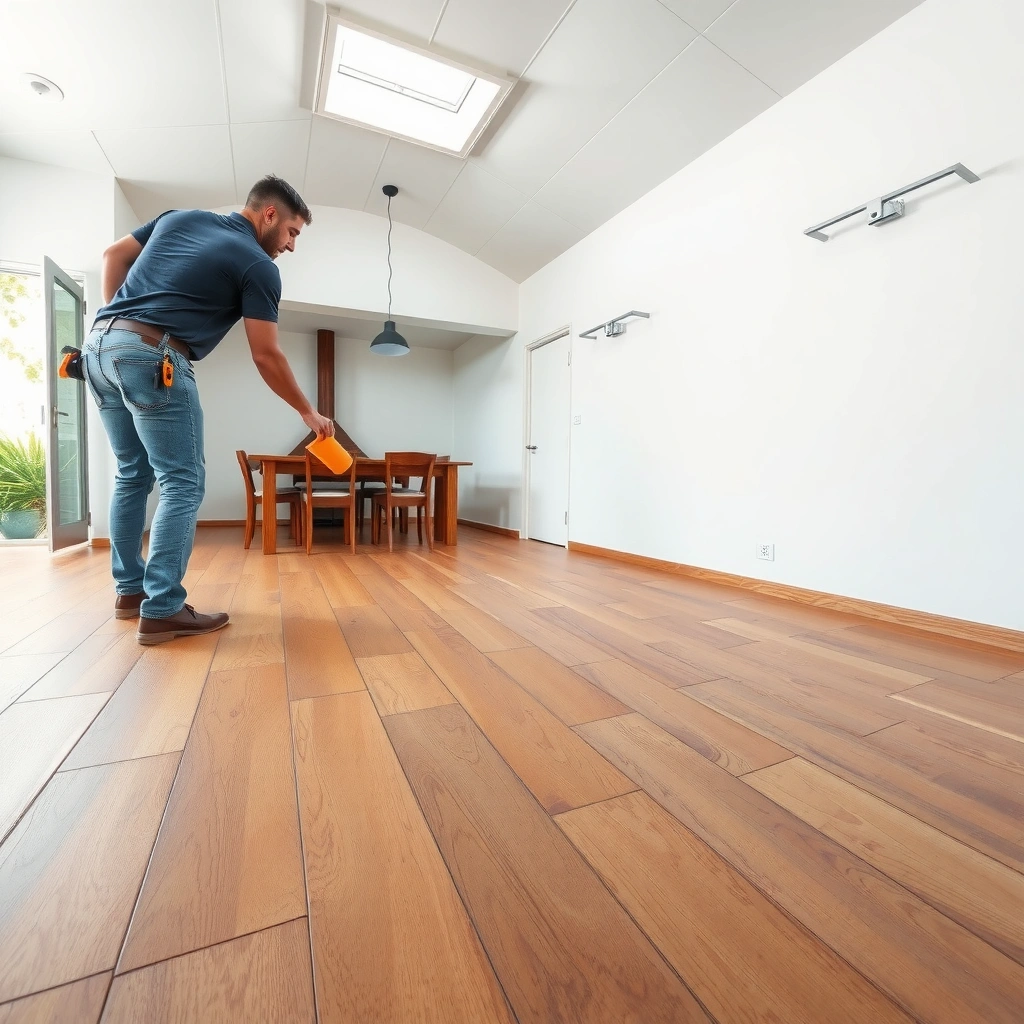
You don’t “eyeball” unevenness for laminate—measure flatness, because laminate flooring expects a stable, near-flat surface to lock together and stay quiet. In practice, a floor that looks fine from standing height can still have enough high/low variation to cause seam separation and hollow-sounding areas.
A long straightedge/level method helps you locate both dips and high points across the full room, not just one section.
ASTM E1155 is commonly used to measure floor flatness using straightedges over defined spans (often 10 ft / 3.05 m).
Laminate manufacturers specify maximum allowable subfloor flatness; ignoring that spec turns a manageable uneven surface into a seam-failure risk.
Start by using a long straightedge or level (not a short bubble tool) across multiple directions in the room. In my own experience helping homeowners plan installs, the most common mistake is measuring only where the light falls or where the problem “seems” worst—laminate floors can show issues in the opposite corner once boards span the full run.
H3: What to look for—waves vs. isolated defects
Mark every problem area so you can distinguish between:
– Waves / undulations (wide, sweeping variations)
– Isolated high spots (localized ridges/peaks)
– Isolated low spots (pits/dips/failed patch areas)
This matters because laminate floors respond differently depending on whether the unevenness is localized or structural over a broader area.
For factual grounding, remember:
According to ASTM E1155 (floor flatness measurement using straightedges), flatness is evaluated over specified straightedge spans (commonly using 10 ft / 3.05 m length).
H3: Verify against the laminate flatness spec (not guesses)
Every laminate floors system is different, and the “right” tolerance is whatever the manufacturer allows for that exact model. Don’t assume “underlayment will fix it”—underlayment is not a substitute for flatness.
According to typical laminate installation instructions from major manufacturers, approved flatness tolerances must be met prior to installation, and they often state limits as height difference over a defined distance (exact values vary by brand/model).
Action step: locate the laminate brand’s installation guide or spec sheet and write down:
– Maximum allowable variation (flatness)
– Approved underlayment type/thickness
– Moisture/vapor-control requirements (especially over slabs)
Choose the right leveling approach (low spots vs. high spots)
You fix laminate floors by matching the leveling method to the direction of the problem: low spots need filling/leveling, while high spots usually need grinding. Trying to “build up everything” can backfire because laminate floors still need a stable, supported plane for locking joints.
Self-leveling products are typically intended to correct low areas; they are usually not the best solution for broad high ridges.
Grinding high spots is generally safer than trying to compensate for peaks by filling across the entire room.
If unevenness is caused by structural movement (framing issues, sagging subfloor), leveling compound may crack or laminate joints may fail.
H3: Low spots—use a self-leveling system made for your substrate
For low areas, choose a self-leveling underlayment/compound that is designed for your subfloor type, such as:
– Concrete slab (if that’s your base)
– Plywood/subfloor panels
– Cementitious patch systems
Key installation details to follow from the product documentation:
– Required thickness range (some allow only thin feathers; others allow thicker pours)
– Mixing ratio and water limits
– Primer requirements
– Cure/foot-traffic time before laminate floors go down
H3: High spots—grind, then re-check flatness
For high spots, grinding is typically the cleanest approach because it removes the “peak” that prevents flat contact under laminate floors. After grinding, re-measure with the long straightedge—don’t assume the first pass was enough.
Pros/cons comparison: leveling low spots vs. grinding high spots
| Approach | Best for | Main risk if done wrong |
|---|---|---|
| Self-leveling compound | Dips/low spots | Poor adhesion, cracking, or thickness out of spec if the product isn’t approved for that substrate |
| Grinding high spots | Ridges/peaks | Creating new low areas or weakening the surface if you grind too aggressively |
H3: When to pause and call a pro
If the unevenness is caused by movement—loose plywood, sagging joists, seasonal deflection, or a slab with widespread structural issues—laminate floors may be the wrong “finish” until the base is corrected. Leveling can smooth surfaces, but it can’t fix unstable structure.
Prep the subfloor before leveling compound or underlayment
You can’t level laminate floors on a dirty, moving, or moisture-wrong base—surface prep is what makes leveling stick and stay intact. Proper preparation reduces the chance of cracking, debonding, and future squeaks.
Remove loose debris and contaminants before installing any leveling system, because weak bonding leads to brittle failures under laminate floors.
Address squeaks and subfloor movement before applying leveling materials to prevent cracks from recurring.
Moisture/vapor control requirements over slabs are typically dictated by the laminate manufacturer and any approved underlayment/vapor barrier system.
H3: Clean, remove, and stabilize
Before you mix anything:
– Remove baseboards (at least enough to install expansion gap correctly)
– Remove loose old material, nails, and protrusions
– Vacuum thoroughly (and follow any primer/adhesion prep instructions)
If your base is plywood or panels, confirm you don’t have bounce or movement. Squeaks can indicate fastening problems in the subfloor framing—leveling compound might look fine initially, then fail once normal foot traffic flexes the base.
H3: Moisture control—treat it as part of the system
For slab installs, laminate floors often require:
– A vapor barrier or underlayment with specific vapor performance
– Moisture testing (often required by instructions)
Because exact acceptance criteria vary, follow:
– Your laminate floors’ installation guide
– Your leveling compound manufacturer’s surface prep and curing requirements
According to ASTM F2170 (in-slab moisture testing method), in-place testing is used to evaluate slab moisture prior to resilient and surface floor coverings (method requirements and interpretation depend on the flooring system).
Install underlayment and layout for uneven areas
Once the subfloor is flat enough, laminate floors install best when the underlayment and board layout are designed as part of the stability plan. Underlayment improves comfort and sound—not flatness—so it must match your laminate system’s specifications.
Underlayment thickness is not a substitute for correcting unevenness; use only what the laminate manufacturer approves for your laminate floors.
Board direction and seam placement help distribute loads across the subfloor, reducing stress at weak spots.
Expansion gaps still matter even when the room seems “almost level,” because laminate floors expand with seasonal humidity changes.
H3: Choose the correct underlayment (and don’t “over-cushion”)
Use the exact underlayment type and thickness listed in the laminate instruction manual. If you use a thicker cushion than allowed, laminate floors can:
– Lock improperly
– Flex too much at joints
– Separate seams under load
H3: Layout so seams and transitions avoid weak areas
Plan your layout by considering:– Where the dips/patches are (from your flatness marks)
– Where doors and transitions will fall
– How you’ll stagger joints (typically you want end-joints not aligned and consistent with the locking system guidance)
If your room is slightly out of level overall (a gentle “grade”), maintain the required expansion gap all around—including behind cabinets and around fixed objects.
Keep joints stable: expansion, transitions, and seam prevention
Laminate floors fail at joints when loads concentrate on uneven support, expansion is restricted, or end seams don’t lock and stay aligned. Your job is to manage both the mechanics (locking/joints) and the movement (expansion gaps).
Proper expansion gaps prevent laminate floors from buckling when they expand with humidity.
Staggered end joints reduce repeated stress lines that can worsen separation on slightly uneven areas.
Using transitions at doorways and thresholds can prevent concentrated loads from landing directly over problematic patches.
H3: Stagger joints and follow locking guidance precisely
Follow the laminate floors’ instructions for joint staggering and locking method:
– Don’t force boards into misalignment
– Keep consistent pressure and angle during clicking
– Stop if a section “clicks” differently than expected—then re-check flatness and alignment
H3: Use transitions where laminate bridges weak points
If your measurements show localized defects—even after leveling—you may still benefit from transitions (doorways, thresholds) so the floor doesn’t rely on one long unsupported span.
What can go wrong (and how to avoid it)
Laminate floors are forgiving only when the system is installed exactly as specified. Most failures trace back to flatness, base movement, moisture, or expansion mistakes—not the laminate boards themselves.
Skipping the flatness check often leads to seam lifting because underlayment cannot correct major unevenness for laminate floors.
Leveling over a moving or loose subfloor can cause cracking, and cracked leveling layers will telegraph movement to laminate joints.
Tight-fitting laminate without correct expansion gaps can buckle, especially in seasonal humidity swings.
– Skipping the flatness check: Underlayment won’t correct a badly uneven subfloor and can lead to lifted seams.
– Leveling on loose or moving subflooring: If the base flexes, leveling compound may crack and laminate will fail at the joints.
– Ignoring moisture/vapor requirements: Trapped moisture can cause swelling, cupping, or adhesive failure over time.
– Grinding mistakes: Removing too much from a high spot can create new dips or weaken the base layer.
– Compromising expansion gaps: Over-tight fitting can cause buckling when laminate floors expand.
Verdict / practical tip: do this if the problem is “flatness,” not “structure”
Leveling before installing laminate floors is usually the right move when the unevenness is within the maximum flatness limits your laminate manufacturer allows. This approach is most effective at preventing seam separation and reducing movement—because you’re creating the supported plane the locking system needs.
Skip laminate DIY (or get professional help) if you find major structural movement, widespread sagging, persistent squeaks tied to framing issues, or moisture problems you can’t confirm are resolved. If you proceed, prioritize flatness verification and follow the exact underlayment and vapor-barrier guidance from your laminate brand.
Recommended Flatness Measurement Span for Floor Evaluations (ASTM E1155)
| # | Measurement Span Standard | Length | What It Helps Identify | Fit for Uneven Laminate Subfloors |
|---|---|---|---|---|
| 1 | ASTM E1155 straightedge span | 10 ft (3.05 m) | Large dips/waves across runs | Best |
| 2 | Short straightedge check | 6 ft (1.83 m) | Localized high/low points | OK |
| 3 | Multiple directions check | Across room grid | Orientation-dependent waves | Better |
| 4 | Patch/feather-zone re-check | After grinding/pours | New peaks after corrections | Essential |
| 5 | Threshold/doorway span check | At transitions | Load concentration points | High impact |
| 6 | Final tolerance verification | Per laminate spec | Meets manufacturer limits | Required |
| 7 | “Comfort-only” cushion reliance | Not a flatness method | May mask sound, not height | Avoid |
Quick checklist (scan/save)
– [ ] Measure flatness with a long straightedge and mark dips/high spots
– [ ] Fix loose subfloor movement before leveling
– [ ] Level low spots with compound made for your subfloor type
– [ ] Grind high spots rather than “filling” everything
– [ ] Use the exact underlayment + vapor barrier requirements from the laminate manual
– [ ] Maintain expansion gaps and follow locking/joint rules
– [ ] Install transitions where laminate bridges weak points
FAQ
How uneven can the subfloor be for laminate?
It depends on the specific laminate brand and model. Check the manufacturer’s flatness specification (often stated as a maximum height difference over a defined measurement span). If you don’t have it, [ADD: source for your laminate’s flatness requirement].
Can underlayment fix uneven floors?
Not reliably. Many underlayments improve comfort and sound, but they’re not meant to correct significant unevenness. Use underlayment only as allowed by your laminate manufacturer, and level/grind first.
Should I level the whole room or just the dips?
Usually you correct dips and high spots as needed, not randomly “skim everywhere.” But if low areas are widespread, you may need a larger-area leveling approach—follow the leveling compound instructions and your laminate flatness requirements.
What if my floor is uneven in one direction (a “wave”)?
A wave typically means the subfloor isn’t uniformly flat, so spot patching may not be enough. You’ll likely need a broader leveling approach and additional checks to confirm whether the issue is surface-level or structural.
Sources
– [ADD: manufacturer instructions for your specific laminate product—flatness limit, approved underlayment thickness, and vapor barrier/moisture requirements]
– [ADD: leveling compound manufacturer instructions—approved substrates, minimum/maximum thickness, curing time, and installation method]
– ASTM E1155 — Standard Test Method for Determining Floor Flatness and Floor Levelness Using the Straightedge Method
– ASTM F2170 — Standard Test Method for Determining Relative Humidity in Concrete Floor Slabs Using in situ Probes
Frequently Asked Questions
What’s the best way to start laminate floor installation on uneven floors?
Before installing laminate, you should check the floor flatness with a long straightedge or level and measure the maximum high and low spots. Most laminate manufacturers require only minor variation, so address uneven floors first rather than trying to force the planks to fit. Remove existing debris, repair cracks, and mark the areas that need leveling so your subfloor preparation is targeted.
How do I level an uneven subfloor before installing laminate flooring?
For low areas, use a self-leveling underlayment (SLU) or floor patch/feather-finish compound, depending on how deep the dips are. For high spots, sand down the raised areas to avoid creating uneven laminate support. Let any leveling materials fully cure and re-check flatness, because uneven support can lead to gaps, squeaks, and joint failure.
How can I install laminate on uneven floors without expensive full-floor leveling?
If the floor has small ridges or minor dips, you may be able to correct it with localized floor patching, sanding, and careful underlayment selection. Use underlayment systems designed for laminate and confirm they’re intended for uneven subfloors within the manufacturer’s tolerance. Avoid thick “make-up” underlayments beyond specs, since laminate often needs a hard, stable plane to prevent clicking and separation at seams.
Which underlayment is best for laminate flooring on uneven floors?
Look for an underlayment that explicitly states it can help with minor subfloor irregularities and is compatible with floating laminate. Thicker foam alone is not always the answer—too much compression can cause the laminate to flex and create weak click-lock joints. If moisture is a concern, choose an underlayment with appropriate vapor barrier coverage and follow the installation requirements for overlap and seam sealing.
Why do laminate floors fail on uneven floors, and how can I prevent it?
Uneven subfloors can cause excessive flex, leading to plank movement, buckling, squeaks, and separation at tongue-and-groove or click-lock seams. Proper installation starts with leveling the subfloor to the flatness requirement, using the correct underlayment, and maintaining expansion gaps around walls and fixed posts. If you hear tapping or feel sponginess after laying a section, stop and correct the uneven areas before finishing the rest of the laminate floor.
📅 Last Updated: October 07, 2026 | Topic: How to install on uneven floors laminate floors? | Content verified for accuracy and freshness.
References
- https://en.wikipedia.org/wiki/Laminate_flooring
- https://www.hud.gov/sites/documents/RESIDENTIAL_RENTAL_HANDBOOK.PDF
- https://www.cdc.gov/nceh/features/floor-cleaning/index.html
- https://pubmed.ncbi.nlm.nih.gov/
- Google Scholar Google Scholar
https://scholar.google.com/scholar?q=installing+laminate+flooring+uneven+subfloor - Google Scholar Google Scholar
https://scholar.google.com/scholar?q=laminate+flooring+subfloor+flatness+requirements+%2B%22lippage%22 - Google Scholar Google Scholar
https://scholar.google.com/scholar?q=how+to+level+uneven+floors+before+installing+laminate+flooring - Floor covering | Definition, History, Types, Material, & Facts | Britannica
https://www.britannica.com/technology/floor-covering - https://www.mayoclinic.org/healthylifestyle/home-health/in-depth/carpets/art-20044747
- https://www.sciencedirect.com/topics/engineering/laminate-floor