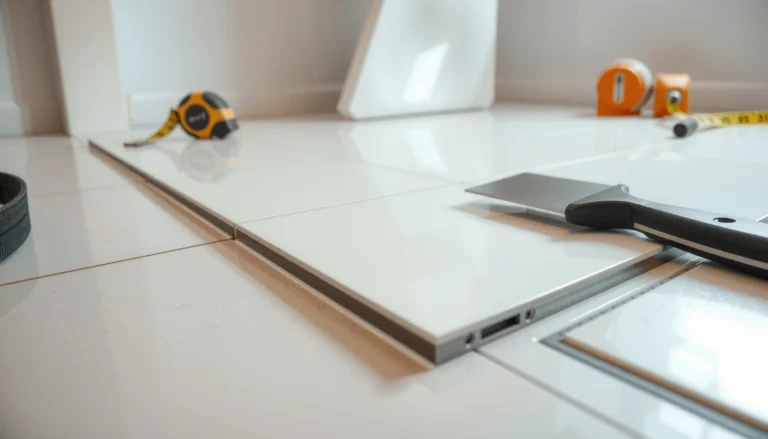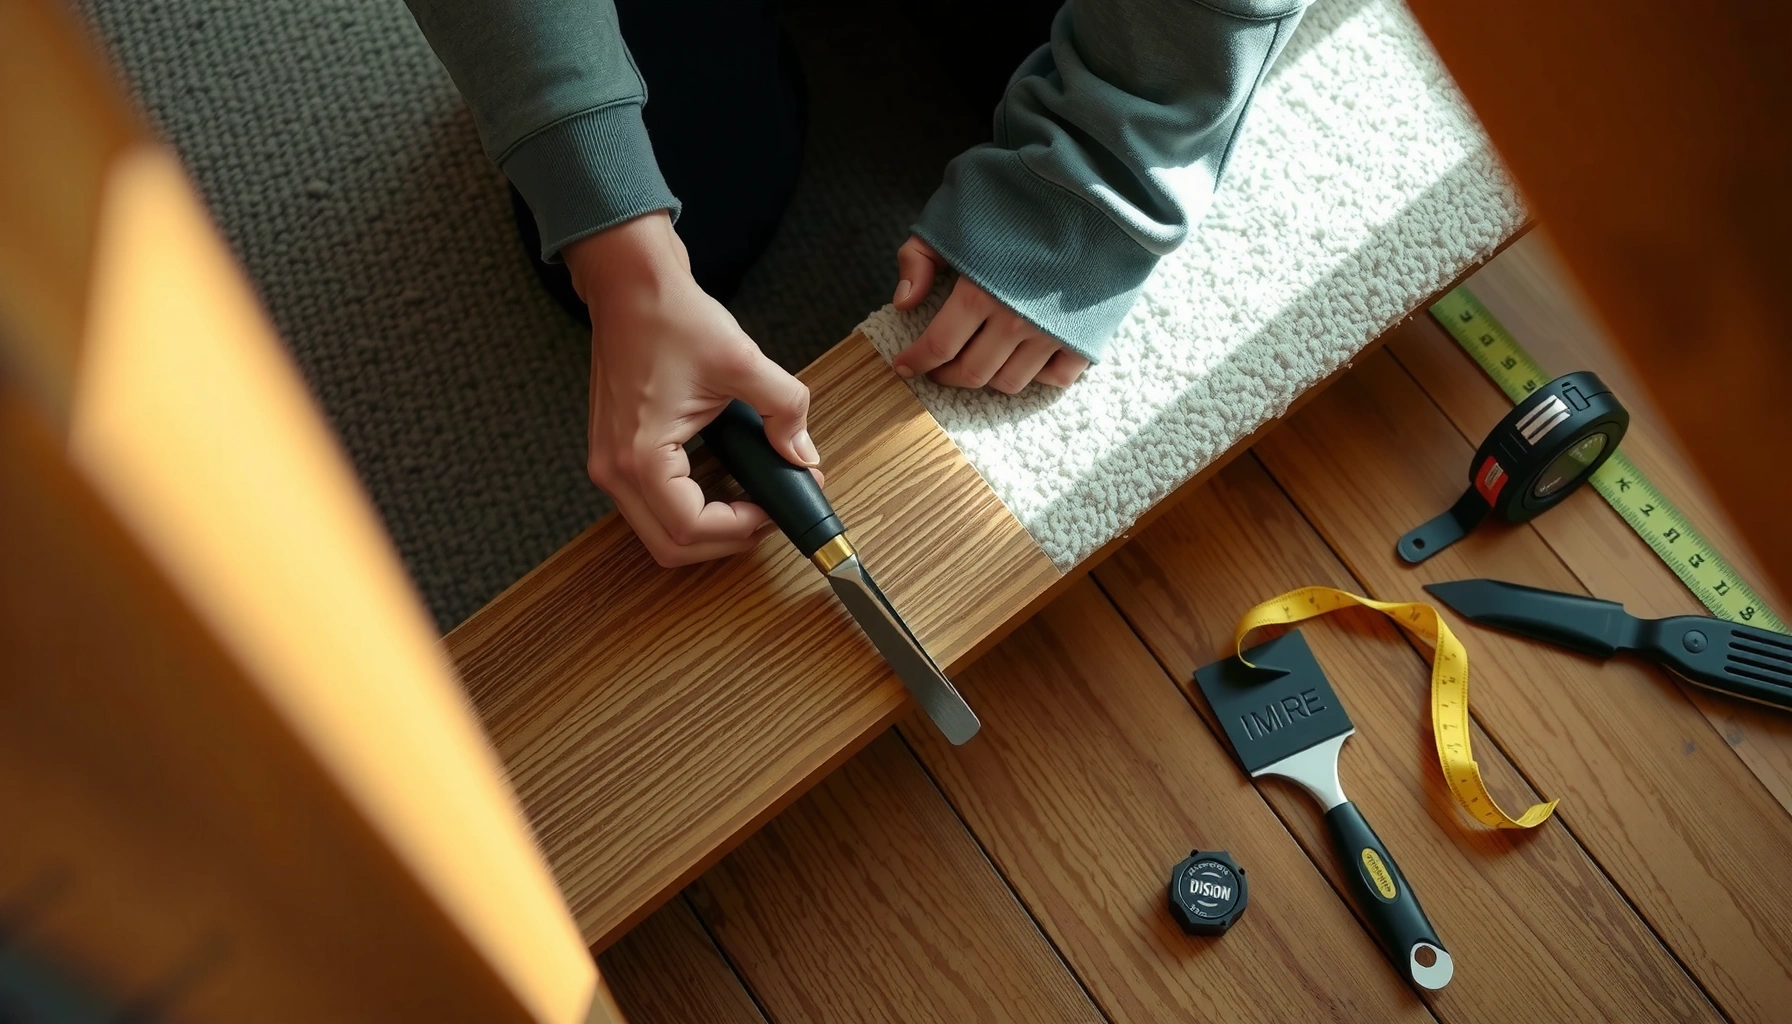

This step-by-step guide shows exactly how to install LVP on stairs safely and cleanly, so your flooring locks in tight and stays level. You’ll learn the key decisions that make or break stair installs—proper underlayment choices, stair-riser vs. tread layout, and the best cutting and fastening method for LVP. Follow these steps and you’ll get a professional-looking finish without guesswork.




If you want LVP on stairs, plan for stair-specific transitions, then measure each tread and riser carefully before cutting. Use the right adhesive/fasteners for stair use and keep each step flat and square so the planks don’t lift at the edges. This guide walks through the full order of operations—from prep to finishing—plus the most common ways LVP fails when it meets real stair traffic.
Who this is for / when it applies:
This is for homeowners or installers tackling an LVP stair install where you need durable coverage on treads (and risers if you’re finishing them), not just a flat room floor. It’s especially useful if your stairs have tight corners, uneven framing, or existing trim you plan to keep or modify.
Prep stairs first (measure, inspect, and flatten)

Prep is what makes stair LVP look tight and stay tight. You want every tread and riser to be structurally sound and flat enough that the planks won’t “bridge” over voids or rocking boards.
– Check each tread and riser for flatness, height differences, and any squeaks or loose boards; fix subfloor/structure issues before flooring.
– Measure tread depth/width and riser height individually—don’t assume they’re identical from top to bottom.
– Remove or loosen trim only if needed for the LVP system; confirm the underlayment and edging approach your product calls for.
Stair treads must be stable and sufficiently flat; if the substrate rocks or bows, LVP can separate at seams and lift along the nosing under repeated foot traffic.
ASTM flatness guidance for resilient flooring is commonly expressed as a maximum allowable variation over a specified distance (e.g., 3/16 in over 10 ft), which is why “shim and recheck” beats cutting around a bad tread.
Before installing, you should correct squeaks and loose boards because a moving substrate turns a “quiet” LVP installation into a noisy one over time.
A practical way to work: start at the bottom tread and move upward. Use a straightedge and feeler gauges to map high/low spots, then recheck after any shimming or fastening. On staircases, the framing often changes slightly from step to step—so “measure each step” is not a slogan; it’s what keeps your layout consistent when cutting multiple runs of LVP.
Three anchoring data points to keep your expectations realistic:
– According to ASTM standards commonly referenced for resilient flooring prep, floor flatness tolerances are typically specified in fractions of an inch over a defined span (commonly cited as 3/16 in over 10 ft). [ADD: ASTM flatness reference used for resilient flooring preparation]
– According to ASTM moisture test methods for concrete and moisture screening, subfloor moisture should be evaluated using standardized procedures such as ASTM F2170 (in-situ RH probes) or ASTM F1869 (calcium chloride) when relevant to your substrate. [ADD: ASTM F2170 / F1869 references]
– Many LVP installation instructions require an expansion/fit allowance at boundaries; a frequently used range is around 1/4 in (6 mm) for perimeter spacing, but you must follow your specific manufacturer. [ADD: your LVP manufacturer expansion/spacing requirement]
Choose the right LVP approach for stairs (and confirm compatibility)
The fastest way to avoid stair failure is to confirm—up front—whether your exact LVP product is approved for stairs. Then decide whether you’re covering only treads, covering risers too, or using a stair-nosing system for the nosing edge.
– Verify your LVP brand/type allows stair installation and whether it requires specific stair-nosing or stair-tread accessories.
– Decide whether you’re doing: (1) LVP only on treads, (2) LVP on both treads and risers, or (3) LVP with a compatible stair nose for better edge protection.
– Plan your layout so seams land where they’re least likely to flex, and keep end joints staggered.
LVP stair compatibility is product-specific; manufacturers can restrict which resilient products are approved for stair application and may require particular transition or nosing components.
If your system includes a stair nose, that edge accessory is part of the protection strategy that helps prevent lifting at the most stressed boundary (the nosing).
A seam placement plan for stair traffic reduces “flex-focused failure,” because the areas you stand on repeatedly aren’t the same as areas in a flat room.
LVP on treads only vs. treads + risers: what changes?
Covering treads only is usually simpler because you focus on the walking surface and the nosing transition. Adding risers improves visual continuity but increases the number of custom cuts and the likelihood of fit issues near landings, walls, and adjacent trim.
Here’s a quick comparison you can use to choose your approach:
| Approach | Best For | Main Tradeoff |
|---|---|---|
| Treads only | Rental-friendly updates and faster installs | More visible transition at risers |
| Treads + risers | Full staircase refresh with a uniform look | More cutting complexity and edge-fitting risk |
| LVP + compatible stair nose | Maximum nosing protection and reduced lifting risk | Requires correct accessory selection and alignment |
Key Stair LVP Components and Their Typical Roles (Industry Practice)
| # | Stair Component | Primary Function | Best Fit Scenario | Stair-Edge Risk Reduction |
|---|---|---|---|---|
| 1 | Stair nose / nosing piece | Protects the leading edge and distributes stress | High-traffic homes and rentals | ★★★★★ |
| 2 | Approved stair adhesive | Bonds planks to treads under shear and foot loading | Glue-down LVP and some transition systems | ★★★★☆ |
| 3 | Mechanical fastening (where allowed) | Prevents plank migration on stairs | Systems requiring fasteners for stability | ★★★☆☆ |
| 4 | Stair transition/reducer pieces | Cleans up landing and wall edge transitions | Basement stairs and multi-material floors | ★★★☆☆ |
| 5 | Correct underlayment (if required/allowed) | Controls sound and motion without adding too much flex | Click products with an approved underlayment | ★★★☆☆ |
| 6 | Perimeter expansion gap spacers | Prevents buckling from thermal movement | Where LVP must meet walls/strings | ★★★☆☆ |
| 7 | Edge sealant/caulk compatible with LVP | Limits debris ingress at edges (system-dependent) | Riser gaps and trim junctions | ★★☆☆☆ |
Note: This data table reflects common roles/selection logic used in stair LVP installs. Always defer to your specific manufacturer’s stair section for what’s permitted.
[ADD: cite your LVP manufacturer’s exact stair-compatible installation requirements here, including whether underlayment is allowed, whether adhesive is required, and what stair nose pieces are approved.]
Install LVP on treads (start, cut, and keep edges tight)
Install treads first so you establish a clean, consistent walking surface and reference lines for every subsequent riser and transition. The big goal is tight edges and correct plank geometry so the nosing area doesn’t become a “gap magnet.”
– Dry-fit your first run and establish a straight reference line so the treads match visually as you move up the stairs.
– Cut carefully for the tread shape and maintain consistent expansion/wall spacing where your flooring instructions require it.
– Use the approved method from your LVP instructions (for example, recommended adhesive type and trowel/coverage rules for glue-down products, or recommended underlayment for click products). [ADD: cite your LVP manufacturer’s exact installation method and requirements.]
Tight, square cuts matter on stairs because the leading edge repeatedly takes load; a small misfit at the nosing can telegraph into lifting or visible edge separation.
Dry-fitting the first tread run lets you verify sight lines and adjust layout before adhesive goes down, which is critical when stair framing isn’t perfectly uniform.
For glue-down LVP, manufacturers typically specify both adhesive type and coverage method; deviating from the specified trowel/coverage rules increases the chance of debonding at edges.
Step-by-step method for tread placement
1. Establish your baseline: Mark a reference line using a level or laser across the tread run direction. Stair stringers often sit slightly off—your line keeps the layout visually straight.
2. Dry-fit the tread pieces: Place planks/trim without fastening/adhesive long enough to confirm the nose edge and any trim clearances.
3. Cut for each tread: Don’t assume identical tread dimensions. If one step is deeper by even a few millimeters, that difference matters once you’re stacking multiple pieces upward.
4. Install in a controlled sequence: Start at the bottom tread (most installers prefer a consistent starting point), work upward, and let the adhesive cure fully per the manufacturer’s timeline.
5. Maintain expansion/fit rules: Many LVP instructions require perimeter spacing. On stairs, those “walls” include stringers and return walls—don’t skip the gap just because it’s visually hard to measure.
[ADD: manufacturer quote/exact instruction section for adhesive coverage, cure time, underlayment rules, and expansion gap—include the document section/page number.]
Finish risers and transitions (where most installs fail)
Finishing risers and transitions is where many stair LVP projects look good at first and then degrade—because edges collect debris and lifting starts at the most stressed corners. If you want longevity, treat risers and nosing trim as an engineered system, not a cosmetic afterthought.
– If installing on risers, fit planks/pieces so there’s no gap that lets debris collect or causes the face to peel under foot pressure.
– Use the correct trim/stair nose system to protect the nosing edge and reduce lifting at the transition point.
– Address landing or wall transitions with the required reducers/trim pieces—stairs look “right” when these edges are clean and consistent.
Debris-filled gaps at riser edges can create point loading and moisture retention, which accelerates edge separation on resilient flooring.
A purpose-built stair nose (when required by the LVP system) improves edge protection by covering the leading edge where foot traffic concentrates stress.
Transition pieces at landings reduce abrupt height changes that can pry up plank edges over time.
Practical fit tips for risers
– Minimize visible gaps: On risers, even small open seams collect dust that users notice. Fit to avoid “shadow gaps,” especially in the first few steps near entry.
– Check corners and returns: Tight turns and existing trim often force imperfect cuts; plan your seam positions so the worst-looking cut is hidden under a nose/transition piece.
– Lock in the nosing edge: If your LVP system specifies a stair nose, install it exactly as described. Missing that layer is one of the clearest predictors of later lifting.
[ADD: your LVP manufacturer’s specific stair nose installation steps and any required fasteners/adhesive for the accessory.]
What can go wrong (common mistakes and edge cases)
Stair LVP failures usually come from edge protection, substrate preparation, or compatibility mistakes—not from “bad luck.” If you address the substrate and follow the stair system components, the install tends to hold up under repeated loading.
– Edge lifting at the nosing: usually caused by missing/incorrect stair nose trim, insufficient prep, or incorrect adhesive/coverage.
– Uneven treads leading to gaps: stairs often vary slightly, so “measure each step” matters more than it does in flat rooms.
– Wrong underlayment or installation method: using an underlayment or technique not allowed by your LVP instructions can cause flex, separation, or noise. [ADD: link/quote the key compatibility note from your LVP manual.]
– Not accounting for expansion/fit: some products need specified spacing and specific trim handling—skipping this can buckle or separate over time.
Most edge lifting on stair LVP is concentrated at the nosing because that edge experiences the highest peel and shear forces from footfalls.
Using an underlayment that’s not approved for your specific LVP can change the product’s motion profile, which may create seam separation or clicking noise on steps.
If you don’t correct substrate flatness, even a “perfect” cut can fail because the plank can’t fully contact the surface.
Pros/cons: DIY stairs vs. pro installation
If your stairs are close to level and your product is explicitly approved for stairs, DIY can work. If structural unevenness is present or the manual is restrictive, professional install is often the safer call.
DIY can be the right move when:
– You have access to the manufacturer’s stair-nosing system.
– Substrates are flat and secure after prep.
– You’re comfortable with careful measuring and repeat cutting.
Professional install is worth it when:
– Stair treads vary significantly in height/depth and you can’t correct it.
– Your LVP manual restricts stair installation or requires proprietary components.
– You’re dealing with complex landings, unusual trim, or multi-material transitions.
Verdict / tip (what we recommend—and who should skip it)
If your LVP system is stair-compatible and you’re comfortable with careful cutting and alignment, this is a very doable DIY weekend-to-weekend project. The downside is that stairs punish mistakes—small unevenness and poor edge protection show quickly and can lead to lifting at the nosing.
Skip DIY and hire a pro if your stairs are notably uneven, you can’t correct structural/flatness issues, or your LVP manufacturer explicitly restricts stair DIY installs. [ADD: include the specific “professional installation recommended” language if your product manual has it.]
When a manufacturer specifies stair accessories (like stair noses) or specific installation methods, following those instructions is often the difference between a stable edge and a recurring lift point.
Stairs concentrate loading at the nosing and corners, so substrate prep and edge trim typically matter more than the plank’s surface finish.
Quick checklist (scan before you start)
– [ ] Stair LVP compatibility confirmed (manual allows stair installation)
– [ ] Each tread/riser measured individually
– [ ] Substrate checked for flatness/looseness; fixes done
– [ ] Approved stair nose/trim planned for nosing protection
– [ ] Cutting plan ready for staggered seams and clean edges
– [ ] Adhesive/installation method matches your LVP instructions
– [ ] Dry-fit and alignment check before committing
– [ ] Expansion/fit requirements followed with trim/spacing rules
FAQ
Do I need a stair nose when installing LVP on stairs?
In most LVP stair setups, a stair nose or stair-tread transition piece is used to protect the leading edge and reduce lifting. Confirm what your specific LVP manufacturer requires in its installation instructions. [ADD: source/manufacturer requirement.]
Should I install LVP on the risers too?
You can, but it depends on your product’s compatibility and the stair-trim/nosing system you’re using. Installing on risers adds complexity, especially with fit around edges and transitions—follow the manufacturer’s stair instructions. [ADD: product-specific guidance.]
Is click-lock LVP okay for stairs?
Some click-lock systems are allowed on stairs, but many have specific rules about underlayment, fastening, or stair nose usage. Check your manual for “stair installation” acceptance and any required modifications. [ADD: manual excerpt/section reference.]
What’s the biggest reason LVP lifts on stairs?
The most common causes are edge protection issues (wrong/missing stair nose), insufficient substrate prep, and using the wrong adhesive/installation method for your flooring type. Verify everything against the LVP instructions before installation. [ADD: manufacturer troubleshooting note if available.]
Sources
– [ADD: Your LVP manufacturer’s installation guide / “stair installation” section—use the exact document for adhesive method, underlayment rules, expansion requirements, and whether stair noses are required.]
– [ADD: Any stair-nosing/trims manufacturer installation instructions used with your specific LVP system.]
– [ADD: ASTM resilient flooring preparation reference used for flatness guidance (e.g., ASTM F710 flatness/verification).]
– [ADD: ASTM moisture testing references used for relevant substrate conditions (e.g., ASTM F2170 and/or ASTM F1869).]
Done well, LVP on stairs can look crisp and wear surprisingly well—but only if you treat stairs as a high-stress environment. Measure each step, follow your manufacturer’s stair-approved method, and build the nosing/transition protection system exactly as specified, because that’s where long-term performance is won or lost.
Frequently Asked Questions
What’s the best way to measure stairs before installing LVP flooring?
Measure each tread and riser separately, then note the length, width, and any variations across the stair run. Add extra planning for bullnose or stair edges, and confirm whether your LVP is water-resistant and rated for stairs or commercial traffic. Order slightly more than the total square footage to account for cuts around corners and angles. Taking accurate measurements helps prevent gaps at the nosing and reduces the need for re-cuts.
How do I install LVP on stairs without the planks separating or lifting?
For many stair applications, a stair-safe installation method is critical—follow the manufacturer’s instructions for whether glue-down or click-lock is allowed on stairs. If your LVP is click-lock, use the proper underlayment rules (often none on stairs) and consider additional adhesive at seams as recommended. Use the right stair underlayment or foam only if the brand allows it, and avoid soft padding that can cause movement. Proper subfloor prep—clean, flat, and dry—also prevents the floor from flexing and loosening over time.
How should I cut and fit LVP for stair treads and risers?
Start by cutting planks for the tread, leaving a consistent, manufacturer-approved expansion gap where required. Many installers recommend installing tread pieces first, then measuring and cutting risers to match the tread layout and height. Use a fine-tooth blade or appropriate scoring method for clean edges, especially on patterned or textured LVP. Dry-fit several sections before adhesive or clicking into place to ensure the pattern aligns and the nosing looks straight.
Why is stair nosing important when installing LVP floors on stairs?
Stair nosing covers the edge where the tread meets the riser, protecting the LVP from chipping and wear from foot traffic. It also improves appearance by creating a uniform transition and hiding minor cut imperfections. A properly installed nosing helps maintain safer footing and reduces the chance of the floor pulling away at the exposed edges. Using the correct stair edge trim designed for LVP flooring is one of the best ways to keep the installation looking new.
Which installation method (glue-down vs. click-lock) is best for LVP on stairs?
Glue-down LVP is often preferred for stairs because it minimizes movement and helps prevent seams from lifting under heavy impact. Click-lock LVP can work on stairs only if the manufacturer explicitly allows it and you follow their stair installation steps closely. Choose based on your specific LVP type and warranty requirements, since not all luxury vinyl plank floors are rated for stair use. The “best” method is the one that matches your product’s guidance while keeping the treads secure and stable.
📅 Last Updated: October 07, 2026 | Topic: How to install on stairs LVP floors? | Content verified for accuracy and freshness.
References
- Google Scholar Google Scholar
https://scholar.google.com/scholar?q=lvp+install+on+stairs - Google Scholar Google Scholar
https://scholar.google.com/scholar?q=luxury+vinyl+plank+stairs+installation+instructions - Google Scholar Google Scholar
https://scholar.google.com/scholar?q=resilient+flooring+stairs+installation+guideline - https://en.wikipedia.org/wiki/Vinyl_flooring
- https://www.armstrongflooring.com/support/installations.html
- Commercial and residential Flooring solutions in the United Kingdom
https://www.tarkett.com/en-us/flooring/installation-guides - Google Scholar Google Scholar
https://scholar.google.com/scholar?q=How+to+install+on+stairs+LVP+floors? - https://en.wikipedia.org/wiki/Special:Search?search=How+to+install+on+stairs+LVP+floors?
- https://www.ncbi.nlm.nih.gov/search/research-articles/?term=How+to+install+on+stairs+LVP+floors?