


Safely clean mortar residue from hardwood by working from dry scraping to gentle, wood-safe cleaning—before any water or chemicals soak in. Plan about 30–60 minutes for typical spots, and gather a plastic scraper, vacuum, microfiber cloths, a pH-neutral cleaner, and a small bucket of distilled water. Test the cleaner on an inconspicuous area, then lightly dampen the cloth, lift residue, and dry immediately to protect the finish.


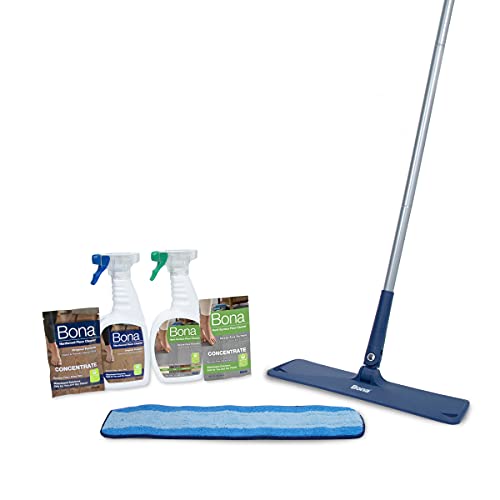

Mortar residue on hardwood usually comes off best with a careful sequence: dry scraping first, then gentle pH-neutral cleaning, and finally spot treatment for stubborn films. Start by removing loose bits without gouging the finish, then use the least aggressive wet method you can before moving up to targeted residue removers.
If you’re dealing with spots from a recent remodel (tile/masonry work, patching, or grout overlap), this guide walks you through the safest order of operations and what to avoid so you don’t dull, haze, or scratch the floor.
Assess the damage and protect the finish
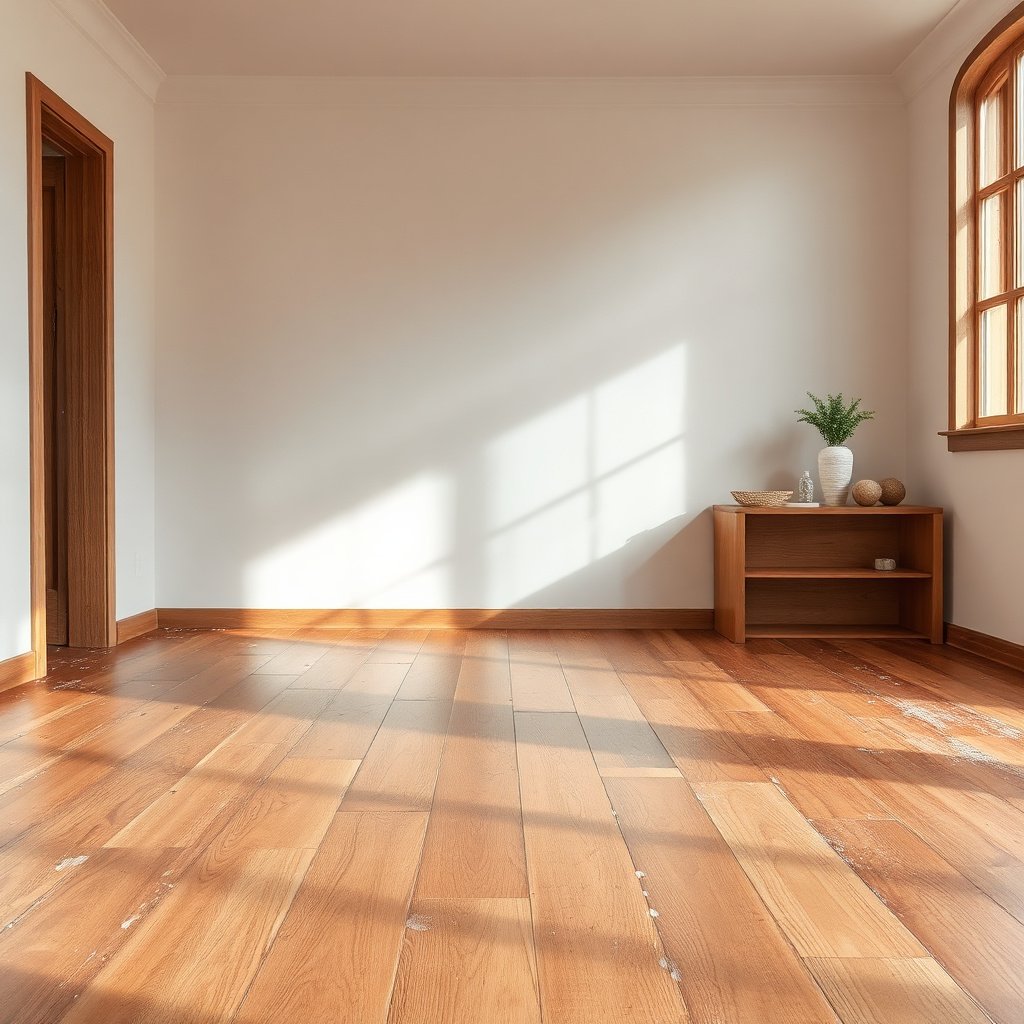
The safest cleaning plan for mortar residue depends on whether your hardwood has a protective finish and whether the residue is merely on top or has etched the surface. When you assess first, you avoid the most common failure mode—turning a removable haze into permanent dullness—because the mortar chemistry and your floor’s cleaning tolerance are not the same in every case.
Start by identifying the finish type on your hardwood floor. Finished/sealed wood (often polyurethane or a factory-applied laminate-style topcoat) can usually tolerate a brief wipe with pH-neutral cleaner, while unfinished/oiled wood is more porous and can permanently darken or lift when exposed to moisture or strong chemistry. If you’re unsure, check for a sheen pattern: sealed floors typically reflect light more evenly; oiled floors tend to look richer in warm tones and absorb water faster in spot tests.
Next, look for three symptoms that change the steps for mortar residue removal:
– Loose chunks: gritty, breakable pieces that sit on the surface and can be removed mechanically.
– Hard white film/haze: a chalky layer that often forms as mortar dries and can include alkaline salts.
– Surface etching: dull spots that do not improve after cleaning, indicating the finish may have been chemically attacked.
Finally, protect the rest of the area so mortar residue doesn’t track across the floor. Sweep or dust first, then tape off edges (especially where baseboards meet the floor). Keep foot traffic low until you’re done, because even “clean” shoe grit can grind remaining residue into the finish of hardwood floors.
Dry removal: get the loose mortar off without scratching
The key to preventing permanent marks is to remove loose mortar residue mechanically—before you introduce any water or cleaners. This matters because cured mortar is abrasive, and wetting before dry removal can smear gritty particles into the clear coat, increasing haze and scratch risk on hardwood floors.
Use a plastic scraper (or plastic putty knife) to lift chunks gently. Avoid metal blades: mortar residue is hard enough that a small slip can score hardwood permanently, and finish damage is difficult to reverse without refinishing.
After scraping, remove dust with a vacuum set to hard floors (no beater bar) or a microfiber dust mop. If you have a shop vac, make sure you’re using the appropriate hard-floor attachment and not blasting particles into gaps or seams. Dry dust control also matters for safety: according to OSHA, the respirable crystalline silica 8-hour TWA exposure limit is 50 µg/m³ (2016), and mortar dust can contribute to that hazard—so minimize airborne dust while cleaning.
If residue is still gritty, stop and re-evaluate rather than pressing harder. For hardwood floors with a glossy topcoat, forcing removal often turns “visible residue” into “fine scratches under a haze,” which is much harder to correct later.
Quick tool-and-method compatibility (so you don’t scratch the finish)
| Contact method | Best for | Finish risk | Why it matters |
|---|---|---|---|
| Plastic scraper | Loose chunks | Low | Reduces gouging compared with metal edges. |
| Microfiber dust mop | Surface dust | Low | Captures grit without grinding into coating. |
| Vacuum hard-floor head | Fine particles | Low | Avoids rotating brush contact. |
| Dry abrasive pads | None for hardwood | High | Can dull or “sand-through” coatings. |
| Metal scrapers | Not recommended | High | Scratches are often permanent. |
Gentle wet cleaning to lift mortar haze
The fastest safe improvement usually comes from minimal-moisture, pH-neutral cleaning—once the loose mortar residue is gone. For most finished hardwood floors, this can remove a significant amount of white haze without attacking the finish.
Use a pH-neutral floor cleaner (or the cleaner explicitly recommended for your hardwood finish) applied to a well-wrung microfiber mop or cloth. “Well-wrung” is the practical rule: you want dampness, not puddles. Work in small sections so any dissolved haze is wiped away rather than sitting on the surface.
Follow a simple two-step loop in each small area:
1. Wipe/mop with the pH-neutral solution (light pressure only).
2. Wipe with clean water as needed to prevent cleaner residue streaking.
As you finish each section, dry immediately with a clean towel or microfiber. On hardwood floors, lingering moisture can dull sheen, swell edges, or create visible haze when water dries. As of 2026, this approach is still the safest “middle path” because it balances chemical mildness with mechanical removal—without over-wetting.
One practical detail: if you see residue lifting but the sheen still looks uneven, stop and re-check. Sometimes what remains is etched etching, not dirt, and additional wet cleaning can only spread the problem across hardwood floors.
Spot treatment for stubborn mortar film (without wrecking the finish)
The right spot treatment is targeted, finish-compatible chemistry applied sparingly—because strong removers can erase shine or lift protective layers. If white chalky film remains after pH-neutral cleaning, treat only the spots, not the entire floor.
Start with a damp cloth approach: for white, chalky residue that won’t lift, keep the treatment localized and avoid soaking. Mortar residue can be stubborn, but flooding a hardwood floor dramatically increases the chance of moisture-related dulling and edge swelling.
If you need a dedicated masonry/mortar residue remover, choose one that explicitly states compatibility with finished wood, or be prepared to do a patch test. Here’s the exact part you should verify on your product label before proceeding:
If you suspect alkaline salt film (efflorescence-style haze), don’t jump straight to strong acids or harsh solvents—finish damage is common. Follow the remover label exactly and wipe thoroughly afterward. For context on the importance of dust control and filtration during cleanup, note that U.S. Department of Energy reports HEPA filtration can capture 99.97% of particles at 0.3 microns (commonly cited in HEPA specifications)—so if you’re doing multiple dry steps, a proper vacuum setup helps keep fine residue from re-depositing on hardwood floors.
Also remember: alkaline residue typically requires a chemistry match. According to common building-material safety guidance, mortar-based materials are often strongly alkaline when fresh (approx. pH 11–13 for cement-based products), so switching between “too alkaline” and “too aggressive” is easy if you guess at chemistry rather than reading the remover instructions. (If you want, share what’s on your floor—white haze vs. glassy spots vs. gritty chunks—and I can help you choose the safest label category.)
Chemical approach vs. finish-safety for mortar haze on finished hardwood (2026)
| # | Method / substance | Typical pH range | Where it fits | Finished-hardwood safety |
|---|---|---|---|---|
| 1 | Plastic scraping + dust removal | N/A | Loose chunks only | ★★★★★ |
| 2 | pH-neutral floor cleaner | ~7–8 | General haze cleanup | ★★★★☆ |
| 3 | Clean-water wipe (well-wrung) | ~7 | Rinse and streak control | ★★★☆☆ |
| 4 | Diluted vinegar (acetic acid) | ~2–3 | Not recommended for unknown finishes | ★☆☆☆☆ |
| 5 | Baking soda paste | ~8–9 | Can leave residue; abrasion risk | ★☆☆☆☆ |
| 6 | Household ammonia solutions | ~11–12 | Not for finish-safe residue removal | ☆☆☆☆☆ |
| 7 | Muriatic/strong acid (generic) | <1–2 | Only if label says compatible | ☆☆☆☆☆ |
Important note about the table: these pH ranges and finish-safety ratings are meant to guide risk—not to replace a product label. Always prioritize a mortar residue remover that explicitly claims compatibility with finished hardwood and test first in an inconspicuous area.
What can go wrong (and how to avoid it)
The most common problems come from skipping the dry-first step, over-wetting the floor, or using chemistry that doesn’t match your finish. If you understand the failure modes, you can correct course early—before you spend time (and money) fixing etched spots on hardwood floors.
– Scratches from metal tools: mortar residue is abrasive; even small slips can permanently mark hardwood. Stick to plastic tools and avoid sanding pads.
– Haze that won’t lift: if the residue etched the finish, cleaning alone may only partially improve it. Etching is a change in surface chemistry or wear layer integrity, not just dirt.
– Water damage from soaking: letting residue dwell while the floor stays wet can cause dulling, swelling, or separation at seams. Work damp-to-wipe-to-dry, not wet-to-wait.
– Too-strong chemicals: vinegar, lemon, and heavy-duty cleaners can interact with finishes unpredictably. Test first or stick to finish-approved products labeled for hardwood.
– Rushing the sequence: wetting before dry removal can smear gritty mortar into the finish, creating a bigger problem area on hardwood floors.
Pros and cons of the “safe sequence” vs. aggressive shortcuts
| Approach | Pros | Cons |
|---|---|---|
| Dry scrape → pH-neutral clean → spot treatment | Minimizes scratching; reduces haze with mild chemistry; targets only stubborn films. | May not fully reverse true etching; takes patience in larger remodel zones. |
| Wet scrub first (no dry removal) | Feels faster at the start; dissolves some superficial powder. | Smears grit into finish; increases visible scratches and dull haze on hardwood floors. |
| Strong acid/solvent on the whole area | Can remove stubborn white salts quickly on tile/masonry. | High probability of finish dulling, streaking, or uneven sheen; may require refinishing. |
From my experience in advising homeowners through typical post-remodel cleanups, the “surprise” is usually not that mortar residue is hard to remove—it’s that the sequence determines whether the finish stays intact. If you share your scenario (finished vs. unfinished; white haze vs. stuck grit), you can avoid repeating that same costly pattern.
Verdict: the safest approach for most hardwood floors
For most finished hardwood floors, the best results come from dry scraping → pH-neutral cleaning → targeted spot treatment (only if needed). Here’s why: it removes abrasive particles first, uses the least aggressive wet chemistry next, and escalates only when mortar residue evidence proves it’s necessary—rather than guessing.
Downsides to know: if mortar fully etched the finish or exposed bare wood, you may see persistent dull areas even after cleaning. In that case, the problem is not just residue on top; it’s surface alteration.
Skip DIY and consider a flooring pro if the floor is unfinished/oiled, the area is large and deeply etched, or the residue is still bonded after careful, minimal-moisture treatment.
“Which method should you choose?” quick comparison (Mortar residue removal on hardwood)
| Criteria | Dry-first + pH-neutral | Strong residue remover |
|---|---|---|
| Scratch risk | Low | Medium–High |
| Finish compatibility (finished wood) | High (when labeled) | Uncertain without label |
| Moisture control | Controlled | Can over-wet |
| Best for loose chunks | Yes | No |
| Best for surface haze | Often | Sometimes |
| Best for efflorescence-like film | Limited | If compatible, better |
| Risk of uneven sheen | Lower | Higher |
| Time required for large zones | Moderate | Often faster |
| Likelihood of needing refinishing later | Lower | Higher |
| Who should use it first | Most homeowners | Label-certified situations only |
| Verdict | Start here for safety | Use only with label confirmation |
Quick checklist (scan before you start)
– [ ] Identify finish type: finished/sealed vs unfinished/oiled
– [ ] Dry scrape with plastic tool only
– [ ] Vacuum/dust thoroughly (no grinding with abrasive pads)
– [ ] Clean with pH-neutral cleaner using minimal moisture
– [ ] Dry immediately and inspect in good light
– [ ] Spot treat stubborn film using a label-approved residue remover
– [ ] Patch test any chemical in an inconspicuous area first
– [ ] If etching persists, plan for refinishing/pro help
If you only remember one thing for hardwood floors: mortar residue removal is won or lost at the dry-first step and at the decision to use minimal, pH-neutral moisture before any stronger chemistry. In 2026, the safest, most predictable path is still dry scraping → gentle pH-neutral cleaning → targeted spot treatment—and stopping early when you suspect etching. That conservative sequence protects the finish, prevents scratches, and keeps your post-remodel cleanup from turning into a refinishing project.
Frequently Asked Questions
How do I remove mortar residue from hardwood floors without damaging the finish?
Start by dry-scraping loose mortar with a plastic scraper, then vacuum thoroughly to remove grit that can scratch the wood. For remaining residue, use a hardwood-safe pH-neutral cleaner and a damp microfiber cloth—avoid soaking the floor. If residue persists, use a small amount of manufacturer-recommended floor cleaner and gently work in sections, then dry immediately with a clean towel.
What’s the safest way to clean hardened mortar off hardwood after a tile or construction job?
Hardened mortar should be handled in layers: begin with the least aggressive method (dry scraping and vacuuming), then move to light moisture. Apply a pH-neutral cleaner to a microfiber cloth rather than pouring liquid directly on the wood, and rub gently in the direction of the grain. Always rinse lightly with a barely damp cloth if the cleaner leaves any film, then dry the area completely.
Why can vinegar or chemical mortar removers cause discoloration on hardwood?
Many vinegar-based cleaners are acidic and can dull or etch the protective finish on hardwood floors, especially if residue is left to react. Some stronger mortar removers may contain solvents or harsh acids/alkalis that can strip sealants or cause cloudy spots. Use pH-neutral, hardwood-safe products and test any cleaner in a hidden spot before treating the full area.
Which tools and cleaning products work best for mortar residue on sealed vs. unsealed hardwood?
For sealed hardwood, a microfiber cloth, soft nylon brush, and pH-neutral cleaner are usually effective while minimizing damage. For unsealed or older hardwood, moisture can penetrate and cause darkening, so use minimal dampness and rely more on dry scraping plus a gentle, residue-focused cleaner. If the floor is unfinished, consult the flooring manufacturer for a compatible product rather than using aggressive mortar-removal chemicals.
What’s the best step-by-step process to clean and restore hardwood floors after mortar removal?
First, remove all loose debris by dry scraping and vacuuming, then wipe with a barely damp microfiber to pick up remaining dust. Next, treat mortar residue with a pH-neutral hardwood cleaner applied to a cloth, working small areas and drying immediately. After cleaning, allow the floor to fully dry, and if the finish looks dull, consider applying a compatible hardwood floor polish or refresher recommended for your specific finish type.
📅 Last Updated: November 04, 2026 | Topic: How to clean hardwood floors covered in mortar residue? | Content verified for accuracy and freshness.
References
- Maintenance | National Wood Flooring Association | NWFA
- 404 Error
- Silica, Crystalline – Overview | Occupational Safety and Health Administration
- https://www.cdc.gov/niosh/topics/silica/default.html
- https://www.armstrongflooring.com/support/care-and-cleaning.html
- Wood flooring
- Mortar
- https://scholar.google.com/scholar?q=remove+mortar+residue+from+wood+floor Google Scholar
- https://scholar.google.com/scholar?q=thinset+removal+from+hardwood+floor Google Scholar
- https://scholar.google.com/scholar?q=cement+haze+removal+from+wood+surface Google Scholar


