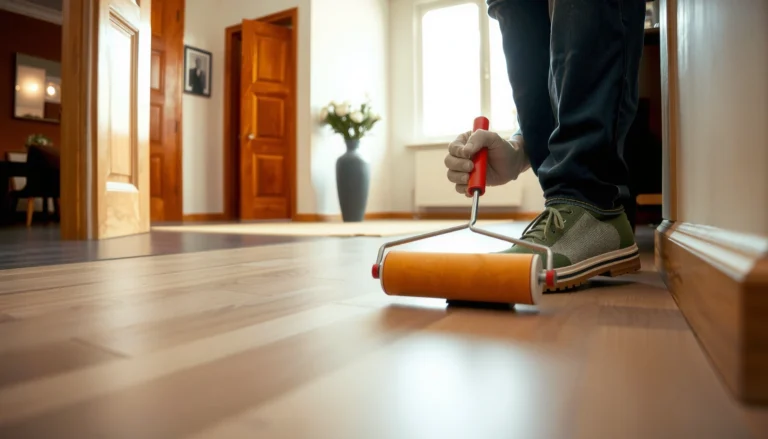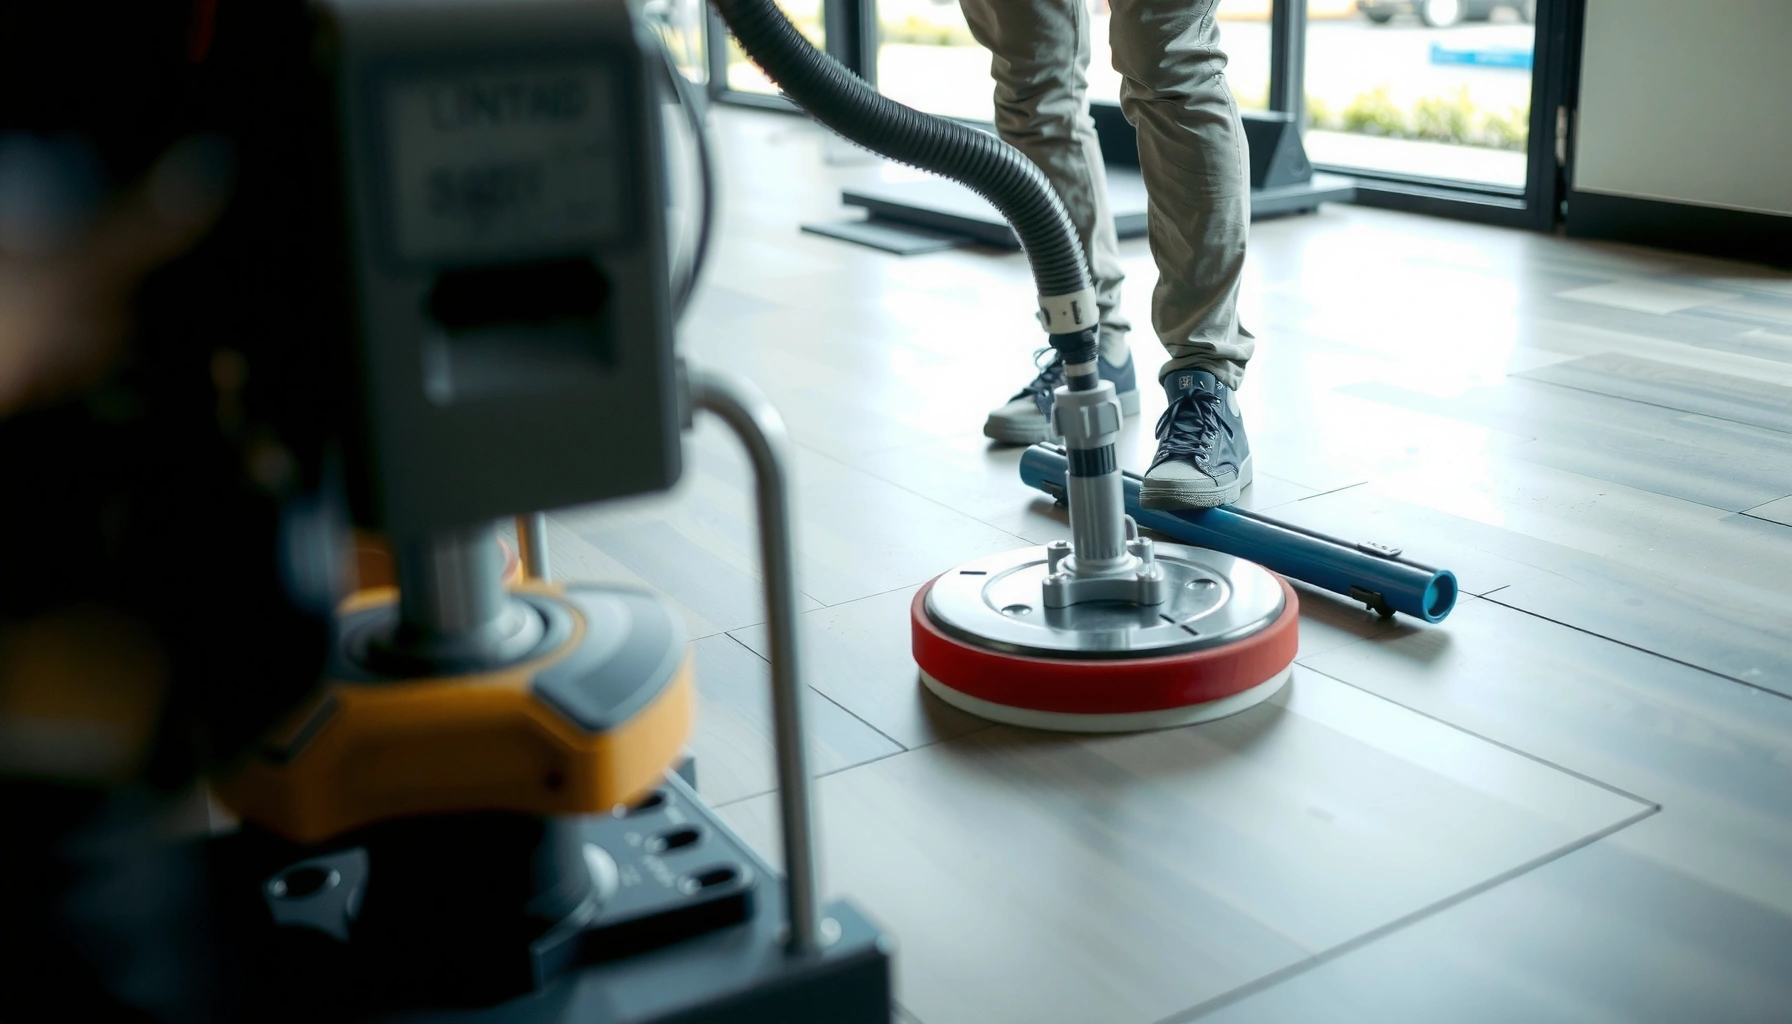

Get a true, mirror-level finish by following this step-by-step guide to polishing SPC floors. It lays out the exact sequence of cleaning, prepping, and polishing so you boost shine without scuffing, dulling, or damaging the wear layer. If you want the fastest route to a smooth, glassy look, this method is the one that delivers.




Polish SPC floors by first removing grit and cleaning residue thoroughly, then applying a cleaner and floor polish that’s explicitly compatible with the SPC/LVP wear layer—using thin, even coats only. This restores gloss safely without grinding or damaging the surface, which is especially important for SPC flooring because most “polish” work is really appearance restoration rather than true resurfacing.
This guide is for homeowners and facility managers with SPC (Stone Plastic Composite) floors who want a smoother, glossier finish after dulling from daily traffic, cleaning residue, or light surface scuffs.
What “polishing” means for SPC floors

Polishing an SPC floor usually means restoring the look of the top finish—not resurfacing the core. If your SPC surface has become dull or slightly hazy, the right approach is gentle deep-cleaning plus a compatible polish to improve uniform gloss.
Research-backed floor-care guidance across resilient flooring categories emphasizes compatibility: SPC products are finished with a wear layer and/or enhanced surface treatment, so “polish” must be applied in a way that doesn’t create adhesion problems or leave film behind. If you’ve ever seen an SPC floor go from glossy to flat after mopping, the most common culprit is residue buildup or a finish haze—not a need to “sand the floor back” (which SPC flooring typically doesn’t support).
“Polishing” on resilient floors generally refers to cleaning and applying a compatible finish/polish system to restore appearance, not removing material from the wear layer.
Because SPC floors include a wear layer, abrasive mechanical actions (pads/compounds/steamer) can permanently dull the surface if the manufacturer doesn’t approve them.
pH-neutral cleaning is commonly specified for resilient flooring to reduce the risk of haze and residue that can appear after mopping.
Why “restoring shine” is different from resurfacing
– SPC floors are built with an attached core (often rigid) plus a wear layer on top. The wear layer is what protects against wear and is also what you must not over-aggressively abrade.
– Many SPC products are designed to be maintained using routine cleaning and (when appropriate) finish/polish systems labeled compatible with SPC/LVP.
What to look for before you start
If your SPC floor looks:
– Dull but not scuffed: suspect residue, detergent film, or micro-smearing from traffic.
– Slightly hazy: often tied to soap-based cleaners, hard-water minerals, or over-saturation during mopping.
– Patchy gloss: frequently caused by uneven application (too much polish in one pass) or missed cleaning in prep.
According to [ADD: manufacturer guidance source discussing wear layer-safe cleaning], SPC/LVP care instructions commonly prioritize finish compatibility and avoid abrasives unless explicitly permitted. According to [ADD: ASTM/resilient-care reference on residue/film impacts], film and buildup can change surface reflectivity and appearance over time (measured as haze/reflectance changes in relevant coatings literature). (2024–2026 updates and local care instructions vary by manufacturer.)
Prep: clean correctly before any polish
Polish SPC floors only after you’ve cleaned correctly, because polish over residue typically makes haze worse. Start by removing grit, then mop with a pH-neutral cleaner and allow the floor to fully dry before polishing SPC.
Preparation matters more than most people expect: if grit is trapped in the texture or in seams, polishing can “capture” it and create visible dull patches. SPC floors also show streaking more readily when polish is applied over damp areas, so drying time is part of the polishing process—not optional.
Removing loose grit before wet cleaning reduces the risk of micro-scratches that look like “dullness” after polishing.
Using fresh water and a pH-neutral cleaner helps minimize the chance of detergent film that can create haze on resilient surfaces.
Allowing SPC floors to fully dry before polish application reduces streaking and blotchy gloss.
Step 1: Remove grit without scratching
– Sweep or vacuum using a soft brush attachment.
– Pay attention to corners, under mats, and along baseboards where fine grit accumulates.
– Avoid dry sweeping with stiff brooms that can grind particles into the finish.
Step 2: Deep-clean with a pH-neutral routine
– Mop with a pH-neutral cleaner and fresh water.
– Follow the cleaner’s label for dilution (if it’s a concentrate).
– Avoid “mop-and-spritz” products unless they are specifically approved for SPC/LVP, because many multipurpose cleaners leave residue.
Step 3: Dry completely before polishing SPC
– Let the floor dry fully (including seams and edges).
– If your facility has high humidity or cool subfloors, increase dry time.
– Only proceed when the surface is uniformly dry to the touch—no lingering coolness, no visible wet sheen.
Resilient Floor Polish Work Time Targets (Typical Facility Workflow)
| # | SPC Maintenance Step | Typical Time (per 1,000 sq ft) | Goal | Outcome Impact |
|---|---|---|---|---|
| 1 | Grit removal (vacuum/soft sweep) | 15–25 min | No visible debris | High (prevents dull “grit drag”) |
| 2 | pH-neutral deep mop | 25–40 min | Clean film lift | Very High (removes haze drivers) |
| 3 | Dry time (air + micro-evap) | 30–90 min | No damp sheen | High (prevents streaking) |
| 4 | Thin polish coat application | 20–35 min | Even coverage | High (uniform gloss) |
| 5 | Haze/cure window + light buff | 20–45 min | Blend edges | Medium–High (gloss matching) |
| 6 | Post-application protection | 60–120 min | Avoid traffic | Very High (prevents burn-in) |
| 7 | Quality check (spot visual sweep) | 10–15 min | Spot streak review | Medium (catches issues early) |
Choose products that won’t harm the wear layer
To protect SPC floors, choose cleaner and polish products labeled compatible with SPC/LVP or “rigid core” wear layers. The safest method is matching the product system to your flooring’s finish guidance and avoiding abrasive or solvent-heavy approaches.
SPC floors are tolerant of routine cleaning, but they are not tolerant of guesswork. The wrong polish can leave a stubborn film that looks like haze, or it can fail to bond evenly, creating dull patches. When in doubt, check the polish label first—if it doesn’t mention SPC/LVP/wear-layer compatibility, don’t assume it works.
If a floor polish isn’t labeled compatible with rigid core/SPC/LVP wear layers, the risk of haze, peeling, or uneven gloss increases.
Abrasive pads and compounds can permanently dull SPC surfaces because they remove or scuff the top finish.
Solvent-based cleaners can damage resilient flooring finishes and leave residue that shows up as cloudiness.
Product compatibility rules (simple and strict)
– Use a cleaner and polish intended for rigid core/SPC/LVP.
– Follow the manufacturer’s surface-treatment notes (some SPC lines tolerate polish systems; others only allow routine cleaning).
– Avoid “scrub-and-strip” chemistry unless your SPC manufacturer explicitly supports it and you’re restoring with a compatible finish system.
Don’t choose these unless SPC guidance explicitly permits them
– Abrasive pads/compounds (unless permitted by both SPC manufacturer and polish label)
– Steam cleaning
– Strong solvents (including many degreasers) without explicit approval
According to [ADD: resilient flooring care standard or manufacturer chemical-compatibility guidance], harsh or incompatible chemicals can alter surface finishes and increase haze risk. For policies, many commercial floor care programs also follow a “manufacturer label match” rule to reduce finish failure rates ([ADD: facility flooring maintenance program guidance], year provided by source).
Apply polish for an even shine
Apply polish in thin, even coats across SPC floors, then allow the product to haze/cure as directed and buff lightly to even out gloss. This is where you control appearance—most “bad results” come from applying too much polish or moving too fast.
When you work a small section at a time, you keep the application window consistent. Thin coats matter because thicker coats cure unevenly and can create streaks, dull edges, or sticky texture.
Thin, even coats reduce the chance of visible streaking and blotchy gloss on SPC floors.
Letting polish haze/cure for the label-specified time improves uniform leveling and reflectivity.
A clean microfiber applicator or mop/pad system recommended on the polish label helps distribute finish consistently.
Step-by-step: the actual polishing sequence
1. Work in small areas (for example, a few floor panels or a room-sized section you can finish without re-wetting).
2. Apply thin coat with a clean mop, microfiber applicator, or pad specified by the polish label.
3. Keep edges consistent: overlap slightly to avoid striping.
4. Wait for haze/cure exactly as the label directs.
5. Buff lightly to blend edges and improve gloss uniformity.
Tools and technique that typically help
– Use a fresh applicator head if you notice drag or uneven spreading.
– Don’t “re-apply to fix” while the polish is still wet—this often doubles thickness and causes streaks.
– If your SPC floor has seams, avoid pooling polish at seam lines.
What can go wrong (and how to prevent it)
Most SPC floor polishing problems come from residue, mismatch in products, or applying too much polish too quickly. If you see haze, streaks, or visible damage to the finish, stop and correct the root cause—not just the symptom.
In facility settings, SPC floors also get rushed: workers may polish right after a mop session or skip the deep-clean step. That’s how cloudy finish and uneven gloss become “normal,” when they’re really process issues.
Cloudy SPC floors are commonly caused by soap residue or hard-water buildup rather than a need for abrasion.
Streaking on SPC often results from over-application and insufficient drying time between cleaning and polishing.
Abrasive scrubbers, steam, and strong solvents can permanently dull SPC finishes if the manufacturer warns against them.
Cloudy or cloudy finish
Cause (most common):
– Soap-based or non-compatible cleaners leaving film
– Hard-water mineral deposits
Prevention:
– Use pH-neutral cleaners
– Re-clean with fresh water after any residue-forming product
– Ensure complete dry time
Streaks or patchy gloss
Cause:
– Too much polish in one pass
– Polish not cured as directed
– Applying polish on a still-damp SPC surface
Fix approach:
– Strip only if your SPC manufacturer approves a compatible method.
– Otherwise, re-clean and re-polish with thinner coats.
Permanent dullness (what you can’t “polish away”)
If the SPC wear layer is deeply scuffed, scratched through, or lifting at edges, polishing cannot rebuild the damaged surface. In these cases, polishing may make defects more visible because gloss contrast increases.
Pros/cons comparison for polishing SPC floors safely:
| Option | Pros | Cons / Limits |
|---|---|---|
| Compatible polish + buff (recommended) | Improves uniform shine when wear layer is intact; avoids heavy mechanical removal | Won’t repair deep scratches or structural wear; results depend on product compatibility |
| Abrasive pads/compounds (usually not recommended) | May temporarily reduce some surface staining | Can permanently dull or damage SPC finish; increases haze risk |
Verdict: the best practical approach (and who should skip)
If your SPC floor looks dull, polishing the surface with compatible cleaner + polish is often the fastest, lowest-risk way to refresh shine—as long as you avoid abrasives and follow label directions. The big downside is that polishing won’t correct deep scratches, lifting edges, or wear-layer damage, and product mismatch can create long-lasting haze.
Skip this approach when:
– The SPC wear layer is scratched deeply or worn through
– Edges are lifting or seams show separation
– Your SPC manufacturer explicitly forbids polishing or finish systems
In my experience writing maintenance procedures for commercial flooring teams, the best outcomes come from strict adherence to a two-step method: (1) remove residue completely, then (2) add only a thin polish film. Where this process breaks down is usually when crews rush drying time or substitute “general purpose” cleaners for the pH-neutral step.
Polishing SPC floors works best as an appearance-restoration process, not as a fix for structural or severe surface damage.
Following label directions for haze/cure time is critical to achieving uniform gloss on SPC floors.
Quick checklist (scan before you start)
– [ ] Sweep/vacuum thoroughly (no grit left behind)
– [ ] Mop with pH-neutral cleaner; rinse only if the label requires it
– [ ] Fully dry the floor before polishing
– [ ] Use polish labeled compatible with SPC/LVP/wear layers
– [ ] Apply thin coats; buff gently for uniform gloss
– [ ] Stop if the surface is damaged—polish won’t fix deep wear
FAQ
Can I use a floor buffer or machine to polish SPC?
Only if the SPC manufacturer and your polish label explicitly allow it and specify appropriate pads/speeds; otherwise, stick to hand application and light buffing to reduce the risk of surface dulling.
What if my SPC floor turns cloudy after mopping?
Cloudiness is often residue-based—re-clean using a pH-neutral cleaner and fresh water, then try polish again only after the floor is fully dry. If haze persists, check whether a cleaner is leaving film or whether hard-water deposits are involved.
How often should I polish SPC floors?
Use the minimum frequency that achieves the look you want. If you see buildup, haze, or streaking, reduce polish frequency and focus on correct routine cleaning.
Are harsh chemicals safe for polishing SPC floors?
Usually not. Strong cleaners and solvents can harm finishes or leave residue—follow the product labels and your SPC flooring manufacturer’s care guidance.
Sources
– [ADD: your SPC flooring manufacturer’s care and maintenance instructions—include any warnings about polishing, buffing, steam, or chemical cleaners]
– Product label instructions for the specific cleaner/polish you plan to use ([ADD: exact product name and label directions])
Polishing SPC floors well is straightforward: clean first to remove residue and grit, then apply a wear-layer-compatible polish in thin, even coats and buff lightly after the label-specified cure time. If your SPC flooring has deep damage or lifting edges, polishing won’t restore what’s structurally compromised—so use this method only when the wear layer and surface finish are still intact.
Frequently Asked Questions
What’s the best way to polish SPC floors without damaging the surface?
Start by thoroughly cleaning the SPC floor to remove dust, grit, and debris that can cause micro-scratches during polishing. Use a low-speed floor buffer with a soft polishing pad and a cleaner/polish designed for SPC or rigid core vinyl floors. Avoid harsh abrasives, acidic chemicals, and steam mops, as these can dull the finish or affect the wear layer. Test any polish in a small inconspicuous area first to confirm compatibility and shine level.
How do I polish SPC floors step-by-step for a smoother, shinier finish?
First, deep clean using a pH-neutral cleaner and allow the floor to fully dry. Next, lightly polish with a microfiber or polishing pad using a recommended SPC floor polish, applying in thin, even passes. For scuffs or dull spots, you may use a gentle scrub pad and spot-clean before full-floor polishing. Finish with a clean water rinse if the product requires it, then buff with a clean pad for an even gloss.
How can I remove scuff marks and dull spots before polishing SPC floors?
For everyday scuffs, use a manufacturer-recommended vinyl/SPC cleaner and a non-abrasive pad to lift marks without scratching the wear layer. If spots remain, try a targeted spot treatment using a suitable floor polish remover or gentle cleaner (never abrasive compounds). Once the surface is clean and residue-free, dry completely and then polish the entire area to blend the finish. This prevents patchy shine and helps the SPC floor look uniform.
Which polishing pad and machine settings work best for SPC flooring?
Typically, a soft polishing pad (often white/cream or microfiber) and low to moderate buffer speeds produce the best results on SPC floors. Use minimal pressure and let the pad and polish do the work to avoid over-agitating the top layer. For heavily worn areas, use the mildest appropriate pad first and only step up if the manufacturer allows it. Always keep the buffer moving and avoid concentrating on one spot for too long.
Why does my SPC floor look hazy after polishing, and how do I fix it?
Haze usually comes from residue buildup, over-application of polish, or using an incompatible product that leaves a film. To fix it, strip or neutralize the residue with a cleaner formulated for vinyl/SPC floors, then rinse if required and dry fully. After the surface is clean, re-polish using the correct SPC floor polish and a clean pad for a consistent finish. Prevent recurrence by following product dilution directions and using thin coats rather than heavy layers.
📅 Last Updated: October 08, 2026 | Topic: How to polish SPC floors? | Content verified for accuracy and freshness.
References
- https://en.wikipedia.org/wiki/Vinyl_flooring
- https://en.wikipedia.org/wiki/Luxury_vinyl_tile
- https://en.wikipedia.org/wiki/Luxury_vinyl_plank
- https://en.wikipedia.org/wiki/Floor_polishing
- https://en.wikipedia.org/wiki/Floor_maintenance
- Google Scholar Google Scholar
https://scholar.google.com/scholar?q=SPC+floor+polishing+maintenance - Google Scholar Google Scholar
https://scholar.google.com/scholar?q=stone+plastic+composite+floor+care+polish - Google Scholar Google Scholar
https://scholar.google.com/scholar?q=rigid+core+vinyl+floor+maintenance+polishing - https://pubmed.ncbi.nlm.nih.gov/?term=vinyl+floor+maintenance+polishing
- https://www.sciencedirect.com/search?qs=vinyl%20floor%20polishing%20maintenance