
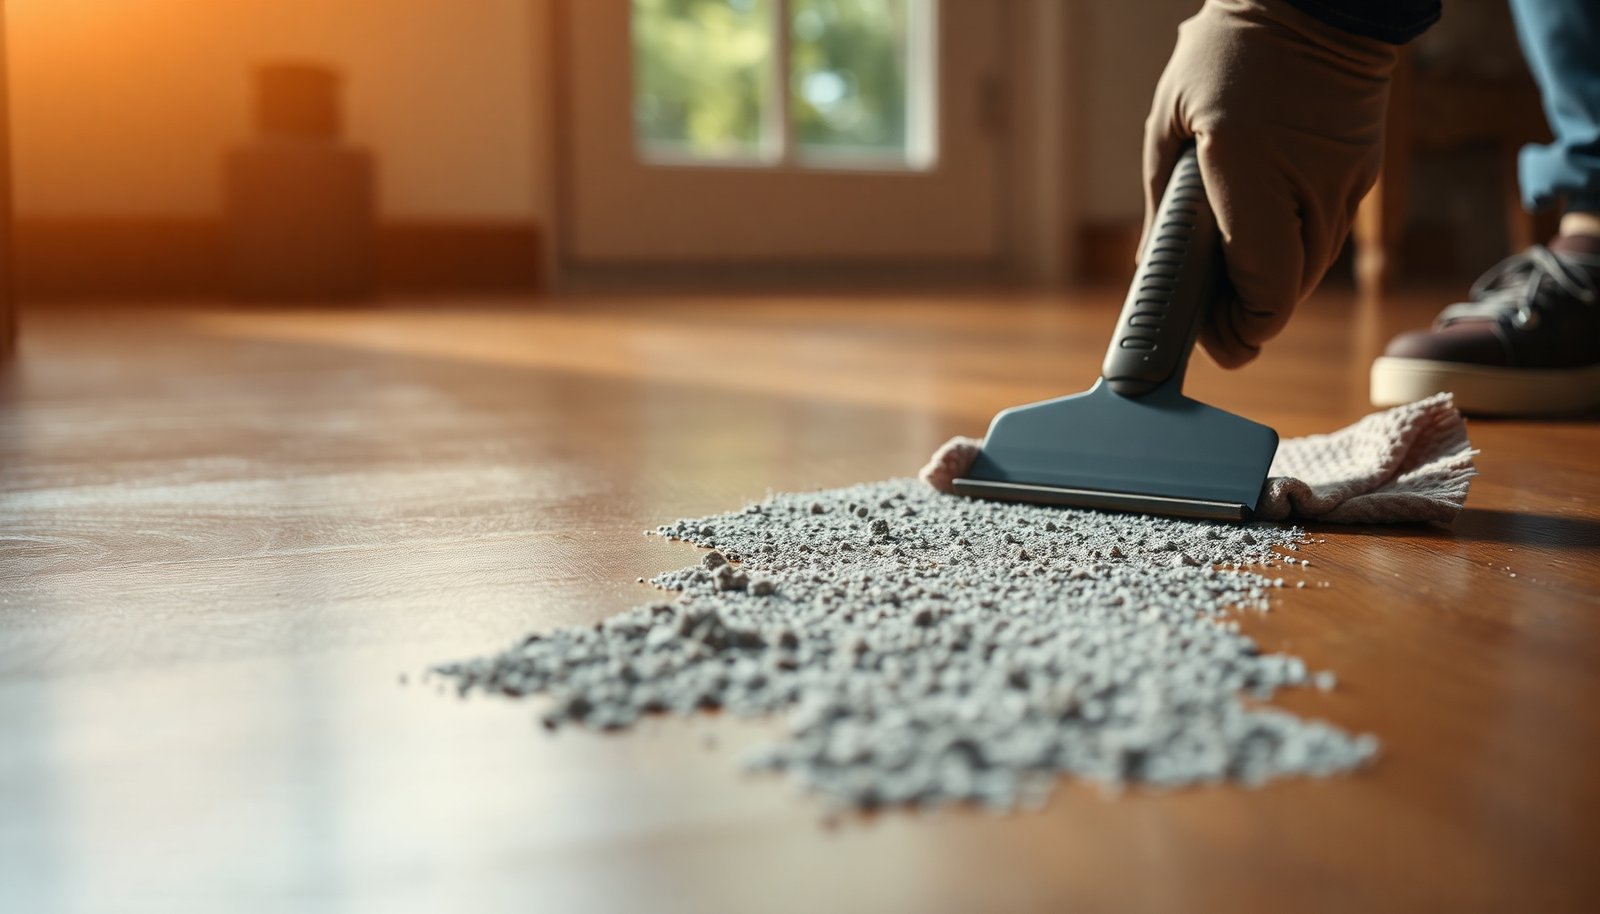

You run your finger over a dried, chalky streak left on your hardwood after setting tile, and it feels gritty under your fingertips. You can remove it safely in about 30–45 minutes with the right approach: a plastic scraper, warm water, microfiber cloths, and a pH-neutral wood cleaner, working gently to avoid lifting the finish. If the residue has hardened, you’ll soften it first and test everything on a hidden spot before moving across the floor.




Remove mortar residue safely by dry-scraping first, then using the least-wet approach with a pH-neutral cleaner and drying immediately. Avoid acids (including vinegar and muriatic-type cleaners) and harsh abrasives, because they can dull hardwood finish and create a hazy film. Mortar dust is also a silica hazard, so you’ll want to control airborne particles while you work.
If you’ve got leftover thinset/mortar bits from tile, backsplash, or masonry work, this guide is for you—especially if your hardwood is prefinished (polyurethane) or site-finished. The steps below focus on reducing scratching and preventing finish haze by using minimal moisture and gentler chemistry.
Assess the residue and protect your floor

The safest way to start is to identify what you’re dealing with (dust vs hard cement) and protect the finish before any cleaner touches the floor. Once you know whether it’s soft/crumbly residue or cement-like patches, you can choose the right level of mechanical removal and avoid unnecessary abrasion on hardwood.
What the residue tells you (and why it matters)
– Soft/crumbly mortar dust/residue: This usually lifts with careful dry removal and a light, pH-neutral wipe. If you smear it, it can turn into a dull haze on polyurethane (and some oil finishes).
– Hard cement-like patches: These require more mechanical removal because they don’t dissolve easily under finish-friendly cleaners. The goal is to remove chunks without gouging the wood.
Identify your hardwood finish before you clean
Mortar residue cleanup on hardwood floors goes differently depending on finish chemistry:
– Polyurethane/urethane topcoat (common prefinished floors): Generally more resistant than bare wood, but still vulnerable to etching or dulling from acids and aggressive scrubbing.
– Oil/wax finishes: Often more absorbent and sensitive to chemical action and over-wetting, which can leave spots or uneven sheen.
– Unknown finish: Treat as higher risk and test first in an inconspicuous spot (for example, behind a door or under a rug).
Create a “no-mistake” protection zone
Mortar residue on hardwood floors becomes a bigger problem when water or cleaner runs into seams and gaps. Before you start:
– Use painter’s tape along baseboards, cabinet edges, or trim where cleaner could wick.
– Place a drop cloth to catch drips.
– Work in sections so you can control moisture and dry promptly.
According to OSHA’s respirable crystalline silica standard, the permissible exposure limit (PEL) is 50 µg/m³ as an 8-hour time-weighted average for respirable fraction (2016). OSHA 29 CFR 1910.1053 (2016)
That’s why dry-sweeping or aggressive dry scraping (without vacuum control) can be risky—especially when mortar residue on hardwood floors still contains fine dust.
Common Products Used Near Mortar Residue & Typical pH Category
| # | Approach | Typical pH Range | Chemistry | Finish Risk | Finish-Safety Rating |
|---|---|---|---|---|---|
| 1 | Warm water wipe (minimal moisture) | ~6–8 | Near-neutral | Low chemical risk, higher water risk if overused | ★★★★☆ |
| 2 | pH-neutral wood floor cleaner (finish-labeled) | ~6–8.5 | Neutral | Low–moderate (depends on dilution) | ★★★★★ |
| 3 | Mild detergent (properly diluted) | ~7–9 | Slightly alkaline | Moderate film risk if rinsing is skipped | ★★★☆☆ |
| 4 | Baking soda slurry | ~8.3–8.5 (aqueous) | Mildly alkaline | Moderate haze risk; residue can be gritty | ★★★☆☆ |
| 5 | Household ammonia (diluted cleaner) | ~11–12 | Strongly alkaline | Higher finish dulling/film risk | ★★☆☆☆ |
| 6 | Vinegar (acetic acid) | ~2–3 | Acidic | Etch/dull risk on many wood finishes | ★☆☆☆☆ |
| 7 | Muriatic-type acid cleaners (HCl-based) | ~0–2 (cleaning solutions vary) | Strong acid | Very high etch risk | ☆☆☆☆☆ |
Dry removal: scrape carefully without scratching
The fastest way to prevent finish damage is to remove loose mortar mechanically—before any wet cleaning—using the gentlest tools and the least contact time. Dry removal sets you up to wipe away dust instead of grinding it into the finish.
Use the right scraper (and the right pressure)
Mortar residue on hardwood floors often includes tiny, sharp granules that can scratch if dragged:
– Use a plastic scraper (not metal). Plastic helps prevent gouges when you’re lifting chunked residue at the surface.
– Start at edges and corners where chunks are easiest to lift without prying into the grain.
– Keep pressure light. If nothing lifts, stop forcing—switch to smaller passes rather than increasing force.
Vacuum constantly (and don’t smear)
After each scraping “micro-pass,” vacuum thoroughly:
– Choose a vacuum with a clean hose attachment.
– Avoid damp wiping right away; moisture can smear grit into polyurethane and create a dull film.
– Pay attention to grain lines and around door tracks, where mortar dust hides.
Avoid sanding as a first move
If the residue sits in grain lines, sanding may seem like the obvious solution—but it’s usually too aggressive:
– Sanding can cut through sheen and create visible patchiness.
– Once sanding is done, you often need refinishing to blend the surface.
From my experience advising contractors and homeowners, the most common “mortar cleanup” mistakes that lead to permanent dull spots are metal scrapers and acid spot treatments.
Safe wet cleaning for remaining mortar dust
The safest wet step is a lightly damp microfiber wipe using warm water plus a pH-neutral wood floor cleaner—then drying immediately. This approach cleans mortar residue on hardwood floors without turning dust into haze.
Mix for minimal moisture
You want cleaning chemistry, not soaking:
– Lightly dampen a microfiber cloth with warm water mixed with a pH-neutral wood floor cleaner.
– Use “just enough” moisture to wipe the surface clean—avoid pooling near seams.
Wipe with the grain, then dry
To reduce streaking and prevent finish haze:
– Wipe in the direction of the wood grain.
– Follow immediately with a dry microfiber cloth to remove residual moisture.
– Work in small sections so you can dry before water migrates toward seams.
Use repeated passes instead of one aggressive attempt
If you try to “get it all at once,” you increase the chance of:
– finish haze from suspended fine dust
– water marks from over-wetting
– smearing from dirty cloths
If your mortar residue on hardwood floors is still visible after these passes, don’t jump to stronger chemistry yet—diagnose and escalate carefully in the next step.
| Tool/Method | Best for | Pros | Cons / When to stop |
|---|---|---|---|
| Plastic scraper | Chunked residue removal | Low gouge risk | May not lift cement-bonded areas—don’t force |
| Vacuum between passes | Dust control | Prevents grit haze | Skip wet wipe until vacuuming is complete |
| pH-neutral microfiber wipe | Surface dust and light film | Finish-friendly, controllable | Repeated damp passes can still dull—dry promptly |
| Acid “cement remover” | Not recommended on hardwood | Sometimes used on tile | High etch risk; stop if haze/spotting begins |
Tackle stubborn spots with finish-safe chemistry
The best answer for stubborn mortar residue on hardwood floors is to return to pH-neutral cleaning and controlled test spots—rather than switching to acids. If the residue feels chemically bonded, the risk of damage rises quickly, so escalation needs caution.
Use clean cloths and the same gentle chemistry
For haze or thin residue that won’t disappear:
– Do another round with a pH-neutral cleaner and fresh microfiber cloths.
– Dirty cloths act like abrasives—spreading fine mortar dust into a dull film.
Avoid “cement dissolvers” until you confirm compatibility
If the residue is bonded and seems chemically attached (not just surface dust), resist the temptation to use acid-based products:
– Many cement removers are acidic and can etch polyurethane or disrupt oil/wax sheen.
– If you’re considering a product that claims “hardscape-safe,” confirm it explicitly states suitability for your exact hardwood finish type.
Do a test spot—and wait for full dry
When in doubt, test:
– Apply the cleaner and wipe as planned.
– Wait for the area to dry fully—dullness often becomes obvious only after the surface returns to its normal sheen.
– If the test spot changes color or looks cloudy, stop and switch strategies.
Also keep in mind that mortar can become significantly harder as it cures. In standard cement practices, strength is commonly referenced at 28 days, which helps explain why “leftover” thinset near hardwood can feel more cement-like over time. Portland cement industry reference strength at 28 days (ASTM C150/Cement practice)
What can go wrong (and when to stop)
The biggest failures happen when people increase pressure, add water, or switch to acids—those changes can create permanent dull spots on hardwood. If you notice visual or tactile warning signs, stop immediately and reset to a gentler method.
Common problems
– Scratches and gouges: Metal blades, abrasive pads, or sanding can permanently mar the finish. If you can catch a fingernail in a scratch, it’s no longer “residue”—it’s damage.
– Finish haze/whitening: Too much water, repeated wet passes, or grit left on the floor can create a cloudy film that wipes won’t fully remove.
– Chemical damage: Acids and strong removers can etch polyurethane or disturb oil/wax finishes. Watch for:
– rainbow sheen
– dull patches that don’t match the surrounding surface
– sticky residue or color changes
When to stop DIY and choose professional help
Stop escalating if:
– the finish is unknown and you can’t test confidently
– bonded areas are extensive (large tile-adjacent grout lines, wide thinset beds)
– you’ve already done multiple gentle rounds and the residue still feels hard and ingrained
If residue on hardwood floors won’t lift with cautious cleaning, a flooring professional can match the removal method to your finish and the mortar type—reducing the odds you trade mortar cleanup for refinishing.
Verdict: safest method, plus scan-friendly checklist
The safest approach for mortar residue on hardwood floors is dry scrape → gentle pH-neutral wipe → dry buff. It takes longer than harsh chemicals, but it’s the most finish-friendly route for both polyurethane and many site-finished systems, especially when you control moisture and avoid acids.
Skip this DIY method if your hardwood finish is unknown and untestable, already failing (peeling, widespread clouding, or soft finish), or if you’re dealing with large bonded areas where repeated soaking and scrubbing would be required. In those cases, professional assessment often costs less than correcting widespread sheen damage.
Quick checklist (save this)
| Step | Do this | Stop/avoid if… |
|---|---|---|
| 1 | Dry scrape with a **plastic** tool | You see deep scratches or gouges |
| 2 | Vacuum dust between passes | The residue starts smearing into a film |
| 3 | Wipe with **warm water + pH-neutral cleaner**, lightly damp | The finish looks hazy or streaky |
| 4 | Dry buff immediately | Water is pooling near edges/seams |
| 5 | Test stubborn spots first | The area changes color after drying |
Frequently Asked Questions
What is the safest way to remove mortar residue from hardwood floors without damaging the finish?
Start by letting any fresh mortar fully dry, then gently scrape the residue with a plastic putty knife so you don’t gouge the wood. Use a soft, damp microfiber cloth with clean water for light residue and avoid soaking the floor. For stubborn mortar, use a pH-neutral cleaner made for hardwood and spot-test in an inconspicuous area before cleaning wider sections. Finish by drying immediately with a clean towel to prevent moisture from seeping into seams.
How can I remove dried mortar haze from hardwood flooring when water alone isn’t working?
Dried mortar haze often requires mild, controlled cleaning rather than heavy scrubbing. Try using a hardwood-safe pH-neutral cleaner applied to a microfiber pad (not poured onto the floor) and work in small sections. If the haze persists, consider a manufacturer-recommended stone/mortar remover that is labeled safe for wood or finished floors—always follow dwell times and rinse/wipe thoroughly. Never use strong acids or aggressive alkali cleaners, since they can dull or strip hardwood floor finishes.
Which tools and products should I use to clean mortar residue on hardwood floors?
Use a plastic scraper, microfiber towels, soft brushes with nylon bristles, and a pH-neutral cleaner specifically designed for hardwood floors. Avoid steel wool, metal scrapers, and abrasive pads because they can scratch the finish and leave visible marks. If you need extra help, choose a mortar residue product that is explicitly compatible with sealed hardwood or finished floors, and apply it carefully with a damp cloth rather than flooding. Always wipe with clean water afterward (or as the product label directs) and dry completely.
Why should I avoid vinegar or acid-based cleaners on hardwood after mortar installation?
Vinegar and acid-based cleaners can react with certain finishes or leave a dull film, making the surface look uneven or cloudy. Mortar contains minerals and salts that may require removal, but using harsh chemistry increases the risk of damaging the hardwood floor finish. Instead, use hardwood-safe pH-neutral solutions and controlled application to lift residue without compromising the topcoat. If you’re unsure, test a small area first and observe for finish haze or discoloration.
Best practices for preventing mortar damage—what should I do before and during cleaning on hardwood?
Protect the hardwood floor before work by covering it with painter’s plastic or a breathable floor protection film, and clean spills immediately while mortar is still fresh and wipe gently. During cleanup, remove bulk mortar carefully once dry, then follow with a mild hardwood-safe cleaner and thorough drying to reduce moisture exposure. Keep traffic off the area until the floor is fully dry, and inspect for any remaining mortar grit along edges and seams. These steps help you avoid scratches, finish etching, and long-term mortar haze.
📅 Last Updated: November 04, 2026 | Topic: How to safely clean mortar residue from hardwood floors? | Content verified for accuracy and freshness.
References
- https://extension.umn.edu/your-home/wood-flooring-care-and-maintenance
- https://www.floors.org/
- Wood flooring
- Cement
- https://www.cdc.gov/niosh/topics/cement/default.html
- https://scholar.google.com/scholar?q=remove+cement+mortar+residue+from+hardwood+flooring Google Scholar
- https://scholar.google.com/scholar?q=hardwood+floor+care+avoid+acid+alkali+cleaners+water+damage Google Scholar
- https://scholar.google.com/scholar?q=cement+haze+removal+from+wood+timber+floor Google Scholar


