
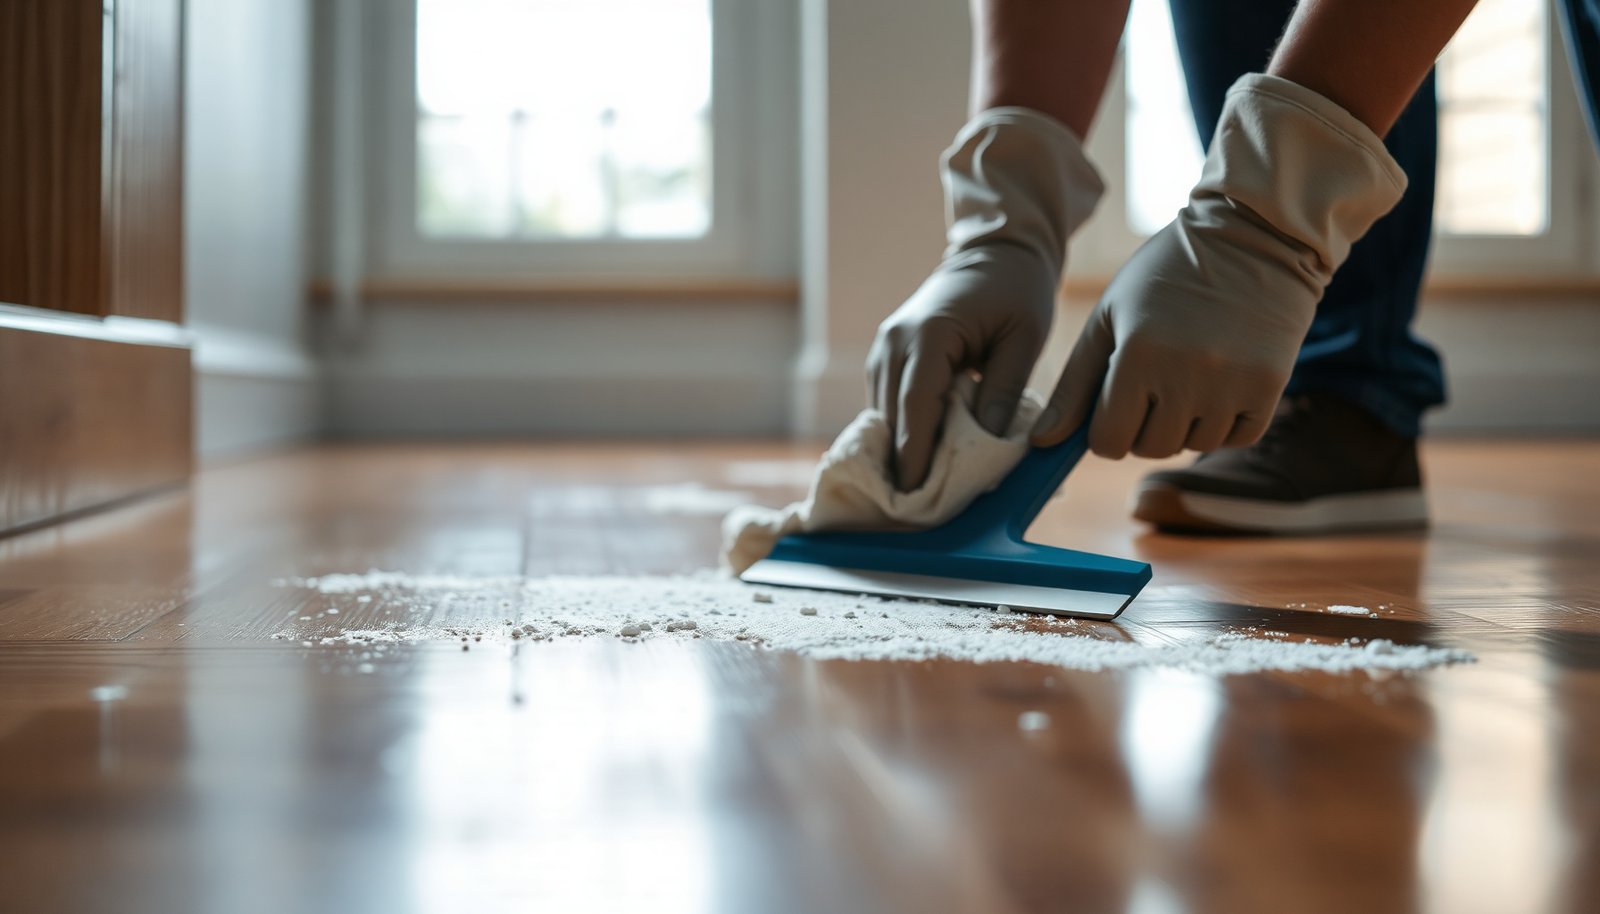

How do you remove stubborn plaster residue from hardwood floors without scratching the finish? Start by softening the deposits with warm water, then lift them gently with a plastic scraper or soft cloth and follow with a pH-neutral cleaner; most rooms take about 30 to 60 minutes once you have the right materials. You’ll need only a bucket, microfiber cloths, a plastic tool, and mild cleaner—then you can restore a clean, even surface.




Dry-remove plaster dust first, then wipe the remaining haze with a pH-neutral cleaner on a barely damp microfiber—enough moisture to lift residue, not enough to soak hardwood. This protects the finish because plaster acts like fine grit when it’s left behind, and because some plaster/mud mixes are highly alkaline while they’re fresh.
This is for homeowners dealing with plaster/mud splatter or renovation dust on finished hardwood (including sealed floors) and who want a practical, low-risk cleaning method. If your floor is older, very worn, or you’re unsure whether it’s sealed, read the “What can go wrong” section first.
Gather the right supplies (and avoid harsh cleaners)
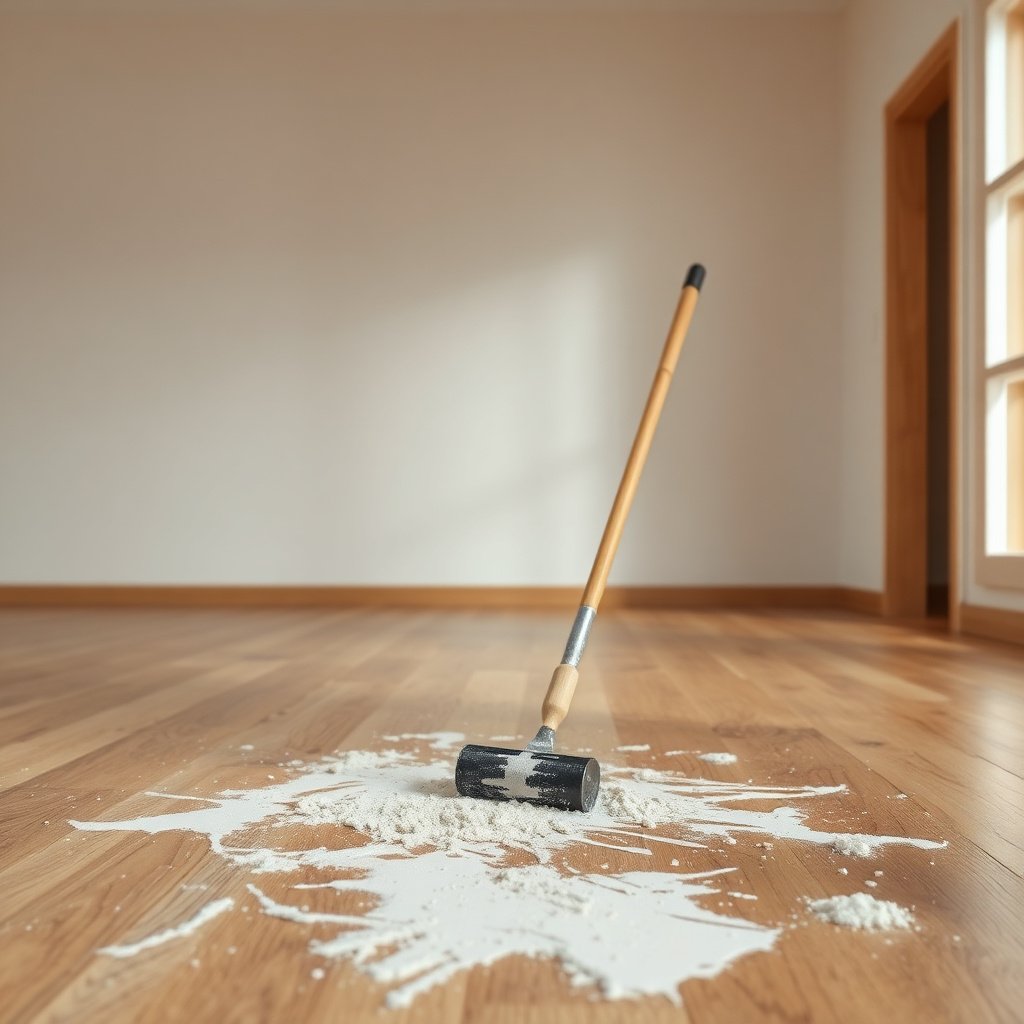
The safest way to remove plaster residue from hardwood floors is to use microfiber and a pH-neutral wood-floor cleaner, while avoiding chemistry and tools that can dull or etch the finish. For plaster cleanup, the goal is controlled lifting—no scrubbing, no abrasives, and no dripping.
What to use (and why it matters for hardwood finishes)
Use these basic tools for hardwood floors:
– Vacuum + brush attachment to remove dry plaster dust from edges, seams, and baseboards.
– Soft microfiber cloths or mop pads (clean, white or light-colored so you can see residue transfer).
– Clean buckets for diluting/holding cleaner and for rinsing cloths.
– Two-cloth approach: one for lifting residue (cleaner solution), one for final wipe (plain, barely damp water).
What to avoid (common finish damage triggers)
Plaster dust is gritty, and some cleaners are chemically aggressive—both can dull hardwood floors even if the plank surface looks “intact.”
– Avoid abrasive pads (scrub sponges, scouring pads) that can matte the clear coat.
– Avoid steel wool and any tool labeled “scrubby” or “heavy duty.”
– Avoid high-acid and high-alkaline cleaners (including vinegar-heavy solutions and strong degreasers). Many wood-floor care guides emphasize pH-neutral cleaning specifically to reduce finish haze risk.
– Avoid steam mops and soaking methods; heat + moisture can force residue deeper into microtexture and accelerate finish breakdown.
To make the “pH-neutral” decision concrete, here’s how common cleaner chemistries typically stack up for sealed hardwood.
Typical pH of Common Cleaners vs. Sealed Hardwood-Finish Compatibility
| # | Cleaner type (typical use) | Typical pH | Contact tolerance for sealed hardwood | Finish compatibility score |
|---|---|---|---|---|
| 1 | pH-neutral wood-floor cleaner (ready-to-use) | 6.5–8.0 | High (quick wipe, no soaking) | 10.0 |
| 2 | Plain water (for final rinse wipe) | ~7.0 | Moderate (barely damp cloth only) | 8.0 |
| 3 | Diluted mild neutral detergent (no degreaser) | 7.0–9.0 | Moderate (rinse-wipe recommended) | 6.0 |
| 4 | Baking-soda slurry (light abrasion risk) | ~8.3–9.0 | Low-moderate (short contact; microfiber only) | 3.0 |
| 5 | TSP/strong alkaline degreaser (renovation use) | ~11–12.5 | Low (risk of dulling/haze) | 1.0 |
| 6 | Vinegar solution (acetic acid) | ~2.4–3.0 | Very low (finish haze risk) | 0.5 |
| 7 | Household ammonia (alkaline cleaner) | ~11–12.5 | Low (risk of finish dulling/haze) | 0.8 |
Dry removal first: reduce the grit before wet cleaning
Dry plaster removal is the deciding step for protecting hardwood floors from scratches and finish dulling. If you add moisture too early, plaster dust behaves like sand under your cloth, and that “fine grit” can dull even well-sealed surfaces.
How to vacuum plaster dust effectively
Start with a vacuum using a brush attachment. Move slowly and cover:
– Along baseboards and edges (where dust settles).
– Between boards and seams (where plaster powder compacts).
– High-traffic fallout zones from the renovation path.
Vacuuming first also reduces how much alkaline plaster you’ll later re-disperse across hardwood floors.
Dry-wipe to catch the powder layer
After vacuuming, wipe the area with a dry, clean microfiber. This picks up remaining powder that vacuum suction misses. Change cloth sections frequently so you’re not grinding residue.
If there are chunks of plaster:
– Loosen them gently with a plastic scraper edge or your fingertips (wrapped in a microfiber cloth).
– Avoid pushing chunks into the finish where they can leave micro-scratches.
Spot-clean plaster residue with controlled moisture
Spot cleaning works because you’re dissolving or lifting the residue film without flooding hardwood. For hardwood floors, “barely damp” is the operational boundary: the cloth should glide, not drip.
Set up a low-risk cleaning rhythm
1. Mix pH-neutral cleaner according to the label (use the manufacturer’s dilution ratio).
2. Dampen the microfiber in the solution, then wring it out until it’s damp—not wet.
3. Work in small sections (roughly a few square feet at a time) so you can rinse/wipe before the cleaner dries.
In my guidance for homeowners dealing with renovation dust, the biggest quality improvement is simply working in smaller sections and rinsing more often—, because it minimizes smearing.
Lift without smearing
Use gentle pressure and frequent cloth changes/rinsing:
– If you notice residue moving rather than lifting, stop and rinse the cloth.
– Don’t “chase” residue by adding pressure; pressure increases surface abrasion on hardwood finishes.
Remove cleaner film after each section
After you spot-clean a section, follow with a clean, slightly damp cloth using plain water. This step helps prevent any pH-neutral cleaner residue from leaving a haze on hardwood floors—especially on glossy finishes.
Tackling stubborn haze: how to lift without damaging the finish
Stubborn plaster haze can often be removed without harming hardwood floors, but you’ll need patience and repeat passes—not stronger chemicals. The safest approach is to re-soften the residue film and lift it using fresh microfiber.
Let chemistry do the work (briefly)
For dried plaster haze:
– Apply your pH-neutral cleaner with the barely damp microfiber.
– Let it sit briefly—long enough to soften residue, short enough that the surface doesn’t stay wet.
Because plaster can begin alkaline, treating residue gently helps reduce the risk of haze. Cement-based materials are often alkaline (pH often around 11–13 early in curing), which is one reason neutral, finish-friendly cleaners are preferred. According to cement chemistry references, cement pore solutions commonly fall in the pH ~12–13 range (U.S. EPA technical chemistry background on cementitious materials and alkalinity).
Use clean microfiber passes instead of extra force
Repeat the wipe process:
– Each new pass uses a fresh cloth section (or a new cloth) so you’re lifting, not redistributing.
– If residue persists, repeat rather than switching to abrasive pads or “stronger” cleaners. On hardwood floors, the finish is the boundary—once it’s dulled/etched, cleaning can only partially improve the look.
Keep moisture under control
If haze is stubborn, it’s tempting to add moisture. Resist that urge. Soaking risk matters because wood is hygroscopic—wood absorbs water vapor and liquid, which can swell flooring edges and loosen finish integrity. According to indoor humidity guidance from flooring organizations, maintaining roughly 35–55% relative humidity helps limit movement and related finish stress (National Wood Flooring Association indoor environment guidance). In 2026, this remains a common recommendation because HVAC swings can worsen cupping and seam stress even after cleaning.
What can go wrong (common mistakes and edge cases)
The most common failure mode is damaging hardwood floors before the residue is fully removed—usually by soaking, scrubbing, or using the wrong cleaner chemistry. If your floor is older or finish status is uncertain, you need a test-first approach.
Soaking and dripping mops
Even on sealed hardwood, excess water can:
– seep into seams and gaps,
– swell edges,
– lift or cloud vulnerable areas of finish.
Avoid soaking: no puddles, no dripping mop heads, and no “let it sit for 10 minutes” methods. Hardwood floors should be cleaned with moisture control, not saturation.
Using the wrong cleaner (acids, alkalis, and “degreasers”)
Vinegar-based solutions are acidic, and strong degreasers are often alkaline. Both can haze or degrade certain finishes. Also watch for products labeled “heavy duty,” “degreaser,” or “construction cleanup”—those are often designed to remove oils and grime, not to protect wood film finishes.
Scratching from grit (the classic sequencing mistake)
The sequencing mistake is wet-cleaning before dry removal. Plaster dust can act like sand when it’s trapped under a microfiber. That’s why vacuum + dry-wipe comes first for hardwood floors.
Sealed vs. unfinished: the recommended approach
– If your floor is sealed (polyurethane, varnish, lacquer, or factory-finished): use the pH-neutral + barely damp microfiber method described above, then do a final water wipe to remove cleaner film.
– If your floor is unfinished or you suspect it’s unsealed: avoid broad wet cleaning. Use only lightly damp microfiber, work in smaller sections, and dry immediately with a clean microfiber after each section. If residue still won’t release, you may be looking at finish/wood surface etching—at that point, consider a refinishing approach rather than repeated wet attempts.
If you’re unsure whether your hardwood floors are sealed, perform a small inconspicuous test in a closet, behind a door, or under furniture:
1. Clean that spot using the method.
2. Wait for it to dry fully.
3. Check for dulling, color change, or a persistent white haze.
Wood movement and moisture realities
Hardwood movement is real. According to wood science references, interior wood commonly targets equilibrium moisture content in the ~6–9% range under typical indoor conditions (U.S. Forest Products Laboratory wood moisture content references). When cleaning introduces moisture, you’re temporarily shifting that balance. That’s another reason to control how wet hardwood floors get.
Verdict: best approach, downsides, and when to skip DIY
A careful dry-first + pH-neutral, barely damp microfiber method is usually the safest way to clean plaster residue from hardwood floors without dulling the finish. Here’s why: it removes abrasive dust before any liquid spreads it, uses finish-friendly chemistry, and prevents soaking that can get into seams.
Downsides to be aware of:
– Multiple wipe cycles may be necessary, especially for dried haze.
– If plaster has etched the finish (micro-etching leaves a lasting dull look), cleaning can improve surface cleanliness but won’t always restore original gloss.
Skip DIY and call a professional wood-floor service if:
– the residue is deeply embedded (you can’t lift it after careful repeated passes),
– the finish is already compromised (peeling, cloudy areas spreading, exposed wear-through),
– the floor is unfinished/unsealed and the residue is likely bonded to the wood surface,
– or you see persistent white marks that don’t respond to pH-neutral cleaning.
Quick checklist (scan/save)
– [ ] Vacuum plaster dust using a brush attachment
– [ ] Dry-wipe with microfiber to lift powder
– [ ] Spot-clean with pH-neutral cleaner on a barely damp cloth
– [ ] Wipe with clean damp cloth to remove cleaner residue
– [ ] Repeat gently on stubborn haze (don’t increase pressure)
– [ ] Keep the floor dry—no soaking, no dripping mops
Frequently Asked Questions
How do I remove dried plaster residue from hardwood floors without damaging the finish?
Start by dry-scraping gently with a plastic putty knife to lift loose plaster without scratching the hardwood. Vacuum thoroughly with a soft brush attachment, then wipe with a slightly damp microfiber cloth to pick up fine dust—avoid soaking the floor. If residue remains, use a cleaner specifically labeled safe for hardwood or a mild soap solution (e.g., a few drops of pH-neutral dish soap in water), then dry immediately with clean towels. Test any product in a small, hidden area first to ensure it won’t dull or discolor the finish.
What’s the best way to clean plaster dust from hardwood after a renovation?
Plaster dust spreads easily, so begin with dry vacuuming and dusting before using any moisture. Use a vacuum with a HEPA filter if possible, and keep the nozzle close to the floor to capture fine particles. Once dust is removed, lightly dampen a microfiber mop or cloth with water (or a pH-neutral cleaner) and wipe in sections, then immediately buff dry to prevent water spots. This approach helps prevent plaster from turning into a hard film that’s harder to remove later.
How do I get rid of stubborn, hardened plaster spots on hardwood flooring?
For hardened plaster, re-soften carefully rather than forcing it off—lightly mist a cloth with a small amount of warm water and place it on the spot for a few minutes, then try removing with a plastic scraper. Avoid sharp metal tools that can gouge hardwood or lift the finish. If warm water doesn’t work, consider a hardwood-safe adhesive remover or a commercial plaster/mineral deposit remover used according to label directions, followed by a rinse-wipe with clean water and immediate drying. Always patch-test before applying anything to the floor.
Which cleaners are safe for removing plaster residue from finished hardwood floors?
The safest options are pH-neutral cleaners formulated for hardwood floors, along with mild dish soap solutions used sparingly. Avoid acidic cleaners (like vinegar or descalers) and abrasive powders, as they can damage the finish and make residue removal harder by dulling the surface. If you use any commercial product to remove mineral deposits, make sure it’s labeled safe for finished hardwood and follow with a clean-water wipe and dry buffing. When in doubt, start with the gentlest method and escalate only as needed.
Why can plaster residue be harder to remove than drywall dust on hardwood, and how should I prevent damage?
Plaster can be alkaline and may etch or haze finishes if it’s left wet or allowed to become a crust, and its fine particles can grind into the surface when walked on. To prevent damage, remove plaster residue as soon as possible, use dry cleaning first (vacuum and soft brush), and minimize water exposure. Keep the floor dry by wiping up any dampness immediately and changing cloths frequently to avoid re-smearing residue. After cleaning, consider a light coat of hardwood floor restorer/polish if the finish looks dull.
📅 Last Updated: November 04, 2026 | Topic: How to clean plaster residue from hardwood floors? | Content verified for accuracy and freshness.
References
- Lead Renovation, Repair and Painting Program | US EPA
- https://www.cdc.gov/nceh/lead/prevention/cleanup.htm
- Lead poisoning
- Silica, Crystalline – Overview | Occupational Safety and Health Administration
- Silica and Worker Health | Silica | CDC
- Plaster
- Wood flooring
- https://scholar.google.com/scholar?q=how+to+remove+plaster+residue+from+hardwood+floors Google Scholar
- https://scholar.google.com/scholar?q=gypsum+dust+cleanup+wood+floor+best+practices Google Scholar
- https://scholar.google.com/scholar?q=hardwood+floor+cleaning+after+construction+dust+plaster Google Scholar
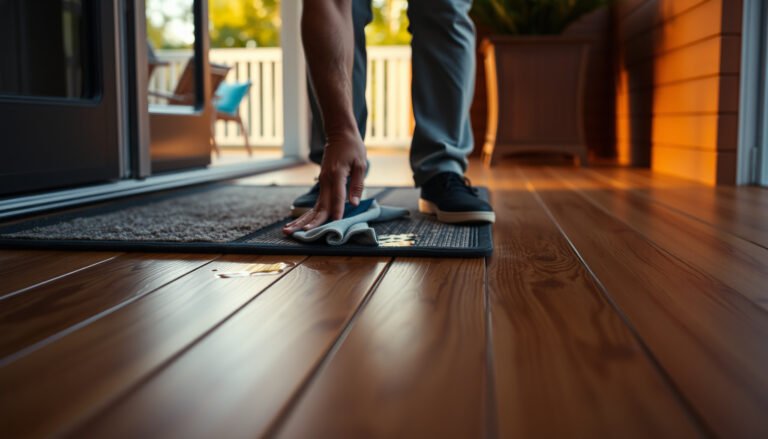
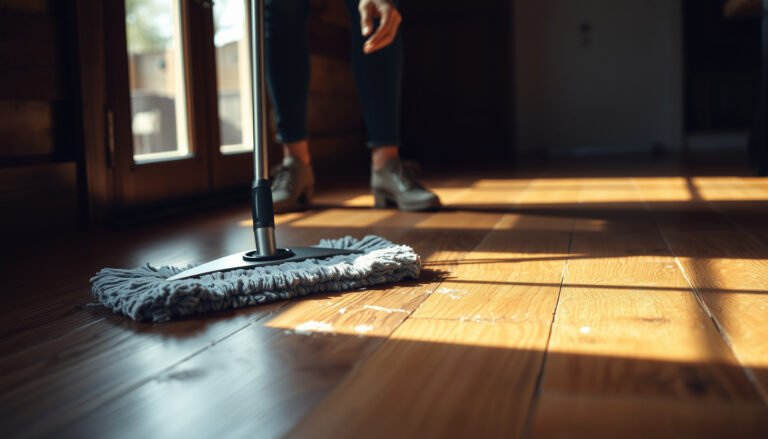
[…] residue on hardwood usually comes off best when you remove the dry crust first, then clean with a barely damp microfiber and a mild, pH-neutral cleaner. If spots are stubborn, re-dampen briefly to soften the plaster, […]