
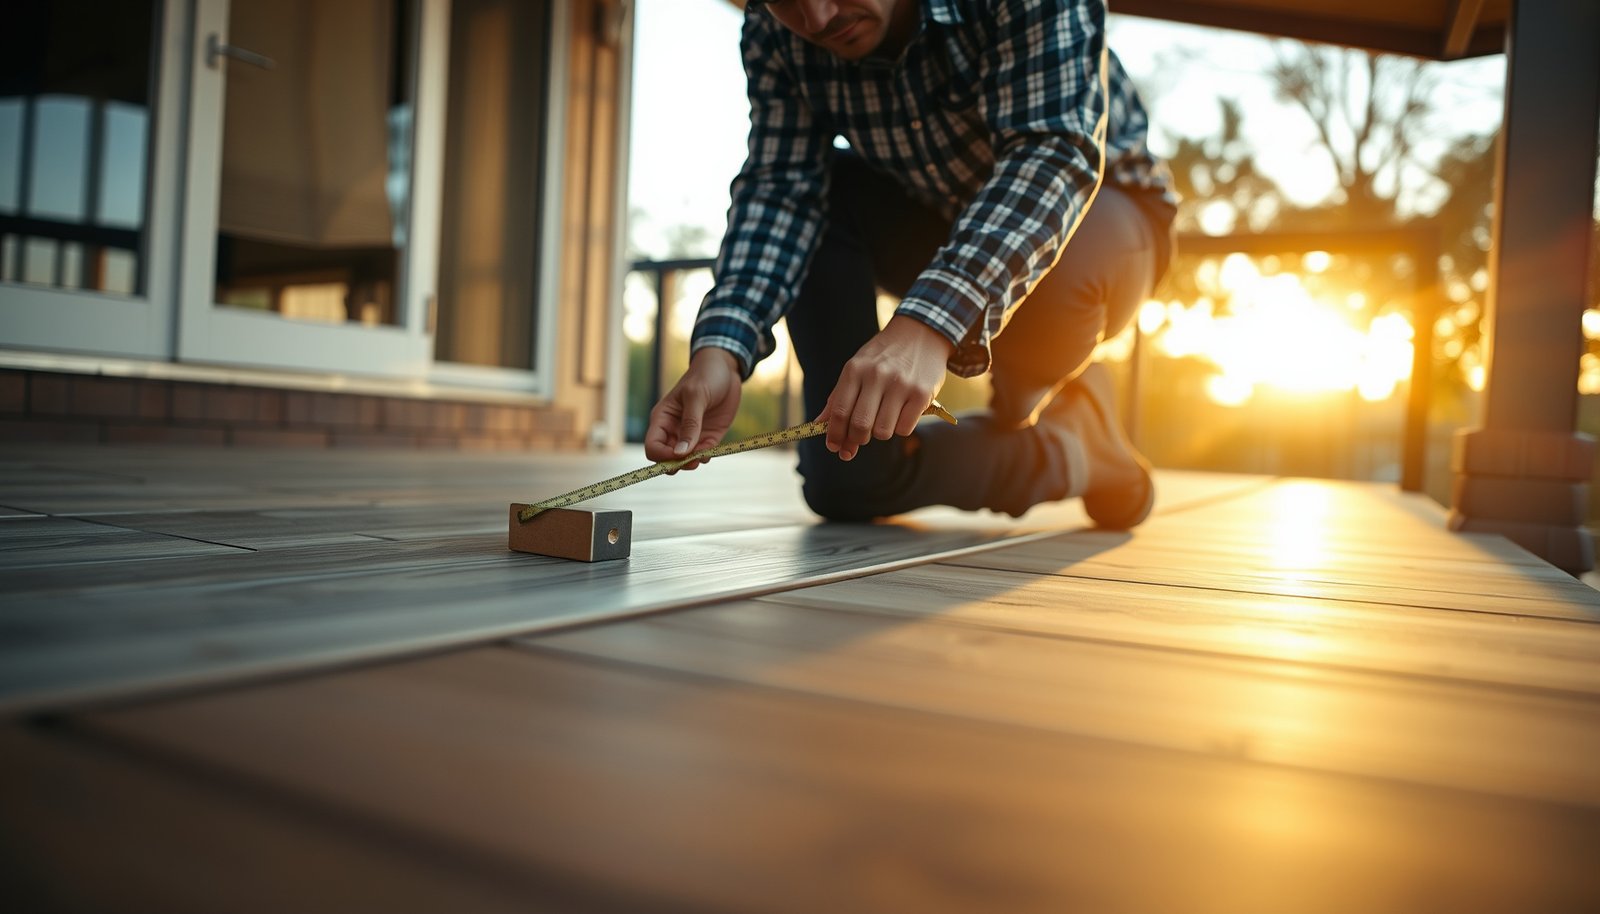

Wondering how to measure vinyl floors for a patio accurately? This step-by-step guide shows you exactly how to take patio measurements, account for cuts and waste, and calculate the square footage you need—so you can order the right amount the first time. If you follow these steps, you’ll avoid costly underbuying and won’t end up scrambling for mismatched planks mid-project.



This guide is for homeowners planning to install vinyl planks or vinyl tiles outdoors on a patio area (or a covered patio) and who need a reliable way to estimate how much product to buy. It’s especially useful when your patio has steps, rounded edges, posts, or doorways that affect the layout.
Gather what you need before measuring

Before you measure vinyl floors for a patio, assemble the basics so your dimensions are accurate and easy to verify. The goal is to capture every installable section, along with cutouts, obstacles, and any transition points that affect the vinyl layout.
A patio square-foot estimate starts with correct linear measurements (length and width) and consistent units (feet vs. inches).
Most vinyl flooring instructions require perimeter expansion gaps, so measuring for square feet is only half the job.
If you sketch the layout while you measure, you reduce the odds of skipping a doorway, post, or step.
– Grab a tape measure (ideally long enough for the patio’s widest side), a notepad, and a pencil/marker.
– Sketch the patio outline and label each side so you don’t lose track of dimensions mid-calculation.
– Check your vinyl product’s installation instructions first for required expansion gaps/clearances and waste guidance (use the manufacturer’s numbers, not guesses).
– Set a quick “units rule” for measuring vinyl floors for a patio: write every number in feet, or convert to feet immediately.
– If you have multiple elevations (a step up/down) or fixed features (grill, planter, post), mark them directly on the sketch before you start math.
Quick unit facts you’ll use while measuring vinyl floors for a patio
According to NIST (2019), 1 inch is exactly 25.4 millimeters (used for unit consistency when converting).
According to NIST (2019), 1 foot equals 12 inches (so feet = inches ÷ 12).
Since area uses multiplication, 1 square foot = 12 × 12 = 144 square inches (so converting areas is straightforward).
Measure the patio area (the rectangle method)
If your patio is a clean rectangle, you can usually measure vinyl floors for a patio with one simple square-foot calculation. This method is fast, repeatable, and often accurate enough for ordering—especially when transitions are straightforward.
For a rectangular install area, square feet equals length × width.
You should measure only the footprint you plan to cover with vinyl, not the entire yard.
Convert inches to feet before multiplying to avoid inflating your square-foot total.
– Measure the longest width and the longest length of the patio surface you want to cover, in feet (or inches and convert to feet).
– Multiply length × width to get square feet for that section.
– If there are obvious cutouts, measure them separately so you can subtract later (common examples: a raised step up, an in-ground bench, or an embedded planter).
Common real-world “rectangle traps”
Even when a patio looks rectangular, measuring vinyl floors for a patio can be thrown off by small details. In my experience reviewing patio measurements for homeowners, the most frequent issue isn’t the math—it’s counting the wrong boundaries (for example, starting the measurement at a curb edge you won’t actually cover).
Here’s how to avoid that:
– Use the surface area you can truly install over (or the surface your manufacturer allows for the outdoor/covered-patio application you chose).
– Decide where your vinyl ends at transitions: edges near doorways, step faces, and threshold areas usually require clearances and trimming plans.
Handle odd shapes, cutouts, and obstacles
If your patio isn’t a perfect rectangle, the most reliable approach for measuring vinyl floors for a patio is to break it into simple shapes and total the results. This method improves accuracy around L-shapes, curves, posts, and built-in obstacles without forcing you into complicated geometry.
Split an irregular patio into rectangles (or other simple shapes), calculate each area, then add totals.
When measuring vinyl floors for a patio, fixed obstacles are handled by subtracting their occupied area (or planning around them in the layout).
For rounded features, any practical approximation can slightly over- or under-estimate the true area.
– For L-shapes, split the patio into 2 rectangles (or other simple shapes), calculate each area, then add them together.
– For rounded edges or curved features, use a practical approximation (like the smallest bounding rectangle) and note that your estimate may be slightly high or low.
– For posts, drains, or fixed obstacles, measure the area they occupy and subtract from the covered area (or account for them in your layout sketch).
When “subtracting an obstacle” gets tricky (and how to stay consistent)
Measuring vinyl floors for a patio gets harder around obstacles that don’t create neat rectangular openings.
Use this decision rule:
– If the obstacle creates a clearly defined “no-install” area, subtract its footprint area.
– If the obstacle forces trimming while vinyl still surrounds it, subtract conservatively and expect more cuts (and therefore potential waste).
– If you’re unsure whether an obstacle must be excluded, follow the manufacturer guidance for cutting/spacing and outdoor suitability.
Comparison: shape-splitting methods for measuring vinyl floors for a patio
| Method | Best for | Tradeoffs |
|---|---|---|
| Rectangle splitting | L-shapes, step-in/step-out designs, partial setbacks | Can slightly miss curved edges unless you approximate |
| Grid approximation for curves | Round planters, arc transitions, bullnose edges | Requires judgement; plan extra waste if the manual allows it |
| “Bounded rectangle” estimate | When you need a quick order quantity with minimal math | Often overestimates area; can lead to leftovers |
Calculate total square footage and order quantity
Once you’ve measured each simple section, measuring vinyl floors for a patio becomes a straightforward bookkeeping exercise: sum, subtract cutouts, then add the manufacturer’s waste allowance. This final step is what turns “area” into an order quantity you can trust.
Net covered area equals (sum of section areas) minus (sum of cutout/obstacle areas).
Waste allowance is not optional—use the vinyl manufacturer’s installation instructions for the exact amount.
Measure in feet (or convert from inches to feet) before multiplying, or your square footage will be wrong.
– Total covered area = (sum of all measured section areas) − (sum of cutout/obstacle areas).
– Convert inch measurements to feet before calculating (e.g., inches ÷ 12).
– Add the manufacturer’s required waste allowance to your total square feet, and order at that adjusted amount:
– Waste-added quantity = total covered square feet + .
Example math (so you can sanity-check your own numbers)
If your patio install footprint totals 210 sq ft and your installation manual requires a waste allowance of , then your order target becomes 210 + sq ft. For irregular patios, this “order target” is often where homeowners notice the biggest difference—because cutouts and obstacles change the net covered area, while the waste allowance protects against trimming and layout constraints.
📊 DATA: Example order quantities for common patio footprints (10% waste math examples)
Example Vinyl Patio Orders Using 10% Waste (Math Examples)
| # | Patio scenario | Net area (sq ft) |
Complexity ★ |
Order @10% (sq ft) |
|---|---|---|---|---|
| 1 | Simple rectangle | 120 | ★☆☆ | 132 |
| 2 | L-shape (2 rectangles) | 140 | ★★☆ | 154 |
| 3 | Rectangle with step cutout | 160 | ★★☆ | 176 |
| 4 | Rounded edge approximation | 180 | ★★★ | 198 |
| 5 | Post/planter obstacles included | 210 | ★★★ | 231 |
| 6 | Doorway transitions (trim-heavy) | 240 | ★★★ | 264 |
| 7 | Multi-section patio (several splits) | 300 | ★★★★ | 330 |
(Note: This table uses 10% as a generic math example only. Your order quantity must use your specific vinyl product’s waste allowance from its installation instructions—especially as outdoor handling and pattern cutting can vary.)
What can go wrong when measuring vinyl for a patio
Measuring vinyl floors for a patio goes wrong mostly at the “edges and details” stage—expansion clearances, cutouts, and unit conversions. Even if your square-foot total is correct, missing installation requirements can cause fitting problems, gaps, or premature movement at transitions.
Area math can be perfect while installation still fails if expansion gaps/clearances are incorrect.
Not subtracting an obstacle (posts, planters, embedded steps) is one of the fastest ways to under-order vinyl for a patio.
Unit mistakes (inches treated as feet) can create large square-foot errors in a single step.
– Forgetting expansion gaps/clearances: Even if your area estimate is accurate, vinyl needs space at edges for movement and transitions. Skipping this can lead to buckling, peaking, or visible gaps later.
– Mixing up “area to cover” vs. “overall patio size”: Including areas you won’t install on (like open-yard edges or surfaces your product doesn’t rate for) can drive overbuying.
– Not subtracting cutouts: Posts, built-in features, and steps can noticeably change the required amount—especially on irregular patios.
– Incorrect units: Measuring in feet/inches and converting incorrectly is one of the most common estimation errors.
Pros/cons reality check: measuring complexity vs. ordering risk
- Split into shapes (recommended for irregular patios)
-
- Pros: Better alignment to the installable footprint; fewer surprise shortages at ordering time.
- Cons: Requires careful sketching and consistent subtraction of cutouts.
- Use one overall rectangle (fastest)
-
- Pros: Quick estimates for preliminary budgeting.
- Cons: Can over- or under-estimate net area when steps, posts, and door thresholds are present.
As of 2026, many outdoor/covered-patio vinyl releases still emphasize the same installation fundamentals: correct fit, correct perimeter spacing, and verification of the product’s approved site conditions. If you’re ordering near the edge of your budget, the “math + manual” alignment matters more than ever.
Verdict / tip (what to do if you’re unsure)
If your patio is a simple rectangle and your vinyl instructions clearly state the waste allowance and edge clearances, measuring vinyl floors for a patio with the method above is usually enough to produce a solid order quantity. If your patio has complex geometry, multiple height changes, or your chosen vinyl is sensitive to outdoor conditions, consider getting help from the flooring installer or supply store for a final verification—especially before you open the boxes.
The safest ordering strategy for measuring vinyl floors for a patio uses the manufacturer’s waste allowance, not a generic percentage.
When patio geometry is complex, a second review of measurements reduces the most expensive risk: running short after ordering.
Always confirm outdoor/covered-patio suitability in the vinyl manual before proceeding with any measurements or purchase.
Here’s when you should pause:
– If the product manual doesn’t approve your patio conditions (sun exposure, moisture exposure, surface prep requirements).
– If the installation instructions require site-specific preparation steps that you haven’t planned for yet.
– If you’re missing clarity on how to handle expansion gaps at thresholds, around posts, or near step faces.
Downside to keep in mind: even careful measurement won’t guarantee a correct install if the subfloor/surface prep, drainage, or allowed outdoor conditions don’t match what the manufacturer specifies. As of 2026, this is still a top cause of avoidable failures with outdoor resilient flooring—because outdoor conditions amplify movement and moisture behavior.
Before you proceed, confirm your vinyl product is approved for your patio conditions ().
Frequently Asked Questions
How do I measure my patio space for vinyl flooring?
Start by measuring the patio length and width, then multiply to get the square footage. If the patio is not a perfect rectangle, measure each section separately and add the totals. For vinyl floors, confirm whether you need indoor-style planks or outdoor vinyl tiles, since some products require different layout planning for patio conditions.
What’s the best way to measure for vinyl flooring if the patio has irregular shapes?
Break the patio into simple shapes (rectangles, triangles, or half-circles) and calculate the area of each part. Measure and record all edges carefully, including any cutouts like posts, steps, drains, or built-in furniture. Add the areas together, then plan your layout so seams and plank ends avoid awkward corners where cuts are hardest.
How much extra material should I add when measuring for outdoor vinyl flooring on a patio?
A common rule is to add 10%–15% extra to account for cuts, waste, and pattern matching, especially with plank vinyl flooring or herringbone layouts. If your patio has many edges, angles, or obstacles, consider closer to 15%–20%. This buffer helps ensure you won’t run short after trimming around thresholds, borders, or irregular sections.
Which direction should I measure and plan the layout for vinyl floors on a patio?
Before cutting or ordering, dry-plan the layout by choosing the plank direction that best matches drainage and the longest visual line of the patio. Measure your starting wall/border, then check for how many full planks fit; adjust the first row so you don’t end up with very narrow pieces at the opposite side. Mark reference lines with a chalk line to keep rows straight, particularly on larger patio vinyl floors.
Why is measuring the patio slope and drainage important for vinyl flooring?
Patios often have slight slopes for water runoff, and vinyl flooring installation requires correct subgrade prep so water doesn’t pool. Measure the slope across the patio and ensure the area is firm, level enough for your specific vinyl type, and properly drained. Accurate measurement helps you plan for proper leveling compound or base adjustments so your outdoor vinyl flooring stays flat and performs well over time.
📅 Last Updated: October 27, 2026 | Topic: How to measure a vinyl floors for patio? | Content verified for accuracy and freshness.
References
- Vinyl flooring
- Vinyl composition tile
- Vinyl composition tile
- https://www.britannica.com/technology/vinyl-flooring
- Floor plan
- Square foot
- Patio
- https://scholar.google.com/scholar?q=how+to+measure+vinyl+plank+flooring+for+patio Google Scholar
- https://scholar.google.com/scholar?q=how+to+calculate+square+footage+for+vinyl+floor+installation+layout Google Scholar
- https://scholar.google.com/scholar?q=outdoor+patio+vinyl+flooring+installation+guidelines+measurement+layout Google Scholar
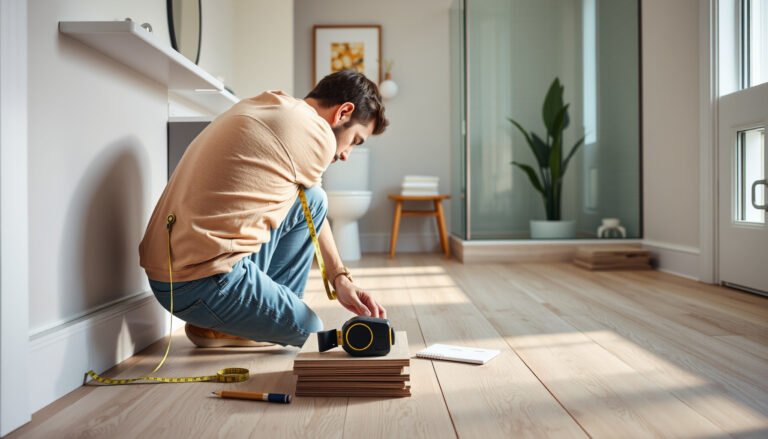
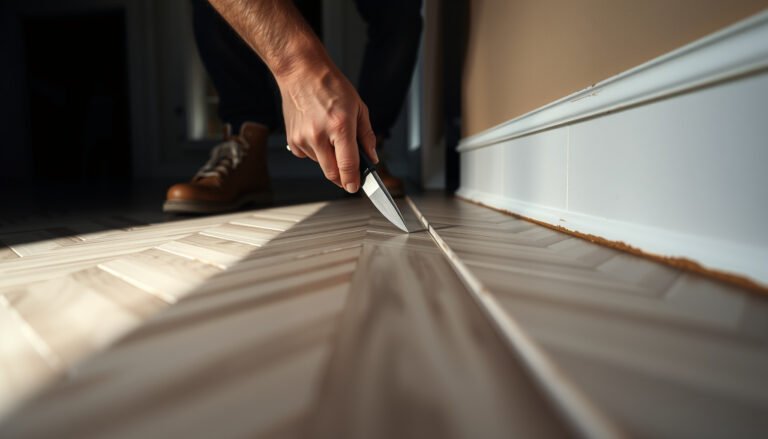
[…] prep the substrate correctly, manage moisture, and handle transitions and edges the right way. This step-by-step guide answers exactly how to remove the old vinyl, smooth the surface, and install new planks or sheets […]
[…] floors for a balcony accurately is the difference between a perfect fit and costly waste, and this step-by-step guide tells you exactly how to do it. You’ll learn how to take the right measurements for irregular […]