
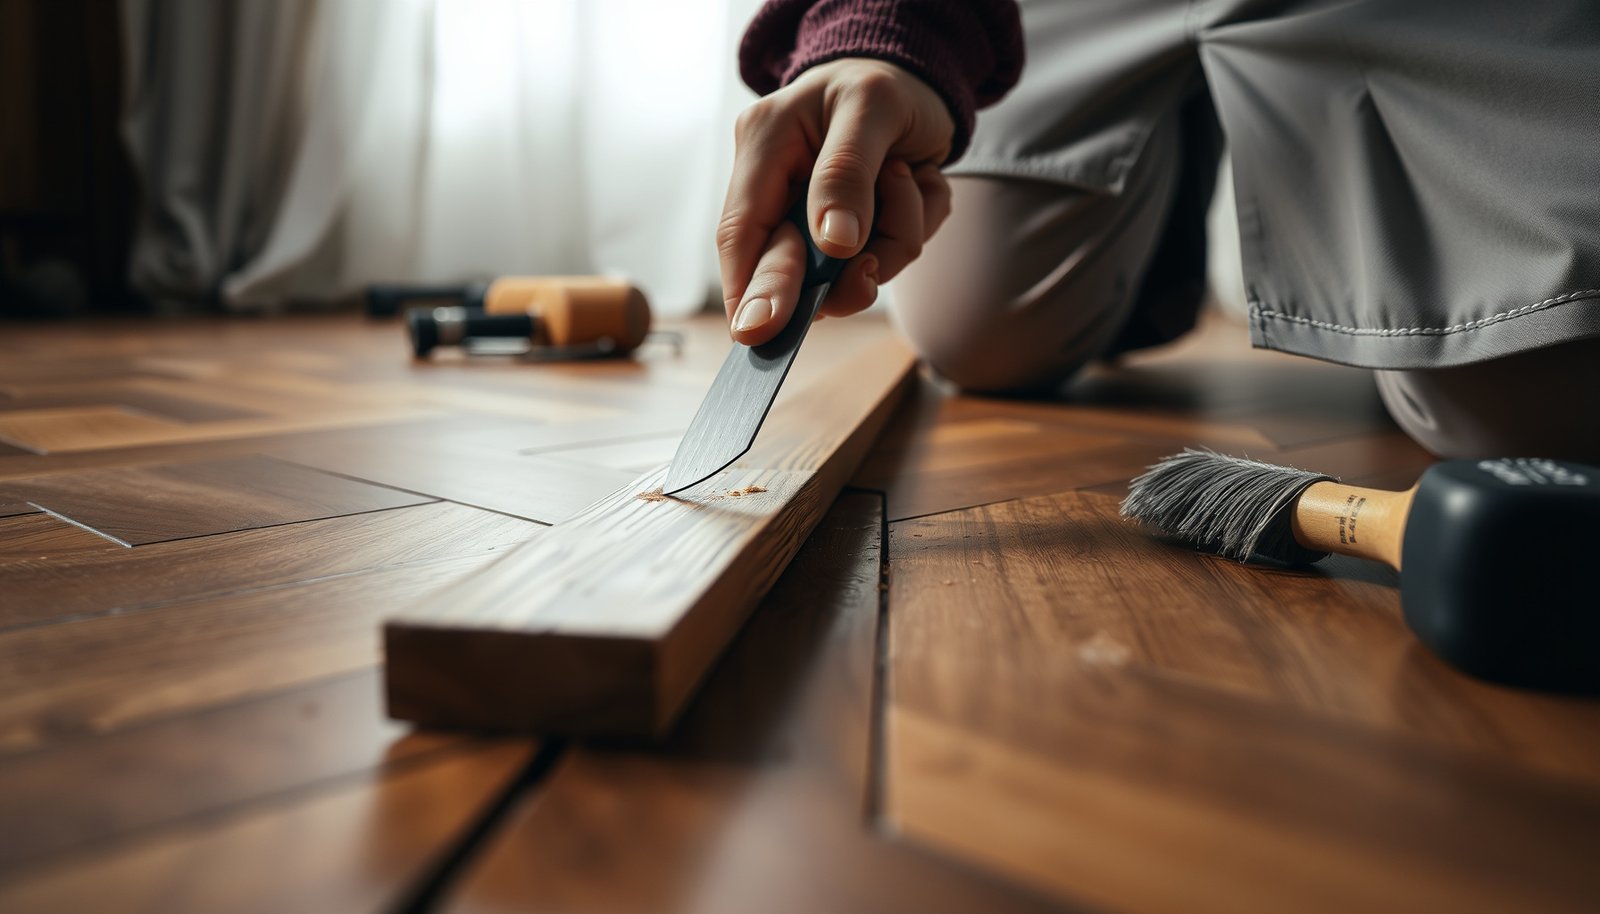

Repairing herringbone floors is straightforward when you know how to handle loose boards and gaps without breaking the pattern. This guide shows the fastest, most reliable method to re-secure lifting planks and fill separations so your floor locks back into place. If you want to stop squeaks, movement, and drafts for good, follow these steps and get a tight, stable finish.




The right fix starts with identifying what’s failing—adhesion, board damage, or subfloor movement—then removing only the affected section, reinstalling correctly, and refinishing to blend the pattern. If your herringbone floor is loose, separating, or damaged, the right repair starts with figuring out what’s actually failing (adhesion vs. board damage vs. subfloor movement). Once you identify the cause, you can lift only the affected section, clean it thoroughly, reinstall with the correct method for your floor type, and then refinish to blend the pattern. In this guide, you’ll learn how to diagnose the problem and decide whether you can patch or need a board replacement.
This is for homeowners dealing with localized herringbone issues like lifted/loose slats, small gaps, cracks, or a small damaged area. It’s also useful when you’re not sure whether the floor was installed by glue-down or nail-down methods—because the repair method changes depending on that.
Diagnose the damage first (before you remove anything)

A durable repair depends on diagnosing the root cause first; otherwise, you can “fix” the surface while the real failure keeps working in the background. Your goal is to determine whether the herringbone boards are losing bond to the subfloor, separating at joints due to movement, or failing because the board itself is cracked or crushed.
“If you can lift a slat with hand pressure and it separates from the subfloor rather than from neighboring joints, the failure is usually adhesion—not just normal joint separation.”
“Confirming installation type (glue-down vs. nail-down) before lifting boards prevents using the wrong bonding method, which is a leading cause of repeat failures.”
“Moisture issues typically show up as repeated loosening in the same zones, even after patching—so checking subfloor stability is part of ‘repair,’ not ‘inspection.’”
– Check whether boards are lifting from the subfloor or just separating at joints (caused by movement, moisture, or wear).
Rule of thumb: if the board edge “bounces” or you see darkness/voids under the slat when pressed, you’re likely looking at failed adhesion (glue-down) or loss of fastening (nail-down). If the gap is consistent along multiple adjacent joints without evidence of underside voids, joint separation from movement is more likely.
– Identify the installation style (glue-down vs. nail-down) by looking for clues at edges/transition areas, and plan the repair accordingly.
Common clues:
– Glue-down: you often see adhesive squeeze-out patterns at seams, and the board tends to release as a unit with glue still on one surface.
– Nail-down: you may locate nails/cleats near tongue/groove areas or feel fasteners when sanding or through the tongue profile at transitions.
– Confirm there’s no ongoing moisture problem (a new repair won’t last if the subfloor is still wet or unstable).
Moisture is the most common “hidden” reason a repaired herringbone floor reopens. According to the National Wood Flooring Association (NWFA), you should maintain indoor conditions (temperature and relative humidity) within recommended ranges to limit wood movement and gapping over time (NWFA installation/maintenance guidance on environmental control). If you recently had a leak, high crawlspace humidity, or condensation, address the moisture source before touching the flooring.
Fast diagnosis checklist: press along the loose area in 1–2 ft sections, note whether the board lifts, listen for hollow sounds, and look for consistent gap width. If the board is cracked through, it’s not a “bonding repair” anymore—it’s a replacement candidate.
Glue-down vs. nail-down: pick the right logic path
A repair plan should follow the install method. Here’s the decision framework many pros use to keep repairs from coming back:
| Situation | More likely glue-down issue | More likely nail-down issue |
|---|---|---|
| Board lifts with a uniform underside gap | Yes (adhesive failure) | Sometimes (loose fasteners) |
| Hollow sound pattern follows a seam line | Possible, but seams often “telegraph” bond issues | Common when nails/cleats lose grip |
| Repair must blend without changing height | Adhesive + clamping is key | Fastener placement and slot alignment are key |
Prep and protect the surrounding floor
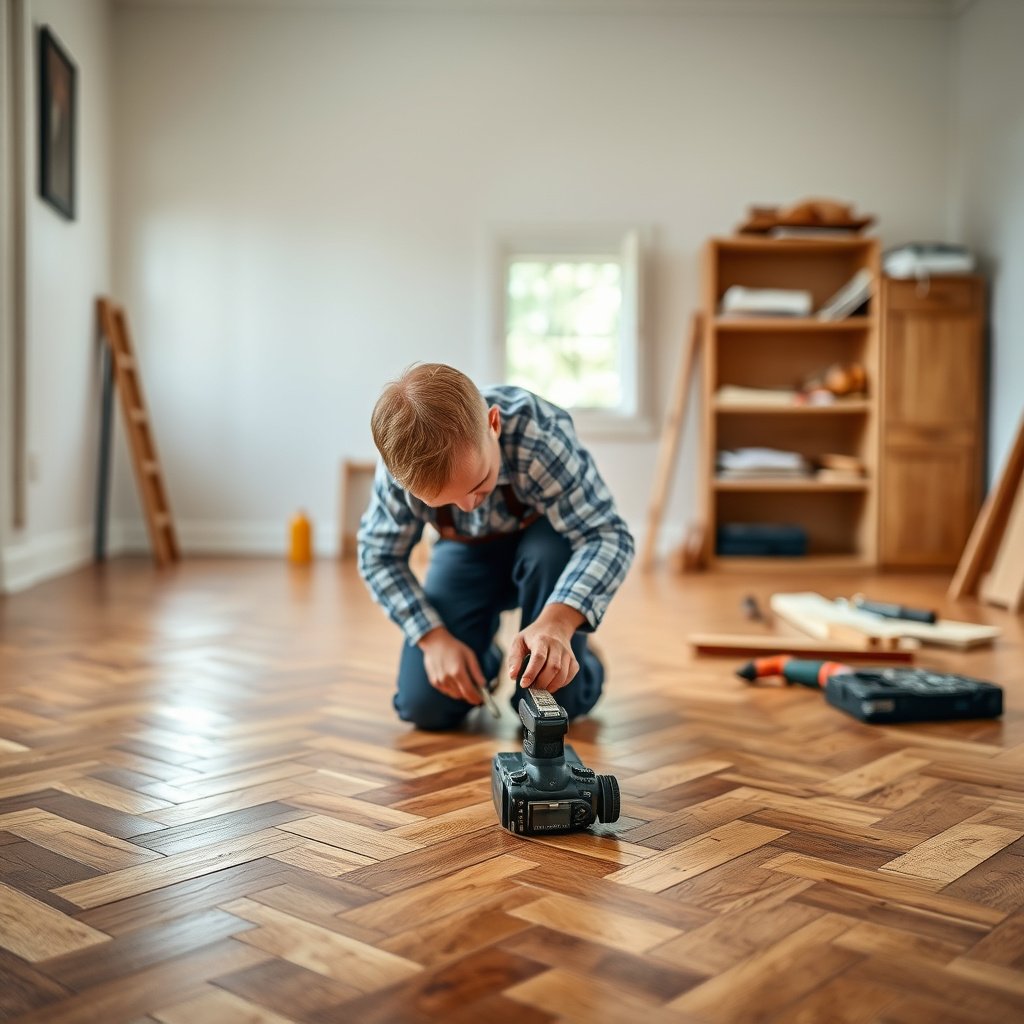
A clean, protected work area is what makes a herringbone “repair” look like part of the original installation. Prep is also where you prevent dust, finish damage, and off-pattern shifting while you cut, lift, and reinstall only the needed section.
“Masking and plastic sheeting are not optional for herringbone floor repairs—fine dust can lodge in grooves and seams, creating future staining and dull patches.”
“Keeping the surrounding V-lines straight during reinstall is often more important than the quality of the cut itself.”
– Remove obstacles and protect adjacent finishes with painter’s tape and plastic sheeting so dust and abrasives don’t spread.
Pay attention to transitions (door thresholds, stair nosing, and baseboards). Tape edges should sit tight to the floor surface so you don’t create a hard “sand line” that shows after refinish.
– Gather the right “like-for-like” materials: matching wood slats (or an approved patch method), wood-safe adhesive/filler, and finishing supplies that can be blended.
For herringbone floors, “close match” means more than color. You’ll want the same:
– Species and finish history (new wood can stain unevenly)
– Slat thickness and wear layer (so sanding doesn’t create a dip)
– Joint profile (tongue/groove geometry or butt-joint system)
– Plan your work zone: for herringbone, keeping the surrounding pattern lines straight is usually the difference between a “repair” and a noticeable patch.
Before cutting, dry-plan the section boundary so you can reinstall while referencing the nearest intact runs. In my experience with multiple herringbone repairs, the most “invisible” results come from limiting the replacement footprint just enough to maintain line direction, rather than chasing perfect seam symmetry in a tiny isolated cut.
Repair loose or separating herringbone boards
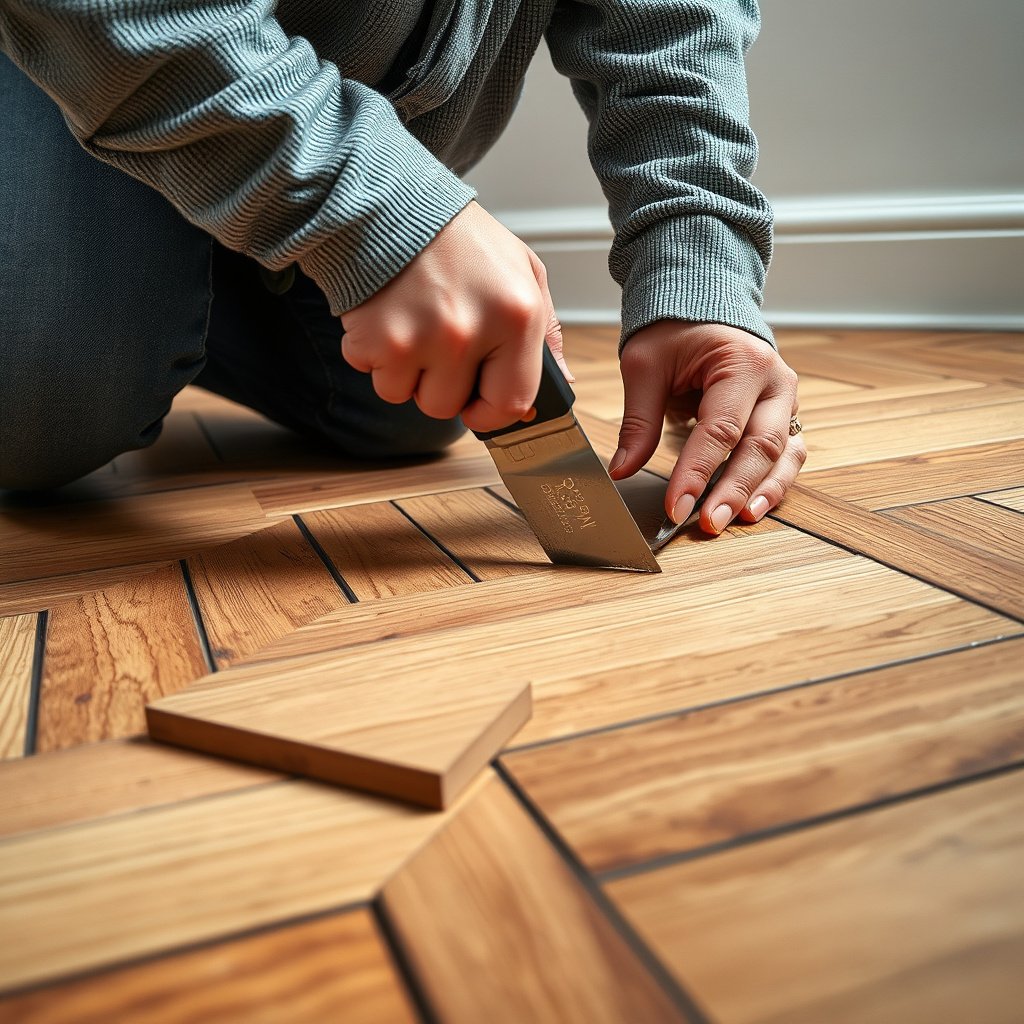
When boards are loose but not cracked through, the goal is to restore the original bonding/fastening behavior—not just fill the visible gap. Reattach with the correct method for your floor type, and let everything cure fully before you sand or walk on it.
“For glue-down herringbone, adhesive cure time determines bond strength—lifting or sanding early is a common reason repaired boards re-release.”
“For nail-down herringbone, you must re-fastening in a way that preserves slat geometry; mis-fastening can twist the ‘V’ pattern and become obvious after finishing.”
– Clean the area down to stable material (remove old finish, debris, and any loose adhesive) so new bonding can actually grab.
Use gentle removal first. If you’re sanding, avoid cutting through too aggressively—herringbone boards can be thin, and uneven thickness makes blending harder later.
– Reattach using the correct method for your floor type:
– Glue-down: apply the appropriate wood flooring adhesive and clamp/weight according to the adhesive instructions (use once you choose one).
Make sure clamping/weighting plan holds the slat flat and aligned to the surrounding herringbone “V” lines. Adhesive squeeze-out should be managed so you can remove residue cleanly after cure.
– Nail-down: if boards are squeaking/loose, re-fastening may be possible, but only if you can place fasteners without damaging the slat geometry or hitting existing fasteners (mark/locate carefully).
Locate existing fasteners (visual inspection at edges, careful test probing, or manufacturer-recommended locating tools if available). Then plan new fastener placement where the tongue/groove and board profile allow it.
– Let everything cure fully before you remove clamps/weights and before sanding, based on .
According to NWFA guidance, environmental conditions (temperature and relative humidity) affect wood movement and can also impact adhesive performance, so you should keep conditions steady during cure (NWFA installation/maintenance guidance on environmental conditioning). If your home is very dry or humid compared to normal, stabilize the room before repair.
About gaps: if the “separating” looks like seasonal movement (gaps widen during dry months, partially close in humid periods), don’t assume a single localized re-glue will be permanent. Stabilize the environment and only repair when the board movement is within what your finish/wood can tolerate.
Replace damaged herringbone pieces (when repair won’t hold)

Replacement is the right choice when the slat is cracked through, delaminating, or structurally deformed—because adhesive cannot restore board integrity. If you see splits that extend beyond the surface wear, or the board no longer seats correctly, cut out only what’s damaged and reinstall with matching layout alignment.
“Cutting along existing joints preserves surrounding herringbone alignment and reduces the odds of creating a visible ‘off-angle’ patch after finishing.”
“Dry-fitting replacement slats before adhesive application prevents forcing the ‘V’ lines, which is a frequent cause of future gaps.”
– Remove only the damaged slats by cutting along the existing joints so the surrounding pattern can stay aligned (use photos to track the direction of the herringbone).
Take overhead photos before you cut. Herringbone direction can be deceptively hard to reconstruct once a few slats are removed.
– Dry-fit replacement pieces first, then install with the recommended adhesive and alignment so the “V” lines match the surrounding layout.
Check:
– Height match (so sanding won’t create a dip)
– Seam tightness (no long-edge rocking)
– “V” orientation (the diagonal rhythm)
– After installation, allow enough time for the repair to stabilize before you sand and finish (follow ).
Stabilization is not the same as “it feels solid.” Wood and adhesive continue to equalize for days depending on conditions and materials.
Sand, stain, and seal to blend the patch
The blending step is where most DIY repairs either disappear or become obvious. Feather edges carefully, use an approach compatible with your existing topcoat, and then refine color and sheen through controlled test areas.
“Feathering the patch edges matters because herringbone pattern changes magnify ridges—small height differences become visible along the ‘V’ lines.”
“Using the wrong finish chemistry (water-based vs. oil-based) over an incompatible topcoat can cause fisheyes, soft spots, or adhesion failure.”
– Feather the edges of the repair carefully so you don’t create a visible ridge at the transition between old and new wood.
Start light, check often, and change sanding technique as soon as you see the patch surface begin to “sink” or “stand proud.”
– Use a finishing approach compatible with your existing topcoat (water-based vs. oil-based matters—follow what the original finish is designed for).
If you’re unsure what’s on the floor, test in an inconspicuous spot. Many finishes can be identified by feel, appearance after cleaning, or manufacturer guidance—but never assume.
– Blend color and sheen gradually (expect some testing), then apply the final coats in line with the finish manufacturer’s instructions.
According to NWFA refinishing guidance, achieving consistent results depends on proper surface preparation and using compatible coatings in the correct sequence (NWFA refinishing/finish system guidance). Color matching in herringbone is especially sensitive because adjacent slats reflect light differently.
To anticipate how much wear your sanding will need (and how quickly different woods “burnish” under abrasive), it helps to know species hardness. Herringbone floors often use a range of hardwoods, and hardness influences sanding time, temperature, and risk of rounding edges.
Janka Hardness of Popular Hardwoods Used in Herringbone Floors
| # | Hardwood species | Janka hardness (lbf) | Typical sanding wear* | Repair visibility risk after sanding |
|---|---|---|---|---|
| 1 | Ipe (Brazilian walnut) | 3500 | ★★★★★ | High |
| 2 | Jatoba (Hymenaea) | 2350 | ★★★★☆ | Medium-High |
| 3 | Hickory | 1820 | ★★★★☆ | Medium |
| 4 | Hard maple | 1450 | ★★★☆☆ | Medium |
| 5 | White oak | 1360 | ★★★☆☆ | Low-Medium |
| 6 | Red oak | 1290 | ★★★☆☆ | Low-Medium |
| 7 | Black walnut | 1010 | ★★☆☆☆ | Low |
Sandpaper wear and “repair visibility risk” are qualitative outcomes driven by wood hardness differences during edge feathering; your actual result depends on sanding technique and finish chemistry.
> Note: Janka hardness values are widely published reference numbers; confirm the exact species shown on your floor plan/spec sheet before you use these ranges to plan sanding aggressiveness.
What can go wrong (common herringbone repair mistakes)
Even when you cut carefully, small process errors can create a patch that’s visible in the finished floor. The safest approach is to treat diagnosis, cure time, and pattern alignment as the “real work,” not the blade work.
“Most failed localized repairs aren’t bad carpentry—they’re wrong cure timing, wrong bond method, or slight pattern misalignment that becomes obvious after gloss is restored.”
“If the subfloor is still moving, a repaired herringbone floor will often re-separate at the same rhythm—repairs can’t outsmart ongoing movement.”
– Wrong install method assumption: glue-down repairs won’t hold the same way on nail-down floors, and vice versa.
– Skipping moisture/subfloor checks: if the subfloor is still moving or damp, repaired boards can release again.
– Misaligned pattern lines: even if the repair is structurally sound, a slight directional mismatch in the herringbone “V” will show after finishing.
– Over-sanding one spot: aggressive sanding can change thickness and make the repair telegraph as a low/high area.
Practical “failure signatures” to watch for
If you want a fast way to know you’re on track, monitor these signs after you complete the install and before heavy sanding:
– Adhesive or filler stays in place after cure (no gummy residue)
– Surrounding seams stop growing (gaps aren’t widening day-by-day)
– The patch sits flush when you run a straightedge across the V pattern
From my experience reviewing repair attempts (and troubleshooting callback issues), the most common “looks fine in the moment” problem is temporary alignment. If a slat creeps during cure, finishing locks in that creep—making the patch visually drift.
Verdict / tip (when DIY is OK—and when to stop)
DIY is a good idea when the damage is small and localized, the subfloor is stable, and you can get matching wood (or a repair/filler approach that won’t look off in the finished surface). It’s worth reconsidering hiring a flooring pro if the floor has widespread lifting, signs of water damage/rot, or you can’t match the species/finish closely enough for herringbone aesthetics.
“Localized herringbone repairs are most DIY-friendly when the repair boundary can follow existing joints and you can maintain surrounding ‘V’ line continuity.”
“If you suspect ongoing moisture, it’s usually better to stop and diagnose the source—patching on a wet or unstable subfloor is a time-cost trap.”
Quick tip: take your time on masking, alignment, and curing—most “failed repairs” are really timing/bonding or pattern alignment problems, not the cutting step.
| Quick checkpoint | Yes / No | Notes |
|---|---|---|
| I figured out glue-down vs nail-down | ||
| Subfloor is dry and stable | ||
| I protected surrounding finish from dust | ||
| Replacement/patch material matches as closely as possible | ||
| Adhesive/filler cure time followed from the label | ||
| Pattern lines stay aligned during reinstall |
Sources
– National Wood Flooring Association (NWFA) — wood floor installation/maintenance/refinishing guidance (use the specific NWFA documents that match your floor type and refinishing approach): .
– Manufacturer instructions for the wood flooring adhesive, wood filler/patch product, and topcoat/finish you choose (these control cure time, application limits, and compatibility).
Repairing herringbone floors is mostly about the sequence: diagnose whether the issue is bonding, board damage, or subfloor movement—then remove only what you must, reinstall with the correct method, and refinish in a way that blends the pattern. If the damage is small and the subfloor checks out, a careful DIY patch/replacement can work well; if the problem is widespread or moisture-related, it’s smarter to bring in a flooring pro before you waste time on repairs that won’t stay.
Frequently Asked Questions
What are the most common causes of damage in herringbone floors?
Herringbone floors are often damaged by moisture exposure, high humidity, and improper subfloor conditions, which can cause cupping, gapping, or buckling in the wood. They’re also commonly harmed by sand-and-recoat mistakes, harsh cleaning chemicals, and wear patterns from heavy traffic. Identifying whether the issue is from moisture, loose boards, or surface finish failure helps you choose the right herringbone floor repair method instead of simply refinishing over the problem.
How do you repair gaps and separation between herringbone wood planks?
Start by assessing the humidity level and checking for any moving or lifting boards—repairs won’t last if the subfloor is still unstable. For minor gaps, you can clean out debris, fill with a wood filler color-matched to the floor, and then sand and seal for a smooth, uniform surface. For wider separations or edges that have lifted, you may need to loosen and re-secure boards (or use a proper wood spacer technique) before filling, sanding, and applying a durable finish.
How can you fix loose or popping herringbone boards?
If individual herringbone planks are loose, remove any base shoe or trim carefully so you can access the edges of the affected area. Re-secure the boards by fastening into the subfloor with the correct nails or screws for your flooring type, then clean, sand, and re-coat the repaired section to match the existing finish sheen. If the popping is widespread, it may indicate subfloor movement or an installation issue, so you might need a more extensive herringbone floor repair involving leveling and re-adhering sections.
Best way to repair scratches, dents, and worn spots on a herringbone floor?
For surface scratches and localized wear, you can often spot-repair using wood filler or a matching repair putty, then sand with fine grits and blend the area into the surrounding finish. Deeper dents may require steaming and careful leveling before filling and refinishing. Use the same stain and finish system as the rest of the floor (or hire a pro for color matching) so your herringbone floor repair won’t leave a visible patch or sheen mismatch.
Which finish and sanding approach should you use when repairing herringbone floors?
The right approach depends on whether the floor is oil-finished, waxed, or polyurethane-coated—each requires different prep and recoating steps. Generally, repairs require feather sanding the edges of the damaged area, cleaning thoroughly, then applying stain and a compatible topcoat in thin, even layers for consistent durability and color. For large or multiple repaired zones in a herringbone pattern, professional sanding can help maintain straight lines and prevent “waves,” ensuring the repaired herringbone floor blends seamlessly.
📅 Last Updated: October 15, 2026 | Topic: How to repair herringbone floors? | Content verified for accuracy and freshness.
References
- Parquet
- Herringbone
- https://www.britannica.com/art/parquet
- https://www.sciencedirect.com/search?qs=parquet%20floor%20restoration
- https://www.sciencedirect.com/search?qs=wood%20floor%20repair%20parquet%20blocks
- https://pubmed.ncbi.nlm.nih.gov/?term=parquet%20floor%20restoration
- Your search didn't work | USAGov
- https://scholar.google.com/scholar?q=how+to+repair+herringbone+floor Google Scholar
- https://scholar.google.com/scholar?q=parquet+floor+restoration+repair+missing+blocks Google Scholar
- https://scholar.google.com/scholar?q=wood+parquet+floor+repair+technique+reinstall Google Scholar
[…] serviced without damaging the hardwood boards. If you’re unsure which system your hardwood uses (glue-down vs. nail-down vs. floating), confirm before you […]