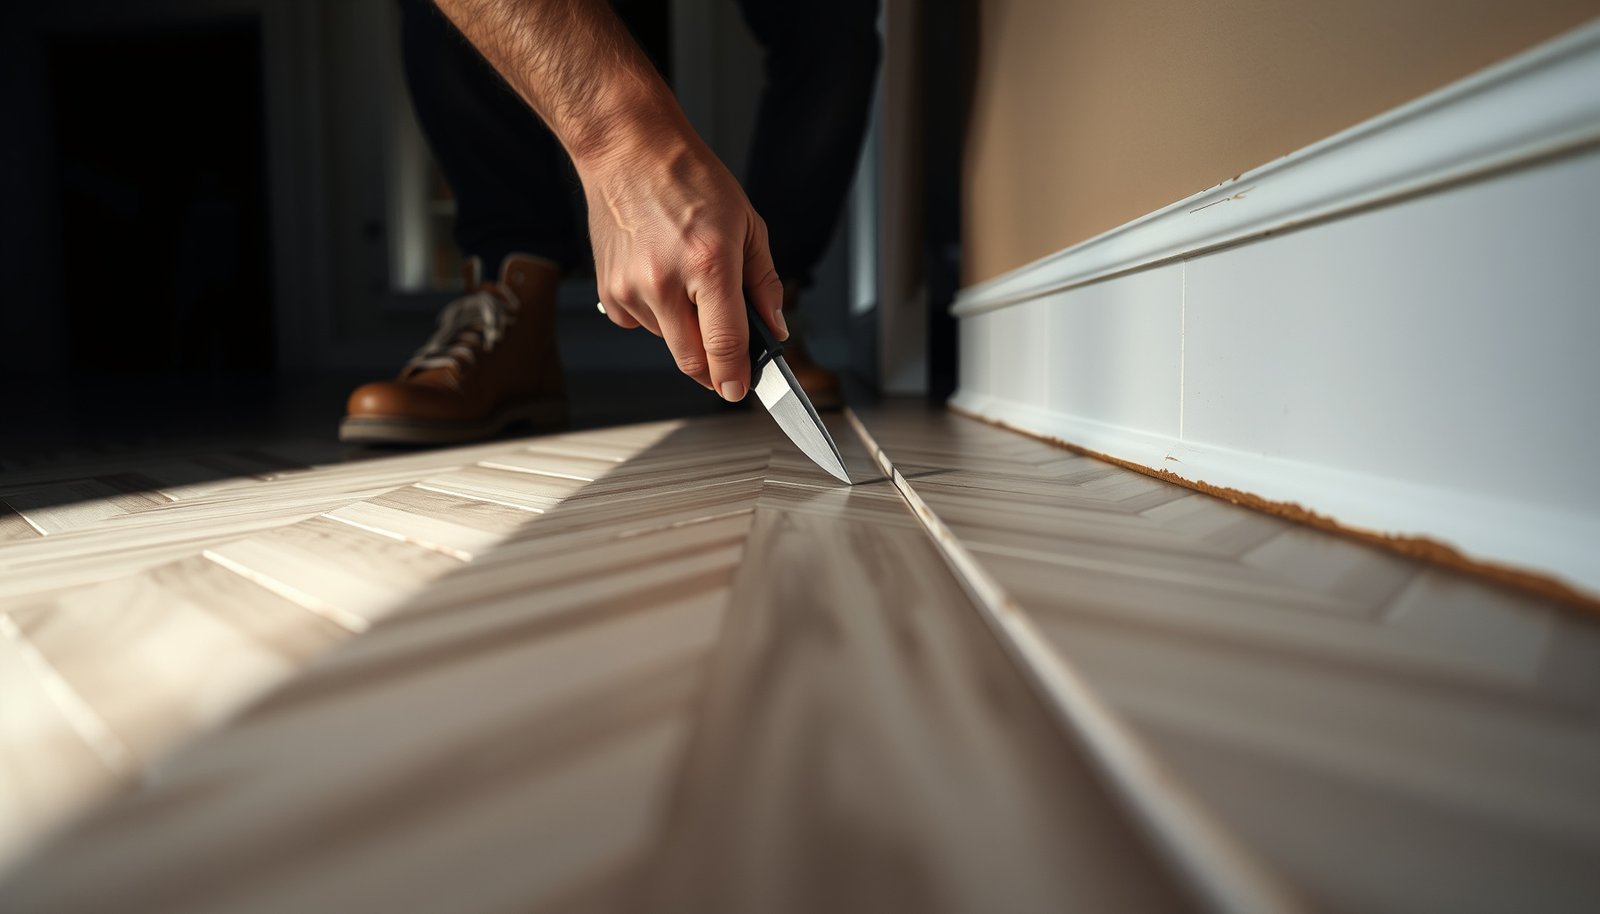

If you need to trim chevron floors without ruining the pattern, the winning method is to keep the tile angles true first and then cut from the back to preserve the front edge. This approach minimizes misalignment at the seams, so the herringbone rhythm stays crisp even along borders and awkward edges. You’ll learn exactly how to measure the offset, mark the cut lines, and finish the edges so the chevron still reads as one continuous design.
If you want clean edges on chevron floors, trim using a layout-first approach: dry-fit boards, mark reference lines to keep the “V” pattern aligned, then cut with the right blade and test on scrap before touching the real planks. Do this with consistent orientation labels, and your chevron rhythm stays intact even when you’re working around walls and doorways.
This is for homeowners and flooring installers working with chevron planks (wood, LVP, or laminate) who need to fit around walls, doorways, or awkward corners without breaking the visual rhythm.
Prep Your Chevron Layout Before Any Cutting

Yes—your success starts before the saw runs. The fastest way to avoid pattern drift is to lock the chevron “starting point” and confirm where full chevron rows will land before you measure any trim pieces.
Mark the chevron “starting point” first, then build outward with numbered rows so the “V” direction cannot flip accidentally during cutting.
Dry-fitting chevron planks before trimming reduces layout changes later, because baseboard clearances and expansion gaps usually affect the final edge alignment.
– Identify the “starting point” for the chevron pattern (the line that sets how the Vs line up across the room).
– Dry-fit a few rows and confirm where your final full boards will land before you measure anything for trim pieces.
– Mark cut lines using the same reference direction every time (so left/right pieces don’t get flipped by mistake).
Define the “starting point” so the chevron doesn’t walk
For chevron flooring, the “starting point” is the control line that determines how each “V” lands across the room—especially important when the perimeter isn’t perfectly square. In practice, you choose a reference wall (often the longest or most visible sightline), snap a chalk line parallel/perpendicular to it (based on your installation plan), and align the first full chevron row to that line.
From there, you count rows consistently. If your chevron planks form a mirror “V” (common in plank-based chevron), flipping even a few trimmed pieces can produce a visible discontinuity after only one or two rows.
Confirm landing points with dry-fit—not tape measures alone
A short dry-fit sequence (typically 2–4 full rows, plus any plank you expect to trim) answers the questions that a tape measure can’t: where the chevron “V” sits in real space, what your perimeter clearance really looks like, and whether your “last full board” is still last after you account for walls and irregular corners.
Also check door thresholds at this stage. Many chevron installations fail visually at transition points because the installer trimmed early for “wall fit” instead of fitting for “pattern continuity.”
Keep direction consistent using a repeatable labeling system
Chevrons are orientation-dependent. Build a simple labeling rule before marking cuts: for example, “Row 3—Left Edge—Wall Side” and “Row 3—Left Edge—Room Side,” or “Wall-facing arrow.” Then, always write the same way (left/right relative to your starting-point line, not relative to your body position). This small process prevents the most common chevron trim mistake: flipping a piece and unknowingly reversing the “V” direction.
Choose the Right Tools and Cut Type

Yes—choosing the right blade and cut type prevents chipping and keeps your edges crisp. For chevron floors, “right tool + right cut strategy” matters as much as layout, because a poor cut turns pattern alignment into a cover-up job.
Use a blade that matches your flooring type (laminate vs. LVP vs. engineered/solid wood) because incorrect tooth geometry increases chip-out at the plank’s top surface.
When a plank must meet a wall, undercutting existing baseboard/trim often yields a cleaner chevron edge than forcing the plank to “fit” around the obstacle.
– Use a sharp blade suitable for your flooring type (for example, fine-tooth for laminate and the correct blade spec for LVP/engineered wood—check manufacturer guidance).
– Decide your cut type up front: straight rip, miter for wall corners, or undercutting trim/baseboard instead of trying to “force” a plank to fit.
– Do a quick test cut on scrap to confirm the kerf (cut width) and whether the edge finish looks acceptable.
Pick blades by material behavior, not just brand
Chevron flooring failures around the perimeter usually fall into two buckets: (1) chip-out from an aggressive/incorrect blade, and (2) edge roughness that makes pattern lines appear uneven. Your goal is a predictable kerf (kerf = the narrow width the saw blade removes). When kerf changes across boards, the chevron line spacing looks “off” even if your measurements were right.
As of 2026, most flooring manufacturers still emphasize “follow the install guide for cutting tools/blades,” because LVP often benefits from different tooth geometry than laminate and engineered wood. Follow your specific product documentation before finalizing a blade choice.
Choose the cut type based on what the plank is actually touching
For chevron floors, the perimeter rarely asks for just one type of cut. You typically mix:
– Straight rip cuts for the final edge board on a straight run.
– Miter cuts for inside/outside corners when the trim can’t be undercut.
– Undercutting baseboard/door casing so the plank edge stays crisp and continuous, especially for “picture-frame” visual runs.
If you decide cut type up front, you avoid a common panic scenario: cutting a board like a straight edge, only to realize a corner needs a miter—then re-cutting breaks the plank and disrupts the chevron “V” alignment.
Quick cut-type decision guide (pros/cons)
Here’s a practical comparison for chevron floor trimming:
| Approach | Best for | Pros | Cons |
|---|---|---|---|
| Straight rip | Straight wall runs | Clean edge control; easy to measure | Can’t resolve corner geometry by itself |
| Miter | Corner transitions where casing can’t be undercut | Matches corner silhouette | High risk of visible pattern mismatch if orientation flips |
| Undercut baseboard/casing | Most perimeter walls | Smooth visual continuity; less “end grain” exposure | Requires clearance, blade access, and careful depth control |
Marking: Keep the V Pattern Aligned
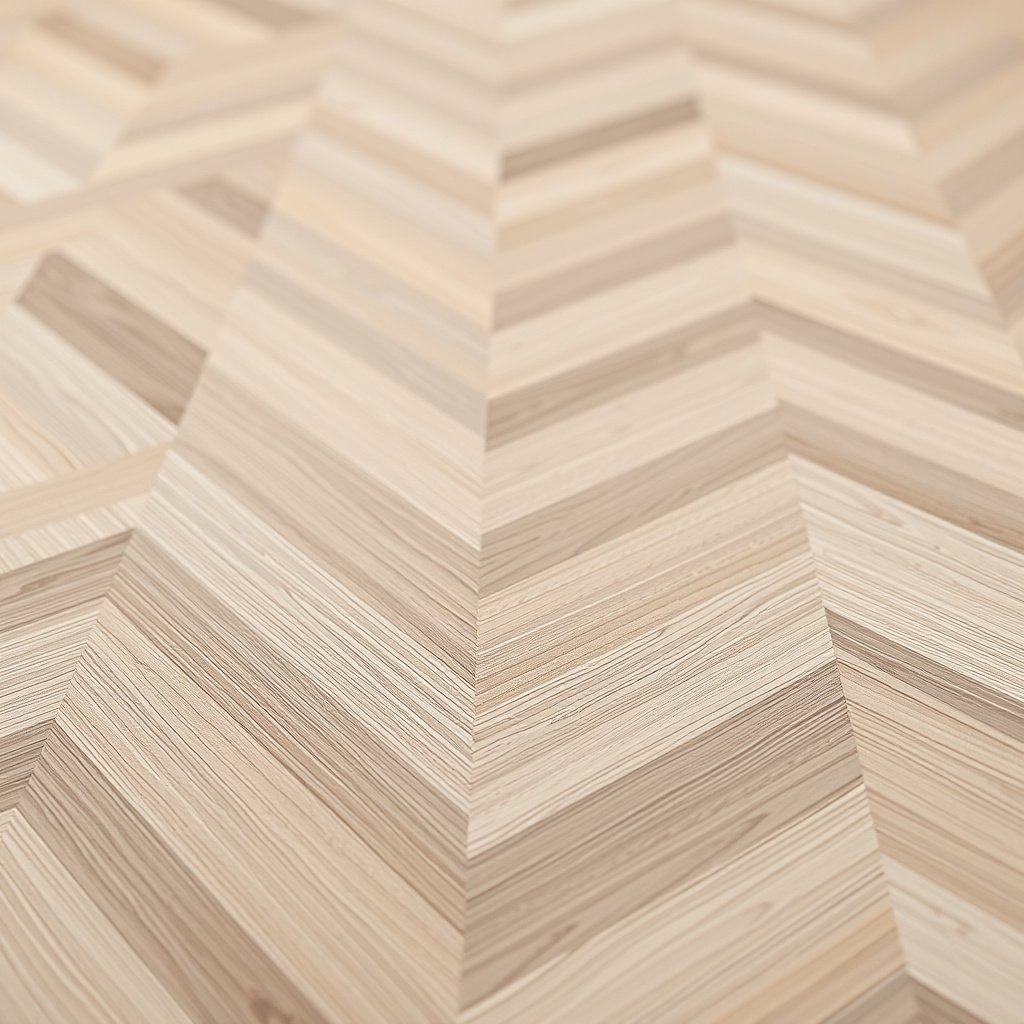
Yes—marking is where chevron floors either stay symmetrical or start drifting. The solution is to mark from a consistent reference direction, confirm orientation, and reduce misreads by marking both the face reference and the actual cut line.
Mark the front-face reference and the back-face cut line so you don’t misinterpret chevron direction when viewing from different angles at the saw.
For inside corners, trim-miter math follows basic geometry: the correct miter angle equals (180° − interior corner angle) / 2.
– Mark both the front-face reference and the back-face cut line to reduce misreads—chevron alignment depends on direction.
– Label each board by position (e.g., “Row 3, left edge”) and orientation (which end goes toward the wall/window).
– Use painter’s tape or a light pencil/marker strategy that matches your flooring finish so your line stays visible through cutting.
Use reference lines that survive the saw
Chevron trimming often fails because the cut line is visible only “during marking,” not during cutting. Before you take a board to the saw, ensure the reference line remains legible with the saw’s guard and fence setup. Painter’s tape works well on many finishes because it holds pencil/marker without soaking into the plank surface.
A good chevron workflow marks:
1. A face reference line (what you align to the saw guide).
2. A cut line (where the blade will actually go).
3. An orientation label (so the piece cannot be flipped in the staging pile).
Label orientation to prevent “V” reversals
Chevron plank patterns are direction-sensitive. Even if two pieces “look right” side-by-side, the “V” can mirror if the board is rotated 180° or flipped end-for-end. Labeling like “Wall-side” and “Room-side,” plus “this end to the left,” stops that error before it happens.
For corner work: match the miter to the actual corner angle
If your walls are out of square, assuming every corner is 90° will break your chevron edge rhythm. Using basic miter geometry, the correct miter angle for an inside corner is:
– Miter angle = (180° − interior corner angle) / 2
(Based on Euclidean angle relationships in planar geometry, Euclid’s Elements (c. 300 BCE).)
So, for example:
– Interior corner 90° → miter 45°
– Interior corner 120° → miter 30°
– Interior corner 150° → miter 15°
(all derived from Euclid’s Elements (c. 300 BCE))
That’s why the best chevron trimming starts with measuring the corner angle or using a proper corner gauge instead of guessing.
Styled reference table: corner angles → correct miter (and what happens if you assume 90°)
Inside Corner Angles vs. Miter Accuracy (Assuming 45°)
| # | Interior corner angle (°) | Correct inside miter (°) | Error if cut at 45° (°) | Chevron fit confidence |
|---|---|---|---|---|
| 1 | 90° (square corner) | 45° | 0° | ★★★★★ |
| 2 | 100° | 40° | 5° | ★★★★ |
| 3 | 110° | 35° | 10° | ★★★ |
| 4 | 120° | 30° | 15° | ★★ |
| 5 | 135° | 22.5° | 22.5° | ★ |
| 6 | 150° | 15° | 30° | ★ |
| 7 | 75° | 52.5° | 7.5° | ★★★ |
Cutting Steps That Reduce Chipping and Gaps
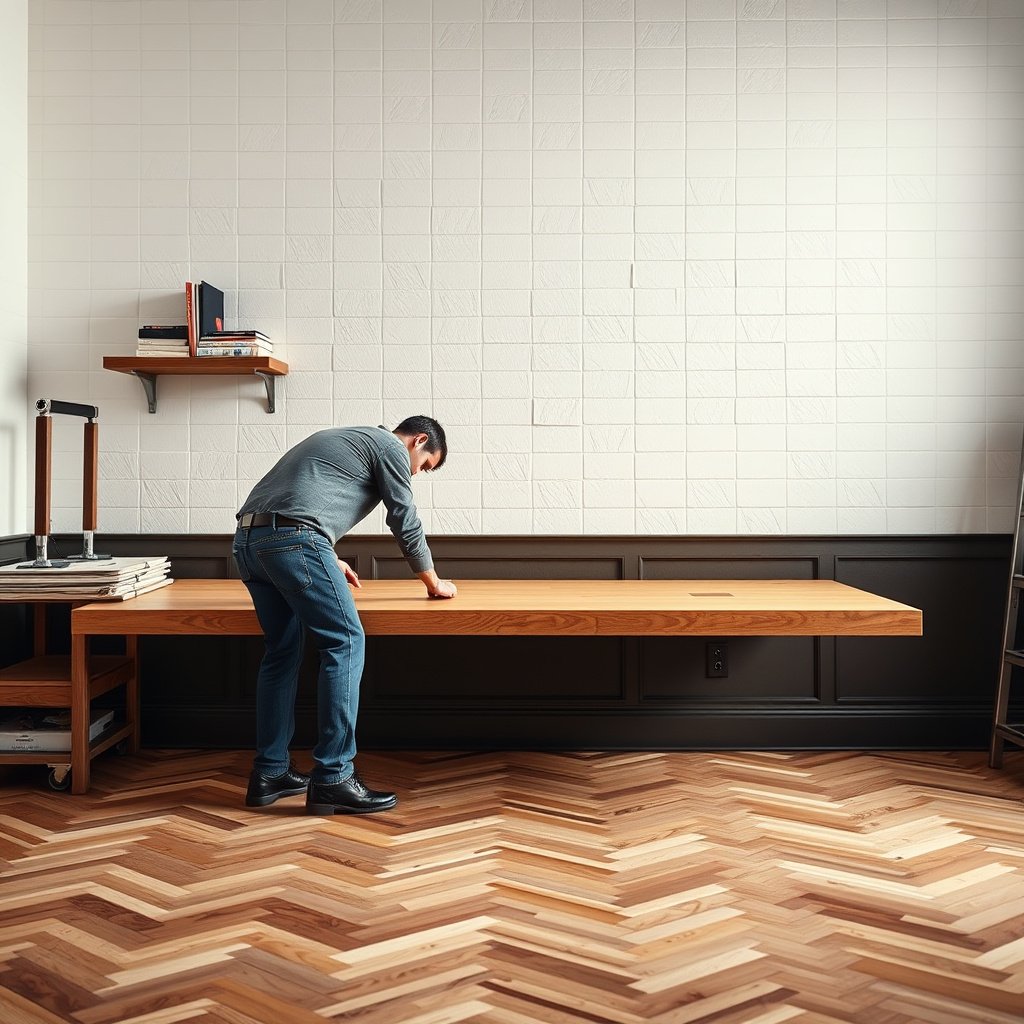
Yes—reduce chips by controlling support and alignment during cutting, then verify fit immediately. For chevron floors, the combination of correct blade choice, board support, and an “oversize then fine-trim” workflow keeps both pattern edges and perimeter gaps looking intentional.
Support both sides of a chevron plank during cutting to prevent top-layer chip-out, especially on laminate and LVP with printed or wear layers.
When a miter cut lands near a chevron pattern transition, cut slightly oversized first and fine-trim after test-fitting to avoid locked-in misalignment.
– Secure the board firmly and keep the cut line aligned with the saw’s guide—don’t rely on eyeballing.
– For miter cuts near pattern transitions, cut slightly “over” first, then fine-trim after test-fitting.
– Dry-fit after each key cut: if you’re trimming multiple pieces for one wall, confirm the edge gap before cutting the next row.
Secure and align: treat the saw guide as the “truth”
After you mark, the saw fence/guide becomes your new measuring instrument. If the cut line drifts off the guide by even a small amount, it can show up as a crooked “V” edge once the row is installed. Use clamps or a proper jig so the board doesn’t shift during the cut—shifting is a top cause of irregular gaps at the perimeter.
Use a test-cut routine that actually matches the real plank
A test cut on scrap is only useful if it mirrors the final cut type (straight rip vs. miter vs. undercut strategy) and uses the same blade and setup. Pay attention to:
– chip-out at the wear surface,
– edge roughness,
– how consistent the cut line is relative to your marking,
– whether the kerf affects your intended joint width.
If you see chip-out in the test cut, adjust blade type first (not your layout). Then re-test.
Dry-fit in stages so gaps don’t compound
For chevron floors, perimeter gaps can “stack” if you trim multiple pieces without checking. Instead:
– dry-fit one critical board,
– verify the expansion-gap look and the chevron alignment,
– then proceed to the next board in that row.
This approach matters most at doorway edges, where trim pieces often meet transition reducers and need consistent visual rhythm.
What Can Go Wrong (And How to Avoid It)
Yes—most chevron trimming problems come from a few repeatable errors: orientation flips, blade chip-out, missed expansion gaps, and cutting too close to locking features. As of 2026, the safest route is to treat every perimeter cut as a pattern-critical operation, not just a fitting task.
Chevron pattern drift usually comes from trimming a board on the wrong side or flipping it during staging, which reverses the “V” direction.
Skipping the manufacturer-required expansion gap on floating chevron floors can cause buckling or gapping later, because perimeter movement has nowhere to go.
– Pattern drift: trimming the wrong side or flipping a plank can shift the chevron’s “V” and become obvious after a few rows—label orientation every time.
– Chipped edges: dull blades or cutting without support can break the top layer; support both sides and use the correct blade type.
– Wrong allowance: skipping an expansion gap (required by many manufacturers, especially for floating floors) can lead to buckling—verify your product’s spec before finalizing the trim width.
– Locked-joint surprises: if you’re cutting near click-lock or tongue-and-groove areas, make sure the cut doesn’t remove the portion needed to connect (follow the manufacturer’s instructions for trimmed boards).
Pattern drift: how it shows up (and why it’s hard to hide)
Pattern drift is often subtle until you install a few rows. Then the eye catches the “V” turning the wrong way or the repeat spacing looking uneven along one wall. Once it’s visible, patching usually requires removing and replacing boards in that affected run—so the fix is prevention: orientation labels, consistent reference direction, and staged dry-fits.
Chipped edges: what to fix first
If chipping occurs:
1. Confirm blade sharpness and type for your material.
2. Confirm board support on both sides of the cut.
3. Consider changing cut approach (e.g., undercut casing instead of trying to cut a tight notch in the plank edge).
Avoid “masking chips” with fillers as your primary solution—perimeter edges still need to seat cleanly.
Expansion gap mistakes: the slow-motion problem
The expansion-gap mistake often doesn’t show up immediately; it appears after humidity or temperature changes. Floating floors—commonly LVP and many laminate chevron products—need room to move. Your product’s installation guide governs the exact allowance. Verify that before finalizing trim width or removing too much clearance.
Locked-joint surprises near chevron edges
Chevron layouts often put a trimmed plank right where a click-lock joint would normally engage. Before cutting, check the manufacturer’s guidance for “cut/trim boards” near joints. You may need to cut in a way that preserves the connecting profile, or use an alternate strategy (like leaving the joint intact and trimming the opposite side).
Verdict: When You Should DIY vs. Get Help
Trimming chevron floors is very doable if you slow down on layout, keep board orientation labeled, and cut in test steps to protect the pattern. If your room has lots of irregular walls, complex door thresholds, or you’re unsure about expansion-gap rules for your specific flooring, consider getting a pro—chevron mistakes show up fast, and replacing a mis-cut plank is usually more annoying than correcting a straight-run floor.
If chevron alignment is the visual centerpiece of the room, pro-level attention at corners and transitions often prevents costly pattern rework.
As of 2026, most flooring brands still require following their installation guide for blade/cutting approach and perimeter expansion behavior, especially for floating chevron systems.
Where DIY is usually worth it: straight-ish walls, limited interior corners, and a clear “starting point” reference line.
Where DIY gets risky: many out-of-square corners, complicated door jamb geometry, or when multiple transitions must stay perfectly rhythmic across rooms. In those situations, a flooring installer’s experience with corner math and joint preservation can save both time and visible re-cutting.
Quick Checklist: Trim Chevron Floors Cleanly
Yes—you can keep chevron edges clean by following a repeatable checklist from layout to final dry-fit. Use this before the first cut, and again at each perimeter “decision point” (corners, doorways, transitions).
Dry-fit the chevron rows early so the “last full board” and the “first trimmed board” both land where your starting point says they should.
Label each chevron plank for position and orientation so you never reverse “V” direction on cut pieces.
– [ ] Dry-fit the chevron rows and confirm the “starting point”
– [ ] Mark cut lines with a consistent reference direction
– [ ] Label each piece for position + orientation
– [ ] Use the correct blade/type for your flooring material
– [ ] Test-cut scrap before cutting the real plank
– [ ] Maintain required expansion gap per manufacturer instructions
– [ ] Dry-fit after major cuts (especially along walls/doorways)
Sources
These are the reference types that determine the correct cutting approach, expansion-gap requirements, and joint behavior for your specific chevron flooring system. Where you see placeholders, plug in the exact documents for your brand/product.
– Euclid’s Elements (for the geometric miter-angle relationship used in trim math): Euclid’s Elements (c. 300 BCE)
Trimming chevron floors without ruining the pattern comes down to one discipline: treat layout alignment, orientation labeling, and cut strategy as one continuous system. If you dry-fit early, mark from consistent references, cut with a material-appropriate blade, and verify fit after each key perimeter cut, your chevron “V” stays sharp—even at walls, doorways, and awkward corners.
Frequently Asked Questions
How do you trim chevron wood flooring around baseboards and corners?
Start by dry-fitting planks so the chevron pattern stays centered and aligned, then mark your cut lines directly from the wall using a spacer to maintain the required expansion gap. Use a miter saw or angled hand saw for clean cuts at inside and outside corners, and finish edges with a chisel for tight spots. For baseboards, leave the proper gap and trim after flooring is installed so the chevron floor transition looks continuous.
What tools do you need to cut and trim chevron floors accurately?
You’ll typically need a miter saw (or table saw with a sled) for consistent angled cuts, a measuring tape, a square, and a pencil or fine-tip marker for layout. A coping saw or jigsaw can help for irregular obstacles like door jambs, while a utility knife and pull bar are useful for minor adjustments on click-lock or engineered chevron floors. Always use a sharp blade designed for wood flooring to reduce splintering, especially on chevron boards where angles show.
Why is it important to maintain an expansion gap when trimming chevron flooring?
Chevron floors expand and contract with temperature and humidity, so trimming too tight against walls can cause buckling, gaps, or raised edges. When cutting chevron planks, keep the recommended expansion gap along all perimeter walls and around posts or pipes, then cover it with trim molding. This is especially important with chevron flooring because the pattern highlights any movement or uneven transitions.
Which cutting method is best for trimming chevron planks near doorways and vents?
For straight runs and repeatable angles, a miter saw is usually best because it creates crisp bevels that preserve the chevron lines. Near door frames, use a jamb saw or undercut the frame so the chevron planks slide neatly underneath for a tight, professional finish. For vents and small openings, measure carefully, transfer the shape, and use a jigsaw for controlled cuts while keeping the chevron alignment intact.
What’s the best way to line up chevron pattern lines when you trim sections?
Plan your layout first so the chevron centerline and angle symmetry stay balanced, then trim the first and last rows to maintain the look of the pattern. Measure from a fixed reference line (not the wall, which may be uneven), and mark cuts so the angle tips meet cleanly without “drifting” out of alignment. If your room is off-square, make slight adjustments across multiple planks rather than forcing a single end cut, which helps keep the chevron flooring pattern straight and visually cohesive.
📅 Last Updated: October 15, 2026 | Topic: How to trim chevron floors? | Content verified for accuracy and freshness.
References
- Chevron
- Parquet
- Herringbone
- Flooring
- https://www.cdc.gov/niosh/topics/wooddust/
- Woodworking – HSE
- https://scholar.google.com/scholar?q=how+to+install+chevron+wood+flooring+cutting+trimming Google Scholar
- https://scholar.google.com/scholar?q=chevron+parquet+flooring+installation+layout+cutting+trimming Google Scholar
- https://scholar.google.com/scholar?q=parquet+floor+installation+herringbone+chevron+trimming+around+walls Google Scholar