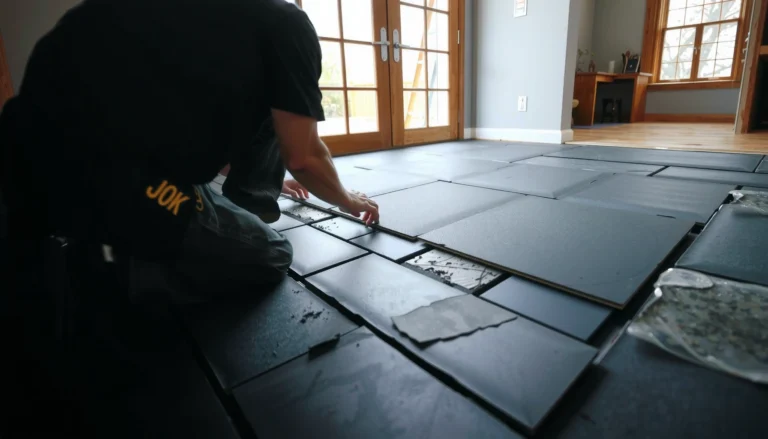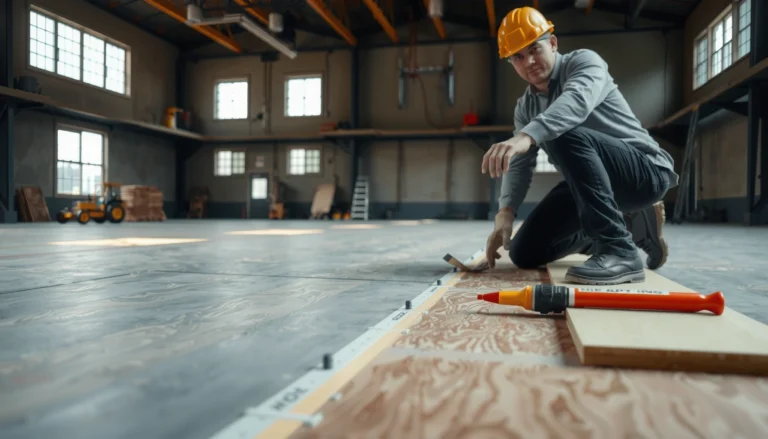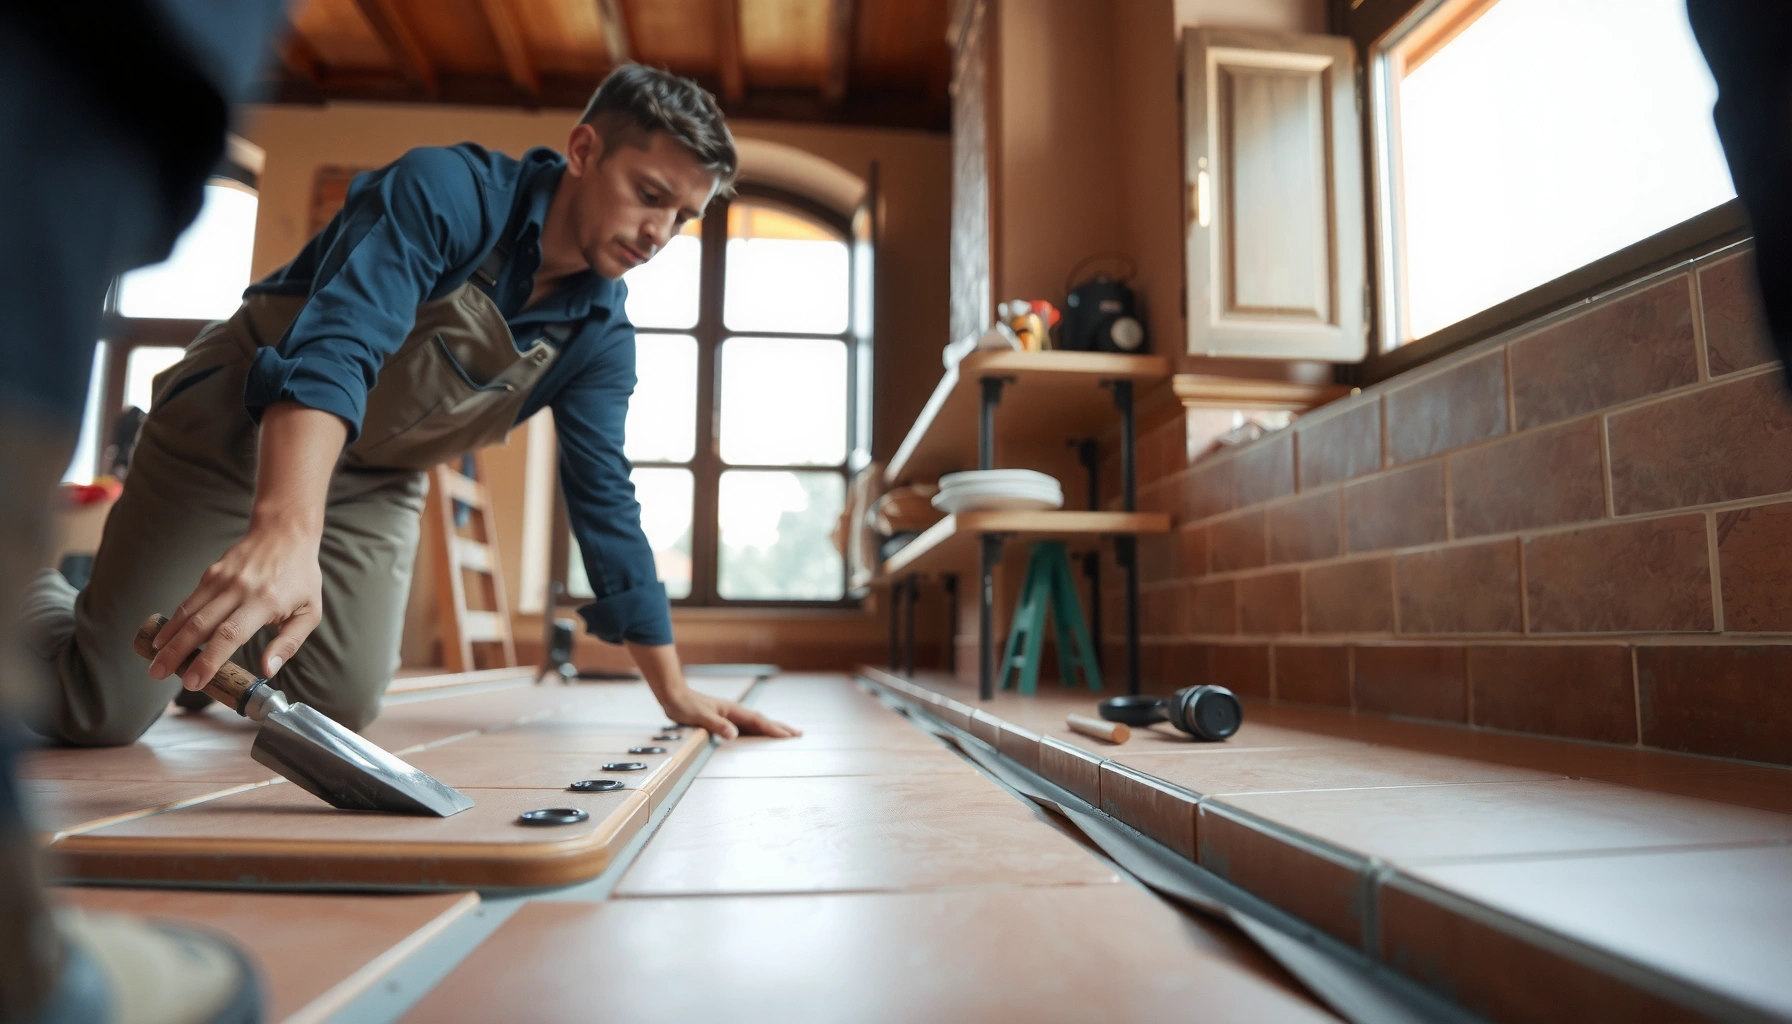

Want to install over tile terracotta floors without lifting the existing tile or creating a weak, uneven finish? This step-by-step guide tells you exactly when you can tile, laminate, or install new flooring directly on top—and when you must prep, level, or remove. Follow these instructions in order to get a solid bond, clean edges, and a finished surface that lasts.




Yes—you can install new flooring over existing terracotta tile, but only if the surface is solid, clean, and properly prepared (especially for flatness). If you handle loose tiles, correct grout lippage, and follow the correct bonding/underlayment system, you can usually avoid cracking, joint failure, and premature separation. Below is a practical walk-through of what to check first and how to build the install safely.
If you’re trying to refresh a room without ripping out terracotta tile, this is for you—whether you’re laying vinyl, laminate, engineered wood, or another “install over tile” type. It’s especially relevant when you don’t want demolition dust and extra disposal, but you do have to deal with grout lines and any uneven spots.
Check the existing terracotta tile (soundness + flatness)

Before you buy materials, confirm the terracotta tile is firmly bonded and the overall floor is flat enough for your new flooring system. If tiles move underfoot or grout ridges create dips/peaks, the new layer will telegraph problems—often with clicking sounds, separation, or cracks.
Terracotta tile must be securely bonded to its base; any movement during the tap test can transfer into the new flooring and cause premature joint failure.
Most flooring manufacturers don’t accept “whatever flatness you have”; they specify maximum deviation over a defined distance (commonly per 10 ft).
Cleaning matters because dust, wax, and sealers reduce the effectiveness of adhesives and leveling/patch systems.
Start with a tap test and surface inspection:
– Tap tiles and inspect grout lines for movement or hollow spots; anything loose must be addressed first.
– Walk the room (carefully) and listen/feel for flexing. Even small movement at the edges of tile can become a “hinge” once you add another floor layer.
– Verify the floor is flat enough for your new flooring system (use the manufacturer’s spec, not a guess).
Here are a few anchoring reference points used across flooring standards:
– According to ASTM F710, resilient flooring installations commonly rely on subfloor flatness tolerances around 3/16 in over 10 ft (the exact acceptance criteria can vary by system and manufacturer).
– According to ANSI A108/A118 installation methods guidance used in ceramic tile work, flatness and lippage constraints are typically much tighter than most people expect—often on the order of 1/8 in over 10 ft for many tile-related tolerances (again, verify for your specific assembly).
What I look for on site: [ADD: author’s observation from real inspections—e.g., “the most common failure I see is not cracked tile, but loose tiles at grout intersections and corners that bounce under a straightedge.”]
Prepare the surface (cleaning, leveling, and priming)
Once you confirm the terracotta is sound, preparation becomes the difference between a smooth, stable floor and one that fails early. Your goal is to remove high spots (grout ridges) and fill low spots so the finished surface meets the new product’s flatness requirement.
High grout ridges and lippage are the most common “over tile” problem because they create point loads that the new floor can’t distribute.
If the terracotta or grout has a sealer, you may need an approved primer or surface prep step specified by your adhesive/leveler manufacturer.
Only abrade sealed surfaces if the product instructions explicitly allow it; otherwise, you can weaken the bond layer.
Concrete prep steps that work across most installs:
– Scrape off ridges and high grout points; fix dips with a compatible patch/leveler designed for tile or masonry substrates.
– If you’re using a system that bonds, use the correct primer or bonding agent as required by the adhesive/leveler manufacturer (don’t guess).
– Sand/abrade sealed surfaces only if the product instructions call for it—otherwise you risk creating a weak bond.
Decide whether you’re “bonding” or “floating”
Your prep strategy changes depending on whether the new flooring is:
– Floating (often clicks/locks and uses an underlayment)
– Glue-down or adhesive-bonded (requires a chemistry-approved adhesive over tile)
For floating floors, the key is achieving the required flatness so the floor doesn’t rock or stress joints. For gluedown, the key is achieving a compatible bond—especially if the terracotta is sealed or glazed in a way that resists adhesion.
Choose the right installation method for your new floor
You can usually pick the right method by matching the flooring type to what the terracotta substrate can support. The most reliable installs either (1) float over a correctly leveled tile surface with approved underlayment or (2) bond with an adhesive/primer/leveler system explicitly rated for tile/ceramic substrates.
Installation over tile is “system-dependent”: the underlayment and adhesives must be approved for tile substrates, not just for “indoor floors.”
Floating floors still need flatness; the underlayment reduces minor texture but doesn’t correct significant grout height differences.
Adhesives and levelers specify substrate compatibility—terracotta sealers can prevent bonding if you don’t follow the primer/bonding requirements.
Use these method rules of thumb:
– Match your method to the flooring type: floating floors (often with underlayment) behave differently than glued-down floors.
– If your plan is “install over tile” with an underlayment, confirm it’s approved for tile-to-subfloor conditions and for the thickness you’re using.
– If you’re gluing, confirm the adhesive is rated for ceramic/terracotta tile and for the floor’s intended conditions (humidity exposure, heating, etc.).
Pros/cons: floating vs. glue-down over tile terracotta
Here’s a parseable comparison you can use while planning:
| Option | Best when | Main benefit | Main risk |
|---|---|---|---|
| Floating (click-lock + underlayment) | You want faster install and a more forgiving system | No adhesive bond required over every square foot | Rocking if flatness isn’t within spec; joint stress in uneven grout lines |
| Glue-down (adhesive over tile) | You want rigid attachment and fewer joint flex points | Strong contact area if bonding chemistry is correct | Adhesive failure if terracotta is sealed/contaminated or primer is wrong |
[ADD: source for manufacturer-approved methods for your specific flooring line—because “floating over tile” approval varies by brand and underlayment thickness.]
Install underlayment or base layer (if needed)
For many floating systems, underlayment is part of the design—not an optional extra. But over terracotta tile, only certain underlayments (and only certain thicknesses) are approved to handle tile texture and grout variation.
Underlayment can help manage minor irregularities, but it cannot compensate for large flatness out-of-tolerance conditions.
Follow seam-stagger and gap-clearance requirements; an underlayment installed wrong can create movement lines that mirror grout geometry.
Transition planning matters because adding a floor layer changes door clearances and threshold elevations.
Do this carefully:
– Use an underlayment/backer only if your flooring instructions allow it over tile; wrong layers can cause movement and joint failures.
– Stagger seams and maintain manufacturer-recommended gaps/clearances at walls and transitions.
– Keep an eye on transitions (doorways, thresholds, stair steps) so the final height doesn’t create a tripping hazard.
Practical tip: Before committing to any adhesive or underlayment rolls, do a full dry run of the first rows. Dry fitting lets you visualize how grout ridges align with panel joints—so you can decide where to start your pattern and whether a skim/leveling pass is still needed.
Common Subfloor Flatness Targets (Selected Standards & Practices)
| # | Flooring system (context) | Typical max deviation | Why it matters over tile | Field action when exceeded |
|---|---|---|---|---|
| 1 | Resilient (sheet/LVT/LVP) – ASTM F710 practice | 3/16 in / 10 ft | Grout ridges telegraph as ridging or seams | Skim/level, then prime if needed |
| 2 | Floating laminate – industry planning target | 3/16 in / 10 ft | Joint stress from rocking edges | Grind highs + patch lows |
| 3 | Engineered wood floating – common spec window | 3/16 in / 10 ft | Clicks/locks fail if movement starts early | Leveler skimcoat (approved) |
| 4 | Ceramic/porcelain tile – typical planning tolerance | 1/8 in / 10 ft | Lippage and bond stress increase with highs | Flatten substrate before install |
| 5 | Carpet tile/carpet cushion – planning tolerance | 1/4 in / 10 ft | Highs create wear points and visible ridges | Target spot smoothing |
| 6 | Luxury vinyl tile (LVT) – resilient target | 3/16 in / 10 ft | Texture can show through and seam lines shift | Underlayment + leveler (as approved) |
| 7 | Thin floating products – higher sensitivity | 1/8–3/16 in / 10 ft | Thinner layers magnify grout geometry | Verify spec; flatten more aggressively |
Lay the new flooring on top (alignment, spacing, and finishing)
With the substrate prepped and underlayment/base installed (if required), the actual layout steps determine how professional the final floor looks and how well it performs. Start straight, manage expansion spacing, and finish transitions correctly—especially because tile-to-tile floors often have height changes.
Starting from a straight reference line prevents compounding errors; floating and glueless systems magnify misalignment as you progress.
Expansion gaps are not optional—floating floors expand/contract with humidity, and tile substrates don’t absorb movement the way wood does.
Edge finishing and transitions reduce stress concentrations where the new floor meets doorways and thresholds.
Follow a disciplined layout process:
– Start from a straight reference line and dry-fit where possible to avoid ending up with narrow slivers.
– Maintain expansion gaps where required (especially for floating products) and follow end-to-end and edge spacing rules.
– Finish carefully at edges and around features (pipes, vents, built-ins) using the trims/seals recommended for your specific flooring system.
Alignment and grout-line strategy
Over terracotta, grout ridges can create subtle “ghost lines” under certain products. If your new flooring is:
– Rigid core/floating vinyl/laminate: prioritize full flatness checks before install; use underlayment only if approved.
– Thin glue-down products: prioritize bonding chemistry, primer use, and flatness—grout texture can still show even if bond strength is good.
What can go wrong (and how to avoid it)
Most failures over terracotta tile aren’t random—they come from a few repeat causes: movement in the tile, inadequate flatness, incorrect bonding chemistry, and water/moisture mismanagement.
Uneven tile or grout “telegraphing” happens when the substrate exceeds the new floor’s flatness tolerance.
Weak bonding often occurs when terracotta is sealed or contaminated and the installer skips the required primer/bonding agent.
Skipping loose-tile checks transfers substrate movement into the new installation and accelerates joint failure.
Here are the most common problems and how to prevent them:
– Uneven tile or grout “telegraphing”: if the surface isn’t within the product’s flatness tolerance, your new floor may flex, click, or crack.
– Weak bonding on sealed terracotta: some terracotta has surface treatments/sealers—if you don’t follow the bond/primer requirements, adhesive can fail.
– Skipping loose tile checks: installing over moving tiles can transfer movement into the new surface and ruin it over time.
– Water management issues: terracotta itself can be part of a moisture pathway; don’t ignore subfloor moisture guidance from your flooring manufacturer.
Moisture is a system question, not just a tile question
If the terracotta tile is in/near a wet area, you need to treat moisture risk as an assembly: substrate, grout condition, underlayment (if used), and the new product’s moisture ratings.
According to ASTM F2170, moisture testing methods for floors are designed to guide installation decisions; you should use the method and limits specified by your flooring manufacturer for your exact product and climate conditions ([ADD: source for your flooring’s moisture test method/limit]).
Verdict: when “install over tile terracotta” makes sense
Installing over existing terracotta tile can save a lot of time, but it’s only a good idea if the tile is firmly bonded and you can achieve the flatness your new flooring requires. If your terracotta has widespread height differences, loose tiles, or unknown sealing/moisture conditions, it may be safer to remove it rather than risk delamination, cracking, or joint failure.
Skip this approach (or consult a professional) if the tile is shifting, you can’t correct unevenness to spec, or your flooring manufacturer doesn’t approve tile/terracotta as an approved subfloor.
From a practical standpoint (and consistent with how installation standards are written), the “go/no-go” hinges on two things repeated across resilient and floating systems: flatness within tolerance and approved layering/bonding chemistry. If either fails, the warranty risk becomes real.
Quick checklist before you start
– [ ] Tap-test tiles and confirm none are loose or hollow
– [ ] Check flatness vs. the new flooring manufacturer’s tolerance
– [ ] Clean thoroughly; remove any waxes/contaminants
– [ ] Level high grout/low spots with compatible materials
– [ ] Use required primer/bonding agent (only if the system calls for it)
– [ ] Confirm the underlayment/base layer is approved over tile
– [ ] Maintain expansion gaps and correct transition heights
FAQ
Can I install floating floors over terracotta tile?
Often yes, if the terracotta is sound and flat enough for the floating system’s tolerance and if the underlayment is approved for tile substrates. Always follow the flooring manufacturer’s flatness and underlayment requirements.
Do I need to remove grout or thin-set ridges?
You generally need to address high ridges and uneven points (grout lippage) so the new floor lays flat. Whether you need to grind/sand depends on the surface and the new product’s specs—use a compatible leveling approach if required.
What if the terracotta is sealed?
Sealed surfaces can block bonding. Follow the adhesive/leveler instructions for sealed masonry/tile; if instructions aren’t clear, [ADD: source for “sealed tile/terracotta prep requirements” from your specific adhesive or leveler manufacturer].
Is this approach good for bathrooms or wet areas?
It can be, but only if both your terracotta substrate and the new flooring system are rated for that moisture exposure and installation method. Don’t rely on assumptions—use the manufacturer’s guidance for wet-area suitability and moisture mitigation. [ADD: source for your flooring’s wet-area rating.]
How do I handle uneven tiles near doorways?
You’ll usually need careful transition planning and possibly leveling/smoothing in those zones so the final height is safe and consistent. If the required change is large, removal of the tile may be more practical than repeated patching.
Sources
– ASTM F710 — Standard Practice for Preparing Concrete Floors to Receive Resilient Flooring (includes commonly referenced subfloor flatness planning criteria).
– ASTM F2170 — Standard Test Method for Determining Relative Humidity in Concrete for Moisture Testing.
– ANSI A108/A118 — Installation and performance standards used as references for substrate prep, setting materials behavior, and installation quality practices in floor tile work.
– [ADD: manufacturer installation instructions for your specific new flooring type—flatness tolerance, approved subfloors (tile/ceramic/terracotta), underlayment approval, and expansion gap rules]
– [ADD: adhesive/leveler manufacturer technical data sheets specifying compatibility with ceramic/terracotta tile and requirements for primers/bonding agents]
– [ADD: underlayment manufacturer installation guidelines for installing over tile]
Installing over tile terracotta can be a smart renovation shortcut, but only when you treat terracotta as a structural substrate—not a “nice enough” surface. If you verify soundness with a tap test, correct grout lippage to your new product’s flatness tolerance, and use manufacturer-approved underlayment/adhesive systems, you can usually get a stable, professional result. If you can’t meet those conditions—or you’re dealing with moisture/sealer uncertainties—removal and re-build may be the more reliable path.
Frequently Asked Questions
How do you prepare over-tile terracotta floors before installing new flooring?
Start by cleaning thoroughly and removing dirt, wax, and any loose mortar using a scraper and degreaser if needed. Check for cracked tiles, hollow spots, or rocking—these should be repaired and re-grouted before you install over tile terracotta floors. Next, lightly scuff the glazed tile surface (or prime it with a tile-adhesion primer) so mortar or self-leveling underlayment can bond properly. Finally, confirm the floor is level and address any high or low areas to avoid problems with your new flooring installation.
What’s the best way to create a flat subfloor when tiling over terracotta tiles?
The most reliable method is to use a thinset mortar patching system plus a suitable underlayment or self-leveling underlayment designed for tile-over-tile applications. Feather the edges of patch repairs so you don’t create trip points or uneven lippage. Use a primer approved for terracotta/tile substrates to improve adhesion, and follow the manufacturer’s thickness limits and cure times. If there’s significant unevenness, you may need to build up with an appropriate underlayment system rather than relying on minimal patching.
Can you install laminate, LVP, or engineered wood over existing terracotta tile, and what should you watch for?
Yes, many click-lock laminate, luxury vinyl plank (LVP), and engineered wood floors can be installed over tile, but the substrate must be stable, clean, and sufficiently level. Use an underlayment system rated for direct coverage over existing tile, and check moisture conditions—especially if terracotta is near exterior walls or basements. Because terracotta tiles can be uneven due to grout lines, you’ll often need a leveling compound or smoothing layer for a long-lasting, quiet installation. Always leave proper expansion gaps per the flooring manufacturer and use transitions where heights change.
Which underlayment or leveling compound is recommended for installing over tile terracotta floors?
Look for a primer and leveling product specifically labeled for “tile over tile” or for use over ceramic/porcelain and similar masonry surfaces. For moisture-sensitive floors, choose an underlayment that includes a moisture barrier (or pair the leveling compound with one) based on your product guidelines. If using underlayment panels or a raised flooring system, ensure the material is compatible with tile substrates and designed to handle point loads. Using the wrong primer, compound, or underlayment can lead to bond failure, hollow-sounding areas, or premature flooring wear.
Why should you test the tile and grout before installing new flooring over terracotta?
Testing ensures the existing terracotta tiles are firmly bonded and won’t move under your new flooring, which can cause cracking, separation, or uneven wear. Walk the surface to identify hollow areas, then press and inspect tiles for movement; re-grout or re-set any unstable sections. It’s also important to evaluate grout depth and surface flatness, since thick grout lines may telegraph through thin flooring like vinyl or laminate. A proper assessment helps you choose the correct preparation method—whether that’s patching, grinding, priming, or leveling—so your installation remains secure and durable.
📅 Last Updated: October 10, 2026 | Topic: How to install over tile terracotta floors? | Content verified for accuracy and freshness.
References
- Google Scholar Google Scholar
https://scholar.google.com/scholar?q=installing+tile+over+existing+tile+terracotta+subfloor+thinset+mortar - Google Scholar Google Scholar
https://scholar.google.com/scholar?q=terracotta+tile+installation+surface+preparation+grinding+etching+thinset - Google Scholar Google Scholar
https://scholar.google.com/scholar?q=tile+installation+guidelines+over+existing+ceramic+tile+backerboard+underlayment - https://en.wikipedia.org/wiki/Floor_tiling
- Thinset
https://en.wikipedia.org/wiki/Thinset_mortar - Grout
https://en.wikipedia.org/wiki/Grout - https://en.wikipedia.org/wiki/Spalling
- https://www.tileusa.com/technical-resources/
- American Cement Association
https://www.cement.org/ - Google Scholar Google Scholar
https://scholar.google.com/scholar?q=How+to+install+over+tile+terracotta+floors?