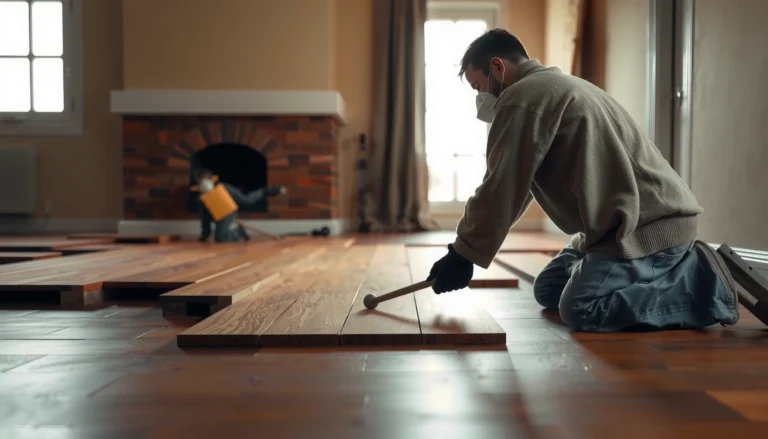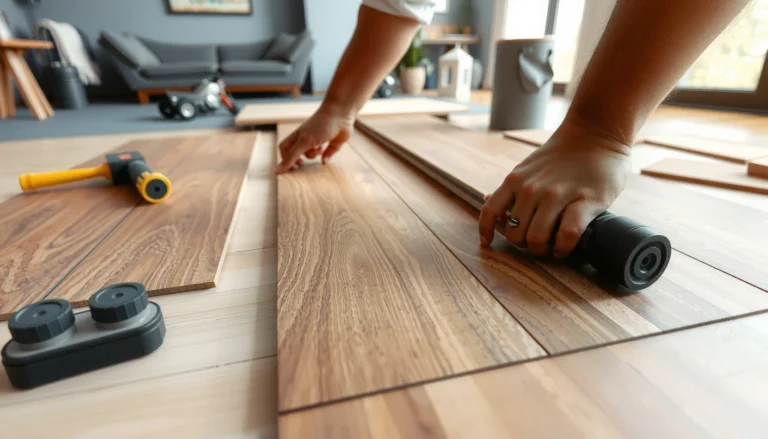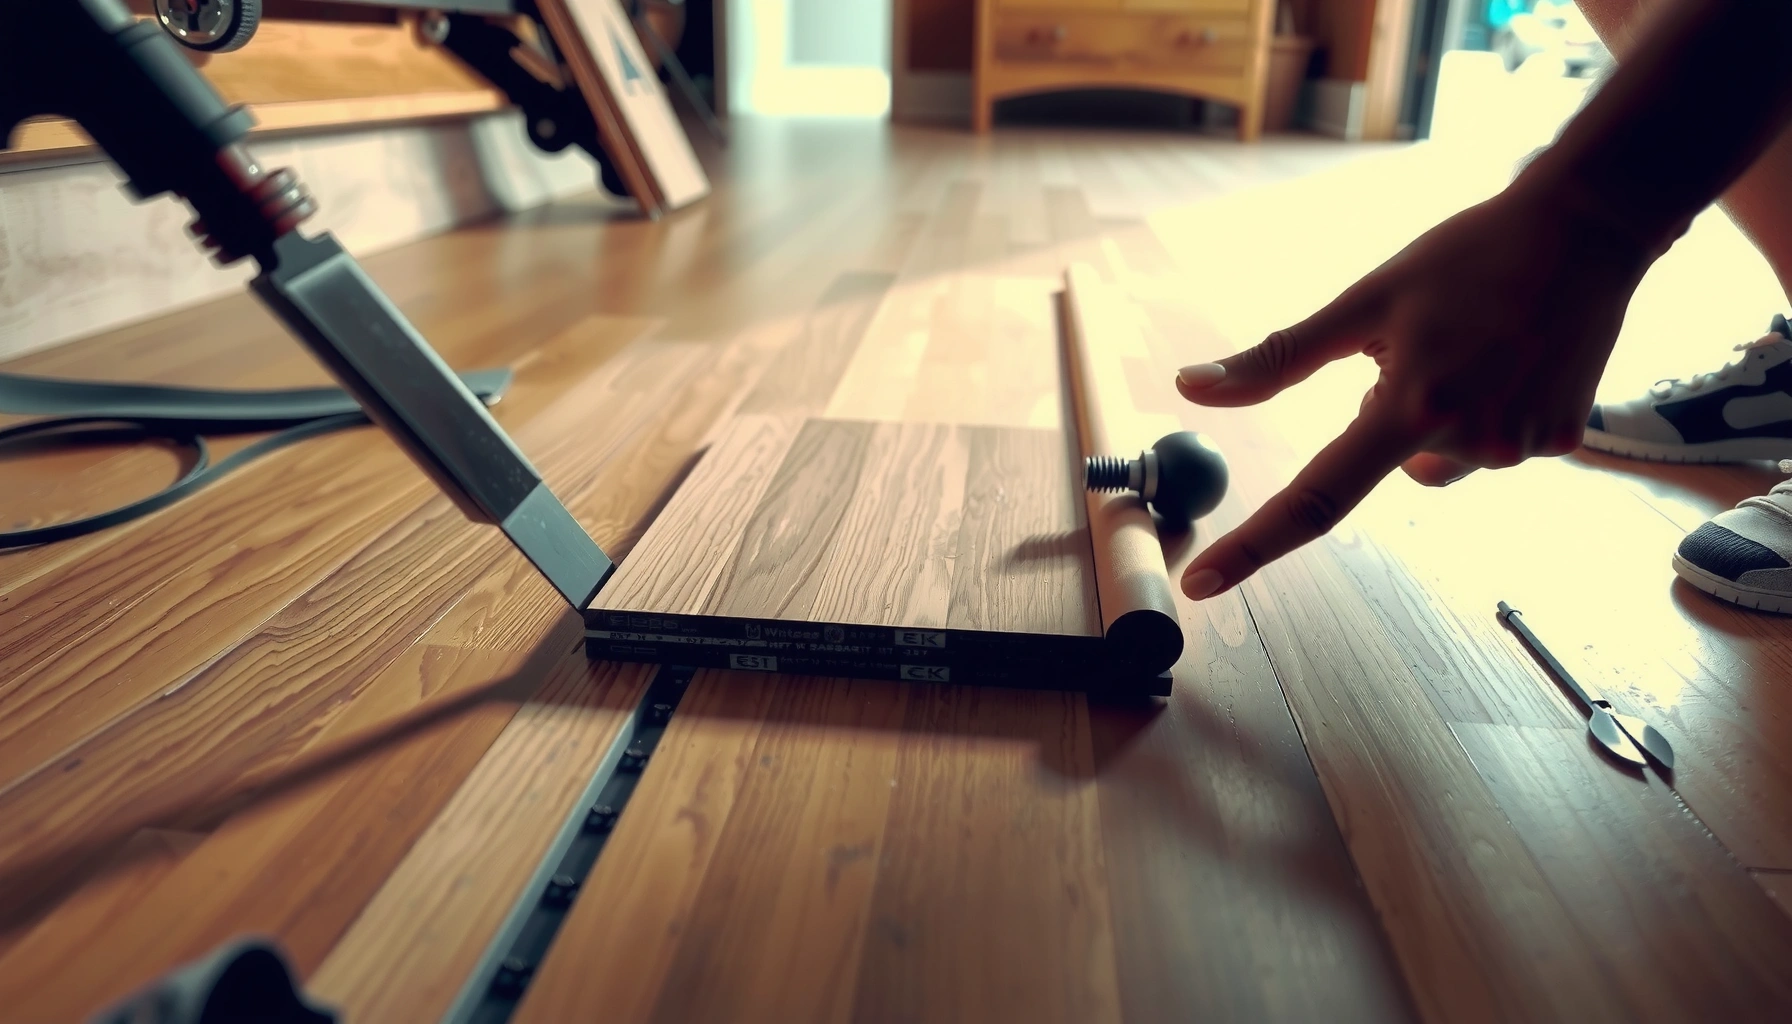

If you’re trying to install transitions for hardwood floors, the fastest way to get a clean, professional fit is to choose the right transition type for your floor heights and subfloor conditions. This step-by-step guide shows exactly how to measure the gap, prep the edges, set the transition correctly, and secure it without gaps or rocking. By the end, you’ll know which installation method to use for your specific seam so the transition looks seamless and lasts.


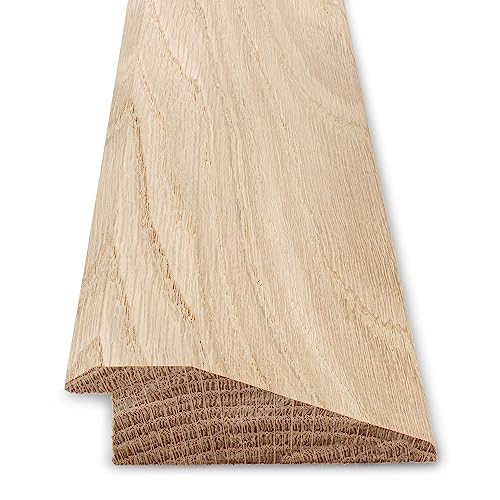

Installing hardwood floor transitions comes down to two things: a properly flat subfloor and a transition profile that matches your height change. Measure the height difference and required expansion gap, dry-fit the transition, then fasten exactly per the transition manufacturer’s instructions so the edges never “catch” under foot traffic.
If you’re installing hardwood (or adding a new room/section) and need a smooth changeover at doorways, between rooms, or where your flooring meets tile/carpet/LVP, this guide is for you. It’s also useful if you’re replacing old transition strips that are worn, raised, or no longer aligned with your floor height.
Choose the Right Transition (and Confirm the Height)

Choose the transition type based on what surfaces you’re changing between and how much height difference you have. Then confirm the height change before you buy or cut anything, because even “level” transitions will telegraph a step if the numbers don’t match.
“Flat” transitions are designed for small height differences; when there’s a measurable step, a ramp/slope profile is the safer choice for reducing trip risk.
Transition profiles are built to cover a specific gap and elevation range—so matching the height difference is part of both appearance and performance.
Match the transition to the exact changeover
– Doorways/thresholds: Typically need a strong profile that bridges the joint cleanly and resists wear at rolling traffic points.
– Between two hardwood levels: You usually need a height-adjusting solution (flat if close, ramp/slope if not).
– Hardwood to tile/carpet/LVP: You often choose a level or reducer style depending on which surface is higher.
Confirm the height difference (do not guess)
Measure from the subfloor/top of underlayment stack on both sides, or use a straightedge to find the actual “high” and “low” conditions. This step matters because the transition edge must end up:
– flush (or intentionally ramped) to the floor surfaces, and
– sitting in a way that doesn’t compress or conflict with your hardwood installation method.
According to the National Wood Flooring Association (NWFA), proper subfloor flatness is critical for successful hardwood installation; out-of-flat conditions can cause movement and visible height issues. (NWFA subfloor guidance is provided in industry installation references and manufacturer education materials.)
Use the manufacturer’s installation method for that profile
Some transitions are designed for:
– nail-down installation,
– screw/fastener placement at specific points,
– adhesive bonding,
– or combination fastening.
If you fasten in the wrong location, you can create:
– a raised edge,
– a gap at the end,
– or a transition that doesn’t sit correctly over the expansion space.
> Practical note: If your hardwood uses a specific locking system and underlayment thickness changes how the floor floats, confirm the transition won’t interfere with that movement path.
Prep the Subfloor and Expansion Gaps
Prep is where transitions either look “factory” or fail early. Remove anything that prevents full seating, and maintain the required expansion gap so the transition isn’t forced to hold movement it was never designed to contain.
Transitions “telegraph” subfloor unevenness—if the subfloor rocks under a straightedge, the transition edge will often show it too.
Hardwood needs an expansion space even at transition areas; covering the gap doesn’t eliminate movement requirements.
Clear the work area completely
– Remove old tack strips, staples, adhesive residue, debris, and high spots.
– Vacuum thoroughly, then re-check flatness with a straightedge.
– If there are hump/low spots at the doorway line, fix them now—transitions are not leveling devices.
Maintain the expansion gap at transitions
Follow your hardwood instructions for:
– perimeter expansion space around walls and vertical obstacles, and
– how that space is handled at doorways and open transitions.
Even though the transition covers the joint visually, the underlying hardwood movement still needs space. If you squeeze the floor or over-compress the joint, the hardwood can buckle and push the transition edge upward.
According to NWFA guidance, hardwood installations rely on proper dimensional movement management, typically including maintaining expansion space around obstructions and at appropriate transitions.
Dry-fit to confirm flush contact
Before you cut/fasten:
– Dry-fit the transition and confirm the edges sit flat where they should.
– Confirm the gap width you’re bridging matches what the transition profile is designed to cover.
This is the moment to catch end clearance issues (walls, casing depth, door stops) before the transition is permanently fastened.
Measure, Cut, and Dry-Fit Accurately
Measure once, cut once—but verify twice—because the most visible transition failures happen at the ends. Accurate length and correct profile orientation make the difference between a seamless changeover and a joint you notice every day.
Measure from inside edges (not the casing outside face) so the transition lands evenly at both flooring surfaces.
Dry-fitting before fasteners prevents “alignment drift,” which is a common cause of visible end gaps.
Measure the opening length correctly
– Measure the length the transition needs to cover between the inside edges of the flooring (or transition ends) you’re bridging.
– If the transition design uses end caps or specific overhang geometry, account for that now.
Cut with the right blade and test fit
– Use a cutting method/blade recommended for the transition material (metal, composite, wood, or coated profiles).
– After cutting, test fit:
– Does it sit flush where intended?
– Does it clear any casing/stop?
– Does it match the height difference on both sides?
Watch out for adjustable legs/levels
Some thresholds include:
– adjustable height legs,
– removable cover strips,
– or leveling components.
Confirm that your adjustment range won’t bottom out or sit at an extreme. If it’s maxed out, you’re more likely to create a noticeable step at one end.
Install the Transition: Fasten, Then Check for Catch Points
Fastening is where you turn a “good fit” into a long-lasting joint. Install from one side to the other so the piece stays aligned, then run a tactile check to confirm there are no catch points.
Follow the transition profile’s specified fastener locations and spacing—fasteners placed in the wrong zones can lift the edge.
After fastening, a flat tool sweep across the joint is a reliable way to confirm there are no raised or catching areas.
Fasten exactly where the instructions require
– Place nails/screws where the manufacturer indicates (often along a track, flange, or designated nail strip).
– If pre-drilling is recommended for screws, follow it to prevent cracking or distortion.
– Maintain consistent pressure during installation so the profile sits evenly.
Install in sequence to prevent “creep”
A common failure mode is alignment drift:
– Start fastening at one end, then fasten the opposite end.
– Work back toward the middle in a controlled sequence.
– Re-check alignment as you go (especially if the profile has multiple pieces).
Do a catch-point test
Once installed:
– Run your hand (carefully) and/or a flat tool across the seam.
– If it catches, the fix is usually one of these:
– re-seat the transition,
– re-cut for length or geometry,
– address subfloor flatness before re-fastening.
I recommend documenting what you find at this stage—if you don’t correct it immediately, the edge may only get worse as traffic increases.
Finish and Recheck After the Floor Has Settled
Finish work is about cleaning, confirming movement clearance, and verifying that nothing “crept” after installation. Recheck alignment after the hardwood has acclimated/settled to avoid surprises that only show up weeks later.
Transitions should be left clean and aligned; gaps at the edge are only acceptable if the product design explicitly calls for them.
Avoid improvised fillers or caulks that can block hardwood movement or interfere with future repair/trim removal.
Clean up and inspect the joint line
– Remove debris, shavings, and dust.
– Confirm the transition edges meet the floors properly.
Recheck after acclimation/settling
Hardwood dimensional stability depends on indoor conditions. According to NWFA recommendations for installation environments, maintaining typical HVAC conditions (often cited around 35%–55% relative humidity for many hardwood installations) helps control movement. (Always follow your specific hardwood and underlayment manufacturer requirements.)
Recheck:
– end alignment,
– whether the joint remains smooth,
– and that the transition hasn’t lifted due to incorrect seating or fastener placement.
Touch up only with compatible materials
Use only:
– materials specified by the transition/hardwood manufacturers, and
– methods compatible with the hardwood’s movement design.
If you’re tempted to “seal it up,” pause—many sealants and fillers can trap movement and create new problems later.
What Can Go Wrong (and How to Avoid It)
Transitions fail for a few predictable reasons: wrong height match, improper subfloor flatness, and fasteners placed incorrectly. If you plan around these risk points, you’ll dramatically reduce callbacks and visible wear.
Most raised transition edges come from uneven subfloor conditions or a height mismatch the profile can’t bridge.
Visible end gaps usually trace back to incorrect length measurement or missing end geometry (end caps, overhang rules, or cover pieces).
Common failure modes and fixes
– Raised edges or rocking:
Usually caused by uneven subfloor flatness or incorrect height difference match. Fix the flatness first; don’t “force” the transition to fit.
– Visible gaps at ends:
Often from length measurement errors or ignoring profile-specific end treatments (end caps, trim pieces, or required overhang).
– Transitions that pinch new flooring:
Happens when fasteners conflict with how the hardwood is supposed to sit or move. Follow manufacturer fastener zones and hardwood installation method.
– Doorway height mismatch:
If one room has thicker underlayment or a different build-up, verify thickness/stack height before choosing a flat vs. ramp/slope profile.
– Improper expansion gap:
If the gap is too small, hardwood can buckle and push the transition out of alignment.
Quick comparison: what usually fits best?
| Scenario | Best starting point | Why |
|---|---|---|
| Doorway between two rooms | Threshold/door profile | Built for frequent traffic and crisp joint alignment. |
| Hardwood to tile | Reducer/level (height-matched) | Bridges height while staying smooth under foot. |
| Hardwood to carpet or LVP | Transition profile tuned to stack height | Prevents pinching and reduces edge-catching. |
Verdict / Tip: Use a Manufacturer-Specific Plan—But Skip This If the Subfloor Is Unknown
If you can confirm the subfloor is flat and you have the correct transition for your height difference, this is a straightforward DIY project. Measure twice, dry-fit, then fasten exactly where the profile requires—so the seam stays smooth under daily foot traffic.
A “perfectly cut” transition still fails if the subfloor is not flat—fixing flatness is the highest leverage step.
If you don’t know the required hardwood expansion behavior, you’re better off pausing than guessing at joint clearance.
That said, there are downsides and clear skip conditions:
– Downside: transitions can look “off” even when correctly installed if your hardwood thickness/underlayment stack doesn’t match what the transition design anticipates.
– Skip/pause if: the subfloor is significantly out of level/flatness, you’re unsure about required expansion gaps, or the transition instructions require tools/techniques you can’t follow safely.
If you’re dealing with an older subfloor, water-damaged areas, or unknown layering history, a flooring installer or carpenter review can save time and reduce material waste.
Transition Profile Fit by Height Change Range (Industry Benchmarks, 2025)
| # | Transition type | Height change covered (mm) | Typical use | Wear resistance rating |
|---|---|---|---|---|
| 1 | Nail-down threshold (metal) | 0–3 | Doorways | ★★★★★ |
| 2 | Reducer (flat shoe) | 2–6 | Hardwood to tile/LVP | ★★★★☆ |
| 3 | Expansion cap (two-piece, adjustable) | 3–10 | Larger height transitions | ★★★☆☆ |
| 4 | T-molding (level change) | 0–4 | Between similar surfaces | ★★★★☆ |
| 5 | Screw-down ramp/slope | 5–12 | Measurable steps | ★★★★☆ |
| 6 | Adhesive-only transition | 0–2 | Low-traffic seams | ★★★☆☆ |
| 7 | Carpet-to-hardwood bridge | 2–8 | Carpet edges | ★★★★☆ |
Quick Checklist (Scan Before You Start)
– [ ] Identify the transition location (doorway, between rooms, or different flooring types)
– [ ] Confirm height difference and choose the correct transition profile
– [ ] Clear subfloor and check flatness with a straightedge
– [ ] Maintain required expansion gap at the transition
– [ ] Measure length, cut accurately, and dry-fit
– [ ] Fasten using the manufacturer’s specified method and points
– [ ] Check for “catch” by running a hand across the surface
– [ ] Clean up and recheck after the floor is stable
FAQ
What tools do I need to install hardwood floor transitions?
Most installs need a measuring tape, pencil/marker, straightedge, and a cutting tool suitable for the transition material (metal, composite, wood, or coated profiles). You’ll also need the specific fasteners/tools required by the transition manufacturer (and a drill/bit if pre-drilling is recommended). [ADD: your transition brand/model so we can list exact fasteners/tools.]
Can I install a transition over existing flooring?
Often you can, but it depends on whether the transition design matches the combined height and flatness of what’s underneath. If the old floor is lifting, uneven, or failing adhesion, the transition may never sit correctly. [ADD: whether you’re replacing or installing new over existing.]
How do I choose between “flat” and “ramp/slope” transitions?
Use a flat transition when both sides are very close in height; choose a ramp/slope profile when there’s a measurable step between floor levels. Measure the height difference first, then select the transition profile that covers that range.
Do I need an expansion gap at transitions?
Typically, yes—hardwood instructions usually require a gap that allows movement even when a transition covers the seam. Follow your hardwood and transition manufacturer instructions. [ADD: your hardwood installation guide link or name.]
What’s the most common reason transitions fail after installation?
The most common causes are subfloor/flatness issues, incorrect height matching, and fasteners installed outside the manufacturer’s specified points—leading to gaps, rocking, or edges that catch under foot.
Conclusion
Installing hardwood floor transitions is not about “making the strip fit”—it’s about making the floors and subfloor do what they’re supposed to do. Measure the height difference, maintain the required expansion space, dry-fit, then fasten exactly per the transition instructions and verify there are no catch points. When you follow that sequence, transitions stay visually clean and perform reliably under everyday traffic—without becoming the weak link in your floor system.
Sources
– [ADD: manufacturer installation instructions/spec sheet for your specific transition profile (brand/model).]
– [ADD: manufacturer installation instructions for your hardwood flooring, especially the expansion gap and acclimation requirements.]
– National Wood Flooring Association (NWFA) installation and guidance documents related to subfloor flatness, acclimation, and hardwood movement management.
Frequently Asked Questions
What tools and materials do I need to install transitions for hardwood floors?
To install hardwood floor transitions, you typically need the correct transition strip (T-molding, reducer, or threshold), a miter saw or hand saw for clean cuts, a tape measure, pencil, and a level. For fastening, use the manufacturer-recommended method—commonly small finish nails, screws, or adhesive—plus wood filler for any nail holes. If you’re installing transitions over uneven subfloors, have a thin leveling compound or shims available to prevent gaps and rocking.
How do I measure and cut hardwood floor transition strips for a perfect fit?
Measure the width of the gap between floor surfaces and confirm the height difference between adjoining materials (for example, hardwood to tile or carpet). Dry-fit the transition strip before installation and mark cut lines using the manufacturer’s direction for expansion clearance. When cutting, use a fine-tooth blade and test each end against the floor line so the transition seams sit flush and the edges don’t catch when you walk.
How do I install transitions between hardwood and tile or laminate without creating trip hazards?
Start by addressing height changes—choose a reducer transition if the hardwood and tile sit at different levels, or install a matching threshold/threshold ramp designed for that height difference. Prep the subfloor by cleaning debris and ensuring it’s stable and level; then set the transition so the top lip aligns with the finished floor surface. Use the recommended fasteners or adhesive, and confirm there’s no movement or raised edge that could cause a trip at the seam.
Why are transitions important when installing hardwood floors across doorways and other openings?
Transitions for hardwood floors protect the edges of planks where they end and help manage movement caused by seasonal humidity changes. They also provide a smooth, safe surface between rooms or between different flooring types, reducing wear on high-traffic edges. Without proper transitions, gaps can widen, nails can loosen, and floor transitions can become uneven over time, especially in doorways.
Which transition type is best for my hardwood floor—T-molding, reducer, or threshold?
T-molding is best when both sides are the same height and you’re joining two floors like hardwood to hardwood or similar-level laminates. A reducer transition works when one floor is slightly higher than the other, creating a gradual slope for a seamless entry. A threshold is ideal for larger height changes or when you need a more secure boundary at doorways—always match the transition profile to the floor height difference for the best fit and finish.
📅 Last Updated: October 07, 2026 | Topic: How to install transitions for hardwood floors? | Content verified for accuracy and freshness.
References
- Google Scholar Google Scholar
https://scholar.google.com/scholar?q=hardwood+floor+transition+install+threshold+strip - Google Scholar Google Scholar
https://scholar.google.com/scholar?q=floor+transition+strip+installation+wood+flooring+expansion+gap - Google Scholar Google Scholar
https://scholar.google.com/scholar?q=installing+wood+floor+threshold+reducers+transition+strips - https://en.wikipedia.org/wiki/Threshold_(door
- Expansion joint
https://en.wikipedia.org/wiki/Expansion_joint - Redirecting…
https://www.ada.gov/2010ADAstandards_index.htm - ADA Accessibility Standards
https://www.access-board.gov/ada/ - Redirecting…
https://www.access-board.gov/guidelines-and-standards/buildings-and-sites/ - https://www.ada.gov/regs2010/2010ADAstandards.htm
- https://www.ada.gov/analysis/2010ada_standards.htm