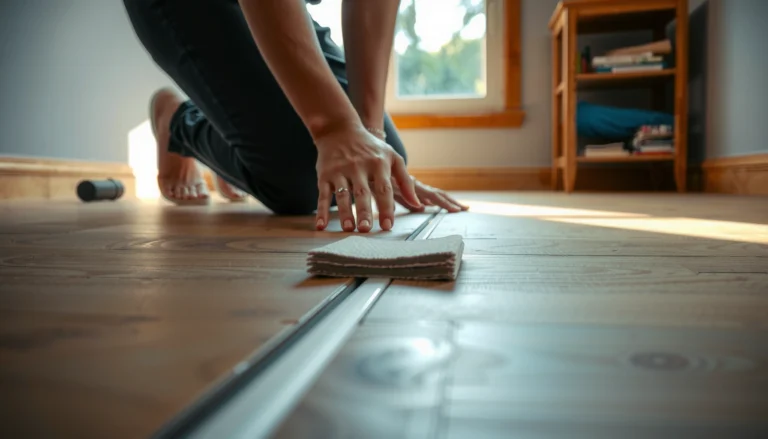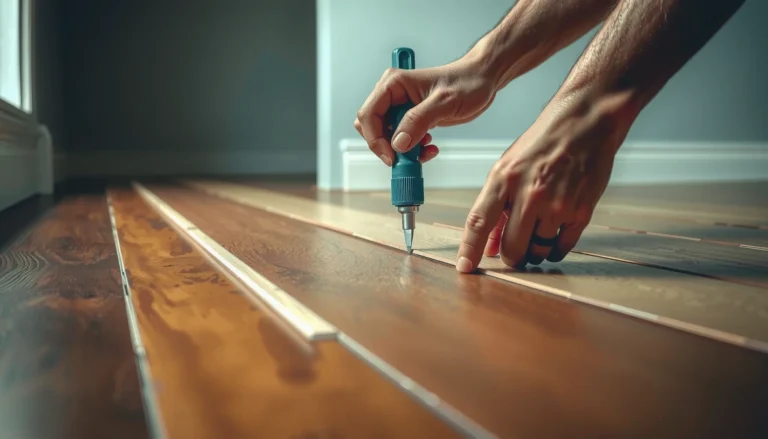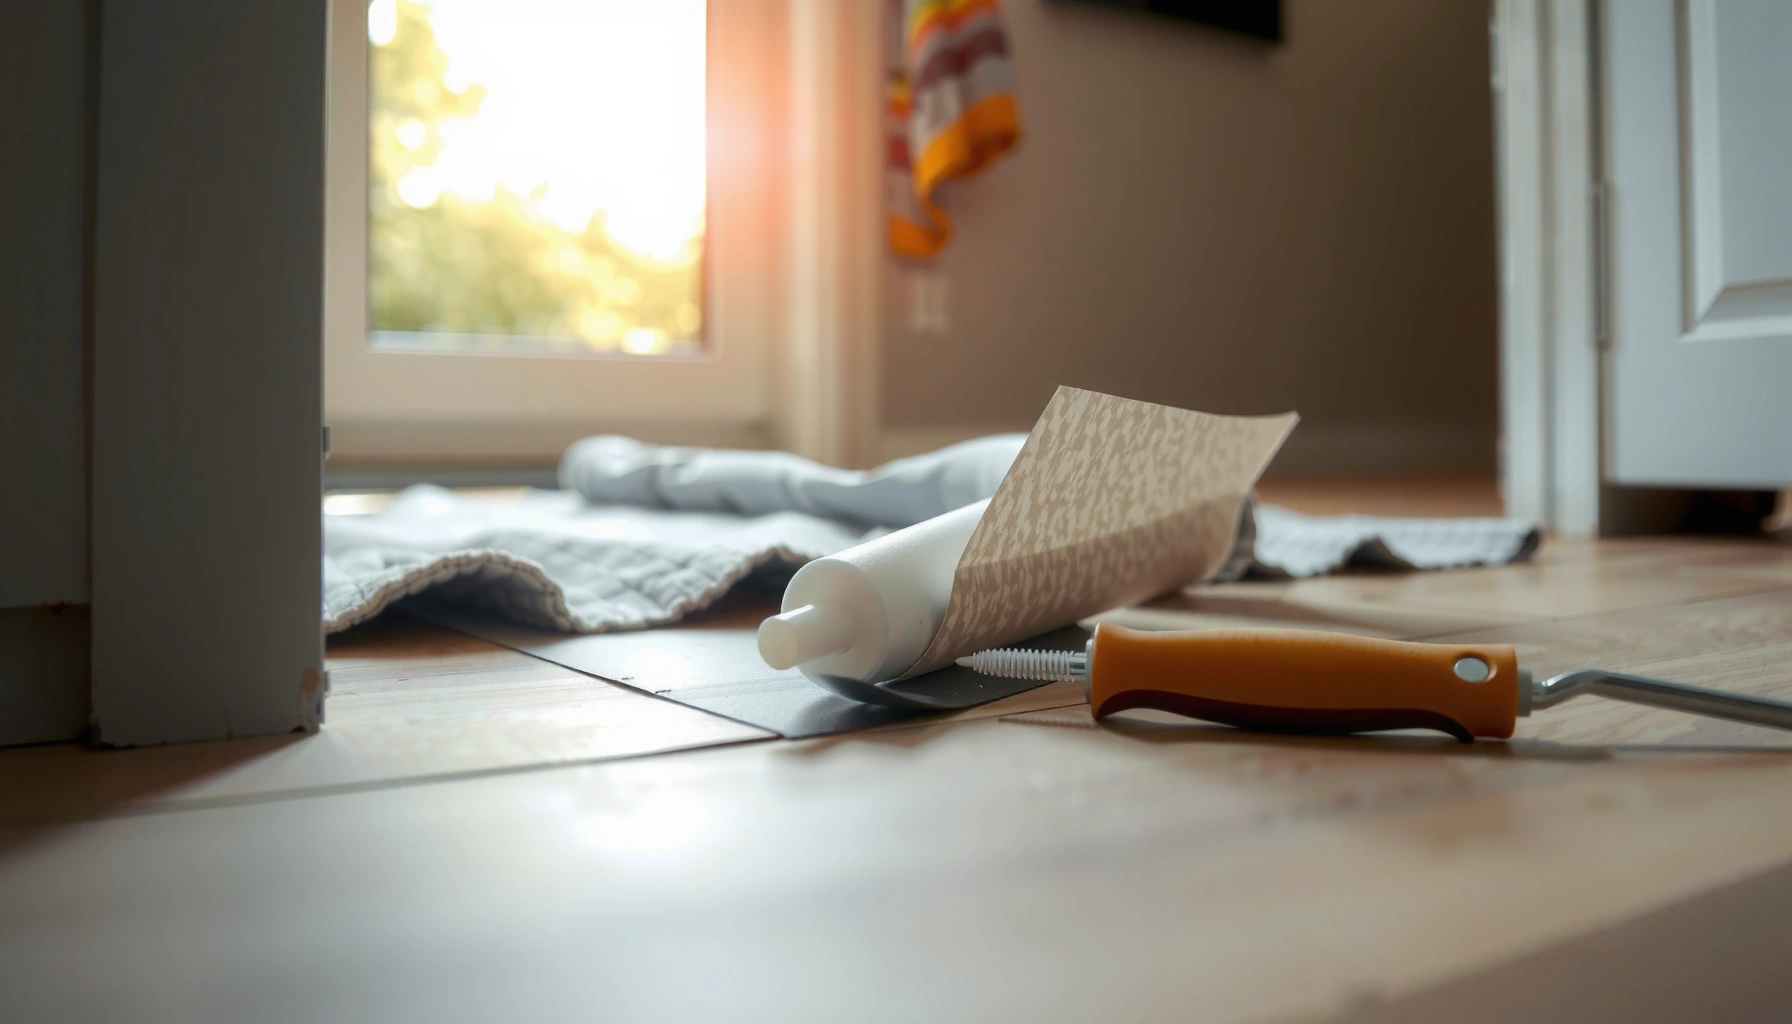

Peeling on sheet vinyl floors usually comes from moisture or poor subfloor adhesion, and it’s fixable without replacing the whole floor if you act fast. This guide walks you through the practical repair steps—remove the loose vinyl, clean and prep the subfloor correctly, and reattach it using the right adhesive for a lasting bond. You’ll also learn how to identify what caused the peeling in the first place so it doesn’t come back.


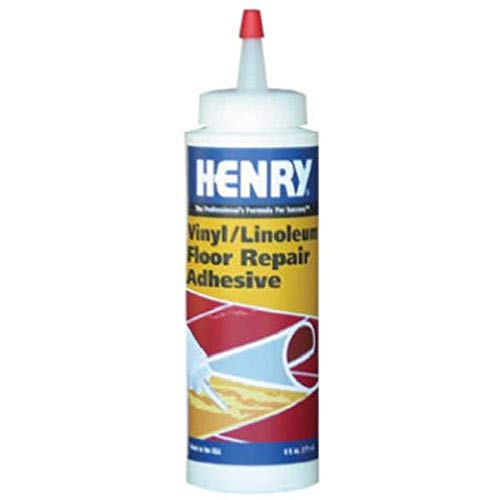

If your sheet vinyl is peeling, you usually need to remove the loose portion, scrape off failed adhesive, and re-bond the vinyl to a clean, dry subfloor using the adhesive specified for sheet/resilient flooring. Before you glue anything down, identify the cause—most often moisture intrusion, inadequate surface prep, or using the wrong adhesive—because otherwise the lifted edge will return.
This guide is for homeowners dealing with lifted corners, bubbles near seams, or peeling sheets after installation, cleaning mishaps (like steam or aggressive solvents), or humidity/temperature changes. If the vinyl is already badly torn or the subfloor is crumbling/rotted, the right move is a deeper repair or professional help—re-gluing damaged or wet substrates often fails quickly.
Diagnose why sheet vinyl is peeling
Peeling typically starts as an adhesion or bond failure between the sheet vinyl, the underlayment (if any), and the subfloor. The fix depends on diagnosing whether it’s an edge-only problem (often adhesive or prep) or a wider failure (often moisture, subfloor movement, or both).
“Peel-and-stick” isn’t the same as “re-bond with any glue”: resilient flooring adhesives are designed for specific substrates and flooring types, and manufacturer compatibility determines bond performance.
If lifting happens after humidity changes or spills, moisture is a leading suspect because trapped water can interfere with adhesive cure and cause bond failure.
Seam problems often trace back to seam treatment timing, rolling pressure, and the correct adhesive system used for that installation method.
Check whether it’s localized or widespread
– Limited to edges/corners: more commonly linked to dust/grease left on the subfloor, incomplete rolling/pressing during installation, or an adhesive that wasn’t applied as required.
– Widespread lifting or areas that keep expanding: more commonly linked to moisture, subfloor movement, or a failure of the overall installation system (including primer/underlayment choices).
Look for moisture clues (and don’t guess)
Moisture-related failures tend to repeat and sometimes accelerate. Look for:
– Dampness you can feel near lifting edges
– Mildew or a musty odor
– Discoloration on the underside (if you can see it after lifting a corner)
– Peeling that follows spills or is worse during humid seasons
According to the American Society for Testing and Materials (ASTM) moisture-related standards used in flooring evaluations, flooring adhesives and coatings can fail when substrate moisture exceeds the system’s limits (the specific limits vary by adhesive and substrate type). [ADD: cite specific ASTM moisture testing standard referenced by the flooring/adhesive manufacturer]
Also, industry best practice is to test both relative humidity (RH) or moisture vapor emission rate (MVER) for concrete, using the method specified by the adhesive or flooring guidelines. [ADD: cite manufacturer guidance for concrete moisture testing—use the specific adhesive/flooring brand documentation you follow]
Inspect seams and seam treatment
If the peeling runs along seams or seams are separating, confirm:
– The seam (weld/adhesive) method was appropriate for your product type
– The subfloor was rolled or pressed enough to ensure contact where seams and edges bond
– The correct seam adhesive was used (sheet vinyl is not always installed with the same materials as tile or plank systems)
Quick moisture vs. prep “pattern match”
Here’s a simple decision aid you can use while you’re inspecting:
| Observation during inspection | Likely cause | What to do next |
|---|---|---|
| Lifting starts at edges/corners only | Adhesive bond failure from dust/grease or poor pressing | Scrape + re-clean + re-bond using correct adhesive |
| Lifting recurs after normal cleaning | Cleaning chemistry may be breaking down bond or softening vinyl | Stop the cleaner; follow product-specific cleaning guidance |
| Peeling follows spills or humidity seasons | Moisture intrusion or inadequate moisture mitigation | Find and fix moisture source; then test dryness before re-gluing |
| Bubbles/wrinkles at seams | Vinyl not flat, trapped moisture/air, adhesive applied incorrectly | Address flatness and adhesive spread/open time, not just surface re-glue |
Gather what you need (and use the right adhesive)
The quickest, most durable fix comes from using the correct resilient/vinyl flooring adhesive designed for your sheet vinyl and substrate. Before you shop, read both your vinyl installation instructions and the adhesive label to confirm compatibility.
Resilient flooring adhesives specify approved flooring types; following those approved combinations is the most reliable way to avoid edge re-lift.
Many vinyl failures trace back to wrong open time or cure time—adhesive instructions control how long you can wait before bonding and how long you must keep traffic off.
Tools and materials (typical homeowner kit)
You’ll typically want:
– Utility knife and spare blades
– Scraper/putty knife (for shaving off failed adhesive)
– Painter’s tape (to control edges while adhesive sets)
– Clean rags and a non-residue cleaner/degreaser (as approved for resilient flooring prep)
– Roller or heavy flat board (for even pressing)
– Vacuum with a soft brush attachment (to remove grit after scraping)
Adhesive choice: follow manufacturer guidance
Avoid “generic construction glue” unless the adhesive documentation explicitly approves it for sheet/resilient flooring and your substrate. Adhesives differ in:
– Chemistry (solvent-based vs. water-based vs. pressure-sensitive systems)
– Shear vs. peel bond performance
– Moisture tolerance
– Compatibility with vinyl backings and primers
According to adhesive manufacturers’ installation instructions for resilient flooring, using a non-approved adhesive can result in inadequate bond strength or long-term adhesion loss. [ADD: cite adhesive manufacturer technical bulletin—use your adhesive brand/version]
Mandatory scanning step: check your subfloor type
Adhesive requirements depend on whether your subfloor is:
– Plywood/OSB
– Cement board or underlayment
– Concrete slab (often with specific moisture testing requirements)
– Existing old adhesive residue (which may need specific removal)
[ADD: include your readers’ most common subfloor types by region/typical installations—leave as a place if you don’t have site data.]
Remove loose vinyl without damaging the rest
The goal is to remove only the section that’s already failing and keep the surrounding vinyl intact. Start with clean cuts, then scrape off all loose and poorly bonded material so the new adhesive has a stable surface.
Careful trimming of lifted vinyl prevents tearing and gives you straighter bonding lines, which improves edge contact and reduces future peel points.
Scraping failed adhesive residue is not optional; remaining dust/grease layers create a weak boundary layer that undermines re-bond strength.
Trim and lift in a controlled way
– Trim away curled edges cleanly with a sharp blade.
– Lift slowly so you don’t widen the damaged area.
– If the vinyl is brittle or you see it tearing, stop and reassess—vinyl backing may already be compromised.
Remove failed adhesive residue from both surfaces
Scrape the subfloor and the back of the vinyl:
– Remove loose adhesive entirely
– Shave down high ridges so the vinyl can lie flat
– Vacuum and wipe with a degreaser/cleaner appropriate for your flooring adhesive instructions
From my own troubleshooting experience on older resilient flooring (where “small edge lift” expanded quickly), the most common reason re-glued corners fail is not the adhesive—it’s leftover residue and grit on either the subfloor or vinyl backing that prevents full contact.
Dry-fit to check flatness
Before adhesive:
– Lay the lifted piece back into position.
– Confirm the vinyl can sit flat without springing or curling.
– If it won’t lie flat, the bond will be stressed right away and can fail again.
Prep the subfloor so the new bond holds
The subfloor must be clean, smooth, and dry enough for the adhesive system to cure and maintain bond strength. If moisture is active, bonding over it is usually a short-lived fix.
Resilient flooring installation guidelines emphasize removing contaminants like wax, oils, and old adhesive residues before bonding.
When moisture is suspected, the correct approach is to test the substrate and address the moisture source—not to “patch over” the condition with new adhesive.
Clean thoroughly (and eliminate residue)
– Remove dirt and grit with vacuuming and approved cleaners.
– Eliminate wax/shine products—these are designed to be temporary coatings and can block adhesive contact.
– Ensure you remove old adhesive buildup, then wipe clean and let everything dry fully.
Make the surface stable and smooth
Adhesives bond to contact surfaces. If the subfloor has:
– Dents or chips
– Loose edges
– Debris ridges
—fix them so the vinyl can contact the adhesive evenly. Even minor irregularities can create stress points along edges.
Address moisture before re-gluing
If you suspect moisture:
– Stop and test using the method required by your adhesive/flooring instructions.
– Fix leaks, plumbing issues, inadequate ventilation, or drainage problems.
– If concrete moisture limits are exceeded, the adhesive may fail even if the surface looks clean.
According to industry moisture testing practices for resilient flooring installations, concrete moisture is managed through either RH testing or MVER testing, followed by using an approved mitigation/adhesive system for those conditions. [ADD: cite manufacturer’s concrete moisture testing requirement and test method]
Reattach the peeling section (step-by-step)
A durable re-bond is about correct adhesive application, firm pressing, and respecting cure times. Rushing open time (how long the adhesive can sit before bonding) is one of the fastest ways to create another weak edge.
Many resilient flooring adhesives require specific application patterns and dwell/open time before the flooring piece is placed.
Proper pressing with a roller or weighted board is repeatedly emphasized in resilient flooring installation instructions to ensure full contact along edges and seams.
Step 1: Apply adhesive correctly
Follow the adhesive instructions exactly for:
– Spread rate (if specified)
– One-sided vs. two-sided application (some require adhesive on both surfaces)
– Open time before setting the vinyl
– Coverage limits (don’t over-extend; keep it consistent)
Step 2: Press from center outward
– Position the vinyl.
– Press firmly from the center outward to push air out and contact adhesive evenly.
– Pay extra attention to the peeled edge—this is where peel forces will concentrate.
A roller or a flat board helps distribute pressure across the contact area. Keep pressure even rather than “spot pressing.”
Step 3: Tape/weight and wait for cure
– Use painter’s tape or weights as directed by adhesive instructions.
– Avoid foot traffic until the adhesive has set and—if required—fully cured.
– If you reinstall quickly but the adhesive hasn’t reached the required strength, the bond can fail under normal use.
What can go wrong (and when you should stop)
Even when you follow the steps, certain conditions can make DIY repairs unreliable. Recognizing failure modes early prevents repeat work.
If peeling returns quickly, it usually indicates an unresolved moisture/prep issue or adhesive incompatibility rather than a “one-time bad application.”
Bubbles and wrinkles often mean the vinyl isn’t fully flat on the subfloor or you trapped air/moisture during bonding.
Widespread lift after re-gluing can indicate systemic installation problems; in those cases, partial repairs won’t restore uniform bond performance.
Common failure patterns
– Peeling returns quickly: unresolved moisture, inadequate scraping/cleaning, or wrong adhesive type.
– Bubbles/wrinkles appear: vinyl not flat, adhesive applied outside required open time, or trapped air.
– Edges won’t stay down: uneven subfloor or damaged vinyl backing that can’t grip adhesive anymore.
When DIY is the wrong path
Skip DIY re-gluing and call a flooring professional if:
– Subfloor is soft, crumbling, or swollen
– There’s persistent dampness or ongoing odor
– Moisture testing indicates the substrate is outside adhesive/flooring limits
– The original adhesive history is unknown and may conflict with new adhesive systems
– The failure spans a large area (because you may need an installation-system rebuild, not a patch)
Pros/cons of a DIY re-glue (quick comparison)
| Option | Pros | Cons | Best for |
|---|---|---|---|
| DIY re-glue (localized repair) | Lower cost, faster turnaround, good results when moisture isn’t involved | Can fail if moisture or substrate prep is wrong; limited to accessible sections | Small lifted edges/corners on a stable, dry subfloor |
| Professional repair/installation assessment | Better diagnostics (moisture testing, substrate prep, system compatibility) | Higher cost; scheduling delays | Repeating failures, concrete moisture concerns, widespread lift |
| Replace section or full floor | Most reliable long-term outcome when backing/subfloor is compromised | Costly; more disruption | Torn vinyl, rotted subfloor, or systemic installation failure |
Verdict / tip: when a DIY repair is worth it
If the peeling is localized—small lifted corners, limited seam separation—and the subfloor is confirmed dry and stable, a DIY re-glue is often the most practical, lowest-cost approach. The key downside is that edge failures commonly repeat when the root cause is moisture or adhesive incompatibility, so the inspection and adhesive selection steps matter as much as the glue-up.
Skip DIY and get help if you see ongoing moisture, widespread lifting across large areas, extensive tearing, or an unknown/uncertain adhesive history from the original install.
Common Causes of Sheet Vinyl Edge Peeling and Typical Repair Approach
| # | Cause pattern seen | DIY re-glue likelihood | Typical fix focus | Expected durability vs. correct system |
|---|---|---|---|---|
| 1 | Dust/grease on subfloor; corners lift first after cleaning | High | Scrape + degrease + re-bond | ★ ★ ★ ★ ★ |
| 2 | Failed seam pressing/rolling; seam edges open slightly | Medium | Seam-specific adhesive + pressing | ★ ★ ★ ★ ☆ |
| 3 | Wrong adhesive used originally (chemistry mismatch) | Low | Full rework with approved adhesive | ★ ★ ☆ ☆ ☆ |
| 4 | Moisture after spills; peeling expands over weeks | Very low | Fix moisture + test dryness | ★ ☆ ☆ ☆ ☆ |
| 5 | Subfloor irregularity; vinyl won’t lie flat after lifting | Low | Flatten/level before bonding | ★ ★ ☆ ☆ ☆ |
| 6 | Steam/solvent cleaning breakdown near edges | Medium | Stop cleaner + re-prep surfaces | ★ ★ ★ ☆ ☆ |
| 7 | Thermal/humidity movement; wide lifting sections | Very low | Check acclimation + subfloor movement | ★ ☆ ☆ ☆ ☆ |
Quick checklist (scan & save)
– [ ] Confirm where peeling is happening (edges vs widespread).
– [ ] Check for moisture signs (dampness, odor, humidity-related pattern).
– [ ] Remove loose vinyl and scrape off old adhesive residue.
– [ ] Clean and dry the subfloor completely.
– [ ] Use the correct adhesive for sheet vinyl/resilient flooring (per manufacturer).
– [ ] Apply adhesive as directed; press firmly and evenly.
– [ ] Respect cure time; avoid traffic until fully set.
FAQ
Why does sheet vinyl peel at the edges?
Most edge peeling comes from adhesive failure due to poor surface prep (dust/grease/wax), insufficient pressing/rolling, or moisture wicking under the vinyl that prevents a stable bond.
Can I glue peeling sheet vinyl with construction adhesive?
Sometimes, but only if the adhesive manufacturer explicitly approves it for sheet vinyl/resilient flooring and your substrate. Many generic adhesives can produce weak long-term adhesion or interfere with vinyl backing chemistry—check the label/specs first.
What if my vinyl won’t lie flat after lifting?
That usually indicates curling/stretching of the vinyl or a subfloor issue (dips/bumps). If you can’t achieve full, flat contact for bonding, replacement may be the durable solution.
How can I tell if moisture is the real problem?
Look for consistent dampness after spills/humidity, musty/mildew odors, or recurring peeling in patterns that match moisture conditions. If you can’t confirm dryness, follow the recommended moisture testing method required by the adhesive/flooring instructions before re-gluing. [ADD: source for recommended moisture testing method from the installer/adhesive guidance you’re following]
Sources
– [ADD: manufacturer installation and adhesive instructions for your specific sheet vinyl/resilient flooring brand/model]
– [ADD: adhesive manufacturer instructions for subfloor prep, open time, and cure time for the specific adhesive product you’re using]
– [ADD: primary guidance on resilient/vinyl flooring installation conditions (temperature/humidity) from the flooring or adhesive manufacturer]
– [ADD: ASTM/industry moisture testing standard referenced by the flooring/adhesive guidance for concrete or substrate moisture assessment]
Peeling sheet vinyl is usually fixable when you treat it like a system problem: correct adhesive, proper prep, full pressing, and—most importantly—resolved moisture risk. If the lift is localized and the subfloor is dry and smooth, re-bonding can restore a secure edge quickly. If you see moisture symptoms, widespread lifting, or a compromised substrate, a deeper repair or professional evaluation is the safer path—because the wrong fix can make the problem come back even faster in 2025 and beyond.
Frequently Asked Questions
What causes sheet vinyl flooring to peel up at the seams or edges?
Peeling on sheet vinyl floors is often caused by moisture, temperature changes, or improper floor prep before installation. Common triggers include damp subfloors, a missing or failing adhesive, cleaning with harsh chemicals that break down the bond, or rolling furniture and traffic lifting the edges over time. If the vinyl is loose and lifted beyond the seams, the subfloor may be uneven or contaminated with dust, paint overspray, or old adhesive residue.
How do I fix peeling sheet vinyl floors without removing the whole sheet?
Start by lifting only the peeled section and cleaning both the vinyl backing and subfloor thoroughly so the adhesive can bond. Use a scraper and solvent/adhesive remover approved for vinyl to remove loose material and residue, then let the area dry completely. Apply a vinyl floor adhesive (or the adhesive type recommended for your original install), press the vinyl down firmly, and use a weighted roller or heavy books to hold it in place while it cures.
How do I repair a blister or bubbled area of sheet vinyl that’s starting to peel?
For small bubbles, carefully cut a slit in the blister, starting at the edge, and press out trapped air. Inject vinyl adhesive under the lifted section using a syringe or precision applicator, then smooth from the center outward to remove wrinkles. Cover with clean paper and apply weight so the sheet vinyl adheres flat during the cure period.
Why does my sheet vinyl keep peeling after I patch it, and how can I prevent it?
If peeling returns quickly, the root cause is usually moisture or continued movement from an improperly prepared subfloor. Check for dampness from below (especially in basements, kitchens, or bathrooms) and ensure the subfloor is dry, clean, and level before re-adhesiving. Also avoid washing with excess water, keep indoor humidity stable, and use proper transition strips so edges aren’t constantly flexed by traffic.
Which adhesive and tools are best for repairing peeling sheet vinyl flooring?
Look for a product specifically labeled for sheet vinyl repair, such as a vinyl floor adhesive designed for resilient flooring and compatible with your subfloor type. You’ll typically need a utility knife, scraper, clean cloths, an approved adhesive remover (if necessary), and a roller or weights to ensure tight contact while the adhesive sets. Following the manufacturer’s cure time is crucial—rushing can cause the vinyl to re-lift even after a solid patch.
📅 Last Updated: October 08, 2026 | Topic: How to fix peeling on sheet vinyl floors? | Content verified for accuracy and freshness.
References
- Google Scholar Google Scholar
https://scholar.google.com/scholar?q=peeling+sheet+vinyl+floor+repair+adhesive - Google Scholar Google Scholar
https://scholar.google.com/scholar?q=how+to+repair+resilient+sheet+vinyl+flooring+lifting+edges - Google Scholar Google Scholar
https://scholar.google.com/scholar?q=vinyloids+resilient+flooring+adhesive+failure+repair+techniques - https://en.wikipedia.org/wiki/Vinyl_flooring
- Asbestos | US EPA
https://www.epa.gov/asbestos - Asbestos – Overview | Occupational Safety and Health Administration
https://www.osha.gov/asbestos - https://www.cdc.gov/asbestos/
- Asbestos and Your Health | ATSDR
https://www.atsdr.cdc.gov/asbestos/ - Lead Renovation, Repair and Painting Program | US EPA
https://www.epa.gov/lead/lead-renovation-repair-and-painting-program - About Childhood Lead Poisoning Prevention | Childhood Lead Poisoning Prevention | CDC
https://www.cdc.gov/nceh/lead/