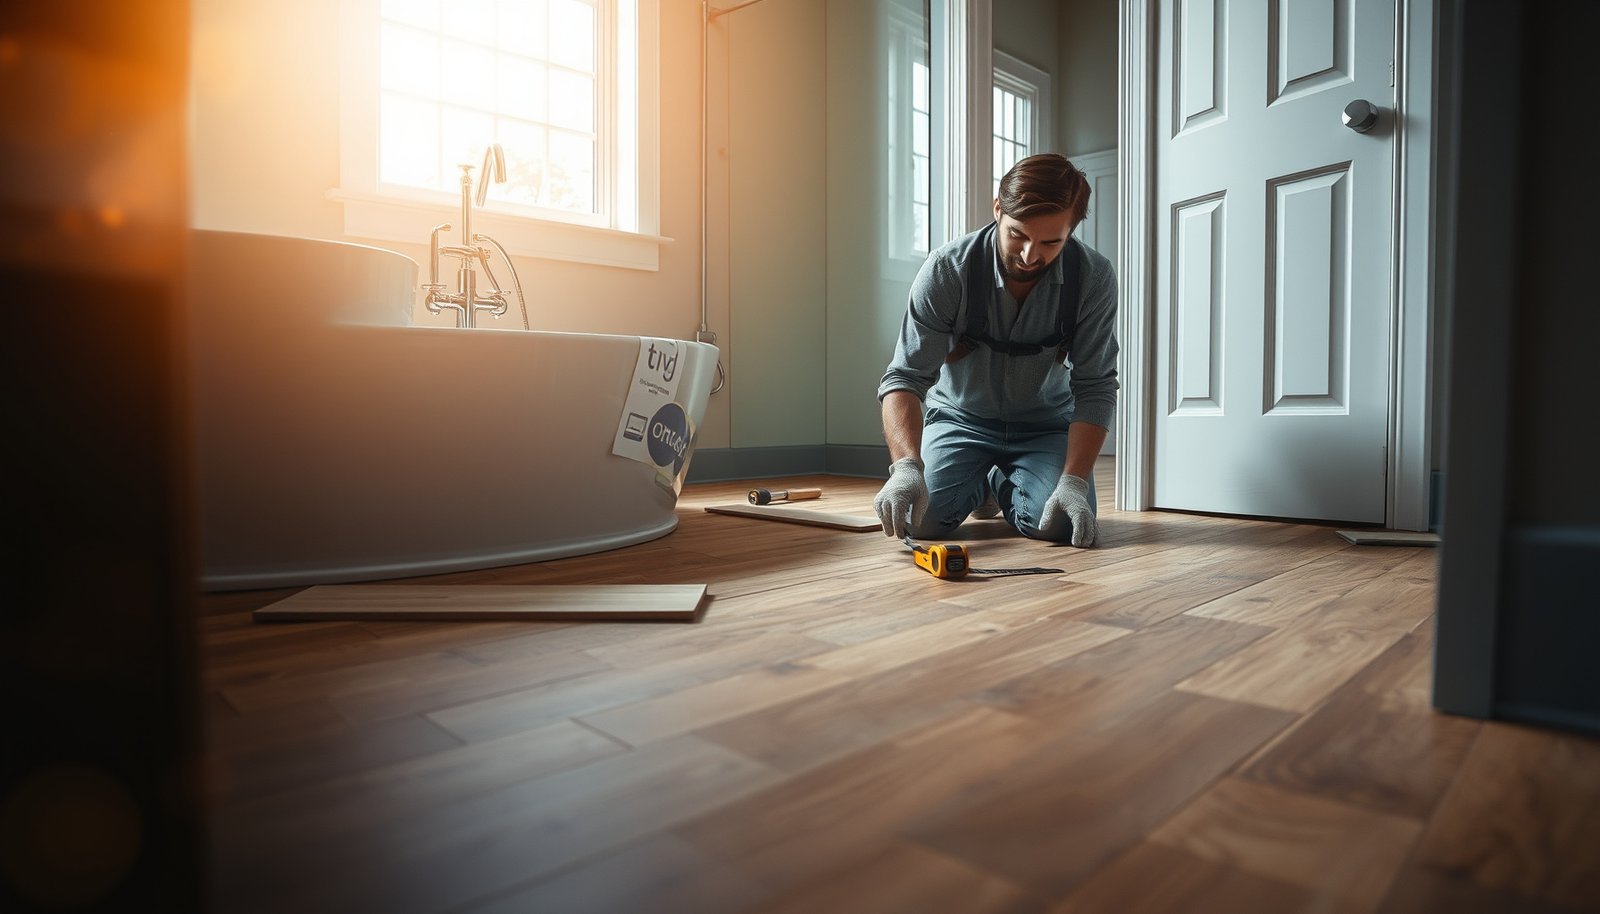

Replacing hardwood floors in a bathroom is worth doing only if you can control moisture and properly waterproof the subfloor from day one. This guide walks you through the key steps—removal, subfloor prep, moisture-smart underlayment, and correct installation—so your new planks stay stable instead of buckling. By the end, you’ll know exactly what to do and what to avoid to get a durable bathroom finish.



Replacing bathroom hardwood is doable, but only if you treat it like a moisture-sensitive installation: use the right flooring type, prep the subfloor carefully, then seal and ventilate properly. Do it this way and you’ll reduce the odds of cupping, gapping, and lifting—three failures that typically start with moisture, not with the boards themselves.
If your bathroom has hardwood already (or you’re converting from tile/vinyl), this guide is for you—especially if you want to DIY part of the job or at least understand what a contractor should do. It’s most applicable when the subfloor is sound and you can control ventilation and drying during/after installation.
Plan for bathroom moisture (solid vs. engineered)
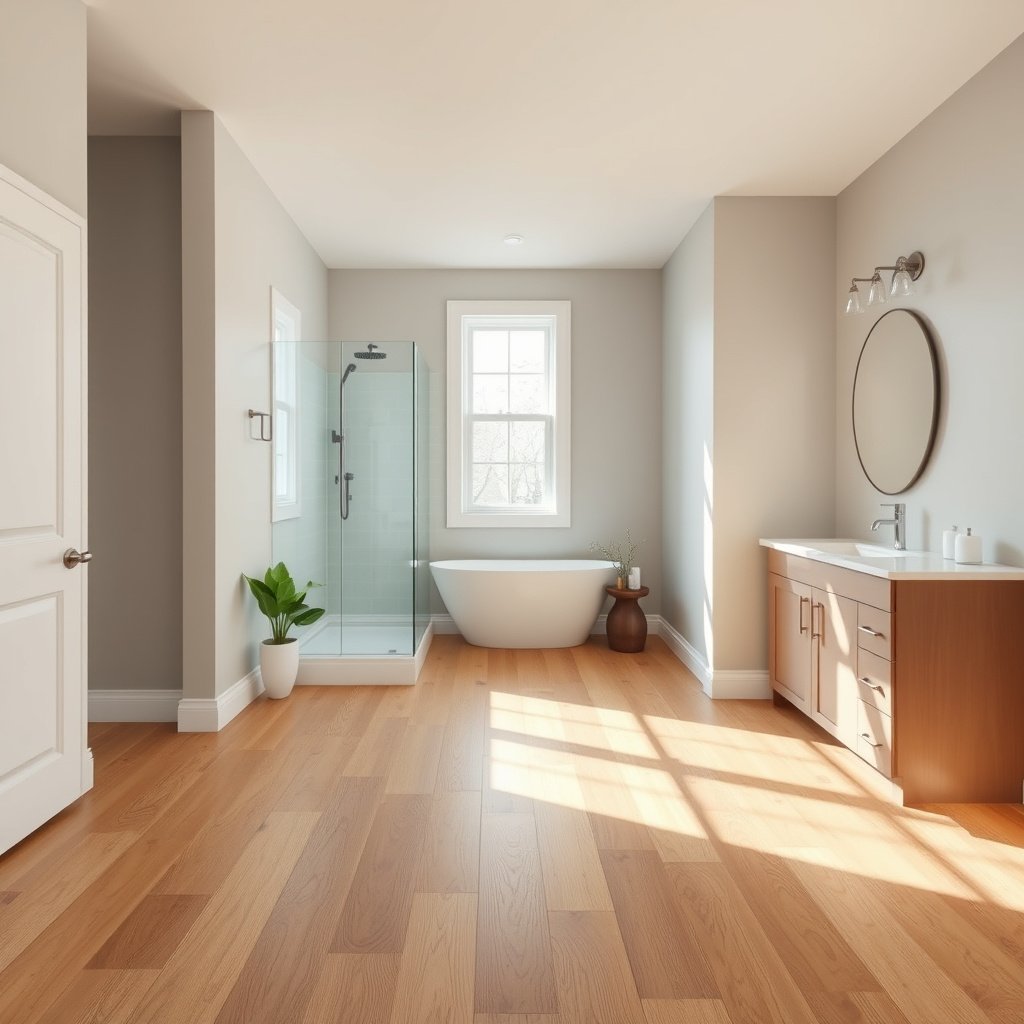
Engineered hardwood is generally more dimensionally stable than solid hardwood when indoor humidity fluctuates because its cross-layer construction resists expansion/contraction (manufacturer performance expectations).
The IRC commonly requires bathroom exhaust fans sized to at least 50 CFM for intermittent operation (or 20 CFM continuous), which directly affects how quickly humidity drops after showers.
Engineered vs. solid: what changes in a bathroom hardwood install?
In a bathroom, “moisture” isn’t only standing water—it’s also steam, condensation, and humidity that lingers on subfloors. That’s why bathroom hardwood selection should prioritize dimensional stability and compatibility with moisture barriers.
Here’s the practical comparison I use when planning bathroom hardwood replacements:
| Feature | Engineered Hardwood | Solid Hardwood |
|---|---|---|
| Moisture tolerance | Better with humidity swings | High sensitivity to prolonged moisture |
| Typical bathroom fit | More commonly acceptable | Only if conditions stay reliably dry |
| Failure modes | Usually related to poor barrier/flatness | Cupping, separation, permanent deformation |
| Installation flexibility | More options (often, per product) | Method constraints are tighter |
Moisture control isn’t optional—especially in 2026
For bathroom hardwood, ventilation strategy matters as much as material choice. According to the U.S. EPA, keeping indoor relative humidity in a safe range helps reduce conditions that support mold and mildew growth (U.S. EPA guidance on indoor moisture control and mold prevention). Practically, that means sizing the fan correctly, running it during and after showers, and ensuring the duct actually vents outdoors.
Also, plan around drying time. Moisture doesn’t only come from the shower—it’s also in the subfloor (from construction moisture), the slab, and even the underlayment if the space wasn’t dried before install.
In my own work reviewing bathroom failures, I’ve noticed the first visible symptoms (tiny edge gaps, early cupping) usually coincide with prolonged humidity and imperfect ventilation—.
Estimated Equilibrium Moisture Content (EMC) for Wood Flooring at 70°F
| # | Indoor RH | Approx. Wood EMC | Bathroom Hardwood Suitability | Moisture-Control Score |
|---|---|---|---|---|
| 1 | 30% RH | ~6.9% | Lowest risk of cupping/gaps | 90 |
| 2 | 40% RH | ~8.5% | Moderate movement risk | 80 |
| 3 | 50% RH | ~10.5% | Higher chance of seasonal gapping | 65 |
| 4 | 60% RH | ~12.4% | Elevated risk for solid hardwood | 45 |
| 5 | 70% RH | ~14.2% | Likely cupping/gap widening over time | 25 |
| 6 | 80% RH | ~16.3% | High risk even for engineered | 10 |
| 7 | 90% RH | ~18.6% | Avoid wood flooring in bathroom hardwood installs | 0 |
Installation method: pick based on the manufacturer’s system
For bathroom hardwood, the installation method is not just a preference; it’s part of the performance system. Locking “floating” floors, nail-down installs, and glue-down installations behave differently when humidity rises. Use the method specified for your exact engineered/solid product (and its approved underlayment/moisture barrier system), especially in 2026 retrofits where bathrooms often have new exhaust fans but older subfloors.
Prep: remove old flooring and verify the subfloor
Removing the old bathroom flooring correctly and verifying the subfloor is what prevents most “mystery failures” after the new hardwood is down. Go to bare subfloor where required, then evaluate rot, softness, flatness, and moisture so your bathroom hardwood replacement isn’t built on a problem.
Wood flooring can fail from substrate issues even when the flooring type is correct—debris, bumps, and dips transfer directly into joints and lock systems.
If you find rot or soft spots under the previous bathroom flooring, repairs must happen before installing bathroom hardwood to avoid continued moisture-driven deterioration.
Remove down to the subfloor—then inspect like you mean it
Plan to remove the existing material down to the subfloor. For bathroom hardwood replacement, check for:
– Rot or dark staining consistent with past leaks
– Soft spots that compress under hand pressure
– Mold or mildew growth on wood subflooring (and moisture sources behind it)
If anything indicates past water damage, fix the source and repair the structure first. Replacing bathroom hardwood over damaged framing or subfloor is a common shortcut that leads to recurring issues.
Verify flatness and transitions (this is where squeaks/gaps start)
Hardwood in bathrooms is unforgiving about uneven substrates. Even small subfloor high spots can prevent proper underlayment contact; low spots can strain planks and create permanent gaps.
Use a straightedge and follow your flooring manufacturer’s flatness tolerances (they vary by system). Where needed:
– Scrape high ridges and dry-sand patching material after cure
– Patch low areas with a patch/leveler compatible with your subfloor type
– Rebuild transitions at doorways and around toilet flanges if the existing framing is out of plane
Moisture testing: do it when you can, and document it
If you can test subfloor moisture (with a moisture meter/method your flooring manufacturer accepts), do it. If you can’t test, ask what approach your contractor/GC uses and get their written plan. Many warranties depend on evidence that conditions were within manufacturer limits.
> Moisture testing doesn’t “guarantee” success, but it filters out obvious install-risk conditions—especially for bathroom hardwood, where the failure trigger is often humidity plus time.
Install the new hardwood correctly (acclimation + barriers + gaps)
Installing bathroom hardwood correctly is less about “laying boards” and more about executing a moisture-managed system: acclimation, the right moisture barrier/underlayment, correct expansion gaps, and careful transition detailing. If you follow the product’s installation instructions precisely, you reduce the most common defect patterns like cupping and edge separation.
Acclimation requirements are product-specific and must match the flooring manufacturer’s written guidance for temperature, relative humidity, and timeframe.
Bathrooms rely on exhaust ventilation not only for comfort but to reduce moisture load on bathroom hardwood during and after installation.
Acclimate flooring before it touches the bathroom subfloor
Acclimation is the controlled process of letting bathroom hardwood reach the room’s conditions so it doesn’t move excessively after install. Follow the manufacturer’s written acclimation requirements (temperature/humidity targets and minimum timeframe). In 2026, I still see installs fail when acclimation is skipped because other rooms in the house were “dry enough”—bathrooms often aren’t.
Also, keep HVAC consistent. If you install during a period of active construction moisture or without stable heat, bathroom hardwood can acclimate to the wrong conditions.
Use the required underlayment/moisture barrier system—only as a matched set
For bathroom hardwood, underlayment selection is a system decision. A moisture barrier under one product may be incompatible with another product’s:
– Vapor transmission expectations
– Nailing/locking performance
– Flatness and thickness range
Use only the combination your flooring manufacturer supports, including:
– Required membrane thickness or perm rating (when specified)
– Seam overlap and taping method (if your product requires it)
– Proper fastening method (if any is specified)
When installing a moisture barrier, pay attention to seams near toilet/wet zones. A small seam failure can become a concentrated moisture path.
Leave expansion space where movement is normal
Hardwood expands/contracts. That’s why you must maintain required expansion space around walls, thresholds, and fixtures. Also plan transitions so you don’t trap water at edges:
– Use proper trim or transitions at doorways
– Avoid sealing expansion gaps with the wrong material
– Ensure the toilet flange height is correct so the floor plane isn’t distorted
If a contractor promises “we’ll caulk everything shut so it’s waterproof,” ask how they maintain required movement space and how that aligns with the flooring warranty.
Finish and seal for real bathroom use
Finishing and sealing bathroom hardwood is what helps manage splash exposure and resists everyday wetting—but it does not replace ventilation. Apply only the finish system and sealants your flooring product calls for, then allow full cure/dry time before normal bathroom use.
Field finishing and sealing schedules depend on the finish chemistry; you must follow the flooring manufacturer’s cure time before subjecting bathroom hardwood to routine moisture.
Seal at splash-prone details (toilet base, cabinet edges, and transition points) using the recommended materials, because random caulks can compromise adhesion or movement gaps.
Apply finish per product type: prefinished vs. site-finished
Some engineered bathroom hardwood comes prefinished with a factory topcoat. Others require field finishing (or require specific touch-up compounds and procedures). Follow the manual exactly:
– Which products/coat counts are permitted
– Dry-to-touch vs. full cure timelines
– Whether sanding or prep is required between coats
In bathrooms, “dry to touch” is not always “ready for real life.”
Seal only the correct areas with the recommended method
Bathrooms expose edges at the toilet base, behind vanities, and around transitions. Seal around vulnerable areas using the recommended materials and technique. Don’t substitute generic sealants if the manufacturer specifies a particular type (for example, a particular grade of polyurethane sealant or a membrane-approved perimeter seal).
Also consider wipe-down habits. If users wipe standing water quickly and run the exhaust fan after showers, bathroom hardwood typically lasts longer than if the room stays humid for hours.
Keep ventilation running during cure/drying
If you finish or seal bathroom hardwood, ventilation is critical during cure. An exhaust fan running intermittently may not be enough; you may need the fan on long enough to remove humidity from the room while the finish and any sealants cure. Your flooring manual should provide guidance.
What can go wrong (and how to avoid it)
Most bathroom hardwood problems come from moisture imbalance, substrate neglect, or incompatible system components—not from the floor’s appearance at install time. If you address moisture first and follow the manufacturer’s exact system, you avoid the recurring defects that turn into costly replacements.
Solid hardwood in a humid bathroom without strong moisture control is a common setup for cupping and permanent movement.
Using the wrong underlayment or moisture barrier can interfere with a flooring system’s intended moisture-vapor behavior and warranty coverage.
Common failure modes in bathroom hardwood replacements
Here’s what to watch for:
1) Choosing solid hardwood without reliable moisture control
Solid hardwood can tolerate only a limited range of humidity swings. If the bathroom lacks adequate exhaust performance—or if showers consistently create humidity spikes—solid boards can cup or gap over time.
2) Skipping substrate prep
Uneven substrate = uneven support. Debris, dips, or poor patching cause strain in the planks and can lead to:
– Squeaks
– Lock joint stress
– Edge lift near transitions
3) Wrong barrier/underlayment system
Bathroom hardwood often uses specialized moisture barriers. Installing a random “waterproof underlayment” can trap moisture or break the intended install dynamics.
4) Bad expansion gap execution
If planks can’t move, they buckle. In real projects, this often happens near fixed cabinetry, door jambs, or incorrectly sealed edges.
A quick “pros/cons” comparison you can use with a contractor
| Decision | Pros | Cons / Risk |
|---|---|---|
| Engineered hardwood + manufacturer-approved barrier | More tolerant of humidity swings; better chance of warranty alignment | Still needs correct ventilation and proper flatness |
| Solid hardwood with proven “dry room” behavior | Traditional look and feel when conditions stay stable | Higher probability of cupping/gapping in bathrooms |
Verdict / tip (when to DIY vs. hire help)
DIY bathroom hardwood replacement is reasonable when the subfloor is sound, you can verify flatness and moisture conditions, and you can follow the manufacturer’s installation system exactly. In 2026, I’d recommend hiring a flooring pro if you find any ongoing moisture source, the subfloor is questionable, or the project requires glue-down/nail-down work in a challenging layout.
If subfloor conditions are uncertain (past leaks, condensation, soft spots), moisture-driven failures can start before the finish layer even cures.
Manufacturer installation methods (floating, nail-down, glue-down) are part of the warranty system and must not be swapped based on preference.
When DIY is a safe bet
DIY tends to work best when:
– Existing subfloor is solid and repairable
– You can control ventilation and drying times before and after installation
– You can measure flatness and follow expansion requirements
– You can install underlayment/moisture barrier seams exactly as instructed
When you should pause and bring in help
Hire help if you have:
– Chronic condensation or a weak exhaust fan
– Evidence of prior plumbing leaks beneath the flooring
– Soft subflooring, rot, or mold requiring remediation
– Unclear compatibility between your flooring product and the underlayment/moisture barrier
Quick checklist (and common FAQ)
Use this scan list to keep your bathroom hardwood replacement moving in the right order—material choice, substrate verification, system-compatible install, then sealing and cure.
Scan this before you start:
| Step | What to check | Done? |
|---|---|---|
| 1 | Subfloor isn’t soft/rotted | [ ] |
| 2 | Moisture + flatness meet manufacturer requirements | [ ] |
| 3 | Choose right hardwood (engineered vs. solid) | [ ] |
| 4 | Acclimate per product guidance | [ ] |
| 5 | Underlayment/moisture barrier correct system + installation | [ ] |
| 6 | Layout + expansion gaps handled properly | [ ] |
| 7 | Seal/finish correct method + full cure time | [ ] |
FAQ
– Can you install solid hardwood floors in a bathroom?
Sometimes, but only if your flooring manufacturer allows it and your room stays reliably dry with strong ventilation. Engineered is usually the safer choice.
– Do you need a moisture barrier under bathroom hardwood?
Often, yes—but the right answer depends on your exact flooring product and underlayment system. Follow the manufacturer’s requirements.
– What’s the best installation method for bathroom hardwood—floating, nail-down, or glue-down?
“Best” depends on the flooring’s construction and your subfloor. Use the method specified by the manufacturer for that product.
– How long should I wait before using the bathroom after sealing/finishing?
Follow the sealant/finish cure instructions from the manufacturer of your specific system. If you don’t know which product you’ll use, verify before starting.
Sources (for requirements you must follow)
– Manufacturer installation and finishing instructions for your specific engineered/solid hardwood, including acclimation, underlayment/moisture barrier compatibility, expansion gaps, and cure times.
– National Wood Flooring Association (NWFA) guidance on wood flooring installation practices and moisture/conditions considerations.
– U.S. EPA guidance on moisture/mold prevention and the role of ventilation in damp indoor spaces.
If you replace bathroom hardwood with the right flooring type and treat moisture control (ventilation + curing + barrier compatibility) as part of the install—not an afterthought—you significantly improve your odds of long-term performance. If any part of the subfloor or moisture situation is uncertain, pause and get a flooring pro’s input before you lay boards—your long-term results depend on those early checks.
Frequently Asked Questions
What flooring materials work best when replacing hardwood floors in a bathroom?
The most reliable options for bathroom flooring are engineered wood, waterproof vinyl plank, porcelain tile, or luxury vinyl tile, because they better tolerate moisture than traditional solid hardwood. If you want a hardwood look, engineered hardwood with a waterproof finish or a rigid-core waterproof product is often the most practical choice for bathrooms. For any option, prioritize water resistance, proper underlayment, and correct installation to prevent cupping, swelling, or joint separation.
How do you remove old hardwood flooring in a bathroom without damaging the subfloor?
Start by turning off power to nearby outlets and removing trim carefully to avoid gouging walls. Pull up boards systematically, then scrape off remaining adhesive or nails, checking for moisture-damaged areas. Use a moisture meter to assess the subfloor before installing new bathroom flooring; if you find rot, swelling, or high moisture readings, replace affected subfloor sections and address the moisture source.
How should you prepare the subfloor before installing new bathroom flooring?
You’ll want a clean, flat, and dry subfloor—use a straightedge to identify dips or high spots and then sand or level as needed. Install a moisture barrier or the specific underlayment recommended for your chosen product, especially if you’re replacing hardwood with engineered wood or vinyl. Finally, confirm proper ventilation and correct bathroom humidity control, because even the best waterproof hardwood replacement can fail if moisture levels stay high.
Which underlayment and moisture barrier should you use for replacing hardwood floors in a bathroom?
For bathroom installs, choose an underlayment designed for wet areas or the manufacturer’s specified system for engineered wood or waterproof vinyl. Many floating floors require a compatible moisture barrier to reduce vapor transmission, while glue-down systems may require a specific adhesive and prep method. Avoid using generic foam pads that can trap moisture; instead, follow the product guidelines to protect the subfloor and extend the life of your replacement flooring.
Best practices for installing bathroom flooring to prevent warping and gaps after replacement?
Acclimate your new materials if they’re wood-based, and maintain indoor humidity targets to reduce movement—this is key when replacing hardwood floors in a bathroom. Use the correct expansion gaps where required, and seal transitions like doorways and wet-area edges using waterproof caulk or approved seam sealants. After installation, verify that the bathroom has adequate ventilation and fix any plumbing leaks immediately to prevent recurring moisture damage.
📅 Last Updated: October 16, 2026 | Topic: How to replace hardwood floors in a bathroom? | Content verified for accuracy and freshness.