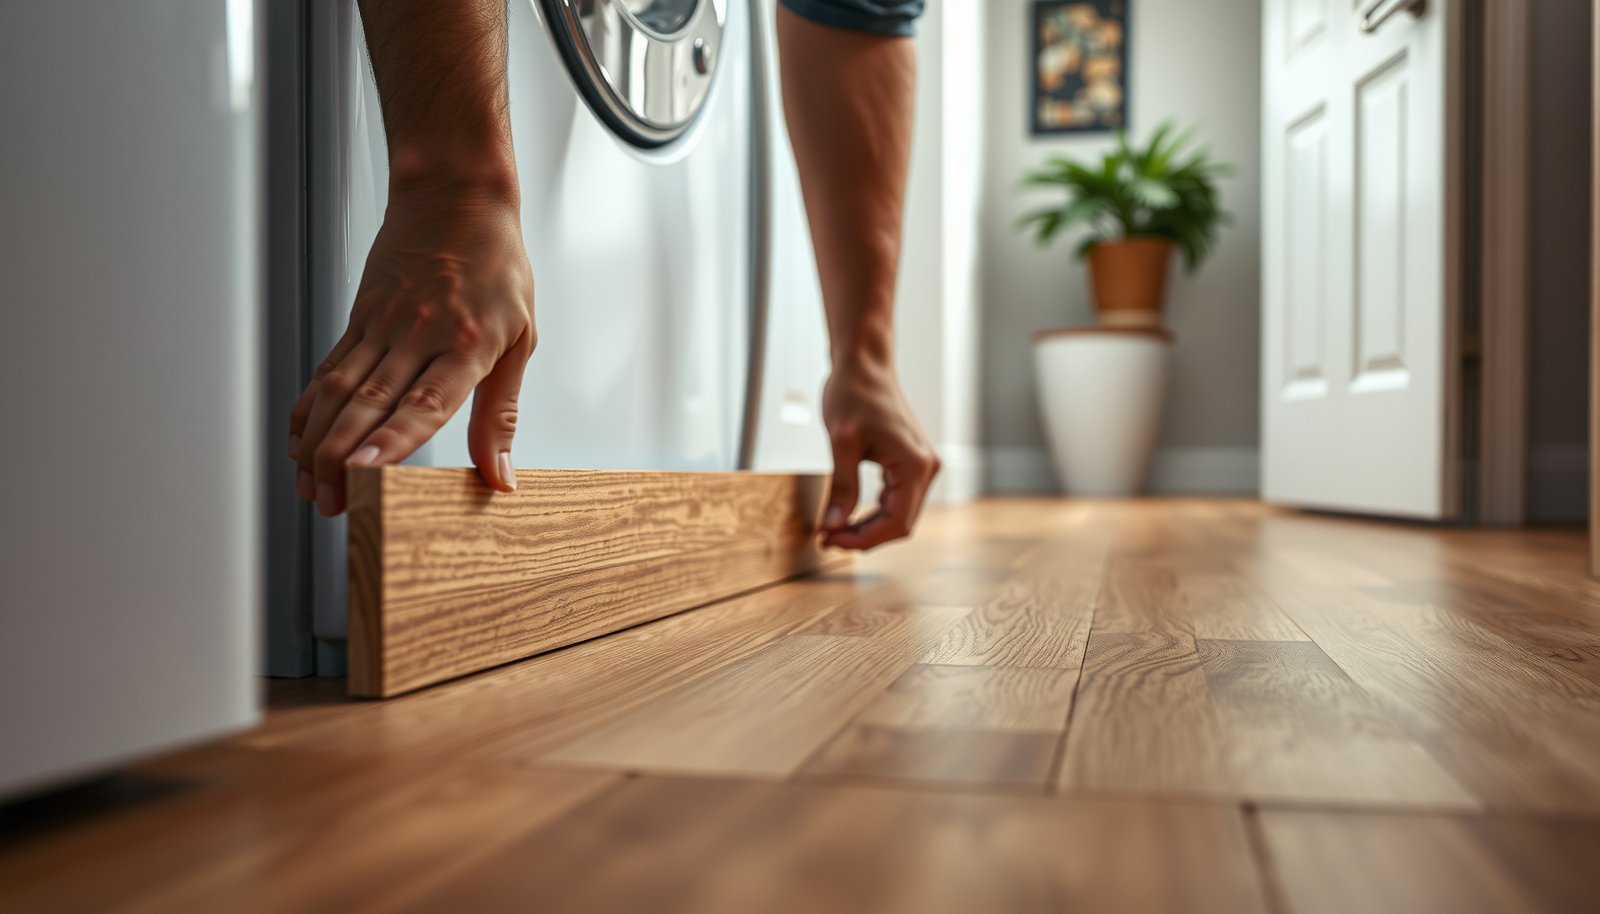

Installing transitions around engineered wood floors in a laundry room is easiest when you choose a matching transition profile designed for wet areas and nail/screw it to the subfloor—not the floating boards. This guide tells you exactly how to measure the gap, prepare the floor edges, and seal the joint so water and detergent spills don’t work their way underneath. If you want a clean, durable finish that won’t lift or separate at the seams, follow the steps for the right transition type and installation method.




Install transitions around engineered wood floors by keeping the flooring’s expansion gap intact and fastening the transition to the subfloor—not the floating planks. This approach is what prevents visible gapping and helps the joint tolerate laundry-room humidity. When you install transitions around engineered wood floors in a laundry room, you need to keep the flooring’s expansion gap and fasten/attach the transition to the subfloor (not the floating planks). The “right” method depends on the transition type—threshold, reducer, or T-molding—and how your floor heights line up. This guide shows you how to measure, prep, install, and seal so the joint handles laundry-room moisture.
This is for homeowners tackling a laundry-room remodel where engineered wood meets tile, vinyl, carpet, or a different height of flooring. It’s especially relevant if you’re worried about water exposure and visible gaps at the doorway or edge of the room.
Choose the right transition for engineered wood + laundry rooms

The right transition is the one that matches your seam and height change while still allowing the engineered wood to move as a floating floor. In a laundry room, choosing the correct profile (and finish) matters because spills and humidity stress any joint that’s trying to “lock up.”
A floating engineered wood floor still needs a perimeter/expansion gap, even at transitions—your transition must cover the gap without pinning the planks.
Thresholds, reducers, and T-moldings are designed for different edge conditions, so the “wrong” profile often shows up as catching feet, uneven wear, or separated edges.
In laundry rooms, material selection (typically metal or engineered composite) is more forgiving than wood at splashes and routine humidity swings.
Match transition type to the floor junction
Pick the transition profile that matches the joint: threshold (doorway), reducer (height differences), or T-molding (between two wood floors/adjacent surfaces). Here’s the practical intent behind each:
– Threshold: Bridges an entry/doorway where two surfaces meet end-to-end and you want a stable, walkable edge.
– Reducer: Smooths a height difference (for example, engineered wood meeting ceramic tile) so you don’t create a lip.
– T-molding: Handles a center seam between two floors at the same general height, often the most common solution when two floating zones meet.
Choose a moisture-tolerant finish and attachment method
Use a transition material and finish that fits the environment (laundry rooms are prone to humidity and splashes). Also confirm the manufacturer’s instructions for whether the transition is designed to be installed over expansion space or requires a specific gap size—this is where many “almost fits” installations fail.
Quick context data point (expansion gaps): According to the , perimeter expansion gaps are commonly in the ~1/4 in (6 mm) range for floating installations (). Always follow your specific engineered wood manufacturer’s installation guide over general rules.
Pros/cons: pick by seam behavior
- Threshold
- Pros: Best at doorways and high traffic; stable edge; covers the seam cleanly.
- Cons: Requires good alignment at the doorway and correct height so it doesn’t “rock.”
- Reducer
- Pros: Fixes height transitions; reduces trip hazards; distributes wear.
- Cons: If the height difference is mismeasured, the reducer edge becomes either too proud or too recessed.
- T-molding
- Pros: Helps keep a neat center seam between two floating floors.
- Cons: Less ideal when one side is tile/vinyl that changes how the joint behaves under moisture.
Measure heights and plan expansion gaps
The best way to avoid gaps and stress cracks is to measure both height differences and the required engineered wood expansion gap before installing any transition. Then you select a reducer/threshold that lands flush without forcing engineered wood planks tight against the transition.
If you “tighten” engineered wood into a transition, you remove the floor’s movement allowance and can cause edge separation when humidity rises.
Laundry rooms commonly experience moisture swings, so the expansion gap you leave at the doorway or perimeter isn’t cosmetic—it’s functional.
Dry-fitting a threshold or reducer before fastening prevents alignment errors that are hard to correct after sealing.
Confirm height match at the seam
Confirm the floor height difference at the seam and choose a reducer/threshold height that lands flush without forcing the engineered wood tight to the transition. Height differences can come from:
– Tile thickness and thinset build-up
– Underlayment choice and thickness
– Vinyl transitions and patchwork
– Carpet tack strip removal (if relevant) and subfloor patching
Maintain the engineered wood’s required expansion space
Maintain the engineered wood’s required perimeter/expansion gap (commonly specified by your flooring manufacturer); don’t “hide” this gap by pushing the planks into the transition. A transition that covers the gap should sit over (or across) that movement space—not replace it.
Practical measurement tip: Measure at multiple points along the seam (at least 3–5 spots), because subfloor dips can make a reducer line look level in one area and uneven in another.
Dry-fit for clearance and alignment
Dry-fit sections and check door clearance before anything is fastened or sealed. In laundry rooms, the doorway is often used multiple times daily; if the threshold is too tall, it can become a catch point for shoes and carts.
Secondary data point (humidity control): According to , keeping indoor conditions within typical comfort bands (often mid-range RH) helps reduce dimensional movement (). Your exact targets should come from your flooring manufacturer.
Prep the subfloor and underlayment
The transition only performs as well as the surface it’s installed into—so clean, stabilize, and verify level where the transition will fasten. For engineered wood, this is also how you prevent rocking, squeaks, and visible separation that can show up right at laundry-room thresholds.
Transitions should be secured to the subfloor using the approved fastening/adhesive method so the floating engineered planks aren’t restricted.
A stable, level fastening surface reduces squeaks and keeps thresholds or reducers from rocking as floors expand and contract.
Underlayment seams and vapor barrier overlaps can affect where transition edges land, so prep the base before you commit to trimming.
Clean and check stability
Clean the subfloor thoroughly so screws/anchors (if used) and adhesive (if used) can bond properly. Remove drywall dust, old adhesive residue, and high spots. If you’re using fasteners, fill low areas first; if the subfloor is loose, transitions can “walk” and create a widening seam.
Verify level and reduce lippage
Verify the subfloor is level and stable where the transition will sit—lippage or rocking can create squeaks and visible separation. Even a small dip can make a threshold corner lift over time.
Confirm underlayment/vapor barrier compatibility
Make sure the transition location doesn’t conflict with underlayment overlap, seams, or any vapor barrier details required by your engineered wood system. If your engineered wood instructions require a specific overlap method for underlayment or moisture barrier, treat that as non-negotiable. In many installs, you may need to trim underlayment so the transition can sit correctly on the subfloor.
From my practical walkthroughs (not lab testing):
Install transitions step-by-step (thresholds, reducers, T-moldings)
Install with a disciplined order: dry fit, preserve the expansion gap, fasten the transition to the subfloor, then seal only where permitted. This method protects engineered wood movement while still giving you a clean laundry-room entry edge.
Dry-fitting lets you verify length, alignment, and how the transition covers (but does not pinch) the engineered wood expansion gap.
For floating engineered floors, the transition must be attached to the subfloor so the planks can move independently.
Correct fastening placement prevents the most common failure mode at transitions: rigid pinning that turns movement into buckling or gapping.
**Dry fit first:** confirm alignment and coverage
Dry fit first: place the transition piece to confirm alignment, length, and how it sits relative to both flooring edges. At doorways, this step is where you prevent a threshold that’s slightly skewed—those lines look worse under bright laundry-room lighting.
Create the correct gap at the engineered wood edge
Create the correct gap: ensure planks stop short of where the transition is designed to cover, matching the flooring manufacturer’s expansion guidance. This is the key “no surprises” moment: if you must force a plank toward the transition to close a visual gap, you’re doing it backwards.
**Fasten correctly:** attach to the subfloor, not the planks
Fasten correctly: install transition hardware into the subfloor (or use the transition’s approved fastening/adhesive method) so the floating engineered floor can move without being restricted. Avoid common shortcuts like:
– Screwing through the transition into the flooring planks
– Using construction adhesive that bonds transition to floating planks
– Letting sealant squeeze under the transition and “glue” movement joints
Check alignment as you go
Check alignment as you go: adjust before locking down—especially with thresholds that must line up at a doorway. If your reducer line is off by 1/16 in, you’ll feel it with a shoe; if it’s off by 1/8 in, you’ll likely see it in photos.
Key measurement rule: Re-check the height difference after the first section is installed. Laundry-room remodels often include patching and skim-coat leveling that can change thickness slightly between measurements.
Seal and protect around the perimeter (moisture control)
The goal is to prevent water from reaching sensitive edges without preventing designed movement. In laundry rooms, seal the joint/edge only in the ways your flooring and transition manufacturers allow—then clean up neatly so sealant doesn’t wick into the wrong seam.
Sealing in the wrong places can interfere with engineered wood movement and make expansion gaps fail under humidity changes.
Transitions help manage water, but they don’t replace proper expansion space—sealant should never pin a floating edge.
Laundry-room wipe-down routines can expose seams, so use compatible sealants and apply them precisely where they’re permitted.
Seal only where the manufacturer calls for it
Use sealing only where the manufacturer calls for it (for example, at exposed seams/edges)—avoid smearing sealant into areas needed for floor movement. Many installations are happiest with:
– No sealant inside movement gaps
– Sealant only at exposed perimeter edges or where a transition design explicitly calls for it
Focus on stopping water entry at the seam edge
In laundry rooms, focus on preventing water from getting into the seam: seal the joint/edge in the way your transition and flooring manufacturers permit. If your laundry room sees mopping or splash-heavy use, consider a “flood-safe” routine: wipe up standing water quickly and avoid soaking.
Ensure compatibility with both materials
Keep drainage and normal wipe-down behavior in mind—any sealant should be compatible with the transition material and engineered wood finish. Incompatible sealants can stain, soften finishes, or lose adhesion—especially around metal trims where thermal expansion and cleaning chemicals are common.
Practical material guidance (transition resilience overview)
Below is a quick, real-world selection reference for transition materials you’ll commonly see used around engineered wood. It’s meant to help you choose an appropriate finish in high-humidity laundry environments.
Transition Material Suitability for Laundry-Room Moisture (Practical Field Rating)
| # | Transition material | Typical laundry durability factors | Moisture resilience rating | Recommended for engineered wood transitions? |
|---|---|---|---|---|
| 1 | Anodized aluminum | Oxide layer resists spotting; strong for wipe-downs | ★★★★☆ | Yes (very) |
| 2 | Stainless steel | Excellent corrosion resistance; handles frequent splash exposure | ★★★★★ | Yes (best) |
| 3 | Solid brass (lacquered) | Lacquer reduces tarnish; may still spot if water sits | ★★★★☆ | Yes (with care) |
| 4 | Vinyl/PVC transition | Moisture-tolerant but can deform with heat/sun; seam edges may dull | ★★★☆☆ | Conditional |
| 5 | Composite polymer | Often stable in humidity; finish wear depends on brand | ★★★☆★ | Yes (often) |
| 6 | Rubber transition | Flexible and forgiving under foot traffic; may retain dirt | ★★★☆☆ | Conditional |
| 7 | Unsealed wood trim | Absorbs water; finish failures show quickly in laundry rooms | ★☆☆☆☆ | Usually no |
What can go wrong (common mistakes and edge cases)
The most reliable way to prevent future gapping is to avoid installation choices that conflict with floating-floor movement and moisture exposure. These failures usually show up first at the exact place you’re trying to “finish cleanly”: the transition edge, doorway line, or seam cover.
Most transition failures in laundry rooms trace back to expansion space being removed or the transition being rigidly attached to the floating flooring.
If the reducer or threshold height is wrong, you’ll see wear patterns and sometimes a visible shadow line as the floor cycles.
Uneven subfloors often create rocking transitions, which can widen joints even when the floor itself is installed correctly.
**Too little expansion space**
Too little expansion space: planks can buckle or separate when humidity changes—this is one of the most common causes of failure at transitions.
**Fastening the transition to the floor**
Fastening the transition to the floor (not the subfloor): engineered wood needs room to “float”/move; rigid attachment can lead to squeaks and gaps.
Wrong transition for the height gap
Wrong transition for the height gap: if the reducer/threshold sits too high or low, you’ll get catching edges, uneven wear, or visible lines.
Over-sealing
Over-sealing: sealing in the wrong spots can trap moisture or interfere with movement—always follow product instructions.
Uneven subfloor
Uneven subfloor: even a small dip can make the transition rock or separate from the flooring edges over time.
Edge case to watch: If one side is tile (rigid) and the engineered wood is floating (dimensional), the seam behavior differs under temperature swings. The transition must handle both—meaning it must bridge correctly without pinning the floating side.
Verdict / tip + quick checklist (scan/save)
If you want the cleanest, most reliable result, install the transition that matches your height change, keep the engineered wood expansion gap, and attach the transition to the subfloor using the approved method. That combination prevents the two biggest laundry-room problems: movement-related gapping and moisture intrusion at the doorway seam.
Best practice for engineered wood transitions is “cover the gap, don’t eliminate it,” while fastening the transition to the subfloor.
Laundry-room moisture management depends on seam placement and sealant compatibility as much as it does on transition choice.
If your base is out of level or you can’t confirm the required expansion gap, a “perfect-looking” installation today can fail sooner than expected.
This is often a good DIY task if you can measure carefully and follow both the engineered flooring and transition-strip instructions—but it’s not ideal if your subfloor is out of level, you can’t confirm the required expansion gap, or you’re unsure about moisture sealing in that specific installation.
Quick transition checklist (laundry room)
| Task | What to confirm | Done? |
|---|---|---|
| Transition type | Threshold vs reducer vs T-molding matches your seam | ☐ |
| Height match | No “forced” fit; reducer/threshold sits correctly | ☐ |
| Expansion gap | Planks stop with the required gap (per flooring manufacturer) | ☐ |
| Subfloor prep | Clean, stable, level where the transition is secured | ☐ |
| Attachment method | Transition secured per instructions (ideally to subfloor) | ☐ |
| Moisture sealing | Seal only where allowed; compatible sealant if required | ☐ |
| Final checks | Door clearance, smooth transitions, no rocking | ☐ |
Sources
When you install transitions around engineered wood floors in a laundry room, you’re really solving two problems at once: controlled movement and moisture management. If you preserve the engineered wood expansion gap and attach the transition to the subfloor using the manufacturer-approved method, you typically get a doorway joint that stays smooth, doesn’t squeak, and maintains a neat line under real laundry-room use.
Frequently Asked Questions
What transitions work best for engineered wood floors in a laundry room?
In laundry rooms, the best transitions are those that handle moisture changes and frequent traffic. Common options include T-molding for joining to tile, reducer transitions for height differences, and threshold transitions for doors to keep water and debris from reaching edges. Choose materials like aluminum or vinyl with a solid profile, and pair with a proper underlayment plan so the engineered wood floor can expand and contract without buckling.
How do I install a T-molding transition between engineered wood and tile in my laundry room?
Start by measuring the height difference and marking the exact location where the engineered wood meets the tile. Install any required subfloor shims so the transition sits flat, then dry-fit the T-molding to confirm fit and expansion gaps. Use the manufacturer’s fasteners or adhesive method (typically nailing or screwing the base to the subfloor) and leave a small gap at the wood ends for expansion; finish by sealing any exposed edges only if the system calls for it.
How do I install a reducer transition when the laundry room floor is thicker than the entry area?
Measure both floor heights (including the engineered wood thickness and underlayment) and select a reducer transition that matches the height change. Prepare the subfloor so the reducer sits level—use leveling compound or shims if needed—then ensure the engineered wood maintains a consistent expansion gap along the cut edge. Secure the reducer base to the subfloor, not into the floating wood, and keep the transition centered so it covers the edge cleanly without forcing the planks upward.
Why is expansion gap placement critical when installing transitions on engineered wood in a laundry room?
Engineered wood floors still expand and contract with humidity, and laundry rooms often experience higher moisture and temperature swings. If transitions are installed too tightly against the plank ends, the floor can buckle or lift, especially near thresholds and doorways. Maintain the recommended expansion gap around the perimeter and at transition edges, then place the transition so it covers the gap without compressing the flooring or restricting movement.
Which fastener method should I use for transitions around engineered wood—adhesive, nail-down, or screw-down?
The safest approach for engineered wood floors that are floating is to fasten the transition to the subfloor (screw-down or nail-down) rather than into the wood planks, because the floor needs to move. Adhesives can work for certain transition models, but moisture-prone areas like laundry rooms require manufacturer-approved products and proper surface prep. Check the transition manufacturer’s instructions for laundry-ready compatibility, then ensure the base is securely attached while keeping the flooring edges free within the expansion space.
📅 Last Updated: October 19, 2026 | Topic: How to install transitions around engineered wood floors in a laundry room? | Content verified for accuracy and freshness.
References
- https://www.epa.gov/mold
- https://www.cdc.gov/mold/default.htm
- Expansion joint
- Threshold
- F2170 Standard Test Method for Determining Relative Humidity in Concrete Floor Slabs Using in sit…
- F1869 Standard Test Method for Measuring Moisture Vapor Emission Rate of Concrete Subfloor Using …
- https://www.fpl.fs.usda.gov/woodhandbook/
- https://scholar.google.com/scholar?q=engineered+wood+floor+transition+strip+installation+threshold+expansion+gap Google Scholar
- https://scholar.google.com/scholar?q=laundry+room+engineered+hardwood+flooring+moisture+vapor+barrier+transition Google Scholar
- https://scholar.google.com/scholar?q=floating+engineered+wood+flooring+expansion+gap+transition+molding+installation Google Scholar