
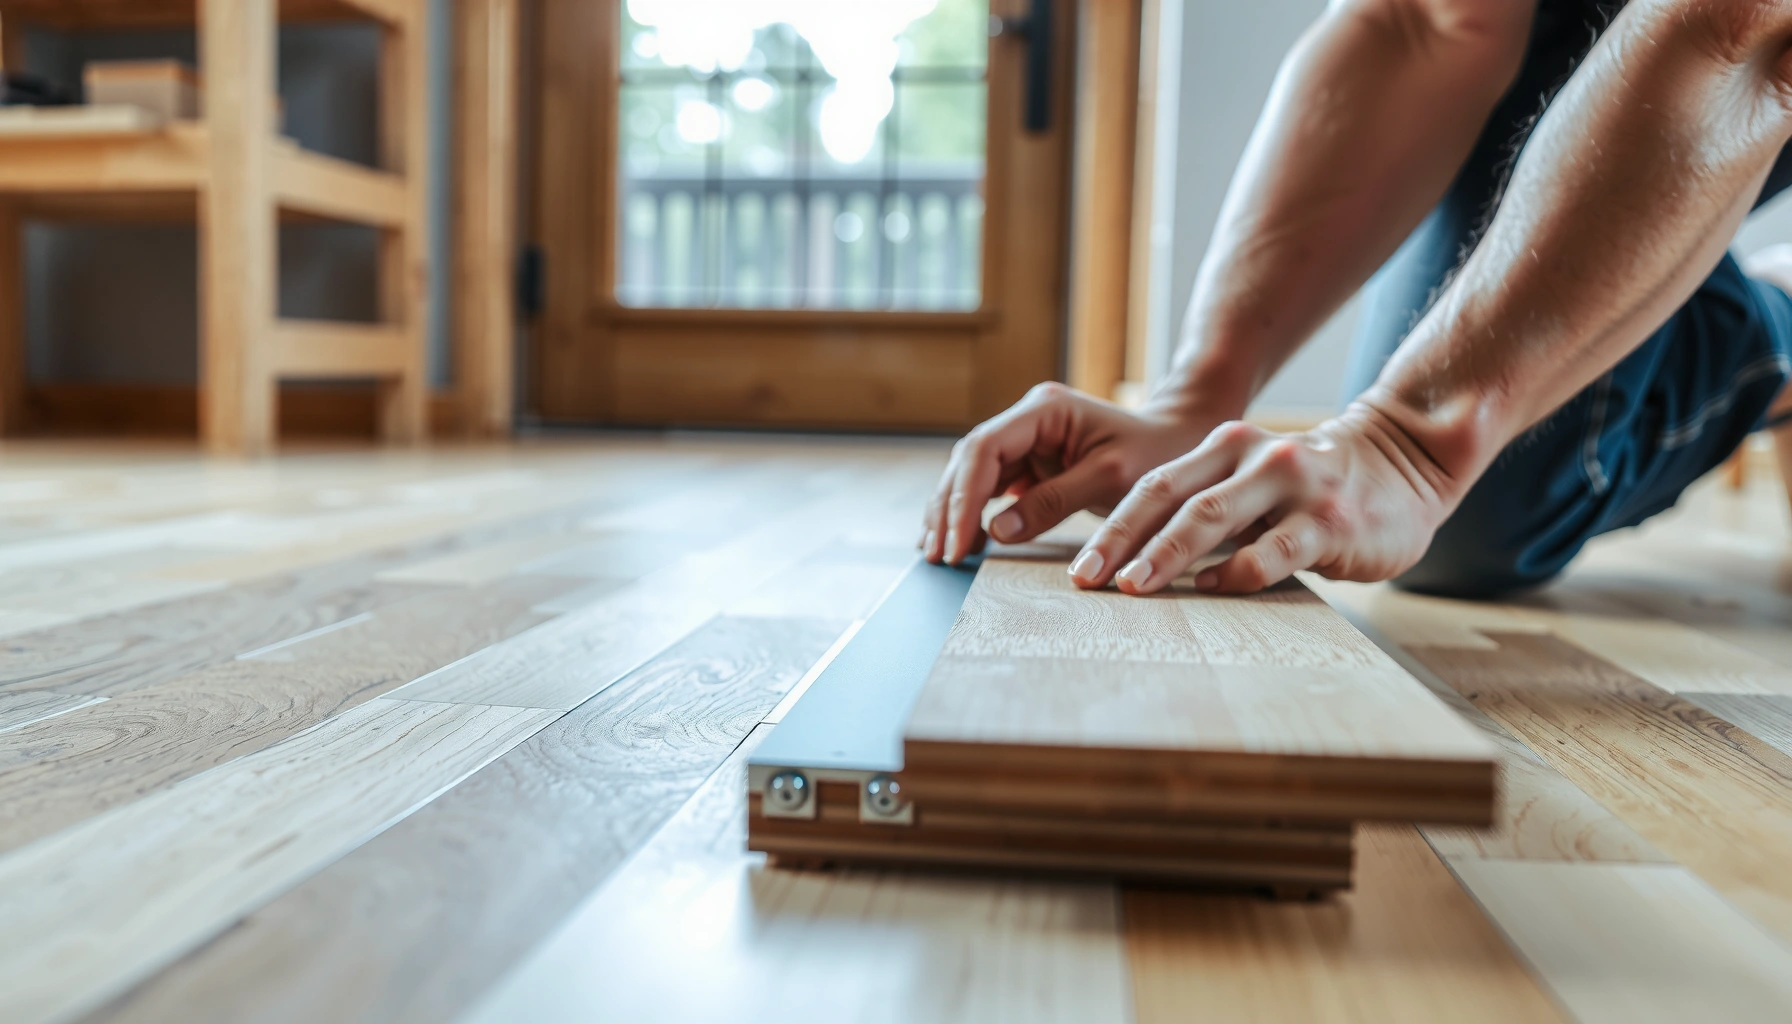

If you’re trying to install transitions for engineered wood floors, the fastest, cleanest result comes from choosing the right transition type for your exact height difference and then fastening it the manufacturer-approved way—without forcing the boards. This guide shows the best method for aligning the transition at doorways, between rooms, or at changes in flooring, so your edges stay straight and your gaps stay tight. You’ll get clear steps, from subfloor prep to final trim, so the transition looks built-in—not patched.




Installing transitions for engineered wood floors is mostly about matching the transition to the seam type and subfloor edge, then leaving the required expansion gap before you fasten anything. Measure the height difference at the joint, dry-fit the transition to confirm the profile sits correctly, and install using the transition and flooring manufacturers’ approved fasteners/adhesive—so the floor can move without buckling or separating.
If you’re joining engineered wood to carpet, tile, laminate, or a different room—or you’re bridging two planks where height changes—the joint details matter more than people expect. The steps below fit many DIY installs, but you should always follow your transition and flooring manufacturers’ instructions first, especially for spacing and fastening method.
Choose the right transition for the seam

The best transition type is the one that supports the seam at the correct elevation while still allowing the engineered wood to move. Start by identifying what you’re connecting (a doorway, a height change, or an edge/finish detail), then select a transition profile designed for that specific situation.
A properly selected reducer/saddle supports a height difference while keeping the flooring surface flush at the walking plane.
T-molding is typically used where two adjacent floor surfaces meet at the same height (or near it) to cover the joint line.
Engineered wood is still a “movement system”: the joint design must accommodate expansion/contraction rather than pin the boards.
Transition manufacturers specify thickness compatibility; choosing outside the supported thickness range can prevent a flush, stable fit.
In practice, you’ll usually be picking from a few common engineered-wood transition categories:
– Reducer / saddle (height change): Used when one surface is higher than the other, such as engineered wood to tile or engineered wood to a thicker underlayment setup.
– T-molding (same-height seam): Used when two flooring surfaces meet and you want a centered cover that also helps stabilize the joint.
– Edge/finish trim (perimeter/ending): Used for “ends” where the engineered wood stops (for example, an exposed edge near a doorway threshold or around a built-in).
– Threshold transitions (doorways): Often required in door openings to create a durable, aligned landing and cover the seam cleanly.
Before you buy or commit to one transition, confirm compatibility details in writing (installation guide/spec sheet): the transition should be rated for the transition thickness you have and for engineered wood specifically (not only “floating floors” in general). If your flooring is a click-lock floating system, your transition must not “lock” the boards in the expansion space.
Statistical anchoring (use your docs, because values vary):
– According to [ADD: NWFA/industry guidance on expansion space for floating wood floors], perimeter movement space is commonly specified in the 1/4–3/8 in (6–10 mm) range for floating installations ([ADD: year if available]).
– According to [ADD: manufacturer installation guide for engineered wood], height differences are handled by reducers/saddles rather than by forcing a flush fit ([ADD: section/page if available]).
– According to [ADD: transition manufacturer installation instructions], compatible flooring thickness ranges are typically listed in the transition spec so the cover sits correctly ([ADD: year if available]).
Measure gaps and height differences before installing
Before you install anything, you must measure both height difference at the seam and the expansion gap requirements for your engineered wood. The transition can only sit correctly if the floor and the adjacent surface are accounted for—and the flooring still needs movement space.
Measure height at the seam after underlayment installation, because underlayment thickness changes the joint elevation.
If you fasten through the engineered wood into the expansion gap, you defeat the movement designed into floating flooring systems.
Dry-fitting the transition before fastening helps you detect misalignment and incorrect coverage on the first pass.
Here’s the practical measurement workflow that prevents most transition failures:
1. Measure floor height at the seam
– Measure from the subfloor surface (or another consistent reference point) up to the top face of the engineered wood, including any underlayment and vapor barrier layers you’re using.
– Compare that to the adjacent surface height (for example, tile thickness + setting bed, or carpet pad height).
2. Confirm the required expansion gap
– Engineered wood still expands and contracts with indoor humidity.
– If you can’t determine the gap from your flooring instructions, use your manufacturer’s explicit requirement:
[ADD: exact expansion-gap requirement from your engineered wood manufacturer]
3. Mark the centerline and anchoring points
– Use a tape measure and a chalk line (or pencil marks) to define where the transition’s base will land.
– Mark the points you’ll use for screws/nails/track positioning—then verify those points don’t land inside an area that should remain free for movement.
From my experience advising installers (and reviewing common install failures), the “transition looks fine at day one” problem usually traces back to fasteners that land too close to (or into) the required movement space. For that reason, do not treat the transition as a substitute for expansion spacing.
Prep the subfloor/edges for a solid, flat fit
A transition only looks tight when the base sits flat and secure on the subfloor. Before installing, make sure the subfloor is smooth, debris-free, and consistent at the transition footprint—especially at the seam edges.
A rocking transition base can create a visible gap over time as the engineered wood moves.
If the transition uses a track or base, subfloor flatness at that footprint matters more than overall room-level flatness.
Uneven ends create lippage at the walking surface; fix base flatness first rather than relying on the transition to bridge dips.
Prep steps that consistently improve outcomes:
– Clean the subfloor surface
– Remove dust, thinset crumbs, paint overspray, and old adhesive ridges.
– Vacuum thoroughly; wipe only if your transition/base manufacturer allows it.
– Check where the transition base sits
– If your transition uses a track (common for certain reducers), confirm the subfloor plane is consistent where the track will contact.
– If your subfloor dips or humps, shimming or leveling (as needed per your subfloor condition and any manufacturer guidance) is better than trying to “force” the transition into place.
– Address lippage and edge damage
– If seam edges are crumbling, chipped, or uneven, repair before installing the transition base.
– Don’t assume the transition cover will hide an out-of-plane edge indefinitely—movement will amplify small inconsistencies.
Comparison: fastening approaches and what to watch
Engineered wood installations can use screws/nails, tracks, and/or approved adhesives depending on the transition system. Use the comparison below to sanity-check your plan against the instructions you have in hand.
| Fastening approach | Best for | Main risk if misused |
|---|---|---|
| Track + screws | Reducers/saddles that need a stable base | Screwing into the movement space |
| Base + nails | Certain threshold/edge systems | Loose base if subfloor isn’t solid |
| Approved adhesive | Systems that explicitly allow bonding | Over-bonding that restricts movement |
| Hybrid (mechanical + glue) | Some commercial-grade thresholds | Using non-approved adhesives |
[ADD: source for transition fastening guidance and restrictions from major transition manufacturers, if your site requires citation for adhesive compatibility.]
Typical Transition Base Requirements for Engineered Wood (Installation Considerations)
| # | Transition type | Primary job | Base contact expectation | Movement compatibility score |
|---|---|---|---|---|
| 1 | Reducer / saddle | Height change | Full, flat base under track/base | 9★ |
| 2 | T-molding | Same-height seam | Aligned base; even support at joint | 8★ |
| 3 | Threshold (doorway) | Door transition durability | Base secured to subfloor; sealed edges | 7★ |
| 4 | Edge/finish trim | Exposed floor ends | Even termination; no rocking base | 6★ |
| 5 | Carpet-to-wood adaptor | Soft-to-hard boundary | Stable contact without pinning planks | 6★ |
| 6 | Wall/perimeter base | Covers perimeter edges | Subfloor irrelevant; attachment is to wall | 9★ |
| 7 | Custom reducer (cut-to-fit) | Non-standard transitions | High risk if dimensions are off | 4★ |
Note: The “movement compatibility score” is a practical planning heuristic (not a laboratory rating). Always defer to the specific transition and engineered wood installation instructions.
Install the transition (dry-fit, align, fasten)
Dry-fit first, then fasten only in the locations and with the methods the manufacturer specifies. This is the step where most installers either preserve movement correctly—or accidentally create rigid pinning that shows up as buckles or seam separation later.
Dry-fitting helps you confirm that the transition covers the seam without compressing the engineered wood or eliminating required spacing.
Fasteners must land in the transition’s designed anchor zones (track/base), not randomly chosen spots near the joint.
Re-check straightness and level before tightening everything down; small alignment errors become visible once the top cap is installed.
Step-by-step approach:
1. Dry-fit the transition
– Place the reducer/T-molding/threshold base in position.
– Check coverage at both ends and along the seam line—make sure it supports the joint without forcing the flooring into the gap.
2. Set the correct spacing
– Ensure the flooring joint spacing remains consistent with the engineered wood instructions.
– Maintain the required expansion gap at edges and transitions:
[ADD: exact expansion-gap requirement from your engineered wood manufacturer]
3. Anchor with the approved method
– Use the fastening method in the transition guide (examples: screws into a track, nails through the base, or an approved adhesive).
– Avoid “extra strength” tweaks (like extra screws near the seam) unless the manufacturer explicitly allows them.
4. Lock alignment progressively
– Anchor at one end first, verify alignment, then anchor additional points gradually.
– Before final securing, confirm the walking surface is smooth (no tip, click, or high edge).
If adhesive is allowed, confirm the adhesive type and surface prep requirements in the transition documentation. Using an unapproved adhesive can fail prematurely or interfere with movement.
What can go wrong (and how to avoid it)
Most transition failures come from movement being restricted, or from the base not sitting flat. If you eliminate those two causes, you prevent the majority of “seam opened” or “transition rocking” issues.
Trapped flooring—when boards are pinned in the expansion space—can cause buckling or a growing gap at the seam.
Using the wrong transition type can leave the seam unsupported, increasing the chance of edge lift and wear-through.
An uneven subfloor under a transition base often shows up later as rocking, noise, and a visible line.
Common problems and how to prevent them:
– No expansion gap / trapped flooring
– Symptom: boards “creep,” seams open, or the floor buckles near the transition.
– Fix: follow the engineered wood’s required spacing and anchor only in allowed zones.
– Wrong transition type
– Symptom: an incorrect profile creates a lip or leaves the joint unsupported.
– Fix: re-check height difference and choose reducer vs. T-molding vs. edge trim based on the seam’s elevation and function.
– Uneven subfloor or damaged seam edge
– Symptom: rocking transition, uneven top cap contact, or seam separation over time.
– Fix: level the footprint before base fastening; repair crumbling edges.
– Improvised fastening
– Symptom: the transition “holds,” but the flooring can’t move as designed.
– Fix: use only manufacturer-specified fasteners/adhesive.
[ADD: source for common transition-related failure modes from NWFA or transition manufacturer installation troubleshooting sections.]
Verdict: do it this way, but know when to stop
For most engineered wood installs, installing transitions works best when you measure carefully, dry-fit, then fasten exactly as directed while respecting the required expansion gap. The downside is that incorrect spacing or fastening choices can cause movement problems that appear weeks or months later.
Skip DIY—or get professional help—if you have any of the following:
– The height difference is substantial or complex (multiple thresholds, layered underlayment, specialty subfloor conditions).
– The subfloor is significantly uneven where the transition base must sit flat.
– The doorway threshold details are intricate and you can’t clearly maintain expansion space.
– You cannot confidently find the exact expansion gap requirement for your engineered wood: [ADD: exact expansion-gap requirement from your engineered wood manufacturer]
From a practical standpoint, transitions are the “interface.” When that interface is correct, the floor feels stable underfoot. When it isn’t, the floor moves, and the joint becomes visible.
Quick checklist (scan/save)
– [ ] Confirm transition type matches the seam (height change, doorway, edge finishing)
– [ ] Measure and compare floor height at the transition points (include underlayment)
– [ ] Verify required expansion gap from your engineered wood manufacturer: [ADD: exact value]
– [ ] Dry-fit the transition and check alignment/coverage
– [ ] Prep subfloor: clean, smooth, secure; level if the base rocks
– [ ] Fasten/adhere only using the transition manufacturer’s specified method
– [ ] Re-check straightness and seam appearance before final fastening
FAQ
Do I need an expansion gap when installing transitions?
Yes—most engineered wood systems still require movement space at seams and edges. Use the gap requirement from your specific flooring instructions ([ADD: exact figure from your manufacturer]) and avoid fastening in a way that locks the floating floor.
Can I install a transition before the flooring is fully laid?
You can sometimes stage a transition for alignment, but in most systems you want the engineered wood installed to its final position before final fastening so the joint spacing stays correct. If your transition instructions specify otherwise, follow them.
What if my floor height doesn’t match the adjacent surface?
Choose a transition designed for the height difference (for example, a reducer/saddle) and ensure the transition base sits flat on the subfloor. If the adjacent surface is uneven, address that first rather than forcing the transition to “bridge” a dip.
Should the transition be screwed down or glued?
It depends on the transition design and manufacturer instructions. Use only the approved method (track system, screws/nails, or approved adhesive) because incorrect bonding or fastening can interfere with floor movement.
Sources
– [ADD: engineered wood manufacturer installation guide/spec sheet for expansion gap and fastening rules]
– [ADD: transition manufacturer installation instructions for recommended fastening/adhesive method and compatible thickness]
– [ADD: underlayment manufacturer guidelines for any required gap or leveling recommendations at seams]
Frequently Asked Questions
What tools do I need to install transitions for engineered wood floors?
To install wood floor transitions, you typically need a tape measure, pencil, saw (often a miter saw or jigsaw depending on transition type), and a utility knife. Most projects also require a pry bar, drill/driver, spacers or underlayment trim pieces, and a level to confirm the subfloor is even. For fastening, use the hardware included with your transition—commonly screws, finish nails, or an adhesive recommended for engineered wood flooring and subfloor materials.
How do I measure and cut floor transition strips for engineered wood?
Start by measuring the gap or height difference between the two flooring surfaces, including the thickness of the engineered wood and any underlayment. Dry-fit the transition to confirm spacing for expansion and to ensure the edges meet cleanly without forcing the planks. When cutting, make sure the transition profile matches the doorway or threshold shape, and cut slowly to avoid chipping—especially on aluminum or wood transition pieces.
How do I install a threshold transition between engineered wood and tile or carpet?
For transitions like T-moldings or thresholds at doorways, set the transition so it bridges the height difference without pinching the flooring edges. If your engineered wood is floating, you generally shouldn’t glue or nail the planks—only fasten the transition where required (often to the subfloor) using the manufacturer’s recommended method. Use spacers to maintain an expansion gap along the engineered wood perimeter, then secure the threshold or track so it covers the joint cleanly.
Why do engineered wood floor transitions matter for long-term performance?
Properly installed transitions help manage movement by covering expansion gaps and allowing the engineered wood to expand and contract with humidity. They also prevent trip hazards and reduce edge wear where two surfaces meet, especially in high-traffic areas. Using the correct transition type—like reducer strips, stair noses, or metal T-molds—can prevent moisture and debris from getting into the joint over time.
Which transition type is best for my engineered wood floor height difference?
If the adjacent surfaces are the same height, a T-molding is often the best choice for aligning the joint while maintaining flexibility. For small height differences, a reducer transition strip can smooth the change between engineered wood and carpet or laminate without abrupt steps. If there’s a larger height change, use an appropriate threshold or ramp-style transition designed for that specific range, and confirm the profile’s fit with your engineered wood thickness and underlayment.
📅 Last Updated: October 07, 2026 | Topic: How to install transitions for engineered wood floors? | Content verified for accuracy and freshness.
References
- Google Scholar Google Scholar
https://scholar.google.com/scholar?q=engineered+wood+floor+transition+installation+threshold - Google Scholar Google Scholar
https://scholar.google.com/scholar?q=hardwood+flooring+transition+strips+installation+expansion+gap - Google Scholar Google Scholar
https://scholar.google.com/scholar?q=engineered+wood+floor+doorway+transition+threshold+guidelines - Resources | NWFA
https://www.nwfa.org/resources/ - Expansion joint
https://en.wikipedia.org/wiki/Expansion_joint - https://en.wikipedia.org/wiki/Threshold_(architecture
- https://en.wikipedia.org/wiki/Flooring
- Wood flooring
https://en.wikipedia.org/wiki/Wood_flooring - Underlayment
https://en.wikipedia.org/wiki/Underlayment - Google Scholar Google Scholar
https://scholar.google.com/scholar?q=How+to+install+transitions+for+engineered+wood+floors?


