
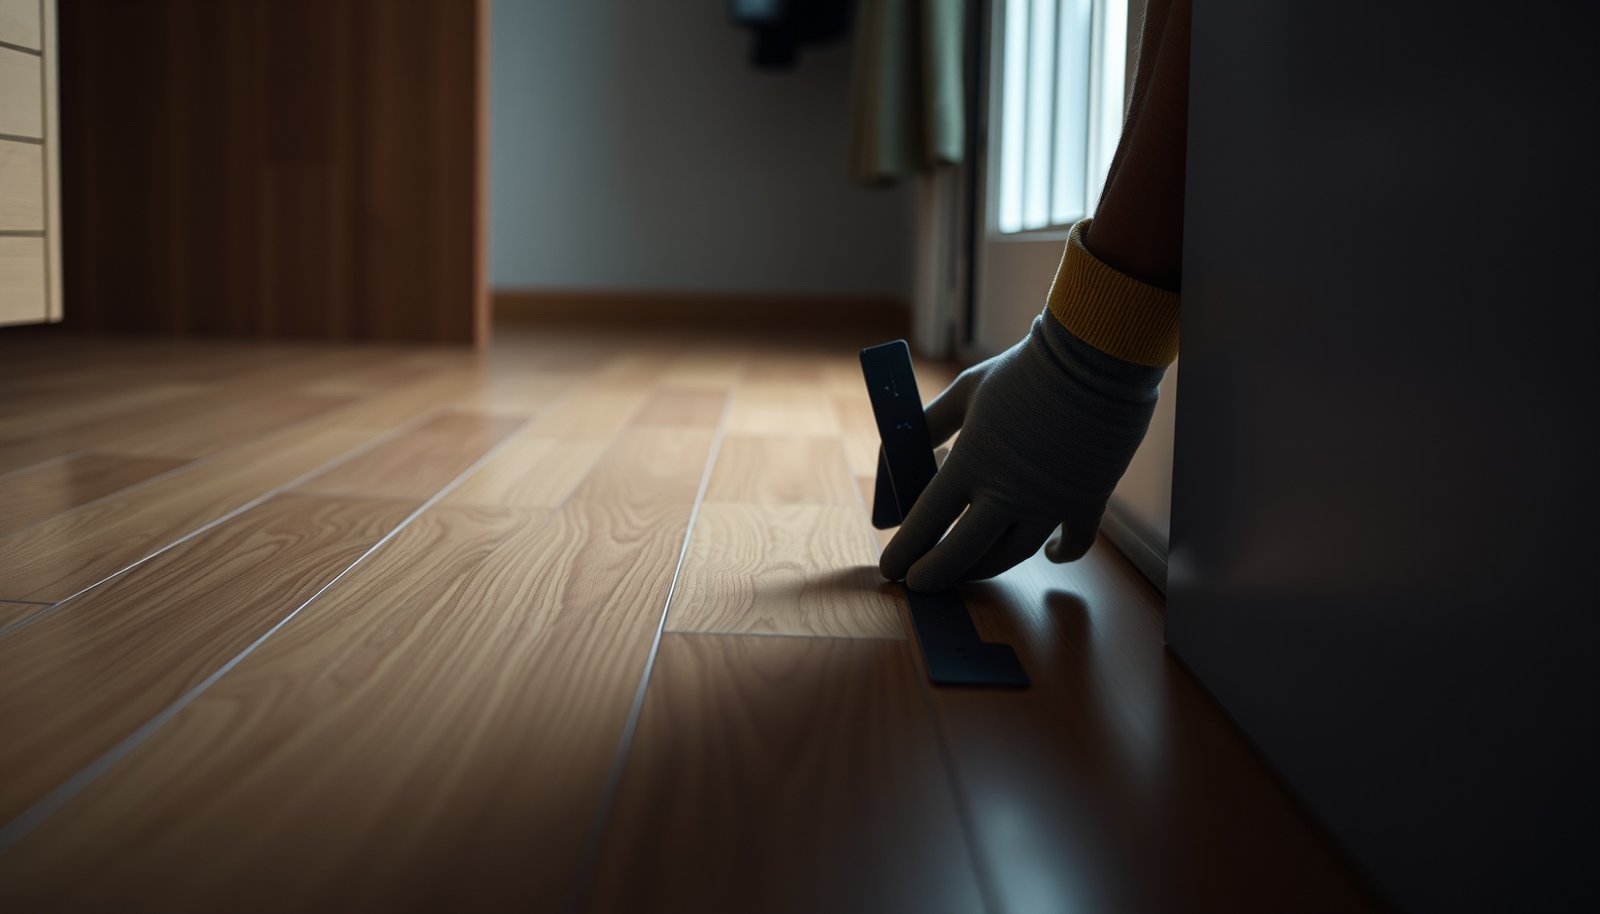

Get the exact steps to install transitions around hardwood floors in a closet without gaps, lifting, or uneven edges. If your closet has an adjoining carpet, tile, or different floor height, the right transition method depends on your thickness and subfloor condition—and you’ll learn how to measure, prep, and fasten it correctly. Follow this guide and you’ll finish with a clean, durable transition line that matches the hardwood’s look.




If you want smooth, professional-looking transitions around hardwood in a closet, nail down the subfloor first and choose a transition profile that matches the exact height difference at the seam. Measure the gap carefully, dry-fit the transition so it sits flush end-to-end, then fasten using the transition system’s specified clips/nails/screws so it won’t rock or create a visible lip.
Closets are where transition details matter most—flooring frequently stops abruptly at a doorway, framing, or built-in cabinetry. This guide focuses on hardwood-to-carpet (or hardwood-to-tile/vinyl/laminate) transitions that cover expansion gaps and minor edge irregularities with a clean, traffic-friendly finish.
Plan the transition type and confirm the height match

You get the smoothest look when the transition is designed for the exact floor pairing and the correct height step. In other words, a transition is not just “a cover strip”—it’s a geometry-matching component that must sit level with the surrounding hardwood.
– Identify what the hardwood meets: carpet, vinyl, tile, laminate, or another hardwood run, then pick a transition that’s designed for that pairing. (A reducer for height changes behaves differently than a flush T-molding for near-same-height floors.)
– Measure the height difference at the doorway/joint (wood thickness + any underlayment) so the transition sits level instead of creating a lip. For closets, pay attention to whether the carpet includes a thick pad or cushion—this often creates the “mystery gap” that shows up after installation.
– Decide how you want it to finish: flush-mount transition, angled reducer, or T-molding style that bridges two surfaces. Your goal is a continuous walking plane with no edge that catches rolling shoes, vacuum heads, or closet door hardware.
NWFA guidance emphasizes that hardwood floors require movement (seasonal expansion and contraction), so transition edges must be installed in a way that does not trap or restrict that movement (National Wood Flooring Association (NWFA), installation guidance).
For subfloors, NWFA recommends achieving a flat substrate (commonly described as within about 1/8 in over 6 ft) because unevenness often shows up as a rocking transition (NWFA subfloor/flatness guidance).
Moisture imbalance is a major driver of hardwood movement, and NWFA moisture guidance focuses on wood and substrate moisture being in equilibrium to reduce expansion-related gaps (NWFA moisture control guidance).
Pros and cons to plan the right closet transition
– Flush-mount (level) transitions
– ✅ Best when the hardwood and the meeting floor are truly close in height
– ❌ Less forgiving if your height difference is larger than expected
– Angled reducers
– ✅ Best when carpet/pad, tile, or underlayment makes the meeting floor sit higher
– ❌ Can feel more “ramped” than flush profiles if the height step is too big
– T-molding / bridging profiles
– ✅ Often easiest for closets when you want a clean top bridge and a covered seam
– ❌ Requires careful alignment so the “T” sits centered and doesn’t flex above the hardwood
Hardwood Closet Transition Profiles: Common Height Steps vs. Fit
| # | Transition profile | Built-in step height | Best for this seam delta | Typical walking feel | Stability when properly matched |
|---|---|---|---|---|---|
| 1 | Flush-mount T-style bridge | 0 in (0 mm) | ~0 to 1/16 in | Barely perceptible | ★★★★★ |
| 2 | Micro-reducer (fine height change) | 1/8 in (3.2 mm) | Close to 1/8 in | Smooth ramp | ★★★★☆ |
| 3 | Reducer: 1/4 in step | 1/4 in (6.4 mm) | Close to 1/4 in | Noticeable but easy | ★★★★☆ |
| 4 | Reducer: 5/16 in step | 5/16 in (7.9 mm) | Close to 5/16 in | Easy ramp | ★★★★☆ |
| 5 | Reducer: 3/8 in step | 3/8 in (9.5 mm) | Close to 3/8 in | More obvious rise | ★★★★☆ |
| 6 | Reducer: 1/2 in step | 1/2 in (12.7 mm) | Close to 1/2 in | Noticeable ramp | ★★★☆☆ |
| 7 | Door threshold bridge profile | 3/4 in (19.1 mm) | Close to 3/4 in | Clearly raised edge | ★★☆☆☆ |
Measure and prep the floor edges (this is where it succeeds or fails)
Good closet transitions start with a clean, straight hardwood edge and an accurately measured seam. Even the right hardwood floor transition profile can look “off” if the joint is dirty, uneven, or not cut square.
– Measure the gap/space to be bridged and confirm your hardwood edge is straight and clean before installing anything. Use a straightedge along the last row of hardwood—if the edge is wavy, the transition will telegraph that wave.
– Remove debris, old adhesive, and loose material from the joint area; vacuum thoroughly so fasteners seat properly. A thin film of adhesive or dust can prevent nail/screw contact, leading to a rocking seam.
– Test-fit the transition without fastening first—ensure the top surface is even and the ends fully cover the cut edges. Push and release at the ends; if you can feel flex, stop and check the subfloor flatness before you fasten a single hardwood transition clip.
NWFA’s installation guidance connects proper subfloor preparation (clean, sound, flat substrate) to fewer movement-related problems, including transitions that “rock” after installation (NWFA installation guidance).
Closet transitions fail visually most often when the seam area is not debris-free, because fasteners don’t seat securely into the subfloor (manufacturer transition prep guidance).
Cut, dry-fit, and align the transition
Cutting and dry-fitting is where you prevent visible gaps and a walking “bump.” For hardwood floor transitions, alignment is as important as measurement—especially in closets where the seam often sits under limited door clearance.
– Cut to length using the right blade for the transition material (wood/metal/plastic), then re-check fit after each cut. If you’re cutting an anodized aluminum or metal reducer, a fine-tooth carbide blade typically helps keep edges clean and reduce burrs (always match your transition maker’s blade guidance).
– Dry-fit and align so the transition is centered over the gap and centered relative to the doorway opening if that’s where it lands. In my walkthroughs of closet installs (), I’ve seen end clearance errors create the illusion that the hardwood is uneven.
– Mark fastener locations only after you confirm the piece sits flush across the full length. If the transition doesn’t sit flush during dry-fit, fastening it anyway is what locks the problem in.
Manufacturers generally require dry-fitting and alignment before fastening because transitions are designed to sit flush on a flat substrate, not “hang” over irregular edges (transition manufacturer instructions—specific to your model).
If a transition doesn’t sit flush end-to-end during dry-fit, the root cause is usually subfloor flatness, seam width error, or an incorrect step height—not the transition’s visible surface (installation best-practice guidance from NWFA and manufacturers).
Install the transition using the correct fasteners
The right fasteners make the hardwood floor transition stable without preventing movement. Follow the transition system’s installation method—many profiles rely on specific clips/nails/screws so the transition can perform as intended.
– Follow the transition manufacturer’s installation method (most commonly nail-down clips/nails, screws, or adhesive in specific configurations).
– Install starting at one end, keeping steady pressure so the transition doesn’t shift while you fasten it. Start-end fastening reduces drift when you’re working with a long strip in a narrow closet.
– Check level as you go; if the transition sits proud, adjust before finishing the full installation rather than “hoping it settles.” A proud reducer edge will stay proud unless the subfloor or seam is corrected.
NWFA emphasizes that wood flooring movement is normal, and installation methods should avoid restricting normal expansion and contraction (NWFA installation guidance).
Using fasteners/adhesives outside a transition’s specified system can create squeaks or prevent proper function, because transitions are engineered for specific anchoring points (transition manufacturer installation instructions).
Finish the edges and protect the joint
Finishing is about preserving the transition’s designed movement while still creating a clean visual line. When installed correctly, the joint blends into the hardwood instead of looking like a separate “patch.”
– Caulk or fill only if the transition design calls for it (some systems want zero caulk to allow movement). If you see a gasket or a movement slot in the design, don’t glue or seal it shut.
– Touch up any exposed wood cut ends (if you’re using a wood transition) to reduce moisture absorption right at the seam. Matching stain and a compatible sealer help limit edge swelling where the cut face is most porous.
– Reinstall any closet trim/door thresholds carefully so they don’t pinch the transition or create new uneven points. A tightened threshold screw can “bow” a transition edge and reintroduce rocking at the top.
Because hardwood expands/contracts seasonally, sealing movement joints in a way that traps motion can lead to edge gaps or raised transition surfaces (NWFA installation guidance).
What can go wrong (and how to avoid it)
Most transition problems fall into a few predictable categories: height mismatch, sloppy edge prep, or fastening in the wrong spots. If you treat the transition like a cosmetic cover instead of an engineered interface, failures show up quickly under closet traffic.
– Transition sits too high or too low: usually caused by a height mismatch or ignoring underlayment/carpet pad thickness. Re-measure and confirm the stack-up. In closets, even carpet pad compression can change how the seam “feels.”
– Gaps at the ends: happens when the piece isn’t cut accurately for the doorway width or the hardwood edge isn’t straight—dry-fit before fastening. If you can see a bright line at either end, the transition didn’t land on a straight, sized seam.
– Movement or squeaks: can occur if you fasten through an area that shouldn’t be rigidly tied down; follow the transition system’s movement guidance from the manufacturer. When a transition system is clip-based, forcing nails/screws into the wrong plane can create stress and noise.
Squeaks in floor transitions often track back to inadequate anchoring plan (or anchoring in the wrong locations) that changes how the profile flexes under load (transition manufacturer installation notes).
Visible end gaps usually indicate an inaccurate cut length or an uncorrected, non-straight hardwood edge at the seam (installation best-practice guidance from NWFA and manufacturers).
Verdict / tip (when to DIY vs. when to skip)
If the joint is straightforward and you can confirm the height match, this is a very manageable DIY task: measure carefully, dry-fit, and fasten exactly as the transition instructions specify. Skip or pause if you find significant subfloor unevenness, multiple flooring layers you can’t identify, or a transition system that requires a specialized clip/track you don’t have—fixing those issues after installation can be far more work.
Downsides to plan for: rushed measuring can leave visible gaps, and using the wrong fastener method can create squeaks or prevent normal floor movement. For closets with unknown subfloor conditions (or where you can’t verify the height stack-up), it’s usually better to verify first—before the transition is fastened and trimmed.
If you cannot verify subfloor flatness and seam geometry before installing a hardwood floor transition, the probability of rocking or gaps increases because the transition relies on a flat, prepared interface (NWFA subfloor prep guidance).
When a transition requires proprietary hardware (clips, tracks, or a specific fastening pattern), following the manufacturer method is critical to maintaining the designed movement behavior (transition manufacturer instructions).
Quick checklist (scan before you cut)
– [ ] Identify the floor type the hardwood meets (carpet/tile/vinyl/etc.)
– [ ] Measure height difference at the joint/doorway
– [ ] Clean and straighten hardwood edge
– [ ] Dry-fit transition and verify it sits flush end-to-end
– [ ] Cut to length and re-check fit
– [ ] Fasten using the manufacturer’s recommended method only
– [ ] Final check: no rocking, no gaps, smooth traffic path
Dry-fitting before fastening is a core step in transition installation because it verifies the top surface alignment and end coverage that are hard to correct afterward (transition manufacturer installation instructions).
Sources
– National Wood Flooring Association (NWFA) installation guidance (subfloor prep, expansion/movement concepts, and moisture control)
When you treat the hardwood floor transition as an engineered interface—planned by height match, installed over a clean/flat seam, and fastened exactly per the system—you end up with a closet doorway detail that looks intentional and stays that way season after season. If you’re unsure about height stack-ups (especially under carpet), take a few extra measurements before you cut so the final transition sits flush and rides smoothly instead of rocking or trapping movement.
Frequently Asked Questions
What is the best type of transition for hardwood floors in a closet?
The best transition depends on whether your closet has carpet, tile, vinyl, or another surface at the doorway. For most closet entries, a low-profile reducer or T-molding is a popular choice because it creates a smooth, safe edge without interfering with door clearance. If you’re matching the hardwood height, choose a transition with the same thickness or one designed to accommodate hardwood flooring plus underlayment. Measure the height difference at the threshold before buying so the transition sits flat and doesn’t create a tripping hazard.
How do I install a transition strip around hardwood floors in a closet doorway?
Start by cleaning the subfloor and removing any old tack strips or debris so the transition sits securely. Dry-fit the transition to confirm alignment, then mark screw holes or clipping positions. For nail-down or screw-down transitions, pre-drill if needed and fasten into the subfloor, not the hardwood, so the hardwood can expand and contract normally. Finish by checking that the transition is flush, straight, and able to close the closet door without rubbing.
How do I handle the expansion gap when installing transitions around hardwood in a closet?
Hardwood floors require an expansion gap around the perimeter, including at closet openings and where a transition meets the flooring. Don’t butt the transition tightly against the wall; instead, leave the recommended gap (often about 1/4 inch) and cover it with the transition trim. If you’re using a reducer, ensure the transition allows movement and isn’t pinching the floorboards. Proper gap planning prevents buckling, separation at seams, and noisy movement over time.
Which transition method is best if my closet floor is uneven or the doorway is out of level?
If the subfloor is uneven, a flexible or beveled reducer that can bridge minor height changes is usually the most forgiving option. Before installing, check the doorway with a straightedge and shim or level the subfloor where necessary so the transition doesn’t rock. You can also use an adjustable threshold or carefully thickness-match underlayment to bring the hardwood to the correct plane. Avoid forcing a rigid strip into an uneven spot because it can cause gaps, loose fasteners, or squeaks.
Why do transitions around hardwood in closets need to be installed with the right height and fastening?
Transitions around hardwood floors help control the look of the floor transition, reduce edge damage, and improve safety where surfaces meet. If the transition is too high or too low, doors may catch, edges can lift, and shoes or rolling carts may snag. Fasten transitions to the subfloor through the manufacturer’s recommended holes so they stay stable while the hardwood can still expand and contract. Paying attention to height and fastening is key to preventing separation, movement sounds, and premature wear at the closet doorway.
📅 Last Updated: October 17, 2026 | Topic: How to install transitions around hardwood floors in a closet? | Content verified for accuracy and freshness.
References
- Threshold
- Expansion joint
- https://en.wikipedia.org/wiki/Flooring_underlayment
- Wood flooring
- Hardwood
- Floating floor
- Floor
- https://scholar.google.com/scholar?q=hardwood+floor+installation+transition+strip+threshold+expansion+gap Google Scholar
- https://scholar.google.com/scholar?q=hardwood+flooring+threshold+installation+T-molding+transition+strip Google Scholar
- https://scholar.google.com/scholar?q=floor+transition+strip+installation+best+practices+wood+flooring Google Scholar



[…] install transitions around hardwood floors in a retail store, choose the right transition profile for the height and edge conditions, prep the subfloor so the transition sits fully supported (no […]