
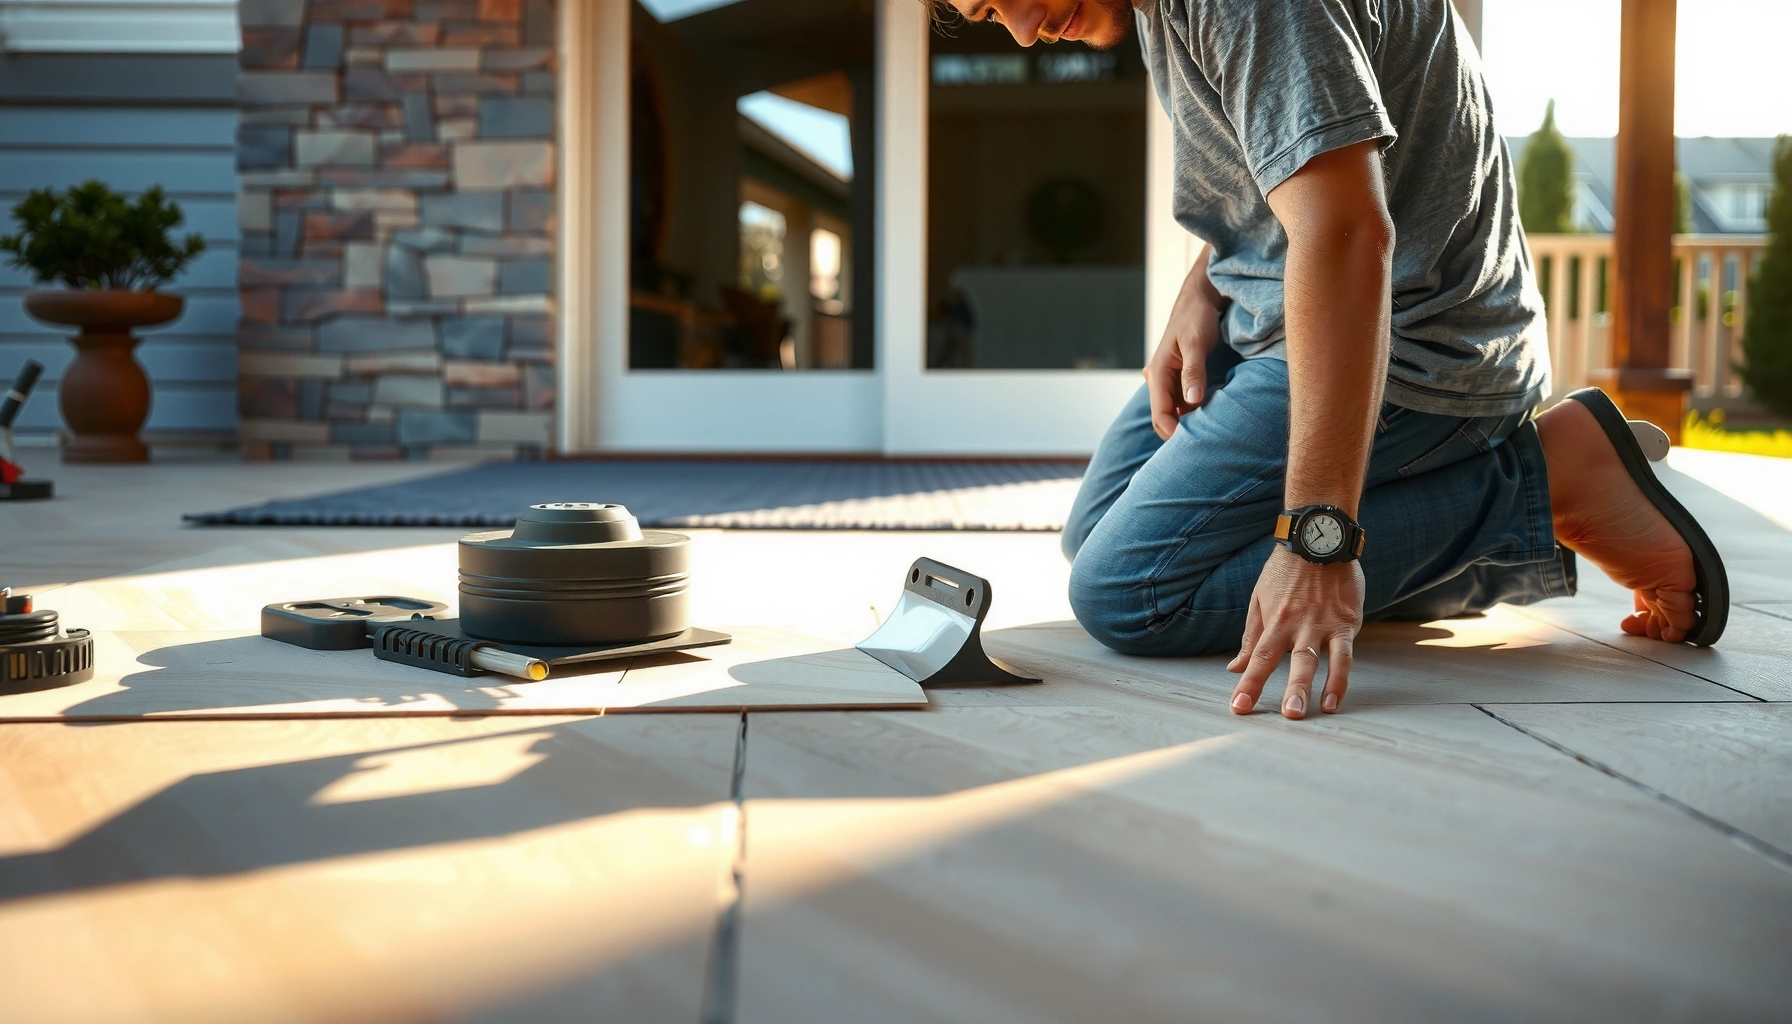

Want to install kitchen patio floors without guesswork? This step-by-step guide shows the fastest, most reliable way to plan the base, prep the subfloor, lay tile or pavers, and finish with the right sealing for kitchen patio foot traffic and moisture. If you follow it in order, you’ll end up with a patio floor that’s level, durable, and ready for daily use.




Installing kitchen patio floors is mostly about selecting an exterior-rated surface system and installing it over a properly sloped, stable base so water can’t pool or undermine adhesion. In practice, that means you level and stabilize the substrate first, then install tile, pavers, vinyl, or a concrete overlay exactly to the manufacturer’s mortar/adhesive and joint requirements for outdoor use.
If your patio connects to a kitchen near exterior doors, it experiences frequent wetting (spills, tracked-in rain/snow melt), temperature swings, and heavy traffic from foot movement. This guide is written for homeowners and DIYers replacing old patio flooring or installing a new outdoor patio surface that needs to stay flat, drain correctly, and resist freeze/thaw and moisture intrusion over time.
Plan the patio floor system (what you’re installing and why)
The best way to prevent outdoor flooring failures is to match the floor system to your patio’s real exposure: sun, standing water risk, and freeze/thaw cycles. Here, “floor system” means everything working together—surface units (tile/pavers/vinyl/concrete overlay) plus the correct exterior-rated setting materials and (if applicable) grout and sealer.
– Pick a flooring type that matches your patio conditions (sun exposure, freeze/thaw, drainage, and how often it gets wet).
– Confirm exterior-rated materials only: outdoor-rated tile/pavers, adhesives/mortars, grout (if tile), and sealers meant for freeze/thaw if applicable.
Exterior patio failures are usually system failures: surface units alone don’t compensate for the wrong adhesive, grout, or base slope.
If your patio sees freeze/thaw, choose products specifically rated for exterior use and freeze/thaw exposure, including mortar/adhesive and grout.
Movement joints (where required) are part of the system design—ignoring them is a common pathway to cracked grout and tented tile.
Choose the right system: tile vs. pavers vs. vinyl vs. concrete overlay
Each option can work, but the installation approach changes because the base prep requirements and moisture tolerance differ.
Outdoor tile/stone (best when you want a clean look and consistent leveling)
– Requires a stable, flat substrate and an exterior-rated thinset/mortar and grout.
– Needs careful attention to expansion/movement joints and wet-area detailing at door thresholds.
Concrete pavers (best when you want easier replacement and forgiving installation)
– Often uses a compacted granular base; shifting is mainly a compaction/drainage issue.
– Joint sand and edge restraints matter as much as the pavers.
Outdoor vinyl flooring (best when you want comfort and faster install—when rated for exterior)
– Only use exterior-rated products; many vinyl systems are designed for interior basements or covered porches.
– Moisture management and subbase flatness are still critical, but the adhesive/tape system differs by brand.
Concrete overlay (best when you want a monolithic finish over existing slab—if the slab is sound)
– Requires surface profiling and strict curing/primer/overlay ratios per the overlay manufacturer.
– If the slab has structural issues or recurring moisture, overlay alone rarely fixes the root cause.
A quick, practical decision anchor (what tends to fail)
Below is a comparison you can use as a reality check before you start.
| System | Most common failure mode outdoors | What prevents it |
|---|---|---|
| Outdoor tile/stone | Debonding from poor substrate prep or wrong mortar/grout system | Correct exterior-rated thinset, full coverage mortar bed, proper drainage, and proper movement joints |
| Concrete pavers | Rocking pavers due to inadequate base compaction or edge restraint failure | Engineered base thickness/compaction, correct leveling sand, and firm perimeter edging |
| Exterior vinyl | Moisture-related separation/warping where water finds seams or the subbase isn’t flat | Use only exterior-rated systems, strict flatness, and moisture-proofing details at door thresholds |
| Concrete overlay | Delamination from inadequate substrate profile, improper primer, or ongoing slab moisture | Follow overlay manufacturer prep steps (cleaning/profiling/primer) and verify slab moisture condition |
System selection snapshot (material compatibility at a glance)
Use this table to sanity-check your material stack before you open a single bag of mortar or paver sand.
Outdoor Patio Flooring System “Compatibility Checklist” (Installation-Critical Specs)
| # | Patio System | Requires Exterior-Rated Setting Materials? | Freeze/Thaw-Ready Grout/Adhesive? | Best Fit for Common Door-Adjacency |
|---|---|---|---|---|
| 1 | Exterior tile/stone on thinset | Yes | Required | Low-porosity finish + joint detailing |
| 2 | Concrete pavers on compacted base | No (use base & bedding) | Not the same as grout—still need proper drainage | Replaceable surface near thresholds |
| 3 | Exterior-rated vinyl planks/tiles | Yes (adhesive/tape system) | Required per product rating | Covered patios (avoid standing water) |
| 4 | Concrete overlay (primer + overlay) | Yes (primer/overlay system) | Required if exposed to freeze/thaw | When slab is structurally sound |
| 5 | Thinset + uncoupling membrane system (tile) | Yes | Required per membrane + mortar system | Helps manage minor substrate movement |
| 6 | Exterior grout (cementitious or epoxy) | Yes | Required | Best with correct joint width + curing |
| 7 | Edge restraints + joint sand (pavers) | No (but requires compatible restraint) | Depends on drainage design | Critical near doors and traffic paths |
Facts you can anchor to (why exterior rating matters)
– According to ASTM C666 (freeze-thaw test method), freeze/thaw durability testing is commonly run using repeated cycling to simulate weather exposure (method parameters include hundreds of cycles). [ADD: ASTM C666 test method reference]
– According to TCNA and ANSI/A118 guidance used by the tile industry, proper movement joints and substrate preparation are required elements of an exterior tile system—not optional “extras.” [ADD: TCNA EJ171 / ANSI A108 guidance reference]
– According to manufacturer instructions for exterior mortars and grouts, cure time and environmental limits (temperature, wind, rain exposure) directly affect final bond strength and water resistance. [ADD: the exact installation instructions reference for your selected mortar/grout]
Measure, protect the base, and set drainage first
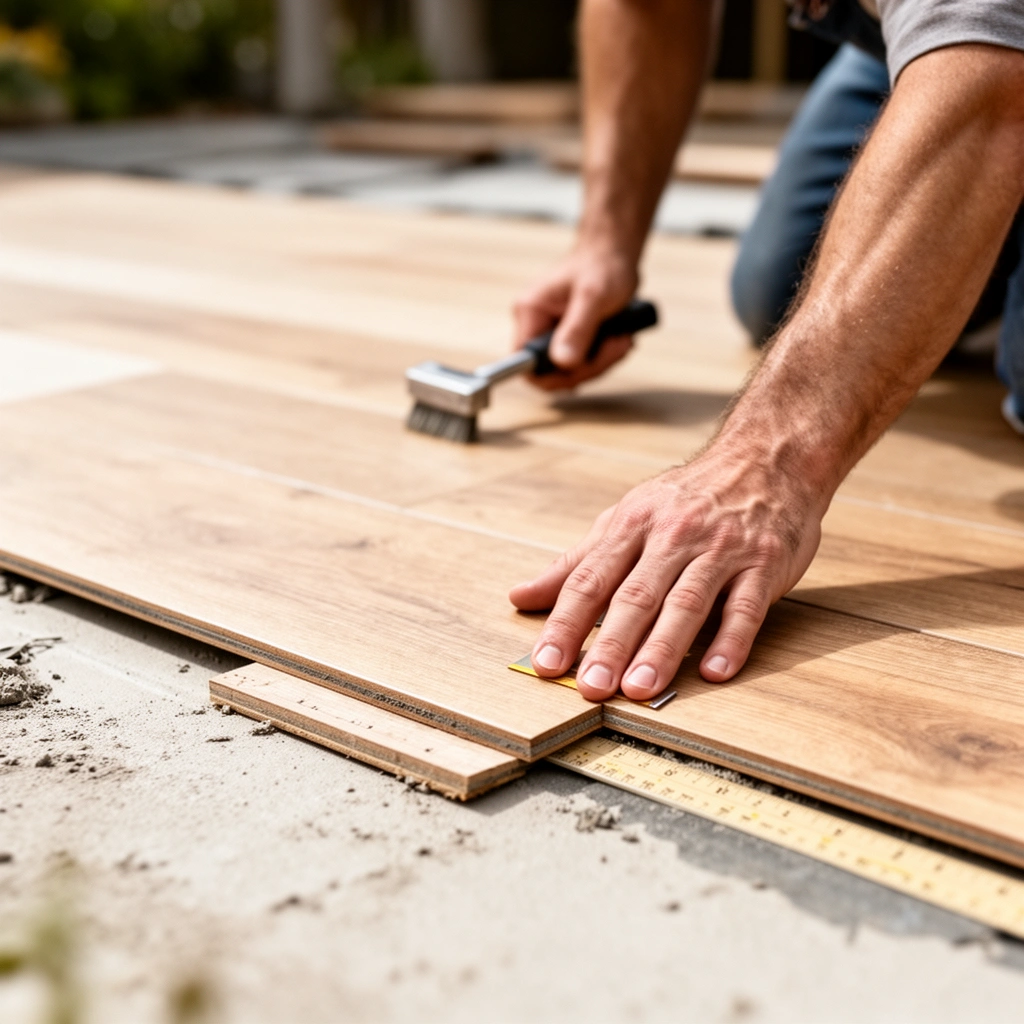
If you want durable kitchen patio floors, you start with drainage and substrate stability—before you pick a pattern or open bags of thinset. Water management is what keeps adhesives and grout from weakening, and it also prevents freeze/thaw damage that starts under the surface.
– Verify the patio has proper slope away from the kitchen/exterior door so water doesn’t pool under the flooring.
– If you’re over existing concrete, check for cracks, loose surfaces, and surface flatness; if you’re building from bare ground, compact the subbase.
Kitchen-adjacent patios fail more often because door swings, tracked debris, and spills concentrate water and load at specific spots.
If water pools at the threshold or along the house wall, it can undermine mortar beds and accelerate grout deterioration.
A stable, well-compacted base reduces rocking and debonding—most “installation” problems start as “subbase” problems.
Verify slope and identify pooling
Start by observing the patio after rainfall (or simulate with a controlled hose test). The goal is consistent runoff away from the kitchen/exterior door area so water doesn’t sit at tile edges, paver joints, or vinyl seams.
– Mark any low spots with chalk and retest.
– If you’re tiling, note that small flatness errors can telegraph through the tile, especially with large-format units.
> Practical approach: Use a straightedge to measure high/low points and write them down on a simple floor map before you plan layout. This “pre-measurement” step saves time when you choose leveling materials later.
Protect the base: moisture and edge detailing
Even with a correct surface slope, water can still travel laterally—especially where the patio meets the kitchen wall or door threshold. For exterior systems:
– Keep the base clean and free of paint, curing compounds, and dust (they interfere with bonding).
– Address cracks in existing concrete using methods approved for the specific system (tile requires a system-compatible repair approach; overlays also require proper substrate profile and primer).
Prepare the subfloor and leveling surface
Preparation is where your longevity is won or lost, because exterior adhesives and mortars only perform as designed when the substrate meets their bonding and flatness requirements. You can’t “thinset your way out” of a loose or contaminated base.
– Remove debris and contaminants (dust, paint, curing compounds) and fix any uneven areas before installation.
– For tile/stone floors, use the correct exterior-grade thinset/setting mortar and follow thickness/coverage requirements from the product instructions.
Contaminants like curing compounds and paint films can prevent mortar from forming a reliable bond outdoors.
Flatness tolerances affect tile bond and grout longevity—large format tiles are especially sensitive to substrate irregularities.
Exterior mortar and setting materials specify coverage and application method; skipping full coverage is a frequent cause of debonding.
Step-by-step prep (tile/stone oriented, but principles apply to all)
1. Remove contaminants: scrape, grind, and vacuum. Avoid leaving residue that transfers onto your mortar.
2. Repair defects: fill cracks or spalls using compatible repair materials. For tile, follow your mortar/membrane system’s stated repair method.
3. Establish flatness: correct high spots by grinding; correct low spots using the manufacturer’s approved patch/leveling compound.
4. Confirm flatness again: measure after repairs cure. Exterior patios experience expansion and contraction—small unevenness becomes visible quickly.
Mortar/thinset selection for exterior tile
For tile/stone, exterior-rated thinset must match:
– tile type and size (including thickness if applicable),
– intended exposure (freeze/thaw, wet area),
– and substrate (concrete, mortar bed, existing slab—each has its own requirements).
> Follow the spec: Use the manufacturer’s required trowel size, mortar thickness range, and minimum coverage guidance. If you don’t have the exact documents yet, locate them now—before mixing.
Install the patio floors (the actual placement process)
Now you install the system in a controlled sequence so layout stays consistent, joints stay uniform, and curing happens without premature exposure. The outdoors adds risk from wind, rain, and temperature swings, so you plan your workday around cure windows.
– Establish layout lines (center/border lines), dry-lay a section first to confirm spacing, and keep movement joints where required.
– Install in the correct order for your system: set units (tile/pavers) consistently, keep joints uniform, and cure fully before grouting/sealing (if required by your product).
A dry layout test helps you avoid awkward cuts near doors and ensures your pattern respects movement joints.
Movement joints are designed to accommodate expansion and contraction; forcing large areas to behave like one rigid slab causes cracking.
Exterior set materials need full cure before grout, sealing, or heavy traffic—rushing this step increases washout and bond failure risk.
Placement and layout: how to keep everything straight (especially near doors)
– Establish layout lines: use chalk lines to create a center line and border lines, then check against the door threshold alignment.
– Dry-lay first: build the pattern without adhesive to confirm:
– spacing,
– cut sizes at edges,
– and how the pattern behaves around transitions to interior flooring (if present).
– Plan transitions: if your patio meets kitchen tile or a threshold ramp, match height differences so you don’t create a trip edge that also traps water.
System-specific installation notes
Outdoor tile/stone
– Use correct thinset mortar and a notched trowel sized per product instructions.
– Apply mortar in a way that meets the “coverage” expectation in the documentation (often meaning you don’t leave large voids).
– Set tiles consistently and maintain uniform joints; adjust as you go, not after thinset skins over.
Concrete pavers
– Ensure compacted base and correct bedding layer thickness per paver manufacturer and local guidance.
– Use edge restraints to prevent lateral shifting when people step near door paths.
– Use polymeric joint sand only if your paver system and climate guidance supports it (and if you can maintain it).
Exterior vinyl
– Follow the product’s approved installation method (adhesive/tape/locking, subbase prep flatness, and moisture handling).
– Keep water from pooling at seams—especially where foot traffic concentrates.
Concrete overlay
– Surface profiling (scuff/grind) and primer selection must match the overlay system.
– Respect cure times and environmental exposure limits to reduce blistering and delamination risk.
Grout, seal, and finish for outdoor durability
Finishing is not a “last step” so much as the final protection layer in your moisture management plan. If you tile, grout selection and cure timing matter as much as mortar placement; if you seal, you need to match the sealer to the system and exposure.
– If installing tile/stone, grout for exterior use and allow proper curing time before sealing.
– Apply sealer only if the manufacturer recommends it for exterior exposure; re-check whether the floor needs regular maintenance to maintain slip resistance and water resistance.
Exterior grout systems require exterior-rated products and correct cure time before sealing or traffic.
Sealing is not universal—some exterior grout/tile systems are designed to be unsealed to preserve slip resistance or permeability.
Poor curing or premature exposure (rain/wash) during grout and sealant stages is a predictable cause of staining and reduced performance.
Grout outdoors: what to watch
– Use an exterior-rated grout (cementitious with appropriate additive or epoxy grout if specified for your conditions).
– Keep the joint lines clean during install so grout fully packs the joints.
– Cure and protect from rain and foot traffic according to your grout instructions.
Sealer outdoors: when to do it (and when not to)
Some exterior tile systems are designed so sealer is optional or discouraged. Before sealing, check:
– manufacturer compatibility,
– slip resistance expectations,
– and maintenance intervals (sealers can wear and require reapplication).
> [ADD: source for sealing recommendation from the manufacturer]
> Example place to cite: your selected grout and sealer’s technical data sheet (TDS) and installation instructions.
What can go wrong (and how to avoid it)
Most outdoor patio floor problems trace back to water movement, unsuitable materials, or base instability. If you address the failure modes below during planning and prep, you eliminate the majority of costly callbacks.
– Water pooling: patios need drainage away from the kitchen entry; trapped moisture can loosen adhesives and degrade grout or mortar.
– Using indoor-only products: adhesives, grouts, and sealers not rated for freeze/thaw or exterior wet conditions will often fail early.
– Skipping leveling/compaction: uneven bases cause cracked tiles, rocking pavers, and grout cracking—especially where doors open and people walk.
Pooling water increases hydrostatic pressure and accelerates adhesive and grout degradation at tile joints and paver bedding.
Using the wrong adhesive or grout rating (indoor-only) is one of the fastest paths to early failure in freeze/thaw regions.
Rocking and tenting are symptoms of base movement—fixing the surface won’t correct an unstable subbase.
Common failure modes vs. prevention (quick scan)
| What goes wrong | Why it happens | How to avoid it |
|---|---|---|
| Water pooling at door threshold | Insufficient slope or blocked runoff path causes standing moisture | Verify slope, keep edge details clear, and plan drainage away from the kitchen/exterior door |
| Debonded tiles/tiles sounding hollow | Contaminated or uneven substrate; insufficient mortar transfer/coverage | Clean and level base, use required exterior-rated mortar, and apply with the specified trowel and method |
| Cracked grout lines | Movement joints omitted, curing rushed, wrong grout for freeze/thaw | Include movement joints per system guidance and respect cure timing before sealing/traffic |
| Rocking pavers | Base not compacted or edge restraint missing; bedding washed out | Compact subbase properly, set correct bedding thickness, and lock perimeter with restraints |
Limits of DIY: where you should pause
Some issues aren’t solved by “better installation.” For example:
– Structural slab movement, widespread settlement, or persistent moisture rising from below.
– Patio design where slope is fundamentally wrong and can’t be corrected without rebuilding the subbase.
– Transition details at door thresholds that require waterproofing or flashing changes beyond flooring work.
In those cases, the right next step is often an inspection or a qualified contractor to evaluate drainage and substrate conditions.
Verdict / tip (who should do this and who should skip)
If you want a long-lasting result, the biggest “win” is the base prep and correct exterior-rated materials—not fancy tools. This approach works best for patio areas you can properly slope and stabilize, where you can follow the flooring manufacturer’s installation specifications (mortar/adhesive type, joint requirements, and cure/exposure limits) closely.
Skip DIY (or plan on hiring help) if your patio needs major structural leveling, has widespread moisture problems, or you’re unsure whether the existing slab is sound—because those issues can’t be reliably fixed with flooring installation alone.
Quick checklist (scan before you start)
– [ ] Exterior-rated flooring + mortar/adhesive + grout/sealer (per manufacturer)
– [ ] Patio slope verified to move water away from the kitchen door
– [ ] Base cleaned, repaired (cracks/loose areas), and leveled
– [ ] Layout planned (dry fit to confirm pattern and border cuts)
– [ ] Correct joint spacing + required movement joints included
– [ ] Full cure time respected before grouting/sealing or heavy use
– [ ] Slip resistance and outdoor maintenance plan confirmed
FAQ
Do I need to remove the old patio floor first?
Sometimes—if the existing surface is loose, cracked, or not flat enough. If you’re tiling over concrete, you may still need surface grinding and repair; check the specific product instructions for approved substrates. [ADD: source for your flooring/adhesive’s substrate requirements]
What’s the most important part of installing kitchen patio floors?
Proper drainage and base preparation. If water pools or the base shifts, even good materials can fail.
Can I install patio flooring in cold or rainy weather?
Most exterior installation products have minimum temperature and weather conditions for curing. Follow the manufacturer’s stated limits—[ADD: source for temperature/rain curing requirements for your chosen mortar/adhesive].
How do I prevent cracked grout or tile outdoors?
Use exterior-rated mortar/grout, keep joints consistent, include required movement joints, and cure fully before sealing/traffic. Also ensure the base is stable and properly sloped.
Should I seal outdoor tile or stone?
Only if your specific tile/stone and grout system recommends it. Some products are designed to be sealed; others may be damaged by the wrong sealer. [ADD: source for sealing recommendation from the manufacturer]
Sources
– Manufacturer installation instructions for the specific flooring system (tile/pavers/vinyl/concrete overlay), including substrate requirements, mortar/adhesive type, exterior rating, joint/movement-joint guidance, and cure/sealing recommendations. [ADD: exact product/manufacturer docs you’re using]
– [ADD: source for patio drainage/slope best practices]
– ASTM C666 (freeze-thaw test method used for durability evaluation). [ADD: official ASTM reference or standard title/location]
– TCNA and/or ANSI installation guidance for exterior tile, movement joints, and exterior exposure detailing. [ADD: TCNA/ANSI document reference]
A successful kitchen patio floor install comes down to one core discipline: build a stable, sloped base that keeps water moving, then install an exterior-rated system exactly to the manufacturer’s instructions—especially around joints, cure timing, and weather exposure. If you treat those requirements as the “real work,” your finished patio is far more likely to stay flat, safe, and durable through seasons of rain, sun, and freeze/thaw.
Frequently Asked Questions
What type of patio floor material is best for a kitchen patio?
The best kitchen patio flooring materials balance slip resistance, moisture resistance, and ease of cleaning. Options like porcelain or ceramic tile rated for outdoor use, textured outdoor vinyl, and natural stone with sealed surfaces are popular because they handle spills and humidity while remaining durable. If you’ll cook outdoors, prioritize slip-resistant finishes (e.g., R-rated or “anti-slip” surfaces) to reduce the risk from grease and water.
How do you prepare an outdoor surface before installing kitchen patio floors?
Start by clearing debris, removing loose material, and checking for cracks or uneven areas. For concrete slabs, clean thoroughly, repair damage, and let the surface fully cure; for pavers, verify base stability and weed control. Proper preparation—like leveling, using a suitable underlayment, and applying the right primer or bonding layer—helps prevent hollow spots and premature failure of patio floor installation.
How do you install outdoor tile floors on a kitchen patio step-by-step?
Begin by planning layout and dry-fitting tiles to minimize cuts near edges, then set spacers and maintain consistent slopes for drainage. Use an outdoor-rated thin-set mortar and apply tiles with the recommended trowel size, ensuring full coverage to avoid cracking. After the tile cures, grout with a polymer-modified, exterior-grade grout, seal when required, and reinstall transition strips or edging for a clean kitchen patio floor finish.
Which underlayment or waterproofing system should you use for kitchen patio floors?
For areas exposed to rain and condensation, use a waterproofing membrane or uncoupling underlayment designed for outdoor use to protect against water intrusion and movement cracks. On concrete, a good exterior waterproofing system typically includes a primer and a compatible membrane; on wood or over-frame subfloors, choose an underlayment rated for wet locations. Always verify compatibility between the waterproofing product, adhesive, and grout so your kitchen patio floors perform reliably over time.
Why do kitchen patio floors fail, and how can you prevent common installation mistakes?
Most patio floor problems come from poor drainage, incompatible materials, and insufficient surface prep—leading to cracking, lifting, or grout deterioration. Avoid installing without a proper slope away from the house, don’t mix indoor-only adhesives or grout, and ensure the substrate is level and fully cured. Using exterior-rated products, sealing where needed, and following expansion-gap guidelines are key ways to keep your kitchen patio floors durable and water-resistant.
📅 Last Updated: October 12, 2026 | Topic: How to install in a kitchen patio floors? | Content verified for accuracy and freshness.
References
- Google Scholar Google Scholar
https://scholar.google.com/scholar?q=kitchen+patio+floor+tile+installation+guide - Google Scholar Google Scholar
https://scholar.google.com/scholar?q=outdoor+patio+floor+installation+concrete+subbase+drainage - Google Scholar Google Scholar
https://scholar.google.com/scholar?q=porcelain+tile+installation+thinset+grout+outdoor - Flooring
https://en.wikipedia.org/wiki/Flooring - Tile
https://en.wikipedia.org/wiki/Tile - https://en.wikipedia.org/wiki/Thinset_mortar
- Grout
https://en.wikipedia.org/wiki/Grout - https://en.wikipedia.org/wiki/Backer_board_(construction
- Tile
https://en.wikipedia.org/wiki/Ceramic_tile - Underlayment
https://en.wikipedia.org/wiki/Underlayment


