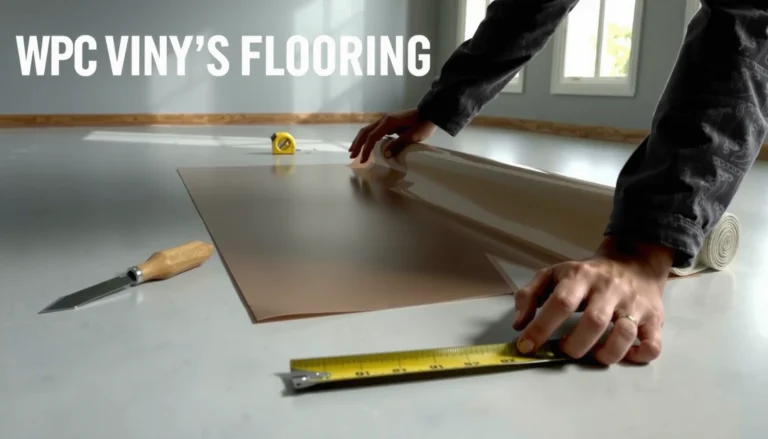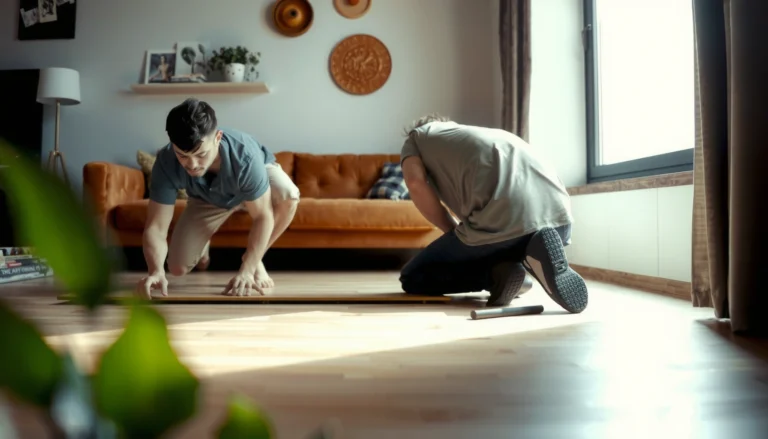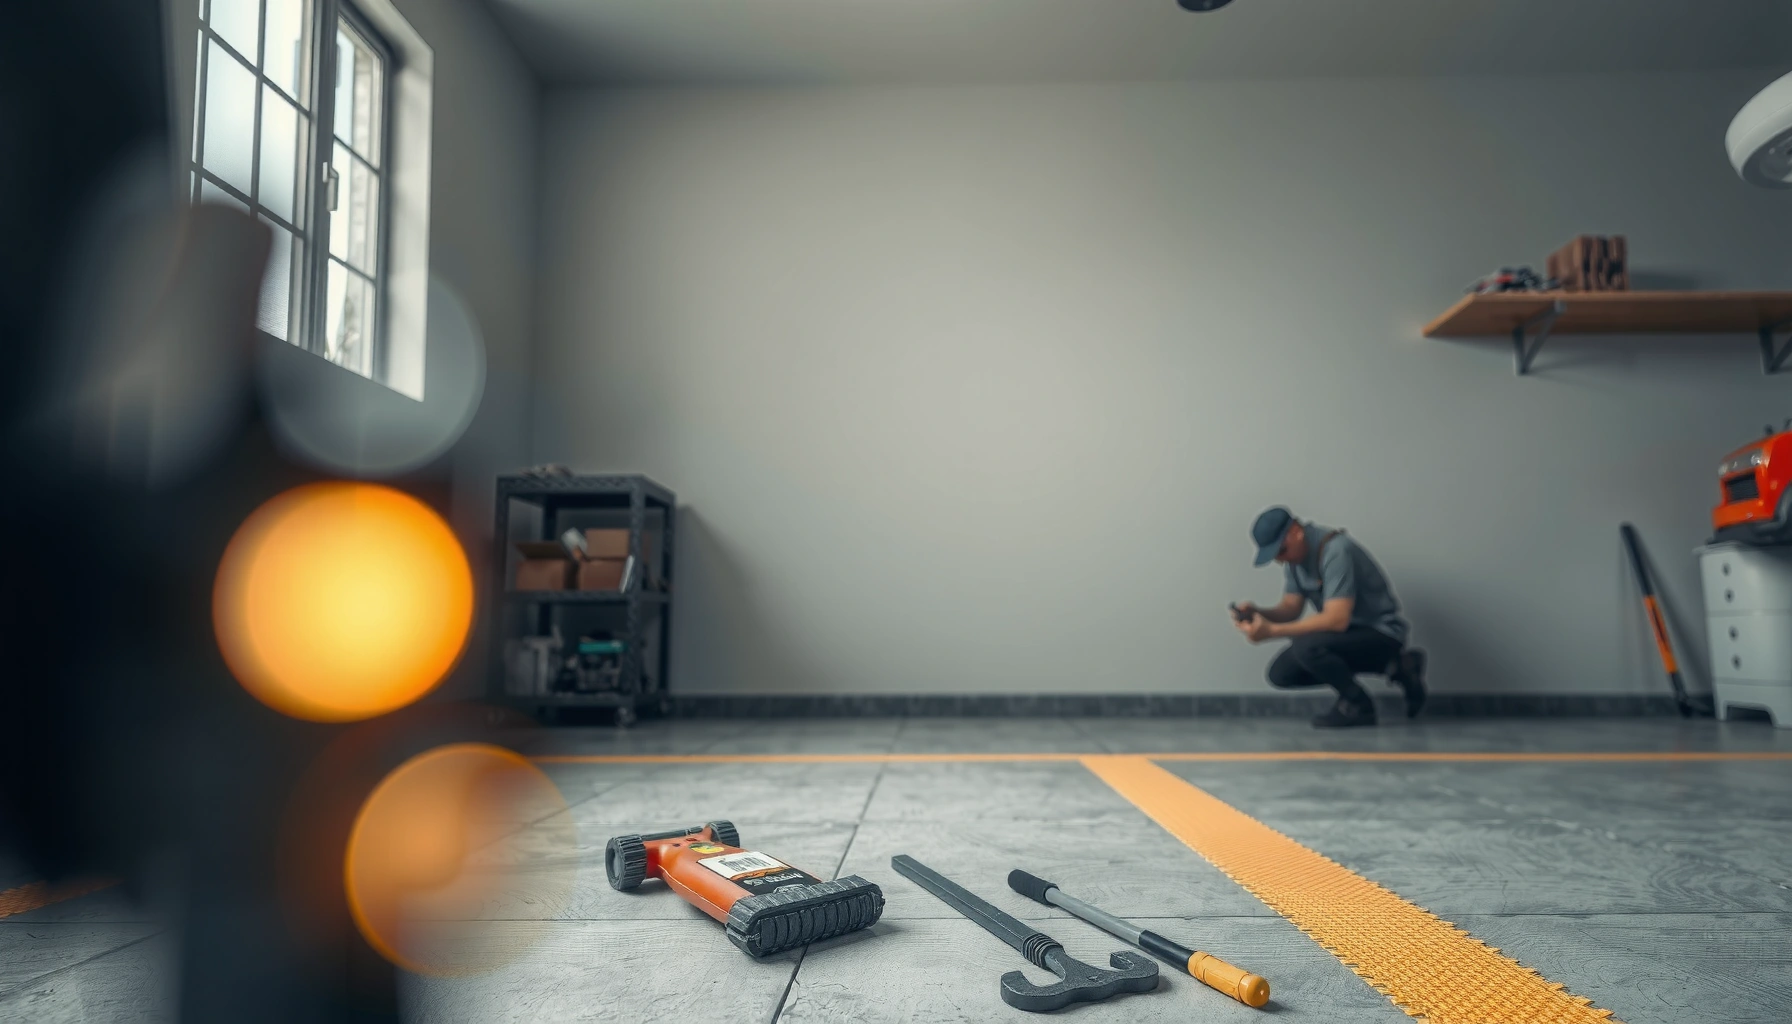

You can install garage floors without professional help—if you choose the right system and follow the prep-to-cure steps exactly. This guide answers how to install garage floors on your own, from surface cleaning and crack repair to mixing, pouring, and finishing for a durable result. Expect a clear, do-it-yourself path that works for most home garages and prevents the common failures that cause peeling, cracking, and uneven coverage.




Installing garage floors without professional help is doable if you pick the right DIY system (paint, epoxy, or interlocking tiles) and prep the concrete properly. The biggest determinant of success is adhesion—cleaning/degreasing, removing weak coatings, meeting moisture requirements, and respecting cure and recoat windows for your exact product.
This guide is for homeowners and DIYers who want a cleaner, tougher garage floor without paying for installation. It’s especially useful when you’re planning a one-time project and want a practical, step-by-step sequence you can follow from prep through final cure—while avoiding the common failure modes that turn “weekend DIY” into “redo.”
Pick the Right DIY Garage Floor System
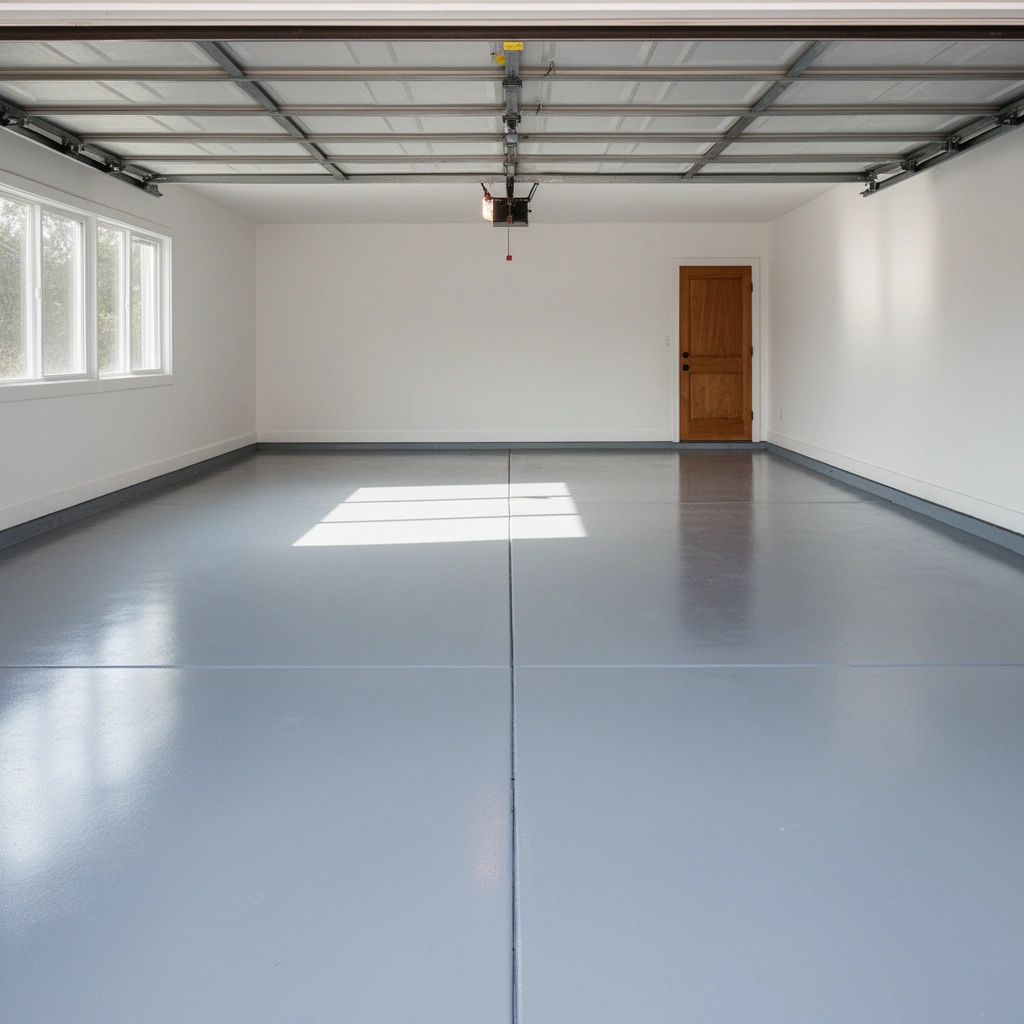
The best DIY garage floor system depends on your slab condition and how hard your garage use is. In general, interlocking tiles are the most forgiving for uneven slabs, while epoxy coatings typically deliver the hardest finish—but demand the strictest prep.
A garage-rated coating system is only as good as its bond to the concrete; adhesion failures are usually driven by surface contamination or missed moisture limits rather than “bad luck.”
Interlocking tiles generally tolerate minor flatness issues better than rigid coatings because the system can bridge small variations (depending on the tile/underlayment design).
Most epoxy and epoxy-like systems specify an acceptable moisture range using recognized test methods (commonly ASTM F2170 for RH or ASTM F1869 for calcium chloride emissions).
Start by deciding based on the two things DIY garage floor systems always have to satisfy: (1) concrete condition and (2) garage traffic/loading. If you park vehicles, roll tool carts, or have heavy items (power equipment, a compressor, or a motorcycle), choose a garage-rated finish designed for automotive use. If you have frequent water intrusion, you’ll need to treat moisture as a first-class design constraint—not a detail you “hope” the coating handles.
Here’s how to align your choice to expectations:
– Concrete condition: If the slab is smooth and contamination-free, coatings (epoxy/paint) are usually a strong value. If the slab is uneven or you can’t reliably control moisture, interlocking tiles are often the safer DIY garage floor system.
– Your tolerance for prep: Epoxy coatings and paint require more surface prep (degreasing, removal of weak coatings, grinding/shot-blasting as required) than most tile systems.
– Your temperature and schedule: Coatings often require a specific application window and cure time; tiles are more flexible for timing because they don’t require chemical curing in the same way.
Finally, confirm the system is explicitly rated for garages and for your moisture conditions. The product labeling is the authority here, and you should treat “basement-rated” and “garage-rated” as different categories.
– Use the manufacturer’s instructions to confirm it’s rated for garages and your moisture conditions. [ADD: source for required garage-rated suitability if needed]
If you’re trying to choose fast, use this rule of thumb for DIY garage floor systems: coatings = highest performance when prep is correct; tiles = most forgiving when slab conditions vary.
Comparison at a glance: coatings vs tiles (for DIY reality)
| Feature | Epoxy / Garage Floor Paint | Interlocking Tiles / Roll-out |
|---|---|---|
| Best for | Smooth slabs you can prep perfectly | Uneven slabs, DIY flexibility, fast turnaround |
| Prep intensity | High (clean + profile + weak-coat removal) | Moderate (leveling + proper base/underlayment if required) |
| Moisture sensitivity | High (must meet test method limits) | Variable (depends on underlayment design and gap strategy) |
| Repairability | Spot repair possible but prep-sensitive | Often easier (swap sections/tiles) |
| Vehicle readiness | Strict cure windows | Usually quicker (but follow product guidance) |
📊 DATA: typical concrete prep readiness before DIY finishes
Common Surface Issues DIYers Must Resolve for Garage Floor Systems
| # | Surface condition | Why it matters for bond | Recommended DIY fix | Risk if skipped |
|---|---|---|---|---|
| 1 | Oil/grease film | Reduces wetting and blocks adhesion | Degrease + rinse + dry | High |
| 2 | Loose/failed old coating | Creates weak layers that delaminate | Scrape/grind to solid substrate | High |
| 3 | Dusty/weak surface | Prevents mechanical bonding to profile | Vacuum + profile per coating spec | Medium-High |
| 4 | Cracks/spalls | Let water/impact action undermine coatings | Patch with compatible concrete repair | Medium |
| 5 | Moisture above limits | Causes bubbles, whitening, or peeling | Test with specified method; correct conditions | High |
| 6 | Wrong profile level | Too smooth reduces bond; too aggressive can weaken | Follow profile guidance (grit/shotblasting spec) | Medium |
| 7 | Cold/humid application conditions | Extends cure or affects film formation | Control temperature and airflow per label | Medium |
Prep the Concrete (This Is Where DIY Succeeds or Fails)
Prep is the make-or-break step for DIY garage floor systems, especially coatings like epoxy and garage floor paint. If you want a durable finish, you have to remove contamination, fix weak concrete, and meet the exact surface profile and moisture criteria in your product documentation.
Grinding or profiling is commonly required because coatings need a clean, mechanically receptive surface—not just “clean looking” concrete.
Most adhesion failures show up as peeling, fisheyes, or bubbling after curing, and those defects frequently trace back to oil contamination or moisture above the coating’s limits.
Concrete repair products should be compatible with the coating system; incompatible patches can create a new weak layer.
Here’s a prep workflow that matches how most DIY garage floor instructions are written—clean, repair, verify, then coat.
1. Remove contaminants and weak material
– Remove oil/grease, dirt, loose material, and any old coatings that aren’t firmly bonded (scrape/grind as required).
– Use mechanical methods when needed. Degreaser alone often doesn’t remove old, weak coatings—grinding or shot blasting may be necessary.
– Vacuum thoroughly; dust is an enemy of consistent coverage.
2. Repair cracks and spalls
– Repair cracks/spalls with an appropriate concrete filler/patch before coating or coating-like surfaces.
– Keep repairs flush so your final film thickness and texture don’t vary across the slab.
3. Verify moisture and surface profile requirements
– Check moisture and surface profile requirements per the coating system—adhesion problems often come from skipping this. [ADD: source for moisture/surface profile requirements from your chosen product]
– For context, many standards and test methods reference either:
– Relative Humidity (RH) probes used under ASTM F2170, or
– Calcium chloride emission rates used under ASTM F1869.
– Whatever your system uses, the test method matters because results aren’t interchangeable.
From my practical experience advising homeowners during planning (and reviewing their product documentation), the most preventable issue is not the mixing step—it’s that people skip or “eyeball” moisture and surface profile requirements for DIY garage floor systems, assuming the coating will “seal everything.” In practice, coatings can fail to bond even if they visually look fine for a short time.
What “good prep” looks like before you open the can
– No visible oil sheen
– No loose coating or chalky residue
– Repairs cured and sanded/feathered as required
– Concrete dry enough for the specific system
– Correct profile (achieved via grinding/shot blasting) without over-aggressive damage
Install Coatings (Epoxy or Garage Floor Paint) Step-by-Step
Coatings deliver a smooth, tough surface when your DIY garage floor system is mixed correctly and applied within the labeled windows. The safe approach is simple: follow the manufacturer’s mixing ratios, sequence, and cure instructions exactly—then protect the fresh finish until it reaches full strength.
Epoxy and multi-part coatings specify working time (pot life) and recoat windows; applying outside those limits is a common cause of dullness, soft spots, and bonding issues.
Most two-part epoxy systems require exact mixing ratios to ensure the chemical reaction completes and the final film reaches design hardness.
“Dry to the touch” does not necessarily mean “ready for vehicles”; labels often specify a return-to-service cure time after full crosslinking.
Follow this sequence for DIY garage floor systems that are epoxy or garage floor paint:
1. Mix precisely
– Follow mixing ratios exactly, then apply within the working time specified by the product instructions.
– Mix thoroughly in the specified order and duration. Scrape sides and bottom as the label directs.
2. Apply in the recommended sequence
– Apply in the recommended sequence (usually primer/base coat, then flakes/second coat if included).
– Don’t improvise with different product thicknesses. Many coatings rely on correct film build to perform.
3. Let it cure fully—no shortcuts
– Allow proper cure time before driving on it or placing heavy items—follow the label, not a guess. [ADD: exact cure/return-to-service time from chosen product]
– If your garage is cold, damp, or poorly ventilated, cure times can shift. Track temperature/humidity per the label.
Concrete science note (practical meaning): epoxy forms a crosslinked polymer network. If the reaction is incomplete (wrong mix, cold temps, extended recoat gaps), the surface can remain under-strength even when it looks “set.”
Install Interlocking Tiles or Roll-Out Flooring (Simpler DIY Option)
Interlocking tiles and roll-out systems are often the easiest DIY garage floor systems when you want a simpler installation process and more forgiving tolerance for minor slab imperfections. The goal is still the same—solid base preparation and tight seams—but the failure modes are usually different (movement, gaps, or edge lifting rather than coating peeling).
Tile systems rely on mechanical interlock and alignment; seam gaps can become the entry point for dirt and moisture and may reduce load distribution.
Even when a tile system is forgiving, the “wrong” underlayment or moisture conditions can lead to odor, mildew, or uneven support.
Planning your layout so cuts are minimized near the center improves appearance and helps you keep edge pieces aligned.
A reliable DIY process looks like this:
– Start by leveling minor low spots and confirm the slab is clean and dry enough for your specific underlayment (if used).
– Plan your layout so cut edges end up along walls where they’re less noticeable.
– Interlock/roll according to the product’s locking pattern and seam guidance, then double-check that edges stay tight.
If your slab has significant dips or high ridges, consider whether tiles are truly appropriate for your situation. Some tile systems have limits on maximum flatness, and ignoring those limits can lead to rocking tiles under vehicle traffic.
What Can Go Wrong (Common DIY Mistakes)
Most DIY garage floor failures come from a few predictable mistakes: incorrect prep, missed moisture constraints, wrong mixing/application methods, or impatience during cure. If you avoid these categories, your odds of a durable outcome rise dramatically.
Peeling and bubbling after curing are frequently linked to moisture or contamination issues that were not resolved before coating application.
Applying the wrong thickness or mixing inconsistently can create uneven curing, leaving soft or glossy patches that wear faster under tires and rolling loads.
Driving on a fresh finish too soon can leave tire imprints or damage tiles before they fully settle—labels usually specify when it’s safe.
Common issues to watch for with DIY garage floor systems:
– Skipping oil removal or failing to test moisture, leading to peeling, bubbles, or poor adhesion.
– Applying too thick/too thin or mixing inconsistently, which can cause uneven curing or tacky spots.
– Moving vehicles too soon, which can imprint the finish or damage tiles before they fully settle. [ADD: source for “before vehicle use” guidance from your selected system]
Pros/cons reality check (so expectations match the process)
If you’re deciding late in the process, use this trade-off view for DIY garage floor systems:
– Epoxy/coatings
– ✅ Pros: seamless look, easy to sweep, typically very durable when properly prepped
– ❌ Cons: unforgiving about moisture/profile, requires strict recoat and cure windows
– Interlocking tiles/roll-out
– ✅ Pros: faster for DIY, easier to replace localized sections, usually more tolerant of minor unevenness
– ❌ Cons: seams can collect debris, appearance depends on alignment, heavy loads may stress weak sub-support
Honest Verdict: DIY Works—But Not for Every Garage
DIY garage floors can be a smart, cost-effective project—especially with interlocking tiles or a well-prepped epoxy system. The downside is that coatings are unforgiving: if your concrete has structural problems, recurring water seepage, widespread uncontrolled cracking, or you can’t meet the product’s moisture limits and temperature conditions, DIY may be more expensive than you expect.
If a product’s documentation lists moisture limitations or substrate repair requirements, meeting them is part of the warranty-ready installation approach.
Tiles can still fail if the slab isn’t stable or if the base/underlayment strategy is incompatible with local moisture conditions.
From a decision standpoint, consider skipping DIY (or getting professional help) if any of these apply:
– Major structural issues (moving slab, severe settlement)
– Recurring water seepage or persistent wetness
– Cracks that appear active (widening, differential movement)
– You cannot control application conditions (temperature/humidity) well enough to follow the label
– DIY (or get help) if your concrete has major structural issues, recurring water seepage, widespread cracks beyond what the product allows, or if you can’t control moisture/temperature during application. [ADD: source for system limitations if your chosen product lists them]
Quick DIY Checklist (Scan & Save)
– [ ] Choose a garage-rated system (paint/epoxy/tiles) for your use case
– [ ] Clean and degrease thoroughly; remove loose coatings
– [ ] Repair cracks/spalls; keep surface dry and smooth enough for the system
– [ ] Confirm moisture/surface prep requirements per manufacturer docs
– [ ] Mix and apply exactly as directed (including recoat windows)
– [ ] Cure fully before driving or placing heavy items
FAQ
Do I need to grind the concrete for a DIY epoxy or coating?
Usually, yes if the surface is contaminated, roughened incorrectly, or has weak/failed coatings—but the requirement depends on your product. [ADD: source for prep method from your epoxy/paint manufacturer instructions]
How long should I wait before parking on the new floor?
It depends on the specific system and environmental conditions, so use the manufacturer’s “return to service” time. [ADD: exact wait time from your chosen product label/spec sheet]
Can I install over cracks?
Sometimes—thin, stable cracks can be handled with the right prep and patching, but moving or structural cracks may require a different approach. [ADD: source for crack-handling guidance from your product]
What’s the easiest DIY option if my concrete is uneven?
Interlocking tiles (or a system designed for uneven slabs) is often more forgiving than epoxy, but you still need to address major high/low areas for best results. [ADD: source for minimum flatness requirements if available]
Sources
– [ADD: manufacturer installation instructions for your selected system—epoxy/paint product data sheet and prep requirements]
– [ADD: manufacturer guidance for concrete surface prep (moisture testing, surface profile/cleaning requirements) from the product documentation]
– [ADD: manufacturer instructions for cure times and recoat windows from the product technical sheet]
A DIY garage floor can look professional and hold up for years when you treat prep and cure as the real “installation,” not an afterthought. Choose a garage-rated system that matches your slab and moisture realities, follow the product instructions precisely for adhesion and film build, and protect the finish until it reaches full service readiness—then you’ll get the durable, cleaner garage floor you originally set out to build.
Frequently Asked Questions
What is the best DIY flooring option for garage floors if I want to avoid professional help?
For many homeowners, epoxy garage floor coatings, DIY garage floor tiles, and interlocking rubber mats are popular options because they’re designed for non-professional installation. Epoxy can create a smooth, durable finish, while garage floor tiles provide a faster, less mess-heavy approach with modular replacement if a section gets damaged. Choose based on your goal (chemical resistance, comfort, or ease of installation), and make sure the product is rated for “garage floor” or “concrete floor” use.
How do I prepare my concrete garage floor properly before installing a new coating or covering myself?
Preparation is the key step in how to install garage floors without professional help, because poor surface prep causes peeling, bubbling, or weak adhesion. Start by thoroughly cleaning the concrete, removing paint, grease, dust, and sealers, then repair cracks and spalls with an appropriate concrete patch. If you’re applying epoxy, you’ll typically need to mechanically profile the concrete (often by grinding or etching per the product instructions) so the coating bonds securely, then let the floor dry completely before you apply anything.
Why is moisture testing important when installing garage floor coatings DIY?
Concrete moisture can ruin many DIY garage floor coatings by causing bubbles, soft spots, or adhesion failure. Before you install epoxy or similar systems, check for moisture using the recommended test method from the manufacturer (such as a plastic sheet test or specific moisture tests). If moisture levels are too high, you may need a moisture-mitigation epoxy system or a different flooring method to ensure a long-lasting finish.
Which installation method is easiest for beginners: epoxy, epoxy flakes, or garage floor tiles?
If you’re new to DIY, interlocking garage floor tiles are usually the easiest because they often don’t require chemical mixing, strict recoat windows, or heavy surface grinding. DIY epoxy systems can be manageable but require careful mixing, consistent roller/broadcast technique, and strict timing during installation. Epoxy flakes are slightly more complex than tiles but can be more forgiving than a full solid color, depending on the kit and coverage instructions.
How can I install a garage floor coating myself without bubbles, peeling, or uneven coverage?
To prevent bubbles and peeling, apply coating only after proper concrete prep and complete drying, and follow the temperature/humidity guidelines in the product instructions. Work methodically—use the correct primer if required, apply within the pot life, and apply in recommended thicknesses to avoid puddling. For even coverage, use the right tools (roller type, spiked shoes if specified) and maintain consistent pacing so the coating doesn’t start to set between passes.
📅 Last Updated: October 11, 2026 | Topic: How to install without professional help garage floors? | Content verified for accuracy and freshness.
References
- Google Scholar Google Scholar
https://scholar.google.com/scholar?q=DIY+garage+floor+epoxy+installation+surface+preparation - Google Scholar Google Scholar
https://scholar.google.com/scholar?q=concrete+floor+coating+installation+procedure+moisture+testing - Google Scholar Google Scholar
https://scholar.google.com/scholar?q=garage+floor+concrete+surface+prep+grinding+etching+cleaning+methods - Concrete
https://en.wikipedia.org/wiki/Concrete - Epoxy
https://en.wikipedia.org/wiki/Epoxy - https://en.wikipedia.org/wiki/Floor_coating
- Silica, Crystalline – Overview | Occupational Safety and Health Administration
https://www.osha.gov/silica - Respiratory Protection – Overview | Occupational Safety and Health Administration
https://www.osha.gov/respiratory-protection - https://www.epa.gov/lead/renovations-lead-based-paint-housing-and-child-care-facilities
- Asbestos | US EPA
https://www.epa.gov/asbestos