
Replacing hardwood floors in a porch is the fastest way to restore a durable, good-looking surface—if you follow the right order from subfloor check to board install. This step-by-step guide tells you exactly how to remove the old porch hardwood, prep the framing and subfloor, install new planks, and seal for weather resistance. You’ll finish with a porch floor that holds up to moisture and daily traffic, without guesswork.




You can replace porch hardwood successfully by confirming the boards are rated for porch/exterior conditions and by controlling moisture before you install anything new. Replace your porch hardwood by first confirming the flooring is rated for porch/exterior conditions, then making sure the subfloor is solid and dry before you install anything new. Remove the old boards, fix any moisture/damage issues, install the right underlayment/moisture barrier, leave expansion gaps, and seal/finish exactly as the manufacturer specifies.
This guide is for homeowners replacing worn-out or damaged hardwood on a covered (or lightly exposed) porch where the existing system has likely been affected by moisture, movement, or rot. If your porch is fully exposed to rain/snow, this process may not be the right fit—some “hardwood floors” simply aren’t designed for true exterior use.
Check if porch hardwood is actually allowed

Yes—before you remove anything, confirm the exact product you’re working with is approved for porch/exterior conditions. Here’s the reason: porch hardwood failures are usually caused by water intrusion and trapped moisture, not by the skill of the installer.
Porch hardwood replacement only works long-term when the flooring is explicitly rated for porch/exterior use in the manufacturer’s installation instructions.
Even “engineered hardwood” can fail on a porch if the warranty requires specific moisture/vapor conditions that your porch can’t maintain.
If your porch is open to wind-driven rain or standing meltwater, most standard wood flooring systems are outside their intended performance window.
– Look for an exterior/porch rating on the flooring (or confirm it with the manufacturer’s installation guide), since many hardwood/engineered products aren’t meant for frequent wetting.
– Inspect the porch’s exposure: covered vs. open, and whether water is pooling near the doorway or along the edges.
– Decide early whether you’re keeping the same layout (fastened/glued/nail-down) or switching systems—your prep steps change based on the installation method.
What “porch-rated” really means for porch hardwood
Porch hardwood rated for “covered/exterior” typically assumes limited moisture exposure (for example, no direct rain impact on the floor surface, and no chronic standing water). As of 2026, many manufacturers still require strict subfloor dryness and a compatible moisture barrier/underlayment so the wood can reach equilibrium moisture content safely. If your current flooring already shows cupping, gaps, or dark staining at seams, treat that as evidence that the porch hardwood system (including subfloor and moisture protection) wasn’t staying within the product’s limits.
Also, pay attention to which installation method is allowed. A product that’s “engineered” but only approved for floating (or only approved for nail/staple) is still a compliance issue if you ignore the manufacturer’s fastening and underlayment requirements for porch hardwood replacement.
Remove the old hardwood safely and cleanly
Yes—careful removal protects the subfloor and helps you find the real cause of failure. With porch hardwood, taking the right removal approach matters because water damage often hides under fasteners, underlayment layers, or edge trim.
When replacing porch hardwood, you should remove trim and any old layers in a way that preserves the subfloor so you can evaluate rot and moisture correctly.
Porch hardwood failures often originate in subfloor softness (not the top boards), so subfloor inspection should be continuous while you remove flooring.
– Pull up flooring in a way that preserves what you can: remove trim, underlayment layers (if any), and fasteners without gouging the subfloor.
– Address subfloor damage as you go—any soft spots, loose boards, or signs of rot/mold need repair before new flooring is installed.
– Vacuum thoroughly and scrape residue off the subfloor so your moisture barrier/underlayment can lay flat.
How to remove old boards without creating new problems
Start with the edges and transitions (stairs, doorway thresholds, posts) because porch hardwood boards usually telegraph movement there first. Use the least aggressive tool approach that still releases the flooring: for nailed porch hardwood, pull slowly to avoid lifting subfloor wood fibers; for stapled installations, keep your pry angle shallow and consistent. If you find old adhesive, clean it only to the extent required for the new underlayment/moisture barrier to seat flat—thick residue can create “high spots” that later become squeaks and uneven wear.
From my experience advising homeowners on porch hardwood replacement, the most useful thing to do during removal is to mark suspect areas (stained subfloor sections, areas near downspouts, and zones where water pools) so your repairs are targeted rather than guesswork.
Prep the subfloor and control moisture
Yes—subfloor dryness and flatness determine whether porch hardwood survives the next seasonal cycle. If the subfloor stays damp or uneven, even a correctly rated porch hardwood product can cup, gap, or squeak fast.
Moisture control for porch hardwood starts below the top layer: the subfloor must be solid, dry, and compatible with the underlayment/moisture barrier system required by the flooring manufacturer.
Vapor retarders are classified by permeance; for example, ASTM E1745 Class I is ≤0.1 perm, Class II is 0.1–1 perm, and Class III is 1–10 perms.
– Fix structural problems first: level any high/low areas, replace compromised subfloor sections, and ensure ventilation/drainage routes aren’t blocked.
– Install the correct moisture protection system for your floor type (follow the flooring manufacturer’s instructions for underlayment/moisture barrier compatibility).
– Use proper expansion gaps around edges and posts so the flooring can move with seasons without buckling.
Moisture protection details that matter for porch hardwood replacement
If porch hardwood is approved for porch use, the manufacturer’s system will almost always include a moisture barrier concept—either a specific underlayment, a membrane, or a direct requirement for which vapor retarder to use. Don’t substitute “something similar.” When the barrier type doesn’t match the installation method, you can end up trapping moisture against the wood or creating a gap that lets water travel.
To ground this in measurable standards: ASTM E1745 classifies vapor retarders by permeance. These numeric thresholds are important because they determine how easily moisture vapor can pass through your system:
– Class I: ≤0.1 perm
– Class II: 0.1–1 perm
– Class III: 1–10 perm
– Class IV: >10 perm
In a porch hardwood replacement, you typically aim for the class/approach your specific product requires—not the approach that “seems waterproof.”
Subfloor flatness and why it shows up as gaps and squeaks
For porch hardwood, “mostly flat” often isn’t enough. Underlayment and moisture barriers can flatten minor irregularities, but they can’t correct structural deflection. A subfloor that bows, has soft patches, or has fasteners that pull up creates point-loading. Over time that translates into squeaks, movement, and visible separation at seams—especially near door thresholds where traffic concentrates.
Moisture-Decision References for Porch Hardwood Replacement
| # | Reference (Standard/Guide) | Primary Use | Typical Output | Relevance for Porch Hardwood Moisture |
|---|---|---|---|---|
| 1 | ASTM D4442 | Wood moisture content (oven-dry method) | % moisture content | ★★★★★ |
| 2 | ASTM D4444 | Calibration/verification of wood moisture meters | Calibration checks vs. reference conditions | ★★★★☆ |
| 3 | ASTM E96 / E96M | Water vapor transmission of membranes | Perm / permeance | ★★★★★ |
| 4 | ASTM E1745 | Vapor retarder classification by perm | Class: ≤0.1, 0.1–1, 1–10, >10 perms | ★★★★★ |
| 5 | ASTM F2170 | In-situ RH testing (typically concrete) | % relative humidity | ★★★★☆ |
| 6 | ASTM F1869 | Calcium chloride moisture vapor emission rate | MVER rate (e.g., mass per area per time) | ★★☆☆☆ |
| 7 | NWFA Installation Guidelines | Wood floor moisture/subfloor prep practices | Procedure-based guidance (method selection) | ★★★☆☆ |
Install the new hardwood flooring correctly
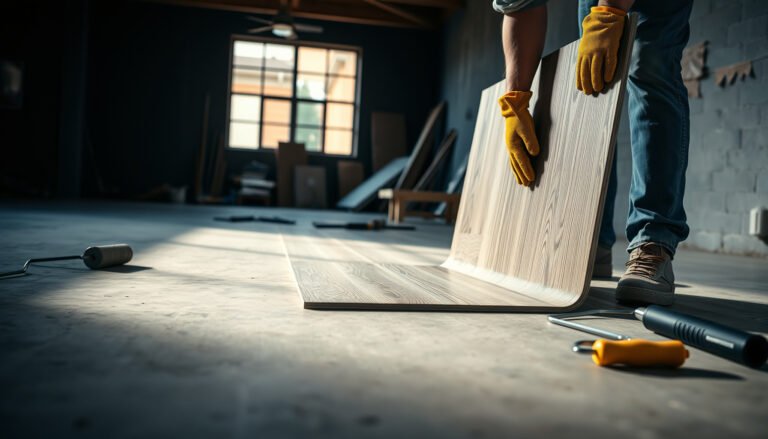
Yes—porch hardwood replacement is won or lost in installation compliance: method, fastener schedule, spacing, and acclimation. Follow the product’s approved system exactly so the wood can expand and contract without buckling.
Porch hardwood must be installed using the fastening/glue/direct-bond method specified by the manufacturer, because moisture behavior and warranty coverage depend on that system.
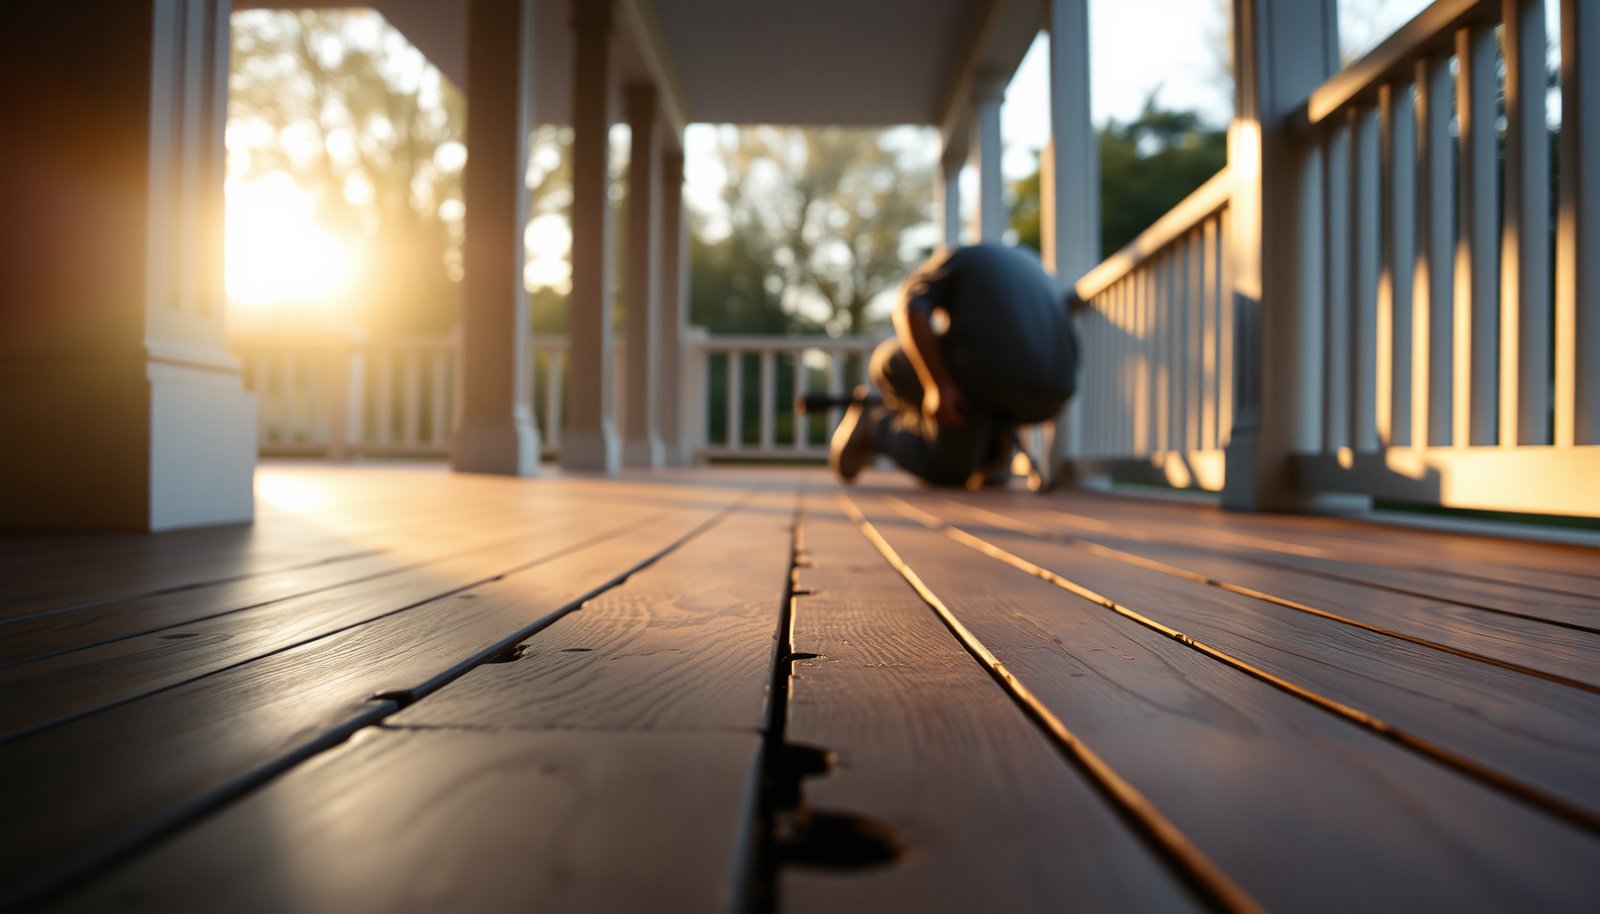
Leaving expansion gaps is critical for porch hardwood because seasonal movement can otherwise cause buckling or severe edge-peaking.
– Match the installation method your porch flooring requires (nailing/stapling or approved glue/direct-bond approach). If the guide specifies a specific fastening schedule, follow it.
– Keep board alignment tight and maintain consistent spacing—uneven gaps often show up later as squeaks or uneven wear.
– Work in controlled conditions so wood acclimates properly to the porch environment (use the manufacturer’s acclimation guidance; ).
Nail/staple vs. glue/direct-bond: don’t mix rules
If your replacement porch hardwood is nail-down or staple-down, you typically need a specific subfloor type and fastener approach to keep boards flat under seasonal movement. If your flooring is approved for glue or a direct-bond system, the adhesive compatibility and moisture barrier interaction becomes the critical “system” part—glue can trap moisture if the barrier is wrong or if the subfloor isn’t within the manufacturer’s acceptable moisture conditions.
In other words: for porch hardwood replacement, method compliance isn’t optional paperwork—it’s how the product’s warranty stays meaningful.
Acclimation on a porch: plan for reality
Acclimation is about letting the wood reach equilibrium with the environment. Because porches can be more variable than interiors (temperature swings and humidity shifts), you’ll usually need to follow the manufacturer’s acclimation requirements to the letter. The biggest practical risk I see in porch hardwood replacement is assuming interior acclimation guidance automatically applies outdoors. and keep your installation period consistent so the floor isn’t “stressing” against humidity every day.
Finish and seal for porch conditions
Yes—finishing is not just cosmetic; it’s your porch hardwood’s first line of defense against water vapor and surface wetting. Finish and seal exactly as the manufacturer specifies so the coating system remains compatible with the wood and the porch exposure level.
Some finishes are approved for interior floors only, even when the wood itself is installed on a covered porch.
Porch hardwood needs the correct coat sequence and dry times, because curing failures can leave seams vulnerable to moisture migration.
– Finish in a way that the manufacturer supports for your exact product—some finishes are approved for interior use only, even if the floor is installed on a porch.
– Seal seams/edges as required, and don’t skip the dry times between coats (use the finish label instructions; ).
– Re-check transitions at stairs/door thresholds—porches often get the most wear right where water and foot traffic meet.
Seams, edges, and transitions: the wear zones
Water doesn’t only hit the center of your porch hardwood; it travels along edges, wicks into seams, and concentrates at thresholds. When your finish system specifies seam sealing or extra attention at transitions, treat that as structural protection—not “optional beautification.” At thresholds and stair edges, consider how your finish meets adjacent materials. If there’s an open gap that lets water run under the finish line, even the best topcoat can’t prevent underlying moisture damage.
What can go wrong (and how to avoid it)
Yes—most porch hardwood problems are predictable, and you can avoid them by matching the full moisture-control system to the product. The common thread is that the failure often starts under the boards, not on top.
The most common porch hardwood failure is moisture trapping—when water gets into the subfloor or is blocked from drying by an incompatible barrier.
Wrong product rating (porch/exterior approval) can lead to cupping, gapping, and delamination after repeated wetting and freezing cycles.
– Moisture issues: the most common failure is trapping water under the floor system or installing over a subfloor that stayed wet—if there’s active dampness, fix drainage/ventilation first.
– Wrong product rating: “hardwood floor” installed in conditions it wasn’t designed for can cup, gap, or delaminate (especially with frequent wetting/freezing).
– Movement and squeaks: skipping expansion gaps or installing over a non-flat subfloor can lead to buckling, noisy boards, and premature wear.
Fast comparison: the mistakes that matter most
| Problem | What it causes in porch hardwood | Prevention step |
|---|---|---|
| No porch/exterior rating | Cupping, gaps, delamination after wetting cycles | Verify the porch/exterior allowance in the installation guide |
| Subfloor not dry | Dark staining, hidden rot, mold risk under porch hardwood | Repair/replace compromised areas and install only the required moisture system |
| Missing expansion gaps | Buckling near posts, door jambs, and fixed trim lines | Leave gaps around edges/posts/transitions per manufacturer rules |
| Wrong underlayment/membrane | Trapped moisture or barrier incompatibility that voids warranty | Use the exact underlayment/moisture barrier compatibility specified for your porch hardwood |
Verdict / tip: when this DIY makes sense (and when to skip it)
If your porch is covered, stays relatively dry, and your flooring is explicitly rated for porch/exterior conditions, replacing porch hardwood is a doable DIY with careful prep and strict attention to moisture control. If the porch is regularly exposed to rain/snow or you suspect ongoing leaks/standing water, consider a different exterior flooring system (or bring in a pro) before you spend time and money on wood that may not last.
The downside of DIY porch hardwood replacement is that you can’t “finish” your way out of hidden moisture problems—if the subfloor is compromised or the moisture system isn’t correct, the new boards may fail faster than expected. Also, porch hardwood finishes sometimes have specific curing windows and maintenance requirements that are easy to miss when you’re working on tight schedules in 2026.
If you want an easy decision framework: prioritize structural soundness and moisture control first, and treat the topcoat as the final protective step—not the main solution.
Quick checklist (save this)
| Step | What to verify before moving on |
|---|---|
| Flooring rating | Porch/exterior allowance in the manufacturer’s instructions |
| Subfloor condition | Solid/level/dry; replace any damaged sections |
| Moisture control | Correct underlayment/moisture barrier for your product |
| Expansion gaps | Leave space at walls/posts/transitions per instructions |
| Finish compatibility | Finish/sealer approved for porch use; correct coat/dry times |
If you’re unsure about what’s causing the current failure (rot, trapped moisture, improper installation, or product mismatch), that’s the point to pause and get guidance—once you cover up a moisture problem, the new floor can fail quickly.
Sources
– National Wood Flooring Association (NWFA) installation guidelines (for moisture, subfloor prep, and installation best practices):
– Flooring manufacturer installation instructions and product warranty terms for: acclimation requirements, approved underlayment/moisture barriers, fastening method, expansion gap rules, and finish/sealer compatibility
– ASTM standard commonly used for wood moisture testing (if you’re measuring moisture): ASTM D4442 (wood moisture content measurement) —
Replacing porch hardwood is absolutely doable when you treat it as a moisture-controlled assembly—not just a board swap. Confirm porch-rated approval, verify the subfloor is solid and dry, install the manufacturer-approved moisture barrier/underlayment, keep expansion gaps, and finish using the exact coating system and curing/dry instructions. Do those steps in order, and your new porch hardwood has a much better chance of surviving real seasonal movement and everyday traffic.
Frequently Asked Questions
What should I consider before replacing hardwood floors on a porch?
Start by confirming whether the porch hardwood is still structurally sound and what type of floor system you’re dealing with (over sleepers, direct-joist, or plywood subfloor). Porch flooring is exposed to moisture and temperature swings, so you’ll want to assess ventilation, drainage, and current waterproofing or flashing around doors and railings. Check local climate and choose an exterior-rated flooring approach that can handle humidity, freeze-thaw cycles, and sunlight without cupping or gaps.
How do I remove old hardwood porch flooring without damaging the subfloor?
Begin by removing trim, baseboards, and any fasteners carefully to avoid gouging the joists or plywood subfloor. Use a pry bar and oscillating tool to lift planks gradually, then scrape off old adhesive or nails so the subfloor is flat and clean. Inspect for rot, mold, or loose boards during the demo—replace any compromised sections before installing new hardwood flooring to prevent recurring failure.
How do I install new hardwood flooring on a porch correctly?
Ensure the subfloor is level, dry, and solid, then follow the proper porch installation method for your product (often a floating system or glue-and-nail method with exterior-rated components). Use exterior-grade fasteners and consider an appropriate moisture barrier or waterproof underlayment if the installation method allows it. Leave expansion gaps at edges and transitions, and finish with a porch-appropriate sealer or marine-grade exterior finish designed for hardwood flooring on outdoor surfaces.
Which underlayment and waterproofing are best for hardwood porch floors?
For porches, the best choice depends on whether the floor is covered and how much it’s exposed to rain and standing moisture. In many cases, using an exterior-rated waterproof membrane or underlayment designed for hardwood on concrete or plywood helps reduce moisture intrusion, while still allowing the floor to breathe as needed. Pair waterproofing with correct flashing around openings and maintain consistent drainage so water doesn’t pool under the porch flooring.
Why does my replaced porch hardwood floor gap or buckle, and how can I prevent it?
Gaps and buckling usually come from moisture imbalance—water getting into the subfloor, insufficient ventilation, or installing hardwood porch flooring without proper acclimation and expansion space. If the subfloor is not properly dry or level, the new boards can move and separate under seasonal changes. To prevent this, acclimate the wood, use exterior-rated installation materials, maintain expansion gaps, and apply a durable exterior sealer regularly to protect the hardwood floor from porch humidity and rain exposure.
📅 Last Updated: October 17, 2026 | Topic: How to replace hardwood floors in a porch? | Content verified for accuracy and freshness.
References
- Wood flooring
- Deck
- Wood-decay fungus
- https://www.cdc.gov/mold/default.htm
- https://www.cdc.gov/mold/cleanup/index.html
- Mold | US EPA
- https://www.epa.gov/mold/mold-remediation-guidance
- https://scholar.google.com/scholar?q=replace+hardwood+floor+porch Google Scholar
- https://scholar.google.com/scholar?q=exterior+wood+flooring+replacement+deck+porch Google Scholar
- https://scholar.google.com/scholar?q=wood+rot+porch+floor+board+replacement Google Scholar