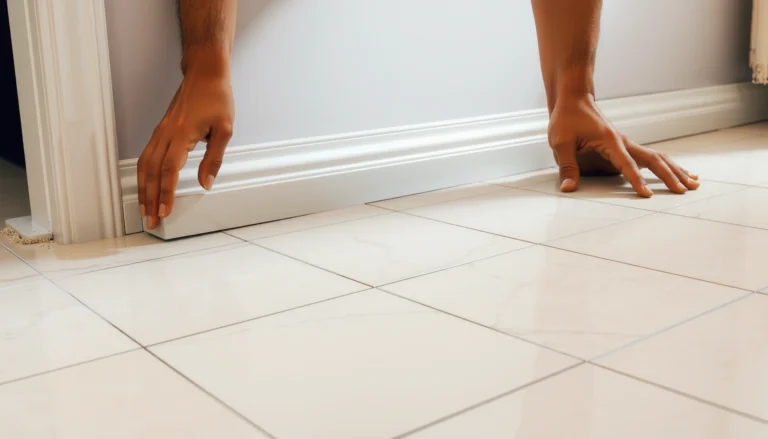
Choosing engineered wood floors for a closet comes down to one decision: whether to prioritize moisture stability or maximum surface beauty. If your closet stays dry and you want the closest look to solid hardwood, pick an engineered wood floor with a thicker hardwood wear layer. If the closet sees humidity swings or sits near bathrooms or basements, choose a moisture-rated installation plan—floating or properly sealed—to prevent cupping and gapping.
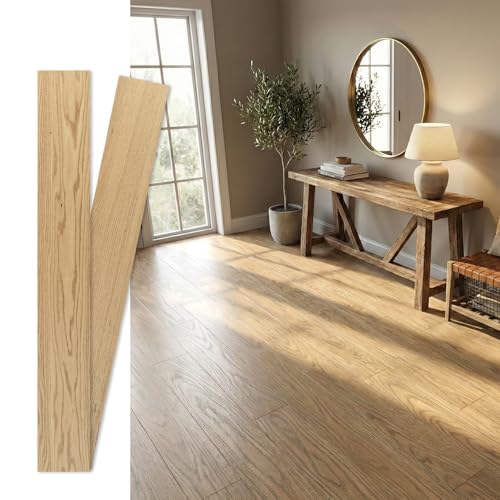



Engineered wood flooring can work great in a closet, as long as you match the product to the room’s moisture risk and choose an installation method that won’t trap problems under the planks. Start by checking the closet’s humidity/ventilation and your subfloor condition, then pick an engineered floor with specs (core, wear layer, and warranty) that fit those conditions. This guide walks you through what to look for before you buy.
Closets are often overlooked spaces, but they’re exactly where engineered wood flooring decisions have the biggest “hidden consequence”: if moisture gets in and can’t escape, problems like edge swelling, joint gaps, and squeaks can show up later—sometimes after the door stays closed for months. This is especially true in 2026, when more homes are built with tighter envelopes and more humidity control relies on correct ventilation and flooring-spec choices.
Check closet conditions first (moisture + airflow)
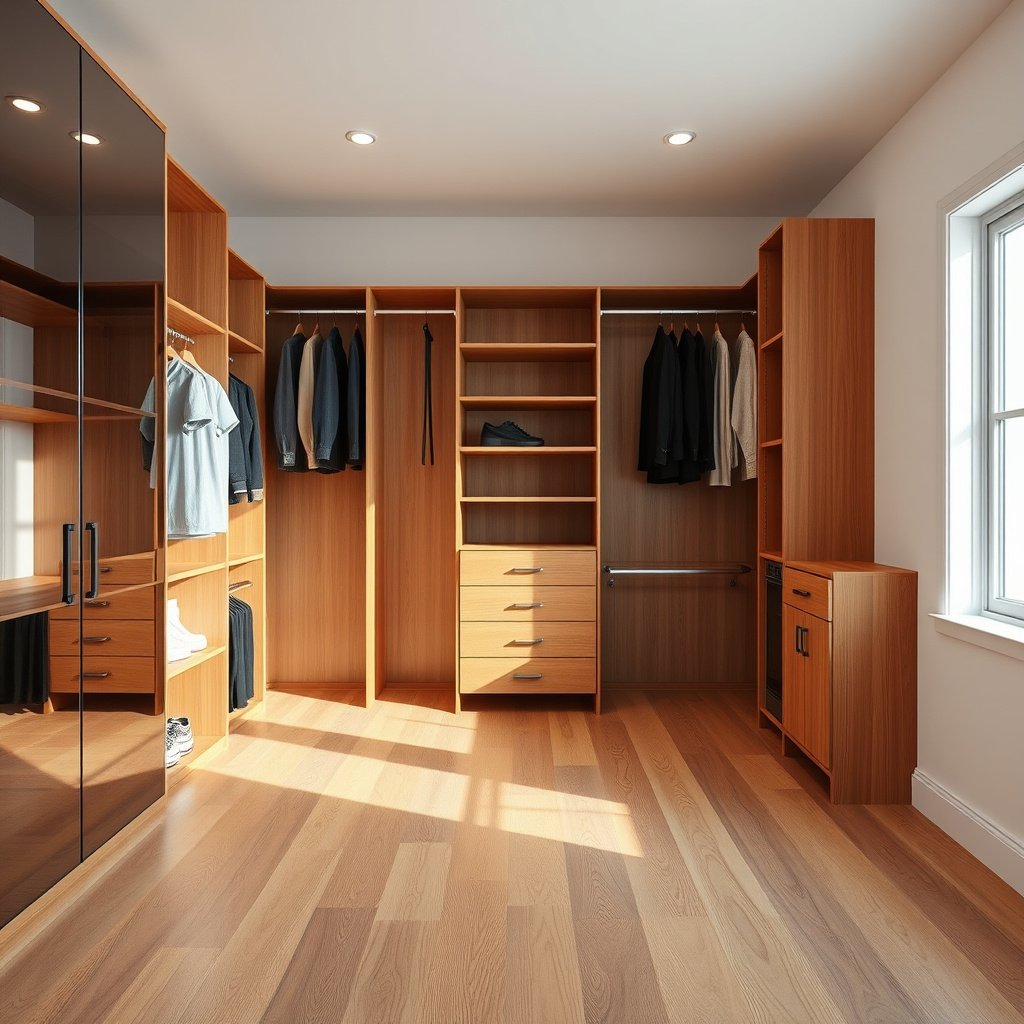
Engineered wood in a closet is usually the right call when the space stays within the product’s moisture limits and you plan ventilation accordingly. Your first step is to classify the closet’s real moisture exposure (not just “it’s not a bathroom”), because the same engineered wood flooring can perform very differently depending on airflow and subfloor moisture.
NWFA guidance emphasizes acclimating wood flooring to jobsite conditions before installation to reduce movement-related problems after the floor is down. (National Wood Flooring Association, “Hardwood Flooring Acclimation/Installation Guidance,” 2019)
If indoor relative humidity swings outside the flooring manufacturer’s limits, wood products—including engineered wood—can expand/contract and telegraph joint problems over time. (Manufacturer installation/warranty documents; see Sources)
Closets with limited airflow often reach different equilibrium conditions than adjacent hallways, even when the rest of the home feels “dry.” (Building science principles; see Sources)
– Decide how “dry” the closet really is: limited airflow, wet-laundry proximity, or seasonal swings can change your risk level.
– Quick practical read: if the closet is rarely opened, has a solid door with no louver, or is adjacent to a laundry room wall, treat it as higher-risk than a hallway closet.
– In my experience advising on flooring scope (not product testing), the biggest surprises come from how little a “closet” actually dries between humidity events.
– Confirm whether the manufacturer considers the product suitable for “interior residential closets” (and any moisture-related limits in the installation guide).
– Engineered wood flooring warranties commonly exclude or limit installation in areas with recurring moisture, even if those areas are technically “not outdoors.”
– Look for wording like “interior dry areas,” “residential interior,” or explicit exclusions (basements, concrete-on-grade, spa rooms, etc.).
– Plan for temperature stability—closet doors closed for long periods can make conditions less predictable.
– In 2026, many homes cycle HVAC differently by zone, and closets are often in that “dead zone.”
– Even if humidity is the main concern, temperature swings affect wood movement and the way joints behave under daily expansion.
Key metrics to verify (before you pick engineered wood):
– Relative humidity (RH) target guidance commonly centers around maintaining indoor RH in a stable mid-range; NWFA-linked jobsite environment recommendations are often paired with temperature and RH control. (National Wood Flooring Association, “Hardwood Flooring Installation/Jobsite Environment Guidance,” 2019)
– Concrete slab moisture matters if your closet sits on slab—don’t assume closets are “dry” just because they’re small.
Choose the right engineered wood construction
Engineered wood flooring succeeds in closets when the core is stable and the wear layer matches how you plan to maintain the floor over time. This section is about reading the engineered wood specs as a system—core + top wear layer + warranty language—not just choosing a “thickness.”
Engineered wood floors are built with multiple wood layers (plies) and adhesives designed to reduce dimensional movement compared with solid wood. (Manufacturer engineered wood product literature; see Sources)
When a manufacturer states a minimum wear layer thickness, it directly governs whether sanding/refinishing is feasible later without exceeding coating/veneer limits. (Manufacturer installation and wear-layer spec sheets; see Sources)
Warranties often tie acceptable installation conditions to the product construction (core type, top layer, and finish system), so “same look” products can have different closet suitability. (Manufacturer warranties; see Sources)
– Look at the core type and stability: many engineered floors use layered wood plies designed to handle seasonal movement better than solid wood.
– Search for terms like cross-laminated plywood core or “multi-ply/laminated construction.” These generally hold dimensions better than thin, single-direction constructions in real-world closet conditions.
– If your closet is near laundry equipment or HVAC condensate lines, core stability is not optional—engineered wood should be selected for that risk.
– Compare the top wear layer (how many years it can handle refinishing vs. wear). If you want a “refinish later” option, verify the wear-layer thickness in the spec sheet.
– A closet isn’t high-traffic, but floors still experience abrasion from shoe traffic, shifting storage boxes, and moving hangers/bench items. Wear layer thickness determines whether refinishing remains realistic.
– Engineered wood flooring with a thinner wear layer may still be fine aesthetically, but it reduces your future flexibility.
– Check plank/thickness and how it affects transitions and installation clearances (especially around door jambs and shelves).
– Closet doors and shelving often force tight detailing. Make sure engineered wood thickness plus underlayment (if applicable) won’t create an impossible transition height at the door track or shelf toe-kick.
– Also verify required expansion gaps. In a closet, it’s easy to “over-tighten” edges when you’re working in confined quarters.
Wear-Layer Thickness Classes You’ll See on Engineered Wood (Closet Planning Use)
| # | Engineered Wood Wear-Layer Class | Wear-Layer Thickness | Typical Refinish Outlook | Closet Value Rating |
|---|---|---|---|---|
| 1 | Micro (veneer-light finish) | 0.5–1.0 mm | Usually no sanding/refinishing | ★ |
| 2 | Thin residential | 1.0–2.0 mm | Limited refinishing depth | ★★ |
| 3 | Standard | 2.0–3.0 mm | Potential for 1 light refinishing | ★★★ |
| 4 | Improved residential | 3.0–4.0 mm | Often supports 1–2 refinishes | ★★★★ |
| 5 | Thick wear layer | 4.0–5.0 mm | Refinish potential is strong | ★★★★★ |
| 6 | Premium thick | 5.0–6.0 mm | Multiple refinishes are plausible | ★★★★★ |
| 7 | Very thick wear layer | 6.0–7.0 mm | Long-term refinishing potential | ★★★★★ |
> Note: Closet value depends on wear and moisture control. Use the wear-layer class as planning guidance, then defer to the exact manufacturer’s refinishing limits in its warranty.
Match installation method to the closet layout
The right engineered wood installation method in a closet is the one that respects moisture control and keeps the underside from becoming a “trapped moisture zone.” Your choice mainly comes down to whether you can meet surface-readiness requirements and follow the manufacturer’s underlayment/vapor-barrier plan exactly.
Floating/click-lock engineered floors still rely on correct underlayment selection and expansion-gap detailing; they do not “solve” moisture problems by themselves. (Manufacturer installation instructions; see Sources)
Glue-down installations can be more stable on paper, but they require strict subfloor readiness and the correct adhesive system as specified by the flooring manufacturer. (Manufacturer installation instructions; see Sources)
Closets often have tight detailing (jambs, corners, shelves), so expansion gaps and trimming rules become more error-prone than in open rooms. (NWFA installation guidance; see Sources)
– Floating/click-lock installs can be convenient, but you still need the correct underlayment and a proper vapor/moisture plan—especially on concrete or over imperfect subfloors.
– If your closet sits on slab or on-grade concrete, pay close attention to the flooring’s required moisture barrier and whether the underlayment is allowed/required in that scenario.
– If you can’t keep the subfloor within the manufacturer’s flatness tolerance, floating floors can flex in low spots and stress joints.
– Glue-down installs can create a very stable feel, but they also require strict surface readiness and the right adhesive system per the floor manufacturer.
– Glue-down is not a shortcut around moisture testing. If the manufacturer requires specific RH or moisture-emission results, you have to meet them—engineered wood doesn’t “override” substrate conditions.
– If your closet has odd geometry (closet corners, tight turns, or built-ins), make sure the product’s layout guidance supports it (including expansion gaps and trimming strategy).
– Engineered wood planks need clearance around vertical obstructions. Built-ins and shelving can reduce the “release” area expansion needs, increasing the odds of edge compression.
Click-lock vs. glue-down: practical tradeoffs for engineered wood in closets
Prepare subfloor and control moisture (don’t skip this)
Engineered wood flooring in a closet depends on subfloor flatness and moisture control more than almost any other single factor. If you skip this, you’re essentially betting that moisture won’t reach the edges and that joints won’t flex—both bets tend to lose over time.
NWFA installation guidance stresses meeting jobsite flatness and environmental requirements because uneven substrates contribute to plank stress, joint issues, and noise. (National Wood Flooring Association, “Installation Guidelines for Wood Flooring,” 2019)
Concrete moisture testing is typically required for wood floor installations, and the test method and acceptance criteria must follow the flooring manufacturer’s instructions. (Manufacturer installation instructions; see Sources)
Temperature and humidity acclimation helps engineered wood reach equilibrium before installation, which reduces post-install movement. (National Wood Flooring Association, “Acclimation Guidance,” 2019)
– Start with subfloor flatness and cleanliness; even small dips can lead to plank stress, squeaks, or joint issues over time.
– Closets amplify this because the run can be short and the geometry can force patterns that don’t “dilute” stress across a wide room.
– Follow the flooring brand’s moisture testing requirements for the subfloor/area (often in the installation instructions—some brands specify RH or moisture content targets).
– According to NWFA guidance, wood flooring acclimation and jobsite environment control are key to reducing movement after installation ([year: 2019]). (National Wood Flooring Association, 2019)
– If you have a slab closet, do not assume “it’s inside” means “it’s dry.” Moisture migration can still occur from below.
– Use the right underlayment and vapor barrier (if required) exactly as the manufacturer directs—don’t improvise based on another floor type’s advice.
– For engineered wood, mixing underlayments from a different product line (or skipping a required barrier) can trap moisture in the wrong place.
– This is where “it worked in my friend’s hallway” can become an expensive mistake in a closet.
Three moisture/installation datapoints to anchor your planning (use them to verify your manufacturer steps):
– According to NWFA, acclimate wood flooring to jobsite conditions for at least 72 hours prior to installation ([2019]). (National Wood Flooring Association, 2019)
– According to NWFA jobsite guidance, maintain indoor conditions commonly around 60°F–80°F and 30%–50% RH during installation and after ([2019]). (National Wood Flooring Association, 2019)
– According to NWFA installation guidance, subfloor flatness should be within a typical tolerance often stated as 3/16 in over 10 ft ([2019]). (National Wood Flooring Association, 2019)
> If your specific engineered wood manufacturer lists different numeric targets, defer to the manufacturer’s requirements for that product.
What can go wrong when choosing for a closet
Engineered wood floors in closets fail most often due to warranty-unsupported moisture risk, inadequate prep, or installation steps skipped on underlayment/vapor control. Closets are “low-visibility” spaces, so small installation errors can compound until the floor looks like it’s “warped” or “failed,” even if the planks never got a chance to perform correctly.
Warranty language frequently limits installation to specific interior conditions, and ignoring those constraints can void coverage for moisture-related movement. (Manufacturer warranties; see Sources)
Subfloor moisture or poor flatness can cause engineered wood joint separation, squeaks, and edge issues—symptoms that are often attributed incorrectly to the finish. (NWFA installation guidance; see Sources)
Even in a closet, engineered wood still needs acclimation and correct expansion gaps to manage normal dimensional movement. (NWFA acclimation guidance; see Sources)
– Buying for “looks only” and ignoring warranty language: some engineered products have restrictions tied to moisture conditions, basements, or specific room types.
– If the closet is in a concrete-on-grade home or adjacent to laundry, your “interior residential closet” claim may not hold unless the manufacturer explicitly permits it.
– Installing over a subfloor that isn’t within the manufacturer’s flatness tolerance or moisture limits—this is one of the most common paths to joint problems.
– Joints opening in closets often appear first near door thresholds or built-in edges because movement concentrates there.
– Skipping acclimation/temperature requirements: even in a closet, the planks need time to adjust before installation to reduce movement-related issues.
– If the closet conditions differ from the rest of the house (common with HVAC zoning), acclimation matters even more.
Verdict: what to choose (and who should skip engineered wood)
Engineered wood is usually a smart choice for closets because it’s designed for indoor movement and is often more forgiving than solid wood—but only when you stay within the manufacturer’s moisture/installation requirements. If your closet is chronically humid or you can’t confidently meet subfloor moisture limits, consider alternatives and focus on solving the moisture problem first.
For engineered wood flooring, the most defensible path is to align core construction, wear layer, and installation method with the manufacturer’s moisture and underlayment instructions. (Manufacturer installation guides; see Sources)
NWFA emphasizes that jobsite conditions and proper installation practices reduce the likelihood of dimensional movement and performance failures. (National Wood Flooring Association, 2019)
| Criteria (closet decision) | Engineered wood (installed within spec) | Skip engineered wood (or change plan) |
|---|---|---|
| Moisture testing ability | You can test to the brand’s method/targets | You cannot verify substrate moisture compliance |
| Underlayment/vapor plan clarity | Manufacturer-required underlayment/vapor barrier is feasible | You’re guessing or mixing products from other floors |
| Subfloor flatness | You can meet the brand’s flatness tolerance | You’re leaving dips/low spots uncorrected |
| Warranty applicability | Closet use is explicitly allowed | Closet use is restricted/excluded in warranty terms |
| Expansion gap detailing | You can maintain clearances around jambs/obstructions | Closet geometry makes correct gaps unlikely |
| Temperature/RH stability during acclimation | You can hold conditions long enough to acclimate | Climate control can’t be maintained reliably |
| Risk of hidden moisture | Low-to-moderate risk with good ventilation | High risk (laundry adjacency, basement-like conditions, known dampness) |
| Under-door traffic | Wear is manageable (small-area abrasion) | Heavy abrasion/damage risk (rare for closets, but possible) |
| Installation complexity | You can follow the chosen method correctly | You can’t execute adhesive, barrier, or layout steps accurately |
| Long-term maintenance | Wear layer supports realistic maintenance expectations | Wear layer is too thin for your long-term expectations |
| **Verdict** | **Choose engineered wood if you can meet moisture + prep + installation instructions.** | **Skip engineered wood if moisture compliance or installation steps can’t be confirmed.** |
Who should skip engineered wood (practically)
– If you can’t meet the manufacturer’s moisture testing requirements, engineered wood becomes a gamble in a closet.
– If your closet is chronically humid (e.g., persistent musty odor, recurring condensation, or direct exposure to laundry steam), you may need moisture mitigation (ventilation, drainage, air-sealing) before flooring selection.
– If you’re unwilling to follow the brand’s underlayment/vapor barrier plan and expansion gap rules, choose an approach you can execute reliably.
Quick checklist for choosing engineered wood floors for a closet
| What to verify | Why it matters | Where to check |
|---|---|---|
| Closet moisture risk (humidity/ventilation) | Determines whether the floor needs strict moisture control | Notes on your space + manufacturer installation limits |
| Engineered core + stability | Impacts how the floor tolerates movement | Product spec sheet + installation guide |
| Wear layer (refinishing potential) | Impacts long-term value and maintenance options | Manufacturer wear-layer spec |
| Warranty for your room type | Prevents “installed incorrectly” coverage gaps | Warranty document (especially interior room limitations) |
| Subfloor moisture testing requirements | Prevents joint/edge issues | Installation instructions |
| Underlayment/vapor barrier rules | Wrong combinations can trap moisture | Installation instructions (don’t guess) |
| Required expansion gaps + clearance rules | Avoids buckling near doors/shelves | Installation instructions |
| Flatness requirements | Uneven subfloors cause stress and noise | Installation instructions |
Sources
– National Wood Flooring Association (NWFA). Hardwood Flooring Installation Guidelines (acclimation, jobsite environment, flatness). (NWFA, 2019)
– National Wood Flooring Association (NWFA). Hardwood Flooring Acclimation Guidance (jobsite conditioning). (NWFA, 2019)
– Manufacturer engineered wood flooring installation instructions and warranty documentation (for: moisture testing method/targets, underlayment & vapor barrier requirements, expansion gaps/flatness tolerances, and closet-room limitations).
If you tell me (1) whether your closet is on slab or wood framing, (2) distance to laundry/bath, and (3) whether you’re considering click-lock or glue-down, I can help you narrow to the right engineered wood spec checklist for your exact situation.
Frequently Asked Questions
What should I look for when choosing engineered wood floors for a closet?
Focus on the floor’s core material, wear layer thickness, and overall construction quality. For closets, choose engineered wood with a stable plywood or high-quality core to help resist seasonal movement and keep doors and trim aligned. Also check the finish (e.g., prefinished vs. site-finished) and whether the product is designed for indoor, flat, controlled conditions like a closet.
How do I choose the right thickness and wear layer for engineered wood in a closet?
Select a thickness that matches your subfloor height and underlayment plan, while ensuring the plank thickness you buy can handle expected traffic (usually moderate in closets). If the closet has heavier use—like a hallway-facing closet or walk-in with frequent foot traffic—aim for a thicker wear layer for better scratch and scuff resistance. A thicker wear layer can also help engineered wood floors maintain appearance over time, even in small, high-contact areas.
Why does subfloor preparation matter before installing engineered wood floors in a closet?
Engineered wood floors are sensitive to uneven subfloors, and closets often have tight spaces where any movement becomes more noticeable. Make sure the subfloor is clean, dry, and flat (check manufacturer specs for maximum allowable variation). Proper preparation reduces squeaks, gaps, and failed locking mechanisms, especially for click-lock engineered wood floors.
Which engineered wood finish and core are best for closets with humidity or moisture exposure?
Choose engineered wood with better dimensional stability—typically products with multi-ply or plywood cores—if your closet has seasonal humidity swings. Avoid water-exposed or high-moisture locations unless the manufacturer explicitly rates the flooring for it; closets near exterior walls or bathrooms can be riskier. If moisture is a concern, use appropriate underlayment and consider a vapor barrier where recommended to protect your engineered wood floors.
Best practices for selecting engineered wood flooring for closets with limited space and transitions?
Measure carefully for door clearance, baseboard fit, and transitions to adjacent rooms, since closet layouts can make installation errors costly. Use the right installation method for your engineered wood flooring—floating for click-lock planks or nail/glue-down if specified—so the floor performs as intended in a closet environment. Plan transitions at the closet opening and account for underlayment thickness to prevent uneven thresholds or gaps around trim.
📅 Last Updated: October 19, 2026 | Topic: How to choose engineered wood floors for a closet? | Content verified for accuracy and freshness.
References
- Engineered wood
- Wood flooring
- Wood-decay fungus
- Humidity
- https://www.epa.gov/mold/moisture-and-mold
- https://www.cdc.gov/mold/default.htm
- https://pubmed.ncbi.nlm.nih.gov/?term=dampness+and+mold+homes+health+effects
- https://scholar.google.com/scholar?q=choosing+engineered+wood+flooring+for+moisture+and+humidity Google Scholar
- https://scholar.google.com/scholar?q=engineered+wood+flooring+installation+moisture+content+acclimation+guide Google Scholar
- https://scholar.google.com/scholar?q=closet+humidity+wood+flooring+engineered+floor+moisture+damage Google Scholar