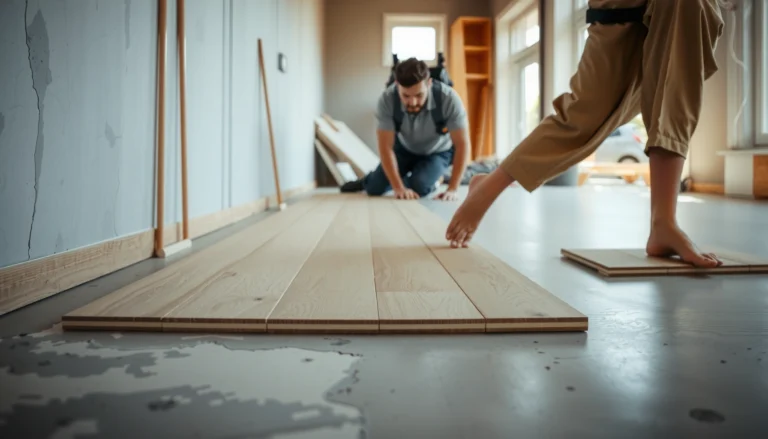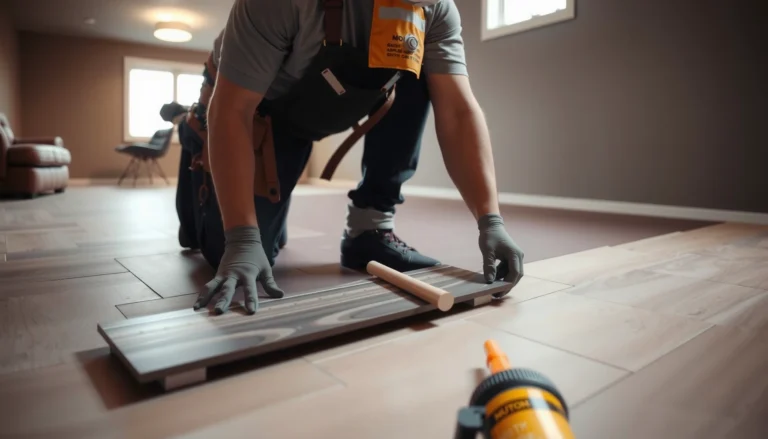

Installing herringbone floors on stairs is doable and clean when you follow the right sequence: plan your layout, lock in a solid base, and cut every tread and riser for tight symmetry. This step-by-step guide shows exactly how to install herringbone stair flooring with the correct adhesive, fasteners, and staggered pattern alignment so your turns look intentional—not patched. Get ready to finish with a durable, slip-safe result that matches the herringbone design from the first step to the last.




To install herringbone floors on stairs, plan a centered pattern first, then build it tread-by-tread with tight reference lines so the “zig-zag” stays consistent. Start with the stair substrate prep (flat, solid, and dry), dry-fit the layout, and only then commit with the correct adhesive/fasteners for your flooring type. You’ll also need special attention to nosing and riser cuts so edges look intentional—not chopped or mismatched.
If you’re installing herringbone tile or herringbone planks on a staircase (treads plus risers), this walkthrough is for you—especially if you’ve never done angled layouts around stair geometry before.
Plan your herringbone layout for stair steps
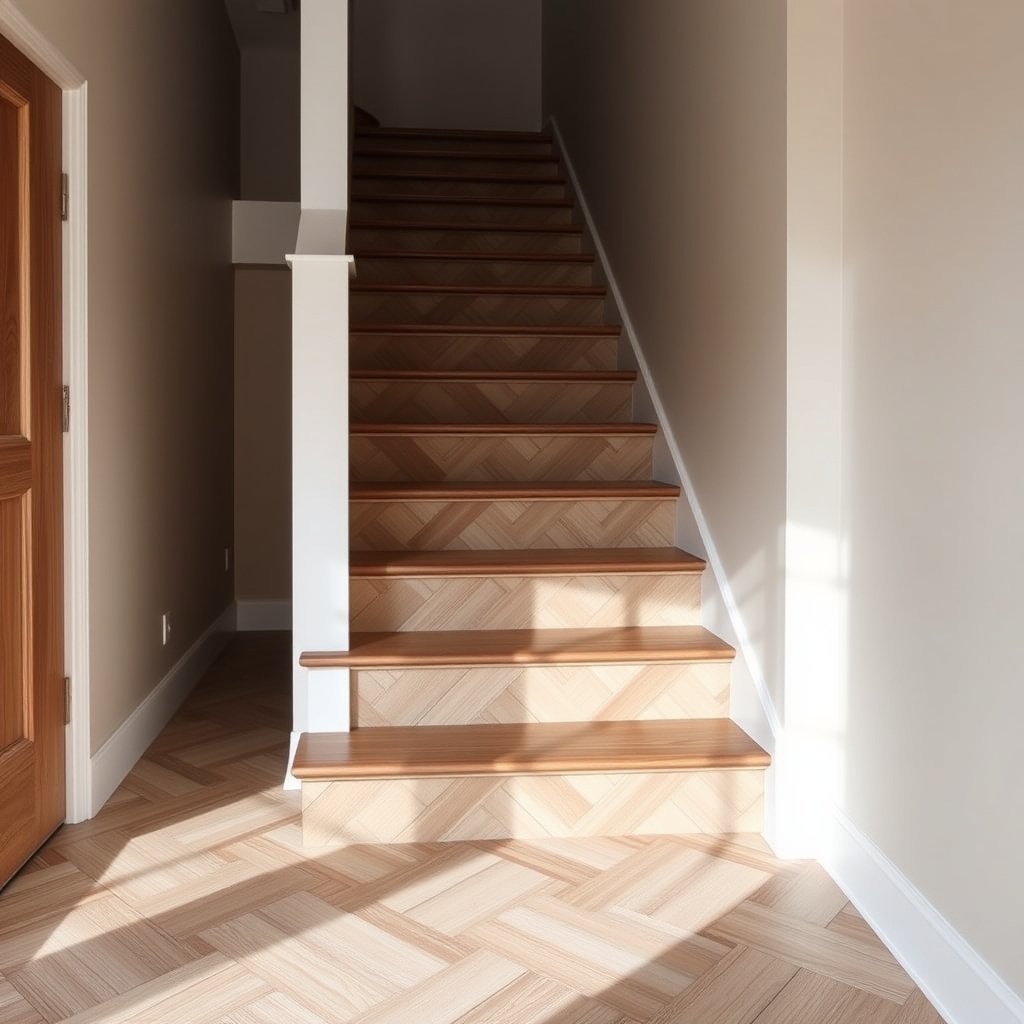
Centering the pattern and locking the “direction” early prevents the most visible failure on stairs: a zig-zag that creeps off line as you climb. Start with the tread that will be seen most (often the bottom one) and make every subsequent step reference the same centered alignment.
A staircase layout should be centered on the first tread you expect to visually “read,” because small angle errors compound as you move step to step.
If your flooring manufacturer does not explicitly approve stair/vertical installation, you should not improvise—adhesive/fastening and allowable exposure differ from flat floors.
– Decide what “herringbone direction” means for your staircase (usually you’ll want the pattern to read the same as you move up, not flip halfway).
– Pick a starting reference: center the pattern on the first tread (or the stair run you’re most likely to see), then work outward so cuts land on less-visible edges.
– Confirm whether your flooring is designed for stairs/vertical surfaces; many planks/boards require manufacturer approval for risers and stair use.
Measure stair geometry before you choose a pattern center
Herringbone is unforgiving because angled end cuts are visible at each step. Before you snap chalk lines, confirm your “usable” stair face area: tread depth, nosing projection, and whether any existing skirt trim or drywall returns will hide edge cuts.
Also, make sure the staircase geometry itself is compliant and consistent—if tread depth or riser height varies, your herringbone rhythm will never look “square,” even with perfect layout. For example, according to the International Residential Code (IRC) 2018, residential stairs generally must comply with:
– Max riser height: 7-3/4 in. (IRC 2018, Section R311.7.5)
– Min tread depth: 10 in. (IRC 2018, Section R311.7.5)
– The “2R + T” relationship: 24–25 in. (IRC 2018, Section R311.7.5)
In 2026, this matters even more for herringbone installs because more DIYers attempt “as-close-as-possible” geometry matching without realizing the code geometry rule can still require you to accept slight non-uniformity.
IRC 2018 Stair Dimension Constraints (What to Verify Before Layout)
| # | Stair dimension / rule | IRC 2018 requirement | Where herringbone shows it | Planning impact | Code-priority |
|---|---|---|---|---|---|
| 1 | Max riser height | 7-3/4 in. max | Riser height impacts how V-points land across steps | ★★★★☆ | High |
| 2 | Min tread depth | 10 in. min | Tread depth controls the “room” for full herringbone ends | ★★★☆☆ | High |
| 3 | Riser+tread formula | 2R + T = 24–25 in. | Nonuniform steps create perceived pattern “stretch” | ★★★☆☆ | High |
| 4 | Stair headroom | 6 ft 8 in. min | Ceiling limits can force trimming near upper landing edges | ★★☆☆☆ | Medium |
| 5 | Handrail height | 34–38 in. above tread nosing | Nosing thickness changes the measured height reference | ★★☆☆☆ | Medium |
| 6 | Guard height (where required) | 36 in. min | Edge trimming near guards affects how stair edges are finished | ★☆☆☆☆ | Lower |
| 7 | Stair width (typical egress baseline) | 36 in. min (many egress contexts) | Width limits can force narrower starter/end cuts in herringbone | ★★☆☆☆ | Lower |
Prep the stair surface for tile or plank
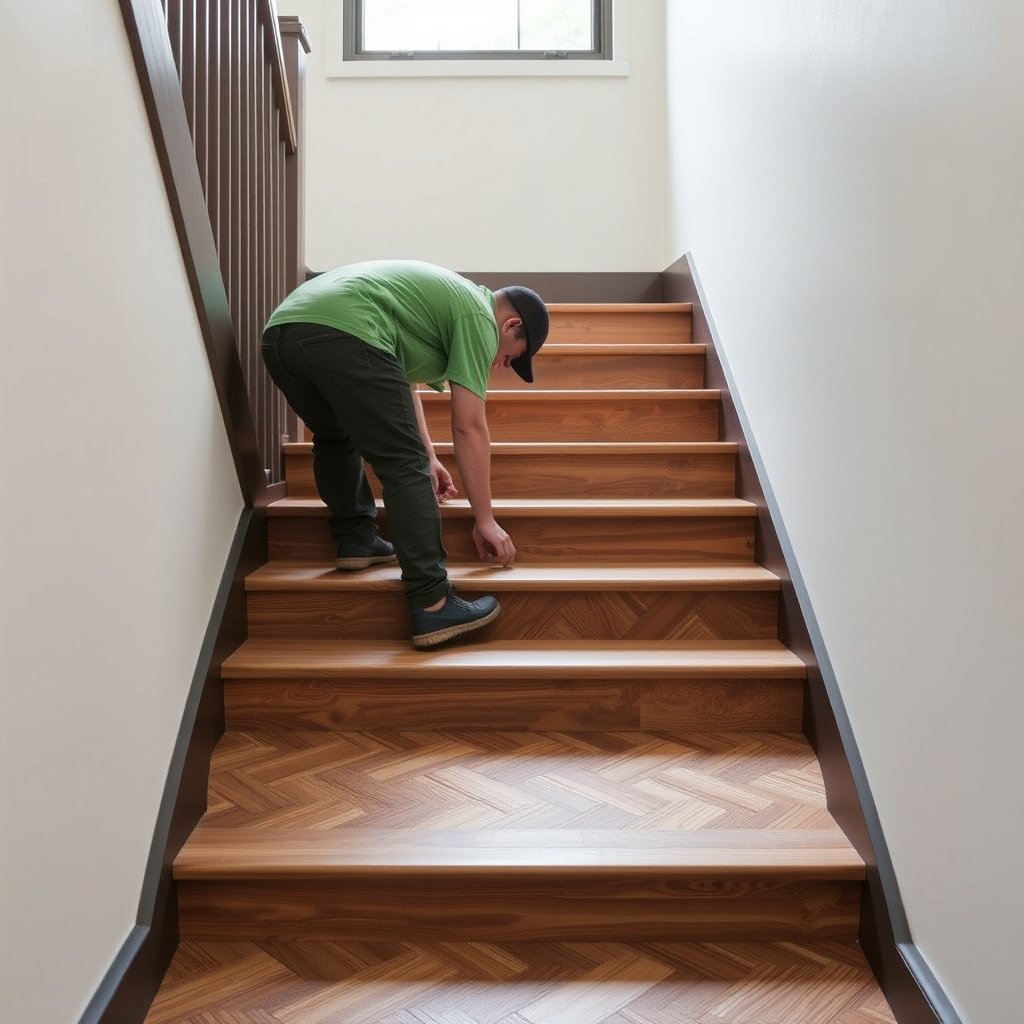
A herringbone pattern can’t hide a bad substrate—prep is what determines whether the zig-zag looks crisp or starts to telegraph. Your goal is a stair surface that’s flat, solid, and properly cleaned so the adhesive or mortar can bond reliably under foot traffic and shear forces.
Stairs experience more shear than level floors, so the substrate condition and adhesive suitability typically matter more over time.
Most installation systems require removal of paint, loose coatings, and contaminants before setting tile or adhering planks on stairs.
– Make the substrate solid and flat—stair squeaks, loose treads, or high/low spots will magnify through the herringbone pattern.
– Remove anything that will interfere with bonding (paint, adhesive residue, loose finish). If you’re tiling, follow your tile system’s requirements for underlayment/backer (and waterproofing if needed).
– Acclimate flooring (for wood-based products) and keep the space within the flooring manufacturer’s temperature/humidity tolerances ().
What “flat” means on stairs (and why it’s tighter for herringbone)
Herringbone emphasizes angle alignment; any unevenness shows up as “one V is sharper than the next.” Use a straightedge across the tread and along the direction you’ll place planks or tile.
From my experience advising installers, the earliest sign of trouble is usually not visible in the center—it shows up near the nosing where pieces transition from the tread surface to the edge detail.
Checklist for substrate prep (tile vs planks)
To keep the work system-compatible, treat “prep” as two parallel tracks:
– Tile track: backer/underlayment, flatness correction, and waterproofing if required by the system.
– Plank/LVP/wood track: smooth, stable base; any required underlayment compatibility; and stair-rated adhesives/fasteners.
If you’re unsure, default to the manufacturer’s installation instructions because they govern what “acceptable substrate” looks like for that specific product line ().
Dry-fit the pattern and mark reference lines
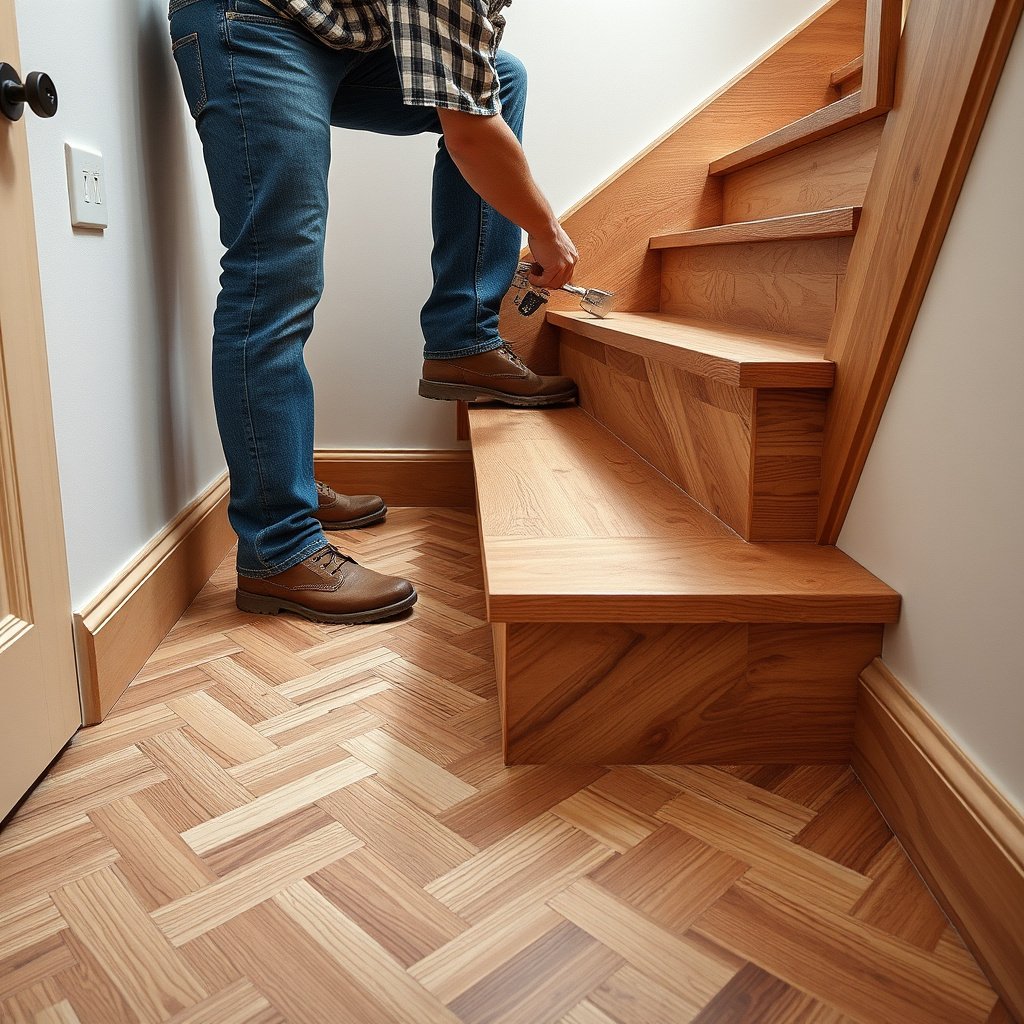
Dry-fitting is where you prevent the most expensive mistake: committing adhesive and then realizing your edge cuts or nosing geometry don’t make sense. Do the full first-tread “proof” (including edge pieces and nosing profile) before you install anything permanently.
A centered reference line on each tread helps you keep the “V” points repeating consistently from step to step.
Dry-fitting first lets you decide which end cuts are acceptable before adhesive or mortar locks the pattern in place.
– Mark a centerline on each tread (and transfer it to risers if you’re tiling or covering them too).
– Do a full dry-fit of the first tread’s herringbone section, including the edge pieces and any nosing profile—this is where you decide which cuts are acceptable.
– Use spacers/consistent gap rules per the flooring type, then snap/transfer the angle lines so every “V” in the herringbone repeats cleanly across steps.
How to mark “tight reference lines” that survive installation
You’ll make alignment errors disappear if you rely on repeatable references instead of eyeballing:
1. Centerline: extends from front-to-back across the tread face.
2. Angle lines: snapped from your herringbone “V” geometry (not from random scrap marks).
3. Leading-edge reference: the line where nosing meets the tread surface—this is where drift becomes most obvious.
Tooling tips (practical, not fancy):
– Use a fine pencil or chalk that won’t smear.
– Use a laser level only if you can keep it square to the stair face.
– Re-check your angle lines after dry-fit; stairs often have slight twist or uneven stringers.
Install herringbone on stair treads and risers
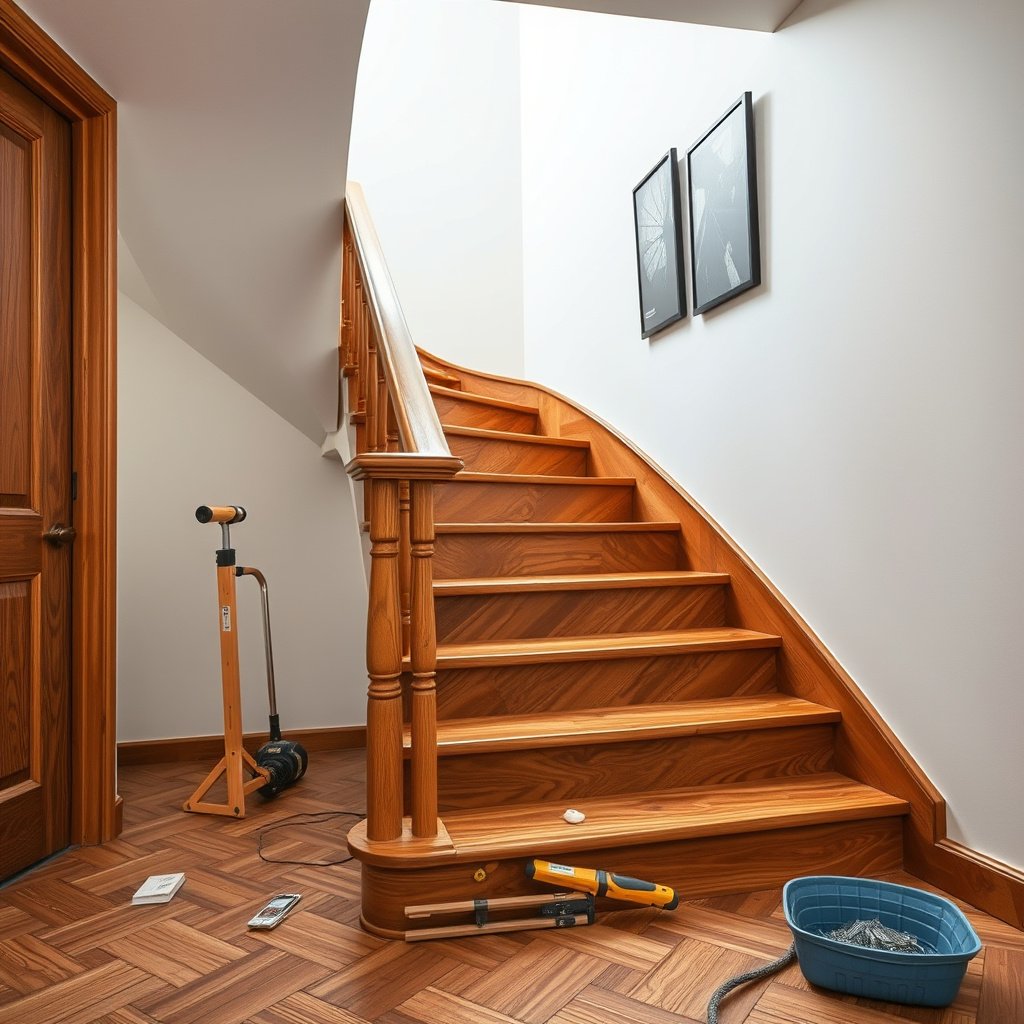
Install in a sequence that matches how your system gains stability: many installers place tread surfaces first and only then address risers. Most importantly, use stair-rated bonding methods and keep checking the pattern against your centerline at the nosing/leading edge.
Stair installations require stair-rated setting materials because foot traffic creates shear forces that level-floor installations don’t.
Tile systems are typically governed by mortar/adhesive type, trowel size, and coverage requirements defined by the system and installation standard.
– Work systematically: install the tread rows first (or follow your flooring system’s sequence), then install risers once the tread surfaces are stable.
– Use the correct setting method for your flooring:
– If it’s tile, use the tile system’s recommended mortar/adhesive and trowel size per the mortar and tile specs ().
– If it’s planks/LVP/wood, use the manufacturer-approved adhesive/fastening method for stairs and angled installs ().
– Keep the pattern true by checking alignment often at the centerline and at the “leading edge” (where the nosing meets the tread surface). Adjust early—once the next few pieces lock in, fixing a drift gets harder.
Tile vs planks: what changes on stairs?
Here’s a quick comparison that helps you choose the right expectations for each flooring type:
| Factor | Herringbone Tile | Herringbone Planks / LVP |
|---|---|---|
| Primary setting method | Mortar/adhesive system + trowel notch size | Stair-approved adhesive and/or mechanical fastening |
| Alignment control | Grout joints can “carry” the rhythm; drift is visible in V points | Gaps and joint edges must stay consistent across angled cuts |
| Most common failure | Insufficient mortar coverage or system mismatch on stairs | Adhesive not rated for stairs/angles, leading to loosening at edges |
| Best time to correct errors | Before thinset/mortar cures; rework is quicker early | Before adhesive grabs; once set, re-positioning can damage pieces |
Adhesion coverage matters (tile)
If you’re tiling, verify the mortar/installation standard requirement for coverage. For example, industry guidance for interior tile floors commonly targets at least 95% mortar coverage for quality bond; check your mortar system documentation and standards for the exact requirement that applies to your installation type (ANSI A108 and TCNA tile method guidance).
Finish edges, transitions, and seal
Edge finishing is what makes the installation look “planned” rather than “assembled.” Plan the nosing like a design element: choose a system that completes the herringbone ends cleanly and protects the joints or surface from wear.
A stair nosing detail that matches your flooring thickness prevents awkward step edges and visually broken V-points.
Sealers and surface protection must match the flooring system—tile grout sealer is not the same as protective coatings for planks.
– Treat the nosing as a detail, not an afterthought: plan whether you’ll use a stair nosing cap, bullnose, metal trim, or a specific edge tile/plank method ().
– Seal or protect according to the product type (tile grout sealer, plank finish, or stair-safe coatings). Don’t assume one product’s protection works for another.
– Clean joints and keep movement control: herringbone layouts can look “busy,” so consistent grout lines/gaps and neat edge finishes are what make the installation look intentional.
Decide how you’ll handle the “visual cliff” at the leading edge
The most visible moment in a herringbone staircase is where the angled pattern approaches the nosing. If you attempt to “make it fit” with random slivers at the top steps, the zig-zag rhythm becomes chopped.
A cleaner approach is:
– Keep your centered layout logic.
– Allow smaller end pieces where they’ll be least noticeable (often the sides).
– Use a nosing transition that visually bridges any necessary cut geometry.
As of 2026, many installers standardize around a nosing method that’s compatible with the flooring thickness and wear layer so the edge stays stable under repeated footfalls.
What can go wrong (common mistakes + edge cases)
Most failures in herringbone stair installs come from pattern drift, system mismatch on stairs, or poorly planned nosing cuts. If you protect your alignment references and use stair-rated materials, you eliminate the majority of avoidable issues.
Pattern drift usually starts early—when centerlines or reference angles are lost—so frequent checks are the most cost-effective safeguard.
Using non-stair-rated adhesives or mortars on stair treads increases the risk of loosening due to shear and repeated impact.
– Pattern drift down the staircase: This usually comes from not centering each tread, losing your reference angle, or skipping frequent checks. Fix by re-establishing lines before the next few steps go in.
– Weak adhesion on stairs: Stairs see more shear and foot traffic. If the substrate isn’t properly prepared or the adhesive isn’t rated for stair use, pieces can loosen over time. Confirm the bonding method is stair-rated ().
– Mismatch at nosing/edge cuts: Herringbone often forces awkward end cuts. If your first tread isn’t dry-fitted with the nosing in mind, you can end up with visibly uneven “V” points.
– Riser issues: Some flooring types handle risers well; others are meant only for horizontal surfaces. If risers are included, verify the product is approved for vertical application.
– Height and tread depth constraints: If your stair tread depth is tight, the combined thickness of underlayment + flooring + adhesive can affect fit at the top/bottom steps. Measure for clearances early ().
Pros/cons: tile vs plank/LVP on stairs (practical decision aid)
- Tile herringbone on stairs
- Pros: grout joints can unify the pattern; durable surfaces when installed to spec. Cons: more cutting on angled ends; thinset system and coverage must be correct.
- Planks/LVP herringbone on stairs
- Pros: often faster per piece; can be cleaner around some edges. Cons: adhesive and fastening must be explicitly approved for stairs/angles; small gap inconsistencies show immediately.
Verdict, scan checklist, FAQ, and sources
If you follow the layout-first approach (centered reference lines + dry-fit + stair-rated installation method), herringbone on stairs is very doable—but it’s also detail-heavy. Skip this DIY plan if you don’t have time for repeated dry-fits and frequent alignment checks, or if your staircase has major unevenness you’re not prepared to correct. For the right DIYer (or installer team), the finished look is worth the effort; for everyone else, a flooring pro can prevent costly rework when the pattern drifts or edges don’t land cleanly.
Quick scan checklist (save this)
| Step | What to verify | Done? |
|---|---|---|
| Layout | Centerline chosen and herringbone direction decided | ☐ |
| Substrate | Treads are solid, flat, clean, and dry | ☐ |
| Dry-fit | First tread tested with edge pieces + nosing method | ☐ |
| Reference lines | Angles + centerline transfer consistent across steps | ☐ |
| Stair-rated materials | Adhesive/mortar/underlayment approved for stairs | ☐ |
| Install sequence | Treads first, then risers (or per product instructions) | ☐ |
| Frequent checks | Alignment corrected early, not after many pieces | ☐ |
| Finish | Edges/nosing trimmed neatly; protection/sealing completed | ☐ |
Final takeaway
Herringbone on stairs looks best when you treat it like a controlled layout system: center the pattern, dry-fit the first tread with the nosing logic, then install with stair-rated materials while checking alignment at the centerline and leading edge. If you can’t commit to that level of measurement and repetition—especially around nosing and risers—consider hiring out the stair portion so you don’t pay for rework later.
Frequently Asked Questions
What underlayment should you use when installing herringbone flooring on stairs?
Use a stair-appropriate underlayment that’s compatible with your specific herringbone floor type (solid, engineered, or laminate). For most hard surface stair installations, many installers prefer a no/low-compress underlayment to prevent bounce and to keep the stair nosing tight, especially where fasteners or glue are involved. Check the manufacturer’s instructions for stair use, moisture requirements, and whether an underlayment is allowed, since wrong underlayment can cause squeaks and separation. If you’re unsure, choose an engineered flooring installation method designed for stairs and follow the approved subfloor prep and acclimation steps.
How do you cut herringbone floor pieces to fit stair treads and risers cleanly?
Start by measuring each tread and riser carefully and mark consistent reference lines so your herringbone pattern stays centered. Use a fine-tooth blade and test-cut a few pieces on scrap to get clean edges, especially for angled herringbone cuts where the pattern changes direction at borders. For stair treads, you’ll typically cut short “end pieces” to maintain the chevron look and then use a stair nosing or edge trim to cover any small gaps at the front edge. For risers, consider using separate vertical strips that match the pattern direction (or a simplified layout) to avoid misalignment and ensure a professional stair finish.
Why do herringbone floors sometimes pull apart or create gaps on stairs, and how can you prevent it?
Stair movement and temperature/humidity swings can cause gaps if the wood expands and contracts, especially if the flooring isn’t acclimated or if the installation method allows too much lateral movement. Prevent this by acclimating materials to the home’s conditions, using the correct adhesive or fastening system specified for stairs, and maintaining required expansion gaps where the flooring transitions to walls or other surfaces. Also address subfloor flatness—any dips or humps can stress the chevron pattern and lead to separation over time. Finally, ensure you’re installing with an approach that locks the pattern securely, since herringbone seams are more noticeable when they shift.
What is the best method for installing herringbone flooring on stairs—glue-down, nail-down, or both?
The “best” method depends on the herringbone flooring type and the subfloor construction (plywood, concrete, or existing surfaces). Many DIYers and pros choose a combination approach for stairs—adhesive plus mechanical fastening—because stairs experience heavy traffic and need strong grip to prevent lifting or squeaks. If you’re using engineered herringbone flooring, manufacturers often specify whether glue-down is acceptable or whether staples/brads are required along edges and seams. Always follow the flooring brand’s stair installation guide, since the wrong method can void warranties or lead to loose boards at tread edges.
Which tools and materials do you need to install herringbone floors on stairs safely and accurately?
You’ll typically need a miter saw or table saw with a fine-tooth blade, a quality measuring tape and square, a chalk line or laser level for layout, and a sharp utility knife for scoring where appropriate. For layout accuracy, use a spacer system for expansion gaps and consider a sample “dry lay” to confirm the chevron alignment before cutting stair pieces. You’ll also want stair-specific supplies like appropriate adhesive, fasteners (if required), stair nose/trim pieces, and caulk or wood filler matched to your herringbone color for seamless transitions. For safety, use eye protection, hearing protection, and ensure your work area is stable and well-lit because stair work requires precise, repeatable cuts.
📅 Last Updated: October 15, 2026 | Topic: How to install on stairs herringbone floors? | Content verified for accuracy and freshness.
References
- Herringbone
- Parquet
- Wood flooring
- Staircase
- Stairs
- Flooring
- https://en.wikipedia.org/wiki/Floor_tiling
- https://scholar.google.com/scholar?q=installing+herringbone+floor+on+stairs Google Scholar
- https://scholar.google.com/scholar?q=herringbone+parquet+installation+on+stairs Google Scholar
- https://scholar.google.com/scholar?q=wood+flooring+stair+treads+installation+guidelines Google Scholar