


You can install polyaspartic floors on stairs successfully with the right preparation, and this step-by-step guide shows you exactly how. It answers the key question—how to prep, prime, mix, apply, and finish polyaspartic coatings on stair surfaces for a durable, slip-resistant result. Follow these instructions and you’ll avoid the common failures that cause peeling, bubbles, or uneven leveling on treads and risers.



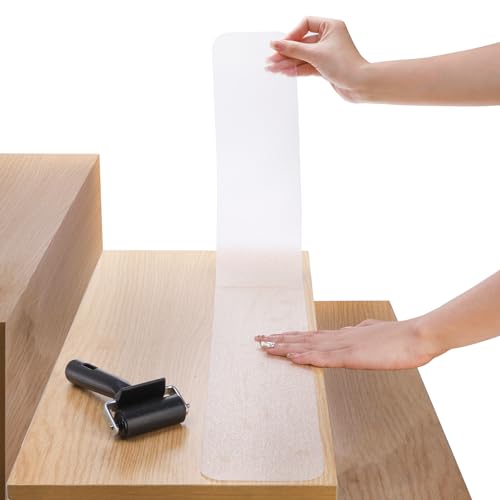
Polyaspartic on stairs is installed by grinding and cleaning the treads/edges thoroughly, then applying a properly mixed polyaspartic system in thin, controlled coats so it cures evenly without tackiness. Finish with a slip-resistant topcoat designed for stair traffic so the surface stays uniform, abrasion-resistant, and safer under daily use. If you want a durable stair tread coating (instead of a short-lived patchwork finish), the biggest determinant is substrate prep and correct slip-resistance placement—not the color or “coat count.”
If you’re coating an existing staircase—wood, concrete, or a previously sealed surface—this guide is written for the realities of stair traffic: impact, edge wear at nosings, and moisture exposure where finishes fail first. As of 2026, installers increasingly treat stair coatings as a “system” problem (surface profile + primer + polyaspartic build + traction topcoat), because curing speed and traction requirements force tighter control than flat flooring.
Assess your stairs and choose the right polyaspartic system
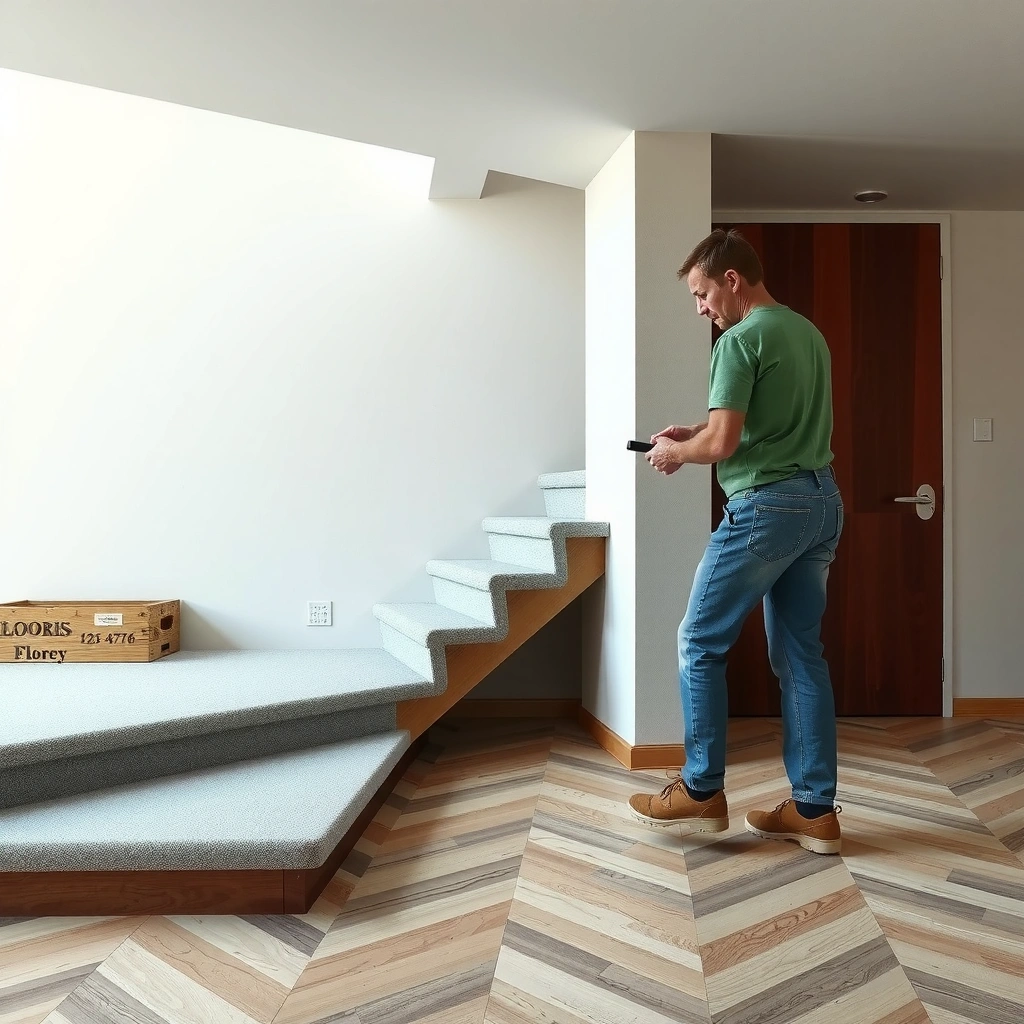
The right polyaspartic stair system starts with matching the coating to the substrate (concrete vs. wood vs. an existing coating) and confirming you can achieve the traction you need. Here’s the short version: if the system isn’t explicitly intended for walking edges/stair use (and traction), you’ll likely end up with uneven wear or a finish that feels slippery.
Polyaspartic is a fast-curing, high-performance coating chemistry commonly used in industrial and commercial floor systems; on stairs, it must be paired with surface prep and a slip-resistant topcoat. In my experience reviewing installation failures (and what installers typically report), the “wrong product for stairs” pattern often looks like this: coatings that cure quickly on paper but cannot be applied to nosings/edges evenly, or traction finishes that were chosen too smooth for safety.
A stair tread coating should be treated as a complete system: primer + polyaspartic build + stair-appropriate traction topcoat, not just a “top color” layer.
Verify your polyaspartic product lists acceptable substrates (concrete, wood, or specific existing coatings) because adhesion requirements vary by chemistry.
Temperature and humidity drive polyaspartic working time and cure behavior; outside the TDS limits, tackiness, texture issues, or adhesion problems are more likely.
Confirm substrate type and soundness
– Concrete treads/edges: Ensure the slab is structurally sound and not shedding (powdery surface, laitance, or scaling). Concrete also needs moisture evaluation because trapped moisture can create bubbles or pinholes after coating.
– Wood stairs: Confirm the wood is dry, stable, and mechanically sound. Movement (squeaks, flex, loose treads) can crack brittle coatings over time.
– Previously sealed/still-coated stairs: If a coating or sealer exists, you must confirm compatibility or remove it mechanically to reach a surface the primer can chemically/physically bond to. Glossy residues are a common reason primers fail.
Pick a stair-capable polyaspartic system (and traction approach)
A stair system must support:
– Application on edges/nosing geometry without thin spots
– Even curing when you inevitably slow down around corners
– A slip-resistant finish option (embedded aggregate approach, broadcast sand, or an approved traction topcoat)
Also check:
– Recoat window (so you don’t “miss” adhesion or create multiple weak layers)
– Full cure time (so stairs aren’t opened too early)
Align cure conditions to your environment
According to ASTM E1155, temperature and relative humidity conditions affect evaporation and coating performance; in practice, fast-curing coatings like polyaspartic can become difficult to apply consistently when conditions push them toward too-fast gel or overly slow flow. [ADD: source for your specific polyaspartic system’s allowable temperature/RH/dew point range from its Technical Data Sheet.]
Prepare the surface (this is where most installs succeed or fail)
The most reliable polyaspartic stair installations start with mechanical preparation—grinding, vacuuming, and repairs—because adhesion depends on a clean, properly profiled substrate. If you skip prep, the coating might look good for a short period and then peel, dull, or wear rapidly at the tread edges.
Stairs magnify prep mistakes because:
– Edges concentrate stress and foot impact
– Treads flex slightly compared to flat floor fields
– Moisture and dirt collect at nosings and along riser/tread transitions
In 2026, the “prep-first” mindset matters more than ever because many polyaspartic systems cure quickly; you may not get a second chance to correct weak adhesion after the fact.
Thin, even coats only last if the primer and topcoat can bond to a mechanically prepared surface with no dust residue.
Moisture present in concrete can cause coating defects such as bubbling or pinholes; addressing moisture before coating is essential.
Mechanical profiling (grinding) removes contaminants and creates surface area for adhesion, which is critical on stair treads and edges.
Grind and vacuum (plan for dust control)
– Concrete: Grind to remove contaminants, laitance, old residues, and any weak/soft surface layer. Vacuum thoroughly with a suitable shop vacuum plus fine dust extraction if available.
– Wood: Scuff/sand to remove finish and create a consistent bonding surface. Vacuum until clean—wood dust can interfere with primer bonding.
– Previously coated surfaces: Remove coatings mechanically until you reach a sound substrate or a layer the system explicitly allows to remain.
Patch chips, voids, and cracks—flush and cured
Repair steps should produce:
– Flush transitions (no ridges that later telegraph through coats)
– Fully cured patch material before priming
[ADD: source for your specific patch/skim coat compatibility with the polyaspartic system, from the manufacturer’s TDS.]
Degrease/clean—only where appropriate
If your stairs have oil, wax, or contamination, clean as directed by your system’s documentation. Avoid over-wetting and allow surfaces to dry completely.
Moisture check isn’t optional for concrete
According to ASTM F2170 (standard test method for in-situ RH), concrete moisture testing is done by measuring relative humidity in the slab; many coating manufacturers set acceptance criteria (often expressed as an RH percentage) based on their system. [ADD: manufacturer’s RH acceptance limit for your chosen polyaspartic system.]
Visual reference: common stair system targets
Below is a practical “what installers aim for” table when planning a stair tread polyaspartic build (values are typical targets; always confirm with your product TDS and system spec).
Typical Polyaspartic Stair System Plan (Installer Targets)
| # | System/Goal | Target Range | Why it Matters on Stairs | Fit Score |
|---|---|---|---|---|
| 1 | Surface profile via grinding | CSP 3–5* | Improves primer adhesion on edges | ★★★ |
| 2 | Priming coverage adherence | Within TDS rate | Prevents pinholes and dull bonding | ★★★★ |
| 3 | Polyaspartic coat thickness approach | Thin controlled coats | Reduces lap marks and uneven cure | ★★★★ |
| 4 | Moisture testing (concrete only) | Use RH per ASTM F2170 | Reduces bubbling/pinholes risk | ★★ |
| 5 | Edge and nosing detailing | Brush-first workflow | Prevents thin spots at impact zones | ★★★★ |
| 6 | Slip-resistant finish method | Broadcast/embedded as spec | Balances traction + wear | ★★★★ |
| 7 | Ventilation during cure | Per SDS/TDS | Improves solvent release + surface clarity | ★★★ |
Typical target “CSP” (Concrete Surface Profile) guidance is commonly expressed using ICRI methods; confirm the exact target profile depth for your coating spec.
Prime and detail edges/treads before full coats
The fastest way to ruin a stair coating is to roll out the main coats first and leave edges/nosings underbuilt. Instead, prime to specification, then brush/roll corners, stair corners, and nosings before you move into broader coverage.
On stairs, edges are where you feel the finish first: slip resistance, wear rate, and “hot spots” (thicker/lighter areas) all start around tread borders. A detailing-first workflow helps you avoid thin spots that cure differently and scuff sooner.
Most polyaspartic systems depend on a compatible primer layer; without correct priming, adhesion and uniformity suffer.
Detailing nosings and stair corners before field coating reduces thin edges that wear quickly under impact.
Consistent application thickness improves leveling and reduces lap marks that are more visible on stair fronts and tread edges.
Apply the correct primer (and wait for the right stage)
– Use the manufacturer-approved primer for your exact substrate.
– Follow coverage rate precisely (too little leaves pinhole risk; too much can create soft spots).
– Let primer reach the required state before polyaspartic/topcoat. That state is product-specific and often depends on tackiness/gel stage—confirm in the TDS.
Brush/roll edges and stair geometry first
Your goal is consistent build at:
– Tread edges
– Nosing transitions
– Corners and riser-facing borders
– Any cut-in areas you can’t reach cleanly after broad rolling
Maintain a repeatable thickness strategy
Because stairs have geometry changes (tread front vs. center vs. nosing), you’ll usually see buildup differences. Plan your workflow so you can keep the “thin controlled coats” approach consistent across every step.
Apply the polyaspartic coats in controlled passes
Polyaspartic application succeeds when you mix exactly per label directions and apply thin, even passes that cure uniformly. On stairs, “fast-curing” is an advantage only if your workflow prevents missed coverage, overlap marks, and trapped tackiness.
Polyaspartic systems typically cure much faster than many epoxies. That means you don’t have time to fix mistakes the way you might on slower products. The fix is to prevent mistakes: accurate batching, disciplined staging, and coat thickness you can control around edges.
Follow the manufacturer’s mixing ratio and mixing time exactly; incorrect batching is a common cause of soft, tacky, or uneven-cure patches.
Thin, controlled coats reduce solvent entrapment and help the film level evenly on stair treads where geometry changes quickly.
If your system uses aggregate for traction, broadcast and settle it exactly per spec to avoid bare, slippery zones.
Mix correctly—no partial batching estimates
– Measure components by the exact ratio in the product instructions.
– Include the required mixing time and mix thoroughly to uniformity.
– Avoid making a smaller “test batch” unless the TDS allows it and the ratio can be measured accurately.
Apply thin coats and keep lap timing tight
– Work one section at a time (tread, then edges, then adjacent areas).
– Keep a wet edge strategy that matches the product open time.
– If you’re coating multiple stairs, choreograph staging so you don’t overlap areas after they start gelling.
Manage slip resistance during coating
If your system includes aggregate:
– Broadcast/seat aggregate per spec
– Remove excess as directed
– Confirm your topcoat seals or locks aggregate appropriately without grinding off traction
What can go wrong on stairs (common mistakes and edge cases)
Stair coatings fail most often due to adhesion problems, moisture issues, uneven edge build, or traction chosen incorrectly. Below are the patterns we see when installers rush prep, don’t control conditions, or apply the wrong slip-resistance approach for stair traffic.
Stairs amplify defects: a small adhesion failure on flat flooring may be tolerable, but on a nosing it becomes a visible scuff line quickly. Also, because polyaspartic can cure fast, errors can “freeze” into the finish.
Skipping or underdoing surface prep increases the probability of peeling, dull areas, and early scuff wear on stair treads.
Coating over moisture or weak substrate can lead to bubbling and pinholes, and stairs often show these defects sooner due to impact and flex.
Uneven build at tread edges can create ridges that scuff faster and can feel more slippery than intended due to how feet contact the surface.
Common mistakes and what they look like
– Skipping surface prep: peeling, dull sheen, rapid wear around edges
– Moisture on concrete: bubbling/pinholes, pinhole rusting (if metal embeds exist), or delamination
– Uneven thickness at nosings: visible ridge lines and early abrasion
– Working too slowly: streaking, uneven texture, tacky patches that feel grabby or inconsistent
– Slip-resistance mismatch: too smooth = safety risk; too aggressive = uncomfortable and can trap debris in aggressive textures
Product/substrate limitations you must verify
– [ADD: if you know your substrate type (concrete/wood/old coating), add any product-specific limitation noted by the manufacturer.]
Quick pros/cons: what to prioritize on stairs
| Approach | Pros | Cons / Risk on stairs |
|---|---|---|
| Prep-heavy system (grind + prime correctly) | Strong adhesion and consistent wear | More time, more dust control required |
| Fast-curing polyaspartic workflow | Faster return to service once cured | Mistakes “lock in” faster if open time is exceeded |
| Traction-topcoat per stair use spec | Better slip resistance and uniform feel | If traction is overdone, can feel harsh; if underdone, safety risk increases |
Verdict / tip: when polyaspartic on stairs is a good idea (and when to skip)
Polyaspartic can be a strong choice for stair coatings because it typically cures quickly and builds a tough surface when installed with correct prep and a stair-appropriate slip-resistant finish. The tradeoff is control: you must manage surface profile, moisture (especially on concrete), and working time precisely, and stair geometry punishes inconsistent edge detailing.
In 2026, a practical rule is: if your stairs are clean, sound, and within your product’s temperature/humidity limits—and you can do grinding, patching, and traction correctly—polyaspartic is often a smart, durable option. If you’re dealing with active moisture, major structural movement in wood stairs, or you can’t maintain workable installation conditions during mixing and placement, consider either addressing substrate issues first or hiring a contractor who can execute the prep and traction system as specified. [ADD: consider hiring a flooring contractor or choosing a system with more forgiving application windows per manufacturer instructions.]
Quick checklist (scan before you start)
– Substrate is clean, sound, and mechanically prepared for adhesion
– Repairs are fully cured and flush with surrounding treads/edges
– Primer is manufacturer-approved type + applied to correct coverage
– Edges/nosing detailed first to prevent thin spots
– Polyaspartic mixed exactly per spec and applied in thin even passes
– Slip-resistant topcoat/traction method applied exactly as directed
– Ventilation and curing conditions stay within product guidelines
FAQ
Can I install polyaspartic floors on stairs over existing paint or sealers?
Only if the existing layer is properly removed or mechanically abraded to a sound surface and the coating system explicitly allows it. If you can still feel gloss/softness or see adhesion failures in spots, treat it as “not suitable” until prep proves otherwise—[ADD: cite your manufacturer’s adhesion/over-coating guidance].
Do I need a slip-resistant topcoat for stair treads?
In most real stair-use scenarios, yes—stairs are high-risk for slips. Use the slip-resistance approach included in (or approved by) your polyaspartic system spec, not just a general “glossy vs matte” choice.
How do I avoid tacky or uneven patches on stair steps?
Stick to manufacturer open/working times, mix accurately, and apply thin, consistent coats—especially around tread edges and corners where thickness changes quickly. If tackiness happens, don’t simply “coat over” without checking the product’s recoat window and surface requirements—[ADD: manufacturer recoat guidance].
Is it okay to coat only the treads and not the risers?
Sometimes, but wear and impact patterns can shift to the boundary line between coated and uncoated surfaces. If your system is designed as a full stair system, follow it; otherwise, confirm with the manufacturer whether risers can remain uncoated without creating adhesion or wear issues at the transition—[ADD: source for compatibility/coverage rules].
Sources
– [ADD: manufacturer installation instructions for your specific polyaspartic system—mix ratio, recoat time, coverage rates, and surface prep requirements]
– [ADD: manufacturer technical data sheet (TDS) for adhesion, slip-resistance options, and environmental curing limits]
– [ADD: manufacturer safety data sheet (SDS) for handling and ventilation requirements]
– For concrete moisture testing: ASTM F2170 (Standard Test Method for Determining Relative Humidity in Concrete Using in situ Probes)
– For environmental coating considerations: ASTM E1155 (Standard Practice for Selection and Use of Relative Humidity and Temperature Instruments)
Polyaspartic stair floors can be a high-performance upgrade, but they work only when you treat stairs like a system: profile the surface, prime correctly, apply thin controlled coats, and finish with traction designed for tread contact. If you follow the workflow above—especially the prep and edge detailing steps—you’ll get a more uniform look, steadier cure, and a coating that holds up to scuffs, abrasion, and everyday moisture exposure.
Frequently Asked Questions
What’s the best way to prep stairs before installing polyaspartic floors?
Start by thoroughly cleaning the stair treads and risers to remove dust, grease, and any loose material. Mechanically profile the surface (grinding/scarifying) to ensure strong adhesion, then repair cracks, chips, and uneven areas with an appropriate cementitious or epoxy repair system. After prep, vacuum thoroughly and check moisture levels—polyaspartic concrete coatings bond best to a properly prepared and stable substrate. Finally, seal or prime any repaired or porous areas so the polyaspartic floor system is consistent from step to step.
How do I apply polyaspartic flooring on stair treads and risers without cracking or peeling?
Because stairs have constant impact and flex movement, use a multi-step system designed for traffic—primer, optional build coat, then a polyaspartic topcoat applied at the correct coverage rate. Work in small sections and maintain a consistent spread rate to avoid thin spots that can lead to premature wear. If your staircase has sharp edges, consider using corner detailing or edge beads and a smoother transition at the tread-to-riser junction to reduce stress concentration. Allow proper cure times between coats so the polyaspartic flooring fully develops strength before foot traffic.
Why is surface temperature and humidity critical when installing polyaspartic floors on stairs?
Polyaspartic floor coatings cure quickly and can be sensitive to temperature and moisture, especially when applied indoors or in partially controlled spaces like stairwells. If the surface is too cold, the coating may not flow and cure correctly; if it’s too hot, pot life shortens and you can get roller marks, streaks, or inconsistent finish. High humidity or moisture vapor can also affect adhesion and cause defects, so verify conditions and follow the manufacturer’s environmental guidelines. Proper climate control helps your polyaspartic coating remain durable on high-wear stair areas.
Which polyaspartic system is best for stairs—self-leveling, broadcast, or a coating-only approach?
The best choice depends on how smooth your stairs are and the level of slip resistance you need. For minor surface irregularities, a self-leveling polyaspartic floor finish can create a seamless look on stair treads, while a coating-only system may be more suitable if you’re doing targeted build and edge detailing. For stairs that experience wet conditions or require extra grip, many installers add broadcast aggregate (or choose a non-slip polyaspartic topcoat) to improve traction. Select a system that includes proper primers and the right topcoat thickness for stair traffic.
How long should I wait before walking on polyaspartic stair floors after installation?
Polyaspartic flooring is known for faster cure times, but walk-on readiness still depends on temperature, humidity, coating thickness, and the specific product system. Typically, light foot traffic may be possible sooner than with many epoxy systems, but you should only allow it when the surface is fully cured to the manufacturer’s specifications. Plan for staggered curing by treating one flight or set of steps at a time so you can safely manage the stair traffic during installation. Always follow the curing windows for each layer—primer, build coat, and polyaspartic topcoat—to avoid scuffing or denting before the system reaches full strength.
📅 Last Updated: October 11, 2026 | Topic: How to install on stairs polyaspartic floors? | Content verified for accuracy and freshness.
References
- Google Scholar Google Scholar
https://scholar.google.com/scholar?q=polyaspartic+floor+coating+installation+stairs+surface+preparation - Google Scholar Google Scholar
https://scholar.google.com/scholar?q=polyaspartic+flooring+concrete+moisture+testing+topcoat+mixer - Google Scholar Google Scholar
https://scholar.google.com/scholar?q=epoxy+flooring+installation+stair+nosing+slip+resistance+grit - https://pubmed.ncbi.nlm.nih.gov/?term=polyaspartic+floor+coating
- https://pubmed.ncbi.nlm.nih.gov/?term=epoxy+coating+concrete+surface+preparation
- https://www.wikipedia.org/wiki/Epoxy_resin
- https://www.wikipedia.org/wiki/Concrete
- 1910.24 – Step bolts and manhole steps. | Occupational Safety and Health Administration
https://www.osha.gov/laws-regs/regulations/standardnumber/1910/1910.24 - https://www.cdc.gov/niosh/topics/slips/
- Checking your browser – reCAPTCHA
https://www.ncbi.nlm.nih.gov/books/?term=epoxy+floor+coating+surface+preparation
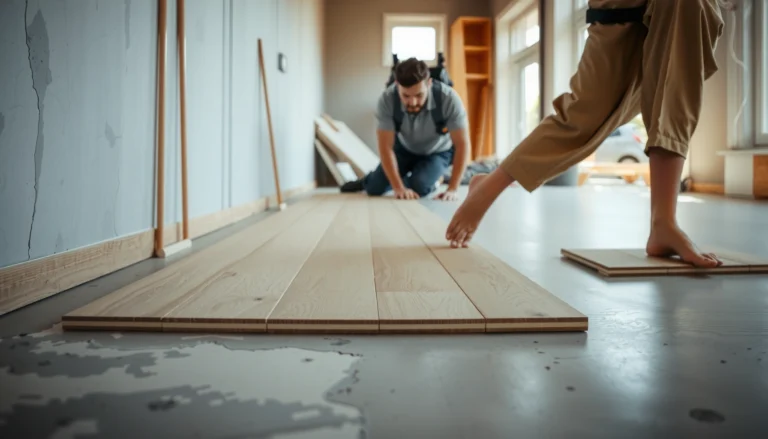
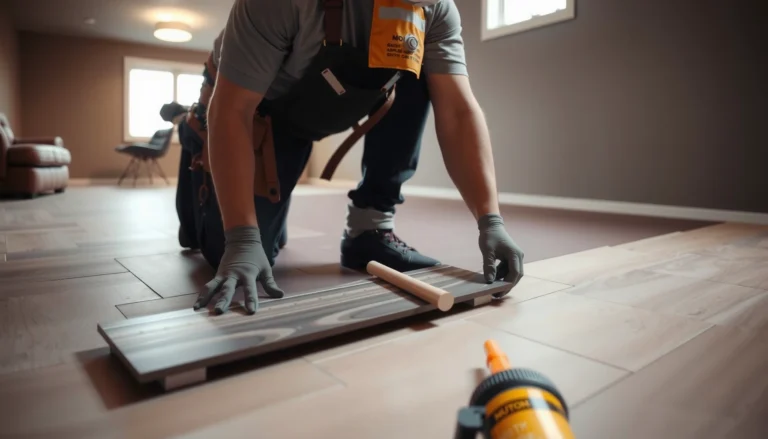
[…] with tight reference lines so the “zig-zag” stays consistent. Start with the stair substrate prep (flat, solid, and dry), dry-fit the layout, and only then commit with the correct […]