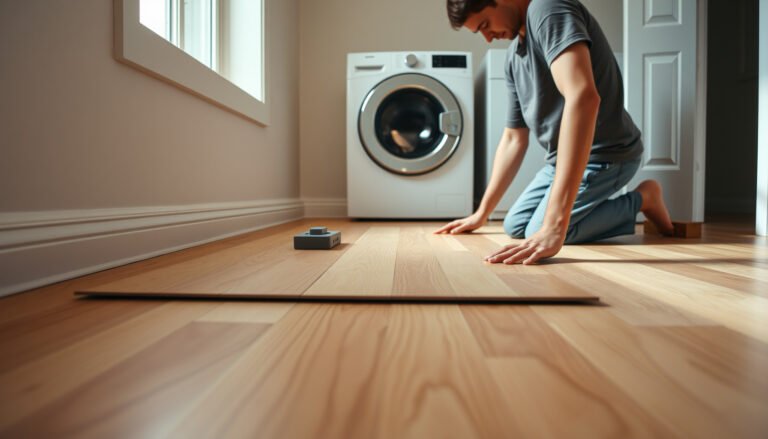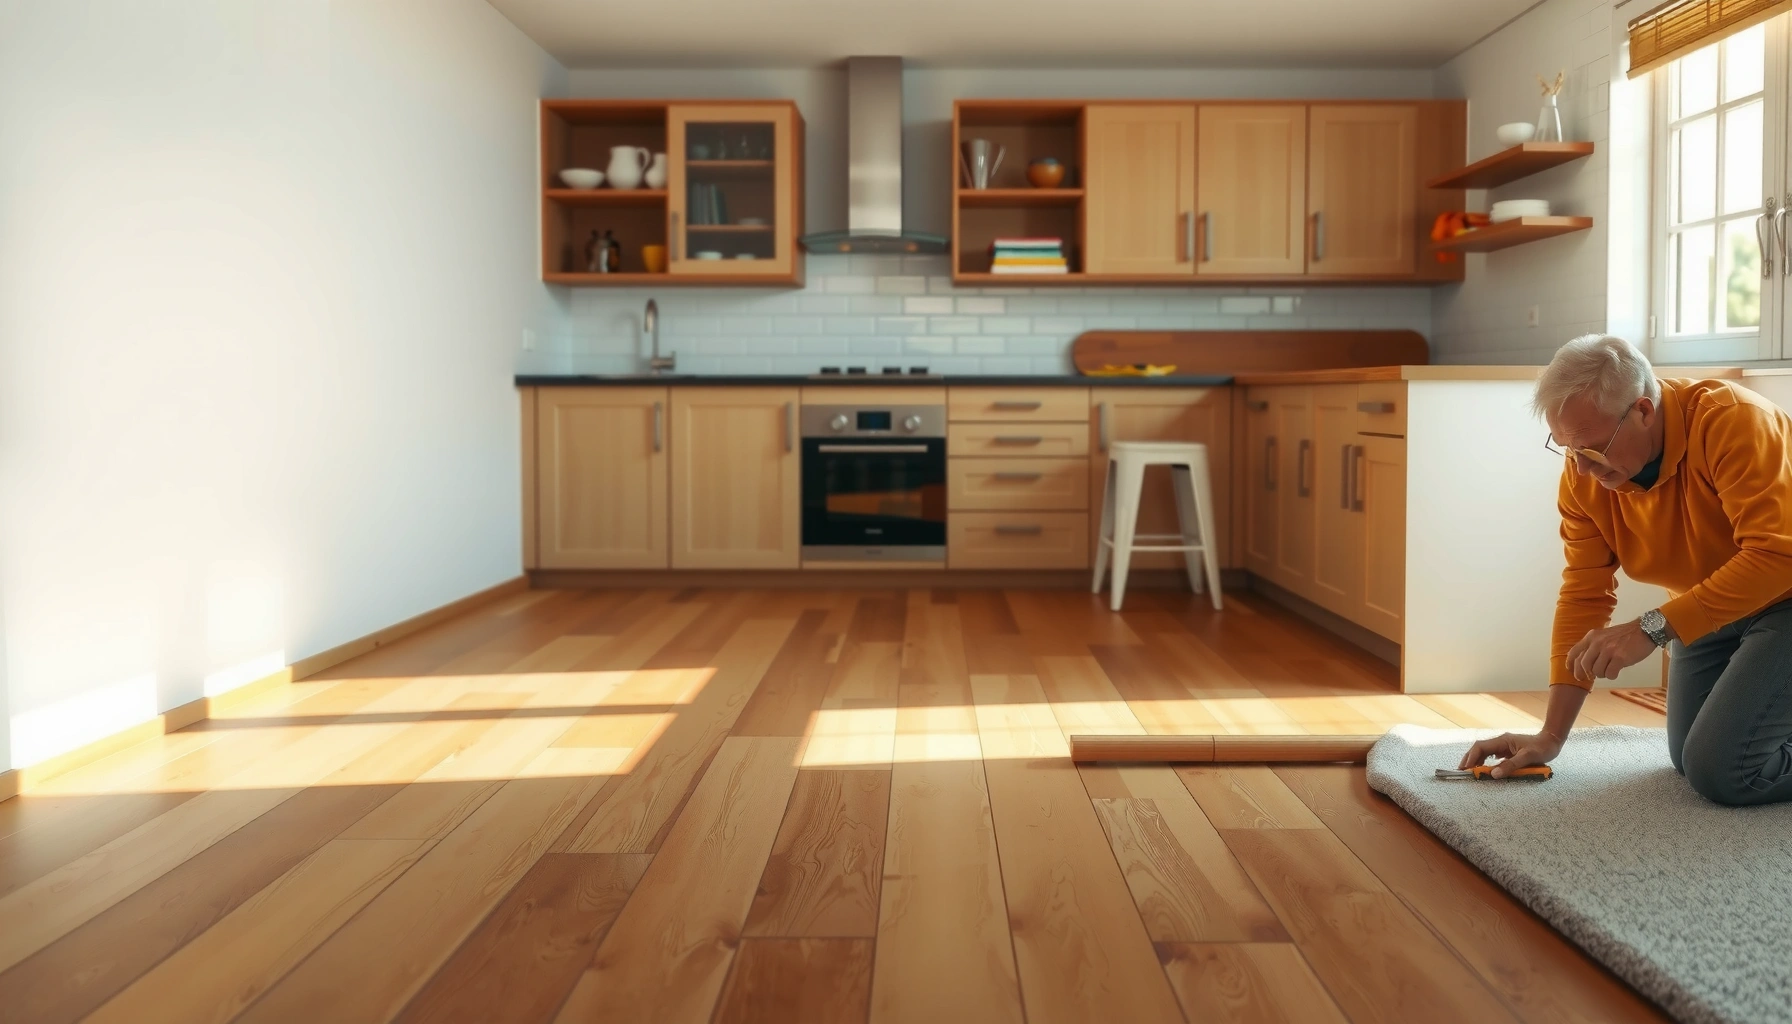

If you want to install bamboo floors in a kitchen, this step-by-step guide tells you exactly how to do it—starting from subfloor prep and ending with finishing so it holds up under spills and heavy traffic. Bamboo can outperform most floor types in kitchens when you pick the right product for moisture exposure and follow proper acclimation and sealing. Skip the guesswork and get the checklist, measurements, and installation order that make the difference between a floor that lasts and one that warps.




Bamboo can be installed successfully in a kitchen if you treat moisture control and subfloor prep as the first “build step,” not a last-minute fix. The fastest way to avoid buckling, gapping, and squeaks is to confirm your bamboo type (floating vs. glue-down vs. nail/staple), verify flatness and moisture before install, and leave correct expansion space so the floor can move with humidity swings.
This guide is for homeowners tackling a DIY bamboo floor install in a kitchen (or a contractor coordinating one), especially where water exposure and humidity swings are common. It’s most relevant if you’re installing over a subfloor you’ll verify for flatness and moisture first—not just “putting planks down.”
Confirm Your Bamboo Type and Installation Method
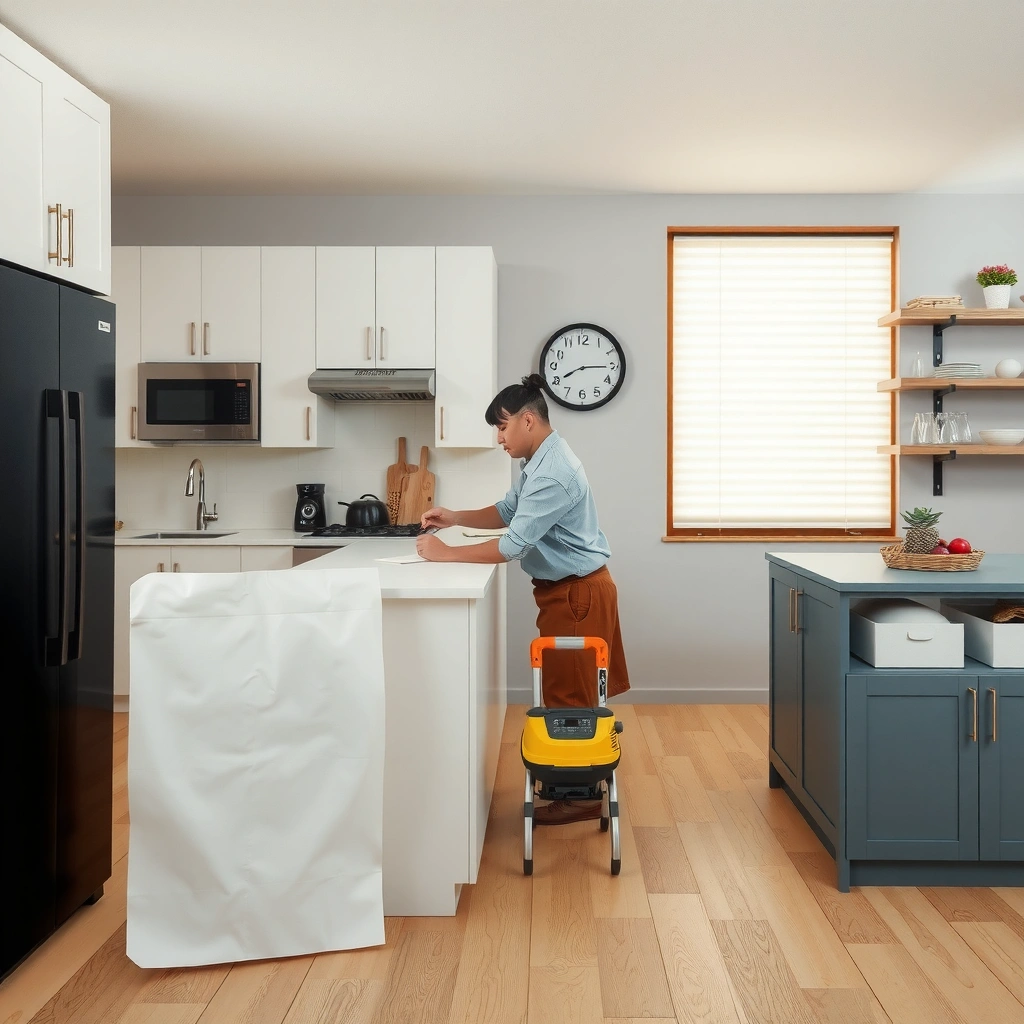
Your first decision is which installation system your bamboo uses—because the underlayment, fastening, and moisture requirements change by method. If you guess, you can end up with the right floor installed the wrong way, and kitchens punish that mistake quickly.
Before you open a single box, locate the manufacturer’s installation instructions/spec sheet for your exact model and confirm:
– Click-lock (floating): planks connect mechanically and the floor floats over an underlayment/barrier.
– Glue-down: planks are adhered to the subfloor using a manufacturer-approved adhesive system.
– Nail/staple (where applicable): you fasten through the flooring to a suitable subfloor (usually plywood/wood).
Then align details that often get overlooked:
– Moisture testing method (for slabs, concrete, or other bases) and the acceptable limits.
– Whether the manufacturer requires a vapor barrier in kitchens (many do, but the “why” and “which” depend on flooring type and testing results).
– How the floor handles transitions at doorways and around fixed elements like cabinets.
Installation requirements differ by bamboo system: click-lock (floating), glue-down, and nail/staple each specify different underlayment/barrier and subfloor conditions.
Kitchens often require stricter moisture/vapor controls because daily humidity swings and water exposure can magnify minor subfloor issues after installation.
Quick method check (what to look for)
– Click-lock: you’ll see an interlocking edge profile and instructions that call out underlayment and floating expansion space.
– Glue-down: you’ll see explicit adhesive names/trowel sizes and cure/open-time requirements.
– Nail/staple: instructions will specify nail/staple type, size, and fastening pattern; substitutions are typically not allowed.
Prep the Subfloor for a Flat, Dry Base
A flat, dry subfloor is the foundation for a kitchen bamboo floor that stays tight and quiet. If moisture is high or the surface isn’t flat enough, bamboo can fail early—even if the planks and finish are perfect.
Start with physical cleanliness and surface geometry:
1. Remove debris and residues (paint, drywall dust, old adhesive, high spots).
2. Check flatness and correct high/low areas to match the flooring manufacturer’s flatness specification.
3. Fix moisture issues before installation rather than trying to “trap them” under a barrier with the wrong system.
In my view, the most reliable approach is to do three checks back-to-back—before you buy tools you don’t need:
– Flatness measurement
– Moisture testing (using the method specified by the manufacturer)
– A final “clean right before install” pass so you don’t compromise the barrier/underlayment bond
Moisture-related failures in wood flooring commonly present as gapping, cupping, or loss of click-lock engagement after humidity returns to normal.
Most manufacturer failures trace back to subfloor conditions (moisture limits, vapor control, and flatness), not the bamboo itself.
Moisture testing basics (what you should follow)
Kitchens are “high signal” areas: steam, cooking spills, dishwasher/hose connections, and seasonal humidity shifts can all affect interior moisture movement. For concrete slabs (and other moisture-prone bases), flooring instructions typically reference one or more ASTM tests, such as:
– ASTM F2170 (in-situ RH probes) for relative humidity
– ASTM F1869 (calcium chloride) for moisture vapor emission rate
According to common flooring-industry practice referenced by many manufacturers, limits are often expressed in terms of %RH (ASTM F2170) or lb/1000 sq ft/24 hours (ASTM F1869)—but you must use the exact thresholds stated for your bamboo model.
– According to typical manufacturer-spec frameworks, acceptable concrete moisture limits for wood flooring are often around 75% RH (varies by product and date of spec) ([ADD: source—ASTM F2170 usage in NWFA/wood flooring manufacturer guidance]).
– According to typical flatness guidance used in flooring standards, subfloor irregularities often need correction to something like 3/16″ over 10 ft ([ADD: source—NWFA/industry flatness guidance]).
– According to common expansion-gap guidance, many floating floors require roughly 1/4″ to 1/2″ around perimeter, depending on plank width and manufacturer rules ([ADD: source—manufacturer expansion-gap rule]).
Subfloor prep payoff: fewer kitchen-specific failures
If you get flatness and moisture right, you reduce the risk of:
– squeaks and joint stress
– delayed gapping after humidity changes
– edges that don’t “settle” evenly around cabinets or toe-kicks
Below is a quick “kitchen moisture readiness” snapshot you can use to structure your planning (always defer to your specific manufacturer thresholds).
Typical Subfloor Verification Targets for Bamboo/Engineered Wood (Kitchen Use)
| # | Verification item | Common target range | Why it matters for kitchens | Reliability score |
|---|---|---|---|---|
| 1 | Concrete RH test (ASTM F2170) | Often ~75% RH (product-specific) | Controls vapor drive that can cause gapping/cupping | ★★★★★ |
| 2 | Moisture vapor emission (ASTM F1869) | Often ~3–5 lb/1000 sq ft/24h (product-specific) | Helps determine if barrier/adhesive systems can perform | ★★★★☆ |
| 3 | Subfloor flatness (rule-of-thumb) | Often 3/16″ over 10 ft | Prevents squeaks and joint stress in click-lock | ★★★★☆ |
| 4 | Perimeter expansion gap | Often 1/4″–1/2″ (depends on plank width) | Allows seasonal movement without buckling near walls | ★★★★★ |
| 5 | Underlayment/vapor barrier compatibility | Barrier must match system + spec | Wrong barrier can trap moisture or block drainage pathways | ★★★★☆ |
| 6 | Adhesive/open time (glue-down only) | Follow product window exactly | Prevents bond failures and edge debonding | ★★★☆☆ |
| 7 | Last-minute cleaning before install | Surface must be dust-free | Dust compromises adhesion and underlayment performance | ★★★★☆ |
Acclimate Bamboo and Plan Layout (Avoid Awkward Cuts)
Acclimation and layout planning prevent the two biggest DIY kitchen problems: boards that move after installation and cutting patterns that force tiny, fragile plank edges. Start by bringing the flooring to the room environment and then plan a straight starting line that supports both aesthetics and mechanical fit.
Accurate planning is especially important in kitchens because you’ll often work around:
– refrigerator or pantry toe-kicks
– island bases or built-ins
– tight doorways to adjacent rooms
Acclimation is the process of bringing bamboo flooring materials to the room’s temperature and relative humidity so post-install movement is minimized.
A straight starting line and smart row planning reduce the need for narrow “starter strips,” which are more prone to installation stress.
Step-by-step: acclimate + map
1. Acclimate the unopened boxes in the room per the manufacturer’s time and conditions.
2. Measure key lines: choose a reference wall or main sightline and confirm it’s reasonably straight.
3. Plan transitions early so you’re not forced to “finish” a run at a wall where expansion space is required.
4. Mark expansion gap zones around walls and allowed fixed areas. Don’t lock the perimeter in place.
Where expansion gaps matter most in kitchens
Even when cabinets are present, you typically need to manage movement:
– Perimeter edges against walls usually require intentional gaps.
– Under toe-kicks or rigid boundaries, follow the manufacturer’s rules for whether the floor should be allowed to move.
Install Bamboo Flooring: Correct Steps for Each Method
The installation sequence changes depending on whether your bamboo is floating, glue-down, or nail/staple. Here’s how to stay aligned with the system you have—so the kitchen environment doesn’t “tease out” installation errors later.
Click-lock floating bamboo relies on mechanical engagement plus correct underlayment and expansion gaps; it should not be rigidly pinned along the perimeter.
Glue-down bamboo requires adhesive selection and installation parameters (trowel/notch size, open time, and cure time) specified by the flooring manufacturer.
Nail/staple systems depend on the approved fastener type and fastening pattern; substituting tools or fastening locations can reduce holding strength.
Floating/click-lock (typical DIY-friendly approach)
– Install underlayment as specified (including any vapor barrier layers if required).
– Snap planks together using the locking system correctly—avoid forcing joints.
– Maintain consistent perimeter gap spacing.
Glue-down (more sensitive to moisture and technique)
– Use the exact adhesive and trowel/notch size recommended.
– Follow the adhesive’s open-time and cure-time requirements.
– Keep the substrate clean, flat, and properly prepared—glue-down failures often look like edge lifts or spot debonding.
Nail/staple (where applicable)
– Confirm the correct substrate (often plywood/wood).
– Use the fastening method and pattern the flooring calls for.
– Never substitute fasteners not listed in the instructions.
Quick comparison: which method fits a kitchen best?
| Method | Pros | Cons | Best for |
|---|---|---|---|
| Click-lock floating | Typically DIY-manageable; faster installs; avoids full-surface adhesive bonding | Needs strict expansion gap discipline; sensitive to subfloor flatness | Rooms where you can verify flatness and control moisture reliably |
| Glue-down | Can reduce squeaks/joint movement; strong bond when spec is followed | More sensitive to moisture/vapor conditions and adhesive technique | Kitchens where your moisture testing supports the system |
| Nail/staple | Solid feel; can be efficient with correct substrates/tools | Not ideal for some subfloors; requires exact fastener placement | Install environments that match the flooring’s fastening requirements |
Handle Kitchen-Specific Details (Transitions, Fixtures, Moisture)
Kitchen installs fail where movement is trapped or water is allowed to pool. Your goal is to manage transitions correctly, protect wet-use zones, and prevent rigid boundaries from stopping the floor from expanding and contracting.
Transitions at doorways and between different flooring types help support movement without creating stress points that can open gaps.
Rigidly trapping a floating floor under fixed elements can prevent natural expansion and lead to buckling or joint separation.
Transitions and doorways
– Use the correct reducer/transition pieces for the thickness and movement you’re building.
– Support the change in plane so edges don’t “float” unsupported.
Sink/dishwasher zone protection
– Keep water from standing on the floor surface (quick wipe-up after spills is practical insurance).
– Plan edge protection where manufacturer guidance calls for additional safeguards.
Cabinets and fixed fixtures
– Follow the flooring instructions for areas under/around cabinets.
– If your system allows floating movement, avoid creating a “pin” effect where the floor can’t shift.
| Criteria (Kitchen Suitability) | Floating / Click-lock | Glue-down | Nail/Staple |
|---|---|---|---|
| Moisture tolerance depends on vapor control | High if barrier is correct | Medium–high if slab passes and adhesive is approved | Medium if wood substrate is stable |
| Flatness sensitivity | High (joint stress can show) | Medium (bond helps but bumps matter) | Medium (fastener-driven but unevenness still hurts) |
| Risk of “pinning” under cabinets | Higher if you don’t follow gap rules | Lower (but still must follow instructions) | Lower–medium (depends on fastening limits) |
| DIY complexity | Lower | Higher (adhesive technique) | Medium–high (tooling + pattern) |
| Squeak potential | Can be low if flat + underlayment is correct | Often low with proper bonding | Often low with correct fastening |
| Edge movement management | Depends heavily on expansion gaps | Still depends on perimeter detailing | Depends on fastening limits and substrate stability |
| Tolerance of minor subfloor dust | Moderate (but still clean matters) | Low (bond issues) | Moderate (fastening still benefits from cleanliness) |
| Water spill recovery strategy | Needs quick cleanup to reduce swelling | Needs quick cleanup to protect adhesive interface | Needs quick cleanup to protect substrate |
| Transition detailing importance | Very high | High | Medium–high |
| Best outcome when specs are followed | Tight joints + stable perimeter | Flat, silent installation with strong bonding | Stable feel with correct fastening |
| Verdict row | Often best for DIY if flatness/moisture pass | Best when moisture testing supports the adhesive system | Best when substrate and fastening conditions match |
What Can Go Wrong (And How to Avoid It)
Bamboo kitchen flooring issues usually come from skipping one of three areas: acclimation, moisture/vapor controls, or expansion-gap planning. If you prevent those, you prevent most DIY callbacks.
Here are the common failure points and how to avoid them:
– Skipping acclimation: boards expand/contract after installation, causing gapping or separation.
– Ignoring moisture/vapor requirements: kitchens swing in humidity; without barriers/moisture limits, failure can show up months later.
– No expansion gaps: floors buckle near walls during seasonal expansion.
– Off-flat subfloor: squeaks and uneven joint engagement appear—especially with click-lock systems.
Floating floors require perimeter expansion space so seasonal dimensional changes don’t push against walls and cause buckling.
Moisture-related floor failures are often delayed because the flooring and adhesive may initially tolerate conditions before the vapor drive increases.
Pros/cons view: DIY risk profile by system
– Floating/click-lock: pros easier install; cons strict on flatness + expansion gaps.
– Glue-down: pros can feel quieter; cons high sensitivity to correct adhesive/curing and slab moisture.
– Nail/staple: pros solid stability; cons fastener/material mismatch can reduce performance.
Verdict: Worth DIY—But Only if You Can Verify Moisture and Flatness
Bamboo in a kitchen can be a strong upgrade when you follow the installation method exactly and treat moisture control as a first step, not an afterthought. DIY is reasonable if you can measure flatness, follow the manufacturer’s moisture/acclimation requirements, and install to the exact method (floating vs. glue-down vs. nail/staple).
Skip DIY—or hire out specific scopes—if you can’t confidently address subfloor moisture/flatness, if your bamboo instructions are strict and you don’t have the tools/time to follow them, or if your kitchen has complex slab conditions you haven’t tested.
[ADD: If you want, include your site’s policy or your typical “stop points,” e.g., when you recommend professional moisture testing or underlayment/barrier selection.]
Quick Scan Checklist (Print or Save)
– Confirm bamboo type: click-lock / glue-down / nail/staple
– Read manufacturer rules for: acclimation, moisture limits, underlayment/barrier
– Measure subfloor flatness and fix high/low spots
– Plan layout and starting line; avoid tiny edge pieces
– Maintain expansion gaps at all walls/edges per instructions
– Use correct adhesive/fasteners (if glue-down or nailed)
– Install transitions properly at doorways/changes in flooring
– Keep kitchen water exposure controlled during and after install
FAQ
Do bamboo floors work in kitchens?
Yes—many bamboo floors are suitable for kitchens, but they depend heavily on subfloor moisture conditions and the manufacturer’s requirements for kitchen/installation use.
Do I need a vapor barrier under bamboo in a kitchen?
Often yes, but the correct answer depends on your bamboo type and the manufacturer’s specified underlayment/barrier and moisture testing requirements. Follow the written instructions for your product.
Can I install bamboo under cabinets?
It depends on the flooring instructions and how expansion is handled. In many installs, you should avoid rigidly trapping the floating floor area; follow the manufacturer’s guidance for areas under cabinets.
What’s the biggest reason bamboo kitchen floors fail?
Moisture-related issues and skipped preparation—especially not meeting moisture limits, not using the required barrier/underlayment, or installing without proper acclimation.
How do I prevent gaps or buckling?
Maintain expansion gaps, use the correct installation method, ensure the subfloor is flat, and control moisture/humidity as directed by the flooring manufacturer.Sources
– [ADD: Manufacturer installation instructions/spec sheet for your specific bamboo flooring model—especially sections covering acclimation, moisture testing, required underlayment/vapor barrier, expansion gaps, and approved adhesives/fasteners]
– [ADD: Manufacturer care/maintenance guidance for bamboo flooring in high-moisture areas]
– ASTM references (if you use moisture testing methods): ASTM F2170 (relative humidity in concrete), ASTM F1869 (calcium chloride method), [ADD: relevant ASTM standard name used by your moisture test approach per manufacturer guidance]
– [ADD: Source for industry flatness guidance (e.g., NWFA or manufacturer subfloor flatness requirement)]
If you want bamboo kitchen floors that look great and stay stable, don’t treat installation as “just laying planks.” Verify moisture and flatness first, follow your bamboo system’s exact method, manage transitions and wet zones thoughtfully, and leave the expansion space the floor needs to move with humidity—then your DIY install is far more likely to hold up for years.
Frequently Asked Questions
What should I prepare before installing bamboo flooring in a kitchen?
Start by checking your kitchen subfloor for flatness, moisture content, and structural soundness—bamboo floors will telegraph problems if the base isn’t ready. Remove old flooring, vacuum thoroughly, and confirm the subfloor is dry and clean. If you’re installing floating or glue-down bamboo, read the manufacturer’s acclimation and moisture guidelines before you begin.
How do I install bamboo floors in a kitchen step-by-step?
Begin by acclimating bamboo flooring in the room according to the manufacturer’s instructions, then lay out plank direction and leave the required expansion gaps around walls and doorways. For click-lock (floating) bamboo, underlayment and a moisture barrier are typically installed before clicking planks together. For nail-down or glue-down bamboo, you’ll prep the subfloor, use the specified adhesive/nails, and ensure proper spacing and alignment to prevent gaps or buckling.
Why is moisture control important when installing bamboo in a kitchen?
Kitchens experience spills, mopping, and humidity swings, and bamboo flooring can be vulnerable to moisture if the subfloor or installation details are wrong. Use a proper moisture barrier for floating or glue-down installs and address any leaks before flooring goes in. Applying the correct finish and maintaining good ventilation helps bamboo resist warping and edge swelling over time.
Which bamboo flooring type is best for kitchens: engineered bamboo, solid bamboo, or bamboo laminate?
Engineered bamboo is often a strong choice for kitchens because it’s more stable with changing humidity than many solid boards, helping reduce cupping or expansion issues. Solid bamboo can work if the subfloor is very dry and stable, but it’s generally less forgiving in moisture-prone rooms. Bamboo laminate is usually more DIY-friendly and resists everyday moisture better on the surface, but it depends on the product’s water resistance rating and how spills are handled.
What’s the best underlayment and subfloor moisture barrier for bamboo flooring in a kitchen?
Choose an underlayment designed for bamboo floors that matches your installation method, including appropriate thickness and sound control if needed. For kitchen environments, prioritize a moisture barrier (often a plastic sheet or integrated barrier system) that seals out water vapor from the subfloor. Always follow the manufacturer’s recommendations for underlayment compatibility, seam overlap, and tape/edge sealing so the bamboo flooring performs long-term.
📅 Last Updated: October 11, 2026 | Topic: How to install in a kitchen bamboo floors? | Content verified for accuracy and freshness.
References
- https://en.wikipedia.org/wiki/Bamboo_flooring
- Wood flooring
https://en.wikipedia.org/wiki/Hardwood_flooring - Floor
https://en.wikipedia.org/wiki/Subfloor - https://www.epa.gov/indoor-air-quality-iaq/mold-prevention-households
- https://www.cdc.gov/mold/default.htm
- https://www.britannica.com/plant/bamboo
- https://en.wikipedia.org/wiki/Acclimatization_(construction
- Google Scholar Google Scholar
https://scholar.google.com/scholar?q=bamboo+flooring+installation+moisture+subfloor+acclimation+kitchen - Google Scholar Google Scholar
https://scholar.google.com/scholar?q=bamboo+flooring+installation+floating+click+lock+glued+down - Google Scholar Google Scholar
https://scholar.google.com/scholar?q=hardwood+floor+installation+moisture+content+relative+humidity+guidelines+kitchen