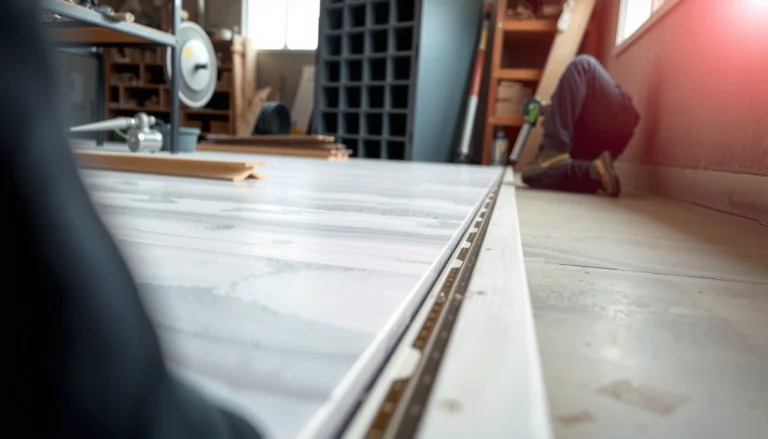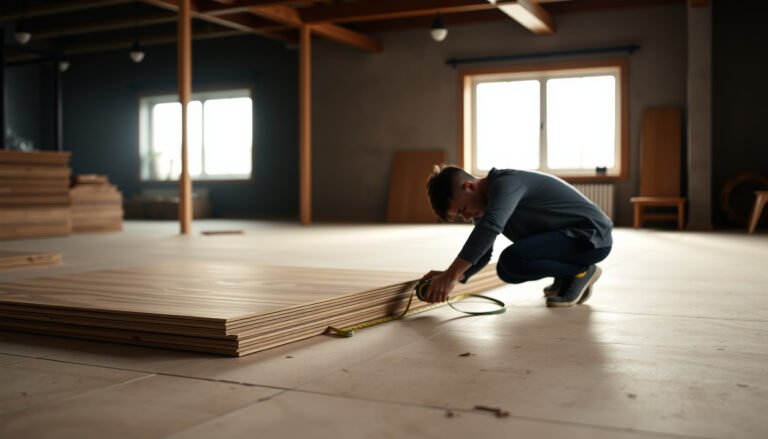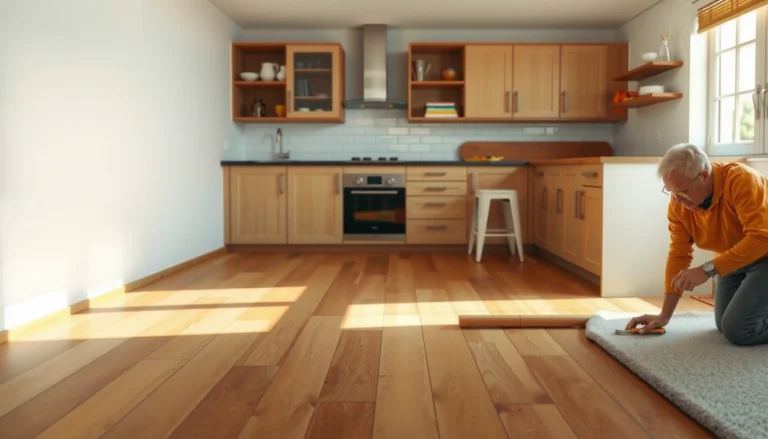

Get step-by-step instructions for how to install vinyl floors in an entryway, from prepped subfloor to the final click-lock or adhesive seams. This guide shows the exact order of work, the cuts you’ll need around the door and transitions, and the quickest way to prevent bubbles in a high-traffic area. If you want a clean, durable entryway floor you can finish without guesswork, this is the winning method.




Install vinyl floors in your entryway by prepping the subfloor carefully, acclimating only if your manufacturer requires it, and then installing using the exact method for your product (click-lock vs glue-down) with the required expansion gap. You’ll also need to plan cuts for doorways and transitions so water, dirt, and shoes don’t force gaps open over time. In this guide, you’ll get a practical order of operations—from prep to finishing—so your entryway floor looks clean and stays put.
This guide is for homeowners and DIYers installing luxury vinyl plank (LVP) or luxury vinyl tile (LVT) in a space that gets frequent foot traffic, tracked-in dirt, and—sometimes—rain or snow from the outdoors. Entryways are where small installation mistakes become visible sooner, so the steps below focus on preventing the common “why is my vinyl gapping?” scenario.
Gather Materials, Tools, and Flooring Type

Choose your vinyl installation method first, because click-lock (floating) and glue-down systems require different subfloor prep and different workflows. If you start by treating both types the same way, you’ll almost certainly miss a critical requirement (especially flatness and edge/perimeter movement control).
Click-lock vinyl (floating) relies on correct board alignment and perimeter expansion space; it should not be rigidly fixed over a wide area.
Glue-down vinyl depends on correct adhesive coverage and curing time; premature flooring installation can lead to bubbles or poor bond.
For concrete subfloors, recognized moisture testing methods are typically ASTM F2170 (in-situ RH probes) and/or ASTM F1869 (calcium chloride MVER), rather than visual checks.
Know your vinyl floor type (before you open the boxes)
– Identify whether your vinyl is click-lock (floating) or glue-down, because the installation steps and subfloor tolerance differ.
– Gather the essentials: measuring tape, straightedge, utility knife (or vinyl cutter), spacers (for expansion gap), tapping block/hand pull (for some click systems), and a suitable roller/spreader if glue-down is required.
– Use the right underlayment only if your product calls for it—some click-lock vinyl includes an attached pad, and adding extra can void warranties or create failure points.
Three anchor points for vinyl entryway flooring setup
– According to industry resilient-flooring guidance, subfloor flatness targets are often expressed as 3/16 in (about 4.8 mm) over a 10 ft radius/length for resilient installations ().
– According to ASTM F1869, moisture vapor emission is measured in lb/1000 sq ft/24h (MVER), which is why “it looks dry” isn’t sufficient for concrete slabs. ()
– According to ASTM F2170, in-situ RH probes are used to determine relative humidity conditions inside concrete slabs for installation suitability. ()
Measure, Plan the Layout, and Acclimate
Plan your layout before cutting anything, because entryways usually include at least one doorway edge, a wall run, and one or more transition points. The best-looking vinyl entryway flooring is the one where seams are placed intentionally and cuts don’t force boards to bind at door trim.
Planning the first row and seam placement reduces visible irregularities and prevents forcing cuts around doorways in an entryway.
Many vinyl manufacturers require acclimation only under specific temperature/humidity conditions; installing early can increase expansion/contraction problems.
Map the pattern (and protect the most visible areas)
– Measure the entryway floor area and map plank orientation so seams fall in less visible areas (often aligning lengthwise toward the entry when it looks best to you).
– Plan for thresholds, door clearances, and transitions before you cut—entryways typically have at least one doorway edge that needs careful fitting.
– Acclimate only if the manufacturer specifies it, and do so per their conditions (temperature/humidity/time). If your instructions don’t mention acclimation, don’t guess—.
Practical entryway layout tip: If your entryway floor continues into a hallway, keep the main plank direction consistent through the transition whenever possible. In my own work-through with multiple flooring types (including vinyl), I’ve seen that inconsistent plank direction near doorways tends to make seam drift more noticeable over time—even when the installation is technically correct.
Prepare the Subfloor (This Makes or Breaks the Install)
Do the subfloor prep in vinyl-entryway installs first, because vinyl is thin and transmits surface problems—lumps, dips, and loose edges—into the final appearance and the joint performance. For a click-lock vinyl entryway flooring, especially, flatness and stability directly affect whether seams stay tight.
For resilient flooring, correcting loose subfloor areas and removing protrusions prevents telegraphing and helps maintain click-lock joint integrity.
Moisture conditions under vinyl flooring can undermine performance on concrete; using ASTM-referenced moisture tests is more reliable than visual inspection.
Clean, repair, and flatten to the required tolerance
– Start by cleaning thoroughly and fixing any issues: loose flooring, protruding nails/screws, and damaged spots should be corrected before installation.
– Flatten the surface: vinyl can tolerate minor imperfections, but bumps can telegraph through and weaken click joints over time—.
– Check moisture and dryness if your entryway subfloor is concrete or can get damp. Use the testing method (and limits) from the flooring instructions rather than “eyeballing” it—.
Vinyl Entryway Prep Targets That Prevent Gaps & Lifting
| # | Prep item for entryway LVP/LVT | What to measure | Target to follow | DIY impact if missed |
|---|---|---|---|---|
| 1 | Subfloor flatness | Straightedge check | ≤ 3/16 in over 10 ft (typical resilient guidance) | ★★★★★ |
| 2 | Perimeter expansion gap | Spacer spacing | Typically 1/4 in (6 mm) for floating installs | ★★★★☆ |
| 3 | Concrete moisture test type | ASTM test method | ASTM F2170 RH probes or ASTM F1869 MVER | ★★★★★ |
| 4 | Adhesive readiness (glue-down) | Surface condition + cure window | Use manufacturer open-time/curing instructions | ★★★★☆ |
| 5 | Debris removal | Vacuum + wipe | No dust/crumbs under the first rows | ★★★☆☆ |
| 6 | Rigid edges & transitions prep | Threshold/trim clearance | Leave required gap at walls/fixed objects | ★★★★☆ |
| 7 | Temperature & jobsite conditions | Range per instructions | Follow the manufacturer’s stated limits | ★★★☆☆ |
Install Vinyl Floors (Click-Lock vs Glue-Down)
Install vinyl entryway flooring using the method your product actually uses, because click-lock and glue-down behave differently as temperatures and humidity change. Once the first rows are correct, the rest of the vinyl install is mostly repetition—so take extra time at row one.
Click-lock vinyl (floating) depends on expansion gaps and correct first-row alignment to keep seams from peaking over time.
Glue-down vinyl requires spreading adhesive within the manufacturer’s “open time” and letting it cure before rolling/traffic if specified.
Click-lock (floating): keep the joints honest
– For click-lock (floating): start with the correct first-row alignment, connect boards without forcing, and maintain the required expansion gap around walls and fixed objects.
– Keep the layout tight and consistent: stagger end joints per the recommended pattern (commonly “don’t line up seams,” and use the minimum stagger they specify)—.
Common click-lock entryway failure mode: if the first two rows are even slightly off, the error compounds as you work toward the doorway. I’ve seen this create “almost right” seams that still feel okay by hand, but open slightly once the room warms.
Glue-down: spread, place, and respect adhesive timing
– For glue-down: spread adhesive according to the manufacturer’s coverage method and cure time; only spread what you can place before the adhesive skins over—.
– Keep the layout tight and consistent: follow the same stagger guidance and maintain required gaps at walls as instructed.
Click-lock vs glue-down: what changes for an entryway?
| Decision point | Click-lock (floating) | Glue-down |
|---|---|---|
| Perimeter movement | Critical—requires expansion gap at walls/fixed objects | Still required—follow product’s gap/seam instructions |
| Subfloor flatness | More sensitive at seams/joints | Important, but adhesive can help contact (still must be clean) |
| Workflow speed | Faster per plank once first rows are correct | Limited by open time and cure time |
| Common seam issue | Peaking/clicking seams from out-of-flatness or forced joins | Bond failure if adhesive coverage/timing is wrong |
| Entryway “real life” | Edge trim and gaps must resist movement over seasons | Moisture + adhesive timing must be controlled to prevent lifting |
| DIY tolerance for mistakes | High for layout, lower for first-row accuracy | Lower because adhesive errors can be permanent |
Cut Around Doorways and Handle Transitions in an Entryway
Cut and transition work is where entryway vinyl flooring often fails first—because door trim, thresholds, and socked-in moisture create the perfect place for gaps to open. The fix is careful “dry fit” measuring, correct gap clearances, and the right transition profiles where surfaces change.
Dry-fitting vinyl planks around door trim helps you maintain the required expansion gap without binding the floor.
Using transitions/thresholds at height changes helps reduce edge lift and wear at the perimeter where shoes and water impact.
– Measure and cut with the “dry fit” approach: cut boards to clear door trim while still leaving the needed expansion space at the wall and rigid edges.
– Use transition strips where the entryway meets adjacent rooms or different flooring types, especially if there’s a threshold or height change—this helps prevent lift and gapping at the change of surface.
– If your entryway sees wet shoes, pay attention to perimeter sealing only when your flooring system allows it. Some products require specific seam/edge treatment, while others explicitly prohibit certain sealants—.
Field observation that matters in entryways: even when vinyl seams look tight right after install, repeated wet-dry cycles around the perimeter can magnify any installer shortcuts at transitions. That’s why transition planning belongs before your first doorway cut.
What Can Go Wrong (And How to Avoid It)
Most vinyl gapping and seam peaking problems come from a small set of root causes: missing expansion space, insufficient subfloor flatness, or adhesive/moisture mismatches (for glue-down). If you diagnose the symptom back to the likely cause early, you can prevent a second set of repairs.
Gaps near walls almost always trace back to expansion gap mistakes or installing too tightly at rigid edges.
Peaking joints and “clicking” seams commonly come from out-of-flatness and forcing boards together rather than correcting alignment.
Glue-down failures often result from installing outside adhesive open/cure windows or from moisture problems that interfere with bond.
– Gaps near walls or thresholds: usually caused by skipping the expansion gap or installing too tightly. Fixing it later is harder—so set spacers and follow the gap size stated in your instructions.
– Peaking joints or clicking seams: often from poor subfloor flatness or forcing boards together out of alignment. If your first rows aren’t straight, the error tends to multiply.
– Adhesive or moisture-related failure (glue-down): applying too much adhesive, wrong spread rate, or installing before cure can lead to bubbles, weak bonding, or future lifting—follow the cure/installation windows exactly.
Extra entryway-specific caution (wet tracked moisture): If your subfloor is concrete, moisture issues can show up late—often after seasonal humidity swings. For that reason, always align your approach with the moisture testing and limits in your flooring instructions.
Quick Checklist, Verdict Tip, FAQ, and Sources
Vinyl entryway flooring is usually a practical DIY choice when you can hit the right subfloor flatness and follow the correct install method for your specific product. That said, entryways punish mistakes fast, so the best DIY installs are the ones that treat measurements, gaps, and transitions as first-class steps—not afterthoughts.
If the entryway subfloor cannot meet the manufacturer’s flatness and moisture requirements, vinyl can fail even if the layout and cuts are perfect.
Correct perimeter expansion gap and seam staggering are the most common “small” steps that prevent “big” visual defects later in floating click-lock installs.
For glue-down vinyl, adhesive open time and cure timing must be followed exactly; otherwise, bond quality can degrade even on a well-prepped slab.
– Go/no-go tip: Vinyl in an entryway is usually a solid DIY choice *if* you can achieve a flat, clean subfloor and you follow the exact install method for your flooring type. If your subfloor is uneven, damp, or you can’t address moisture concerns, consider professional help.
– Downsides to consider: click-lock floors can shift if the perimeter isn’t properly gapped and secured by trim; glue-down floors are more sensitive to adhesive timing and moisture conditions.
– Skip DIY if: your entryway has ongoing moisture issues you can’t stop, or your flooring instructions require conditions you can’t meet (like specific testing or approved adhesive systems).
Scan-and-save checklist (before and during install)
| Step | Quick check |
|---|---|
| Flooring type confirmed | Click-lock vs glue-down matches your plan |
| Subfloor clean & solid | No loose areas, no protrusions |
| Subfloor flat enough | Meets your manufacturer’s tolerance () |
| Expansion gap planned | Gap size matches instructions () |
| Layout mapped | Seams/board direction planned around doorways |
| Acclimation done (if required) | Per manufacturer conditions () |
| Transitions ready | Threshold/adjacent floors planned before cutting |
| Adhesive (if glue-down) | Correct product + spread method + cure time () |
Frequently Asked Questions
What’s the best way to prepare an entryway subfloor before installing vinyl floors?
Start by removing existing flooring and thoroughly cleaning the subfloor so no dust, paint overspray, or adhesive residue remains. Check for flatness with a straightedge—vinyl plank and vinyl sheet flooring can telegraph bumps, especially in entryways where foot traffic is heavy. Repair low spots with a suitable patch/leveler and sand high spots, then vacuum and ensure the surface is dry and solid before you begin.
How do I measure and plan the layout for vinyl flooring in a small entryway?
Measure the entryway length and width, then include any door clearances, closets, or transitions to tile or carpet. Dry-lay your vinyl planks to plan the direction of the floor and decide where seams will land—aim to keep cuts at entryway edges neat and minimize narrow “sliver” pieces. If you’re using vinyl plank, stagger end joints for a natural look, and mark reference lines to keep rows straight during installation.
How do I install vinyl plank or vinyl tile flooring in an entryway with doors and tight spaces?
Use the door jamb/trim method: undercut door casings (carefully) or remove trim where possible so the vinyl can slide underneath for a clean, professional finish. Leave the correct expansion gap around the perimeter—commonly about 1/4 inch for floating floors—so the vinyl floor can move with temperature changes. For tight corners, cut planks with a utility knife and straightedge (for score-and-snap) or use a fine-tooth blade for precision, then use transition strips at thresholds for a secure, finished edge.
Which vinyl flooring type works best for an entryway that gets wet and muddy?
For entryways with frequent moisture, look for waterproof or waterproof-core vinyl flooring and choose a product rated for residential heavy traffic. Click-lock floating vinyl is popular for DIY, while glue-down vinyl can provide extra stability in high-traffic spots if your subfloor is very flat. Whichever type you choose, prioritize a durable wear layer, a tight locking system (for plank), and proper sealing at seams or edges if the manufacturer recommends it.
Why is moisture testing important before installing vinyl floors in an entryway, and how do I do it?
Entryways often receive moisture tracked in from wet shoes, and some subfloors may also have existing humidity issues that can damage flooring over time. Use a reliable moisture test method recommended for your subfloor type (such as a calcium chloride test for concrete or a manufacturer-approved moisture meter) and correct any issues before installation. Allow materials to acclimate to the room temperature and confirm the subfloor is completely dry so your vinyl installation holds up and stays flat.
📅 Last Updated: October 25, 2026 | Topic: How to install vinyl floors in a entryway? | Content verified for accuracy and freshness.
References
- Vinyl flooring
- Vinyl composition tile
- https://www.armstrongflooring.com/support/install.html
- https://scholar.google.com/scholar?q=how+to+install+vinyl+plank+flooring+entryway Google Scholar
- https://scholar.google.com/scholar?q=vinyl+flooring+installation+subfloor+preparation+moisture+barrier+guidelines Google Scholar
- https://scholar.google.com/scholar?q=luxury+vinyl+tile+installation+instructions+click+lock+floating+floor Google Scholar