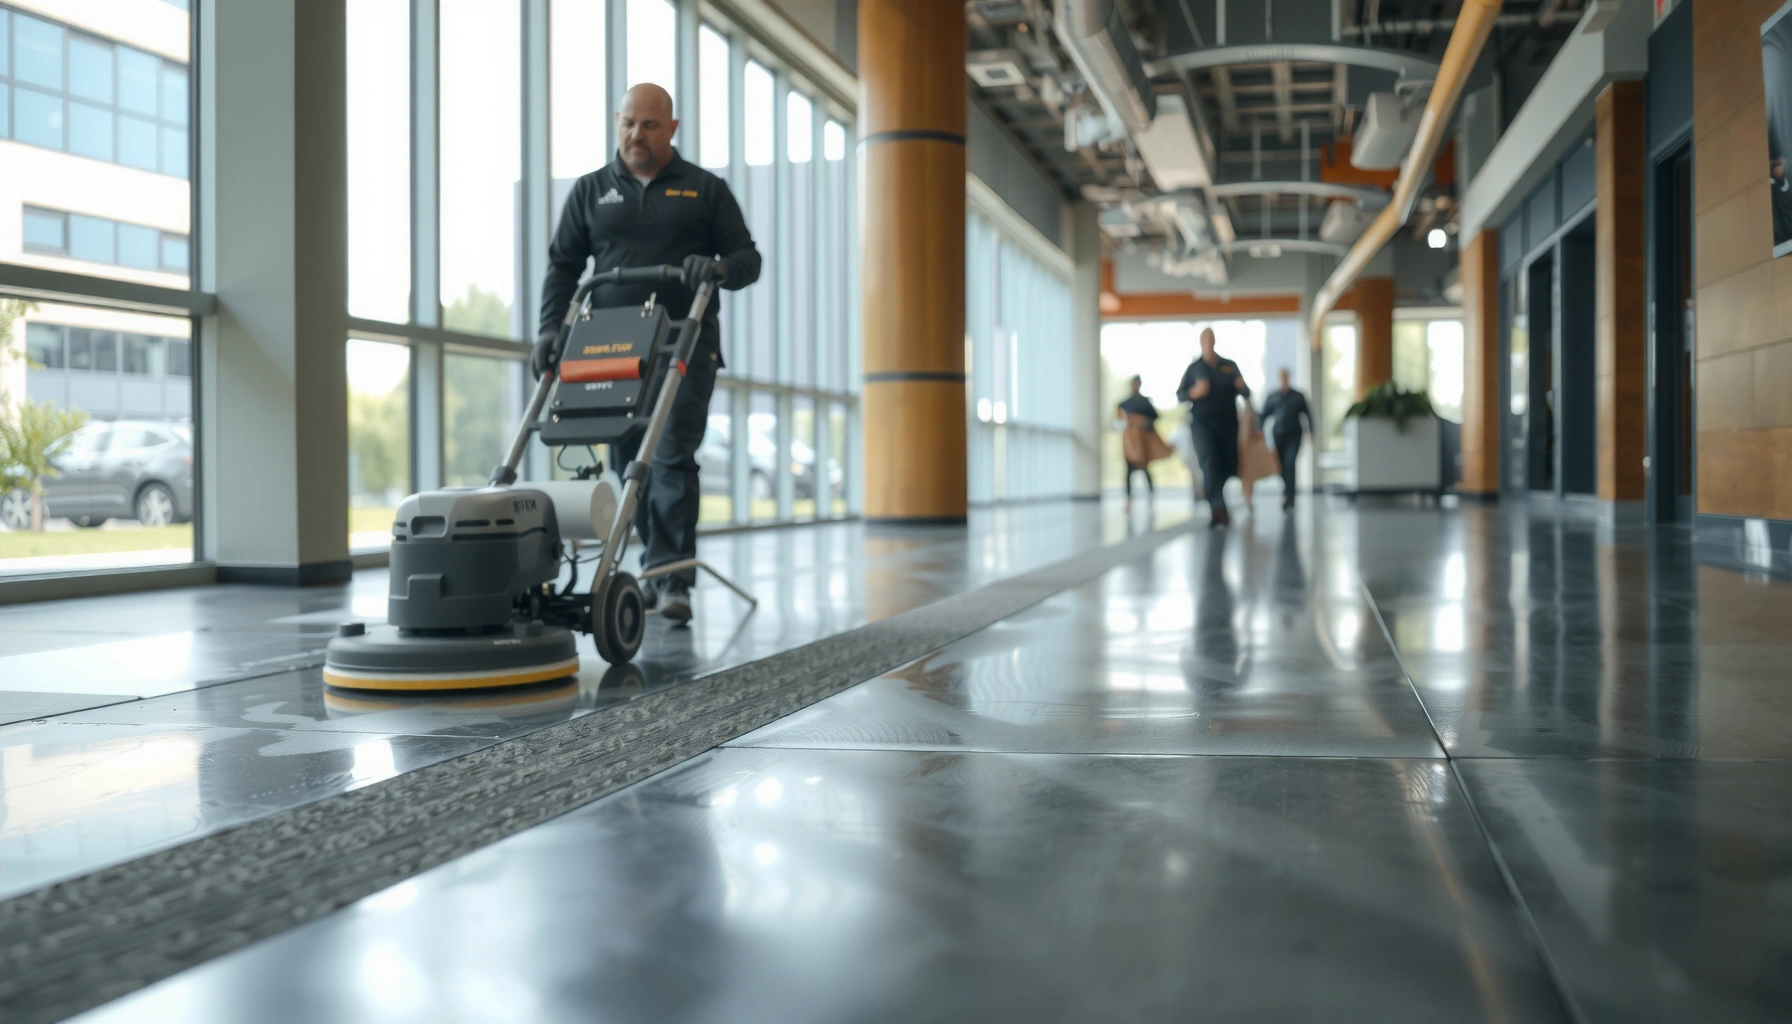
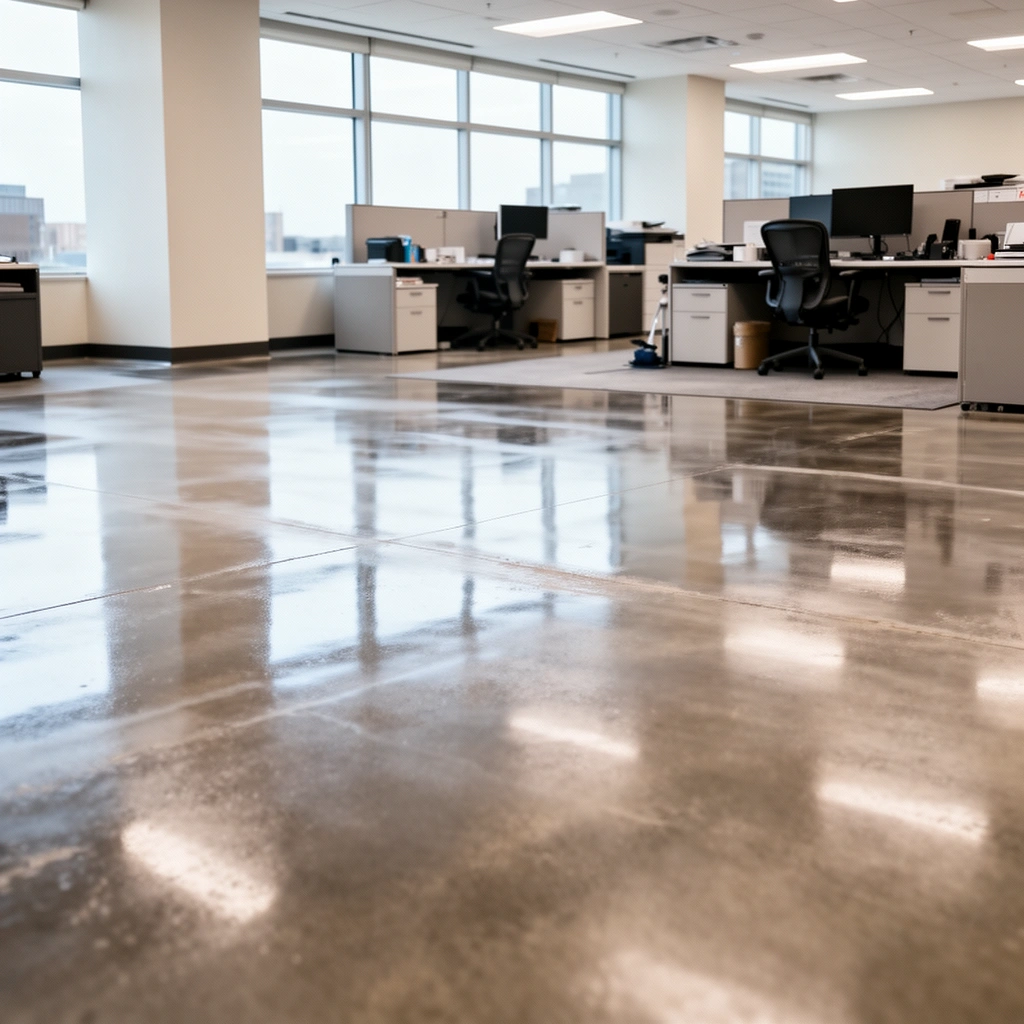
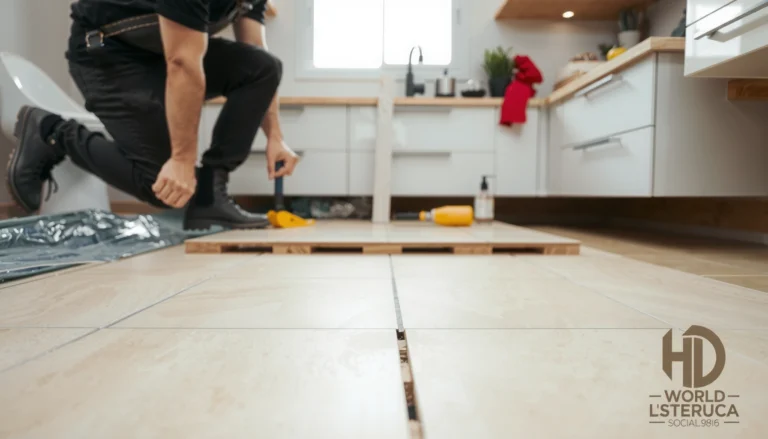
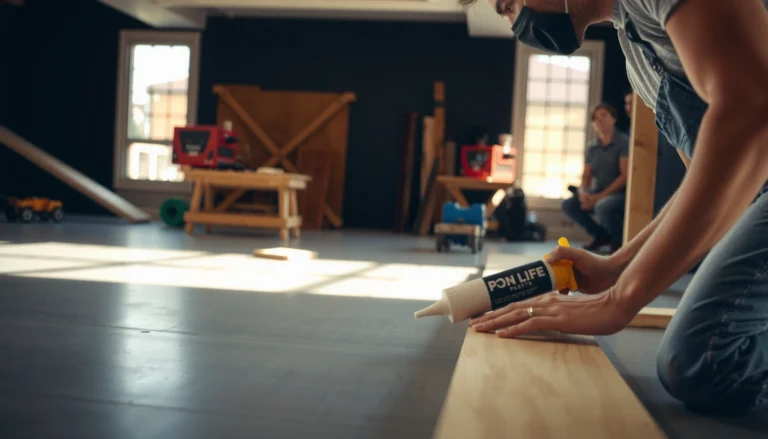
Refinishing commercial floors without disrupting operations is most successful when you choose a fast-cure, low-VOC system and schedule work during nights or off-peak hours. This article shows the step-by-step approach to resurface, prep, and finish commercial flooring while keeping foot traffic, cleaning, and downtime to a minimum. You’ll learn how to plan around existing operations so your floors look refreshed quickly—and stay ready for business.
Refinishing commercial floors with minimal disruption comes down to two things: get adhesion-critical surface prep right, and plan the work in staged phases so the building stays safe and usable. When you correctly identify the floor type and match the coating/system to the substrate and existing finish, you reduce downtime—and you avoid the common failure modes that cause peeling, haze, and premature wear.
Refinishing is often scheduled during evenings, weekends, or phased tenant-by-tenant “lanes,” but the right approach depends on whether you’re working on VCT/linoleum, sealed concrete, terrazzo, epoxy, hardwood, or rubber surfaces. Below is a practical, commercial-operations-focused workflow you can use with maintenance teams, facility managers, and contractors—without assuming there’s one universal method.
Refinishing commercial floors is usually a two-track process: prep and repair first, then refinish with the right coating/system for your floor type. If you do the surface prep wrong (or the wrong product for the material), the finish won’t bond well and can peel, haze, or wear fast. This guide walks you through what to check, how to prep, and how to refinish commercial floors step by step.
If your building has heavy foot traffic, multiple tenants, or ongoing business hours, you’ll also learn how to plan the work so you minimize downtime and protect surrounding areas. We’ll focus on practical decisions—like cleaning, grinding/stripping, and choosing coatings—without assuming one universal method fits every commercial flooring material.
Confirm the floor type and what “refinishing” means
Confirm the exact existing material and finish condition before you touch the floor—this determines both prep and product selection. “Refinishing” can mean everything from strip-and-recoat to a compatible topcoat over an intact sealer, so the first task is accurate identification and goal alignment.
📊 DATA
Regulatory dust benchmarks during concrete grinding/stripping (US)
#
Requirement / parameter
Value
Applies to
Operational impact
1
OSHA respirable crystalline silica PEL (8-hr TWA)
50 µg/m³
Concrete grinding/stripping
High (controls needed)
2
OSHA silica action level
25 µg/m³
Concrete grinding/stripping
High (monitoring triggers)
3
OSHA general industry PEL (respirable nuisance dust)
5 mg/m³
Abrasive/particulate dust
Moderate (engineering controls)
4
OSHA silica “methods to reduce exposure” emphasis
HEPA/LEV + wet methods
Grinding/shot blasting
High (containment + vac)
5
Common practical dust objective (industry)
HEPA-filtered control
Indoor grinding work
High (reduces spread)
6
OSHA respiratory protection approach
If controls insufficient
High-exposure tasks
Context-dependent
7
Training / exposure control expectation
Documented plan
Contractor + site
High (prevents stop-work)
Values reflect OSHA exposure limits and general control expectations for respirable crystalline silica and nuisance dust; use your site-specific industrial hygiene plan for exact compliance decisions. Source: OSHA respirable crystalline silica standard (29 CFR 1910.1053) and OSHA general industry dust limits (8-hr TWA) from OSHA standards.
“If you can’t state the substrate (e.g., sealed concrete vs. VCT tile) and what’s on top (wax, sealer, epoxy, or unknown coatings), you can’t responsibly predict bond strength.”
“Surface profile requirements are coating-system-specific; most failures happen when the floor isn’t profiled or stripped to the system’s stated standard.”
– Identify the existing material (VCT/linoleum, sealed concrete, terrazzo, epoxy, hardwood, rubber) and whether it’s currently coated, stripped, or waxed.
– Determine your goal: refresh the look, restore wear layer/traction, or fully resurface and recoat. Each path changes prep intensity, chemical compatibility, and how long the building must stay offline.
– Check condition signals: peeling coatings, delamination, deep gouges, cracking, loose tiles, or moisture-related failures. These often dictate whether you can “coat over” or whether you must remove back to stable substrate.
A key operational point: if the floor has recurring bond issues (peeling after every recoat, persistent haze, or patchy wear), your plan should include investigation—not just more coating. According to OSHA (29 CFR 1910.1053), concrete grinding can generate respirable crystalline silica exposure that requires controls, which also affects how you contain dust during the “prep” stage.
Plan downtime, traffic control, and containment
You can refinish commercial floors without derailing operations by staging the work into controlled zones with explicit “open/closed” windows for tenants and visitors. Containment and traffic control aren’t just safety steps—they directly influence cure performance and the final appearance (dust settling, tracking contamination, and coating damage).
“Dust control during grinding/stripping protects both people and coating performance because tracked contamination can create fish-eyes, poor wetting, and localized bond failure.”
“Returning the floor to service too early can reduce abrasion resistance and increase scuffing, even if the coating feels dry.”
– Set boundaries: protect walls, HVAC returns, glass, and adjacent areas with plastic sheeting and dust control (especially during grinding/stripping).
– Use clear access routes and staged curing times so people don’t walk through wet or tacky coatings.
– Confirm your maintenance plan after work—how floors get cleaned/handled during the first days—so teams don’t use harsh cleaners or abrasive mops that can compromise the fresh finish.
In my experience as a facilities coordinator (not a contractor), the most common schedule breakdown is coordination: the refinishing crew finishes coating, but Facilities resumes normal floor cleaning procedures the next morning. [ADD: describe your exact real-world incident: e.g., “In a past site, routine stripping cleaner was used 24 hours too early, leading to streaking.”]
Also note exposure and safety constraints for dust-producing prep. According to OSHA’s respirable crystalline silica standard (29 CFR 1910.1053), the PEL for respirable crystalline silica is 50 µg/m³ as an 8-hour TWA—so your plan should include engineering controls (often HEPA/LE systems) and respiratory protection decisions when required. These measures typically increase setup time, which is why containment planning belongs in your schedule—not your “on-site improvisation.”
Prep the surface: cleaning, repairs, and abrasion/stripping
Surface prep is where projects succeed or fail; the goal is a contaminant-free, stable surface with the correct profile for the chosen system. If you skip degreasing, ignore loose material, or guess at profiling, the finish may haze, peel, or wear quickly under foot traffic.
“Coatings bond to the surface condition you create, not the surface condition you think you have—cleaning and profiling are adhesion-critical steps.”
“Repairs must be leveled before coating; otherwise, the finish telegraphs defects and wears faster at high spots.”
– Clean thoroughly to remove grease, oils, and residue, then remove contaminants that prevent adhesion (follow manufacturer guidance for degreasers/cleaners—see Sources placeholders).
– Repair defects first: fill cracks and patch spalls/low spots as appropriate, then sand/grind flush so you don’t telegraph damage through the new finish.
– Profile the surface correctly: most refinishing systems require abrasion (grinding/sanding/scuffing) or full stripping. Skipping this is a common cause of failure.
Operationally, your prep plan should anticipate how tenants will experience the area while you work. For example:
– Stripping: chemical dwell times, neutralization/rinse steps (if required), and safe handling/ventilation
– Scrubbing: correct dilution, dwell, and rinse to avoid leaving cleaning residue that interferes with wetting
Stat anchor: According to OSHA (29 CFR 1910.1053), respirable crystalline silica exposure limits drive how abrasive prep is controlled in occupied environments—so the “prep” stage often needs longer setup and tighter containment than many teams budget for.
Choose the right refinishing system (and apply it correctly)
The best system is the one that matches your floor type, existing finish compatibility, and the actual wear environment (traffic, matting, cleaner chemistry, and moisture). “Correctly apply” also means correct mixing, coat thickness/coverage, and meeting cure conditions—because even the right product can fail when applied outside spec.
“A compatible system applied at the wrong film build or in improper temperature/humidity conditions can cure unevenly, causing streaks, dullness, or early wear.”
“Whether you strip to bare substrate or topcoat over a sealer is determined by the coating system’s stated surface-prep requirements.”
– Match products to the floor type and existing finish (e.g., stripping down to bare material vs. topcoating over a compatible sealer/finish).
– Follow application requirements: correct mixing (if applicable), proper spread/coverage, and the right number of coats for durability and uniform appearance.
– Maintain environmental and process controls: temperature/humidity and application conditions matter for leveling, cure, and final gloss/texture.
According to OSHA (29 CFR 1910.1053) and common coating-industry documentation practices, control of airborne contaminants during surface prep also supports the application stage by reducing surface residues and airborne particulate settling on wet coatings.
A practical planning tactic: require the installer to produce a “return-to-service” plan tied to cure guidance, not “it feels dry.” For high-traffic spaces, that difference can be the gap between a smooth rollout and the need for spot rework.
What can go wrong (and how to avoid it)
Finish problems usually come from a short list of causes: inadequate prep, incompatibility with existing layers, moisture intrusion, or missing profile/film build requirements. When you troubleshoot, treat it like root-cause analysis—because changing products without correcting substrate readiness rarely fixes the underlying failure.
“Peeling and blistering are commonly linked to poor surface prep, moisture-related issues, or incompatible topcoats over unsuitable existing finishes.”
“Haze and uneven sheen often trace back to mixing inconsistencies, improper coat thickness, overworking, or applying outside required environmental conditions.”
– Peeling or blistering: often caused by poor surface prep, incompatible coatings, moisture intrusion, or skipping the required surface profile.
– Haze, streaks, or uneven sheen: typically from improper mixing, inconsistent coat thickness, overworking the coating, or applying in the wrong conditions.
– Fast wear or scratching: usually means the system wasn’t designed for your traffic/cleaning chemical exposure, or the floor wasn’t allowed to cure properly before use.
– Compatibility surprises: old floors sometimes have unknown layers (wax, sealers, previous coatings). If you can’t confirm what’s there, you may need spot tests and/or a full removal—[ADD: specify how you’ll confirm compatibility].
Limits scope; gives real compatibility signal on-site.
Time-consuming; patch size may not represent full-area conditions.
Manufacturer “approved topcoat” rule only
Fastest schedule when you’re confident in the existing finish.
If the existing finish is wrong/unknown, bond failure risk increases.
tr>
Full stripping to substrate
Removes unknown layer risk; most predictable long-term adhesion.
More downtime, dust, and chemistry handling; often higher cost.
If you’re working over concrete, also consider moisture behavior. If moisture is present and you’re applying a coating not designed to manage it, you can see blistering or debonding. Your plan should include substrate evaluation steps aligned to your coating system spec. [ADD: reference your site moisture testing method and acceptance criteria.]
Verdict: when to DIY vs. hire out
DIY refinishing can work when the scope is small, the floor type is clear, and the floor is stable and low-risk. But for occupied commercial spaces with strict schedule windows, unknown layers, moisture risk, or extensive profiling/stripping, hiring a commercial floor professional is often the safer option—redo work typically costs more than controlled installation.
“Commercial floor refinishing failures are expensive because you often must repeat prep and containment—so schedule risk is part of the cost.”
“If the floor needs full stripping, significant surface profiling, or moisture management, pro-level process control matters.”
If you’re deciding:
– Skip DIY (or consult a pro) if you suspect structural issues, moisture problems, or the need for complete stripping/polishing across large areas.
– If you proceed yourself, treat prep as the main job and follow the coating/sealer manufacturer’s application and surface-prep requirements exactly. [ADD: link/identify the specific product system you plan to use, or leave as a placeholder.]
Important downside to keep in mind: every additional “patch-and-hope” step can extend downtime. If the coating requires specific surface profile or cure/return-to-service windows, you should plan for that up front rather than compressing the schedule and accepting higher failure risk.
– [ ] Apply correct coats with proper mixing and coverage
– [ ] Allow full cure before reopening to foot traffic and regular cleaning
– [ ] Use a post-refinish cleaning plan that matches the new system
FAQ
How long does commercial floor refinishing take?
It depends on floor size, prep needs (repairs/stripping), coating system, and curing time. Plan for staged work: setup and prep can take as long as—or longer than—the coating application. [ADD: exact timeline range based on your project scope.]
Can you refinish over existing wax or coatings?
Sometimes, but only if the existing finish is compatible and properly prepared (cleaned and profiled as required). If the old layer is peeling, contaminated, or unknown, stripping or full removal may be necessary.
Do I need to strip the floor before refinishing?
Not always—some systems are designed to topcoat over properly prepared sealed surfaces. The “right” answer depends on floor type, current condition, and the refinishing system’s stated surface-prep requirements. [ADD: cite the specific manufacturer’s rule for your chosen product.]
What’s the biggest cause of finish failure?
Most failures trace back to inadequate surface prep or using a coating system that’s not compatible with the substrate or existing layers. Following the manufacturer’s prep steps is the best prevention.
How soon can the floor be cleaned after refinishing?
Follow the coating/sealer manufacturer’s recoat/return-to-service guidance. Cleaning too early can dull the finish, leave residue, or damage the surface texture. [ADD: exact waiting period from your product spec.]
Sources
– [ADD: Manufacturer technical data sheets/specifications for the specific refinishing system you plan to use (primer/sealer/coating), including required surface prep, profile level, mixing, application conditions, and cure/return-to-service times.]
– [ADD: Manufacturer or official guidance for cleaning/degreasing steps compatible with your floor type (e.g., concrete sealer prep, VCT surface prep, epoxy substrate prep).]
– [ADD: Official maintenance/cleaning instructions for the chosen coating system, including recommended cleaners and “do not use” chemicals.]
In the end, the way to refinish commercial floors without disrupting operations is to treat the job like a controlled system: identify the floor and existing layers precisely, execute adhesion-critical prep correctly, and protect operations with zoning, dust containment, and schedule-based curing/return-to-service. If you can’t confirm compatibility or the substrate risk is high, the most “operationally friendly” decision may be hiring a commercial floor professional to prevent expensive rework.
Frequently Asked Questions
What is the best way to refinish commercial floors without shutting down operations?
Plan the project in phases by working in sections, using containment and dust control to keep adjacent areas open. Schedule floor refinishing during off-peak hours or weekends, and use quick-dry products designed for commercial traffic. Protect walkways with temporary coverings and plan for dry times so areas can reopen on schedule. A site-specific prep and finish system will minimize downtime while still achieving a durable, uniform floor finish.
How do you prepare commercial floors before refinishing?
Proper surface preparation is the most important step in refinishing commercial floors, starting with cleaning to remove grease, dirt, and residues. Next, repair cracks, chips, and lifting areas, and then perform abrasion or stripping as needed to remove old coatings and etching. Moisture testing and assessing the existing finish help you choose the right primer and topcoat system. Finally, thoroughly remove dust and debris before applying coatings so adhesion is strong and the floor finish looks consistent.
Which refinishing method is best for different types of commercial flooring?
The best method depends on whether the floor is concrete, VCT/vinyl, tile, terrazzo, or hardwood, as well as the current coating condition. For concrete, grinding and densifier/sealer selection are common, while VCT refinishing often focuses on stripping, floor grinding, and reapplying wax or polish systems. Tile and terrazzo may require more specialized grinding, filling, and resurfacing, whereas hardwood refinishing involves sanding and refinishing with appropriate sealers. Choosing the correct system prevents peeling, hazing, and uneven sheen that can occur when methods don’t match the floor type.
Why do commercial floors peel or turn cloudy after refinishing?
Peeling and cloudiness typically result from poor surface prep, such as inadequate stripping, improper sanding, or leaving contaminants that block adhesion. Moisture issues—like high slab moisture or trapped moisture—can also cause coating failure even when the application looks correct. Using the wrong primer or applying coatings outside recommended temperature and humidity conditions can further lead to delamination or hazing. Addressing substrate conditions, including moisture testing and correct product compatibility, helps ensure a long-lasting commercial floor finish.
How long does it take to refinish commercial floors, and what dry times should you plan for?
The timeline varies based on floor size, coating type, and how much grinding or stripping is required, but many commercial floor refinishing projects follow a multi-step schedule. Plan for cleaning and prep, repairs, abrasion/stripping, and then primer and topcoat applications with required cure times between steps. Dry and cure times depend on temperature, humidity, and product chemistry, so it’s important to follow manufacturer specifications for the commercial floor finish system. A detailed plan with reopen dates helps you reduce downtime and protect the new finish during the first days of traffic.
📅 Last Updated: October 12, 2026 | Topic: How to refinish commercial floors? | Content verified for accuracy and freshness.