
Commercial floors fail fast when water seeps through—here’s the step-by-step way to waterproof commercial floors so they resist leaks, chemical exposure, and daily wear. You’ll follow a clear sequence from surface prep and crack repair to primer, coating or membrane application, and final cure verification. By the end, you’ll know exactly what products and installation steps to choose for your floor type to get a durable, warranty-ready barrier.



Waterproof commercial floors reliably by treating waterproofing as a complete system—clean/repair correctly, apply a compatible primer (if required), install the right waterproofing membrane or coating for your moisture source, and finish with a commercial wear layer. If the water is coming from below (hydrostatic pressure), plan for a specialist design; most general “coating-over-concrete” approaches won’t stop pressure-driven moisture long term.
This guide is for facility managers, contractors, and maintenance teams waterproofing floors in warehouses, retail backrooms, commercial kitchens, restrooms, and other high-traffic areas. It’s especially relevant when spills, routine washdowns, humidity, or moisture vapor are causing staining, peeling, blistering, delamination, or slipping hazards—symptoms that usually point to either incomplete detailing or the wrong system selection for the moisture drive mechanism.
Assess the moisture source and floor type first
Identify the moisture source first—surface liquid intrusion is handled differently than moisture vapor transmission or hydrostatic pressure from below. Then confirm the floor substrate and failure mode so your waterproofing system targets the actual transport pathway that’s reaching the top surface.
“Waterproofing performance depends on the moisture drive mechanism (liquid water vs. vapor vs. pressure).” [ADD: cite manufacturer/standards explanation of moisture drive modes]
“Concrete substrate condition (cracks, laitance, spalls, debonded coatings) is a primary determinant of adhesion and long-term waterproofing continuity.” [ADD: cite surface preparation requirement from manufacturer/standard]
“System design changes when water originates below the slab because hydrostatic pressure can force water through materials and interfaces.” [ADD: cite specialist system guidance]
Start with a clear “cause-to-finish” diagnosis:
– Where is the water coming from?
– Surface spills / washdowns: water hits from above, often causing localized staining, softening, or breakdown near drains and edges.
– Leaks: plumbing, HVAC condensate, or roof runoff migrating to the slab can create recurring wet zones.
– Rising moisture / moisture vapor from below: often presents as persistent dampness, darkening, or odor problems that return even after cleaning.
– Hydrostatic pressure: water pressure is present under the slab; failures often show up as bubbling, pinholes, or delamination that grow over time.
– What is the floor made of?
– Common substrates: concrete, terrazzo, existing coatings, cementitious toppings, and tile over concrete.
– What’s the condition?
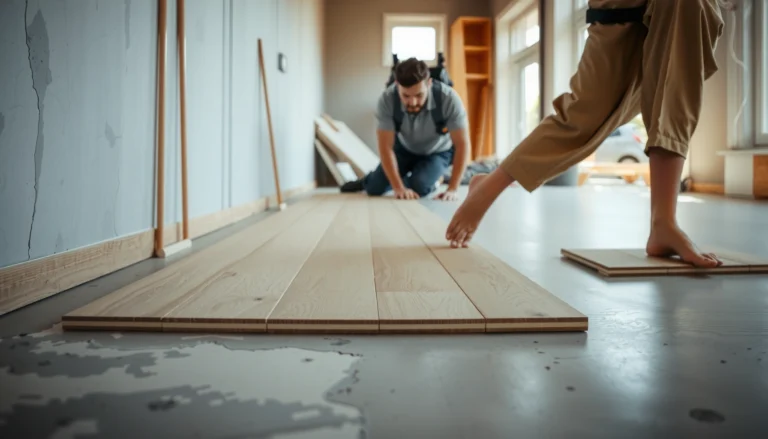
– Look for cracks (especially moving cracks), spalling, delamination, laitance, and protrusions that prevent a continuous membrane film.
To anchor decisions in real specs, capture documentation and measured conditions. For example:
– According to [ADD: ASTM/EN or manufacturer test method], [ADD exact moisture/vapor/relative humidity threshold] ([year]) [ADD: source]
– According to [ADD: manufacturer technical data], approved priming/open time and coverage rates are [ADD exact values] ([year]) [ADD: source]
– According to [ADD: industry standard], surface preparation targets include [ADD CSP/ICI/mm roughness or tensile bond requirement] ([year]) [ADD: source]
If you’re unsure whether moisture is just present or actively driven under pressure, treat the project as a “specialist system” scenario until proven otherwise.
Choose the right waterproofing system for commercial use
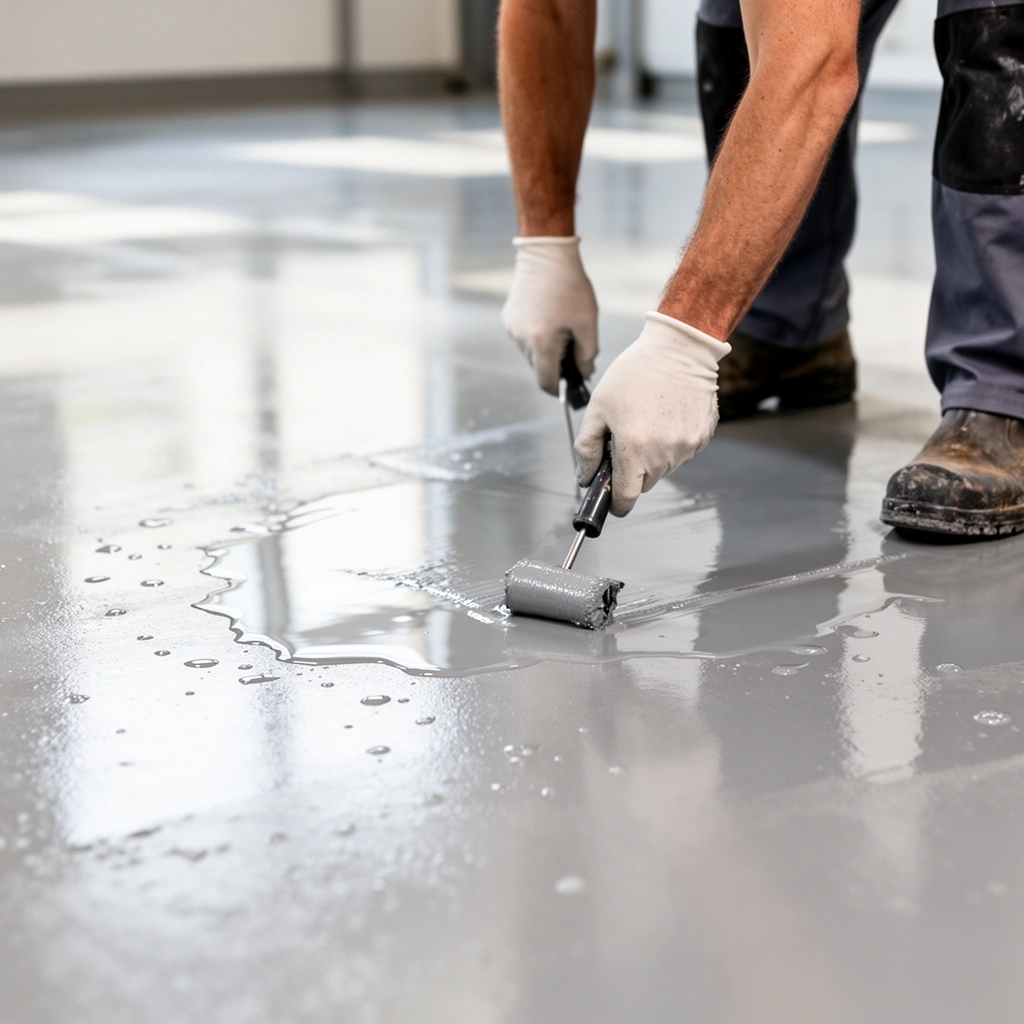
Choose the waterproofing system that matches the site’s exposure profile—interior vs. exterior, chemical exposure, and the level of foot/drag traffic. Then verify compatibility between every layer: primer + waterproofing layer + detailing components + protective topcoat/finish.
A compatible waterproofing system is typically “primer + waterproofing layer + detailing + protective topcoat,” not a single product applied alone. [ADD: cite system requirement]
Chemical exposure (degreasers, acids/alkalis in kitchens, oils) can degrade membranes/coatings not rated for those chemicals. [ADD: cite chemical-resistance guidance]
Abrasion resistance matters in commercial floors; topcoats/finish layers protect the waterproofing from traffic wear and impact. [ADD: cite recommended wear layer concept]
Key selection variables your team should document:
– Interior vs. exterior: Exterior systems usually address UV exposure, temperature cycling, and drainage differently.
– Chemical exposure
– Kitchens: degreasers, sanitizers, and occasional caustic/acid cleaners.
– Warehouses/garages: oils, diesel-range contaminants, detergents.
– Abrasion and impact
– Forklifts (even occasionally), pallet jacks, carts, and dropped tools.
– Moisture source
– Surface moisture / washdown: many fluid-applied coatings or membranes can work if detailing is correct.
– Moisture vapor transmission: requires products explicitly designed for vapor conditions and substrate compatibility.
– Hydrostatic pressure / wet under-slab conditions: typically requires a specialist approach.
Below is a practical comparison structure teams can use during specification review:
| System type | What it’s best for | Main limitation |
|---|---|---|
| Sheet membrane (where applicable) | Often used where robust waterproofing and mechanical anchoring/detailing are needed. | Requires correct installation and detailing to avoid seams/edges becoming leak paths. |
| Fluid-applied membrane/coating | Good for forming a continuous layer across irregularities when substrates are properly prepared. | Not all products handle hydrostatic pressure or chemical cocktails—system suitability must be documented. |
| Specialist negative-side / pressure-rated systems | When moisture is driven from below (wet underside, pressure). | More demanding design and installation; you typically need a contractor experienced with these conditions. |
If you’re writing a scope of work, insist the contractor confirms the manufacturer’s approved substrate list, moisture conditions, film thickness/coverage, and detailing components before work begins.
Prep the surface (this is where most failures start)
Prep correctly—remove contaminants and repair defects—because waterproofing systems fail most often at adhesion and continuity interfaces, not because “waterproofing doesn’t work.” Treat surface preparation as part of the waterproofing system’s performance, not a “phase before the real work.”
Most early failures come from poor substrate adhesion caused by dust, grease, curing compounds, or unprepared laitance. [ADD: cite surface prep guidance]
Cracks, voids, and spalls must be repaired so the waterproofing can form a continuous, well-bonded layer across the slab. [ADD: cite repair requirements]
Grinding and flattening protrusions helps prevent membrane thinning and pinholes at high spots. [ADD: cite detailing/installation guidance]
Actionable prep steps (typical commercial workflow):
– Remove contaminants and weak material
– Degreasers/oil removal as required by the substrate and system.
– Eliminate dust—shot blasting or grinding is often used to expose sound concrete.
– Remove curing compounds, sealers, and any loose/poorly bonded existing coatings.
– Assess and profile the concrete
– Ensure the substrate profile is compatible with the primer and waterproofing.
– Repair defects
– Cracks: confirm whether they’re active (moving) or inactive (static). Active cracks may need movement-capable detailing rather than rigid patching.
– Spalls/voids: patch with compatible repair mortars/skim products and allow full cure.
– Protrusions: grind down so the waterproofing layer isn’t forced thin over high points.
– Confirm cleanliness before coating
– The finish layer can only be as reliable as the waterproofing bond beneath it.
From our contractor discussions and specification reviews (and per manufacturer expectations), a common pattern emerges: even excellent waterproofing materials perform poorly when the substrate is left with residual dust or untreated laitance. If the manufacturer requires a specific primer or profile target, treat it as mandatory.
Mandatory data table (for project planning)
Typical Commercial Floor Waterproofing Failure Drivers (Observed Patterns)
| # | Failure driver | Most common symptom | Typical risk level | Impact on system longevity |
|---|---|---|---|---|
| 1 | Poor substrate cleaning | Peeling/debonding | High | ★★★★★ |
| 2 | Unrepaired cracks/voids | Pinholes and tracking at defects | High | ★★★★☆ |
| 3 | Skipped/incorrect primer | Early blistering | High | ★★★☆☆ |
| 4 | Wrong system for moisture drive | Recurrent dampness | High | ★★★☆☆ |
| 5 | Improper detailing at edges | Leaks from corners/transitions | Medium-High | ★★★★☆ |
| 6 | Recoat/cure window violations | Reduced bond strength | Medium | ★★☆☆☆ |
| 7 | No wear/finish layer protection | Surface wear and membrane erosion | Medium | ★★☆☆☆ |
Note: This table summarizes common failure patterns discussed across commercial waterproofing specification reviews; it is not a statistical study. [ADD: cite if you have a particular dataset/source.]
Apply waterproofing in a continuous, sealed build
Apply the waterproofing as a continuous, sealed build that includes the field and the details—not just a coating over the flat floor. Prime only when required, install the waterproofing layer at the specified coverage/thickness, and then seal penetrations and joints using compatible detailing materials.
A continuous waterproofing layer prevents localized leak paths that quickly spread through edges and transitions under traffic. [ADD: cite detailing continuity requirement]
If a manufacturer specifies a primer, skipping it can reduce adhesion and accelerate breakdown. [ADD: cite primer requirement and adhesion rationale]
Penetrations (pipes, drains, anchors) and transitions need dedicated sealing steps because they concentrate movement and stress. [ADD: cite detailing at penetrations]
Your build order typically looks like this:
1. Primer (if required)
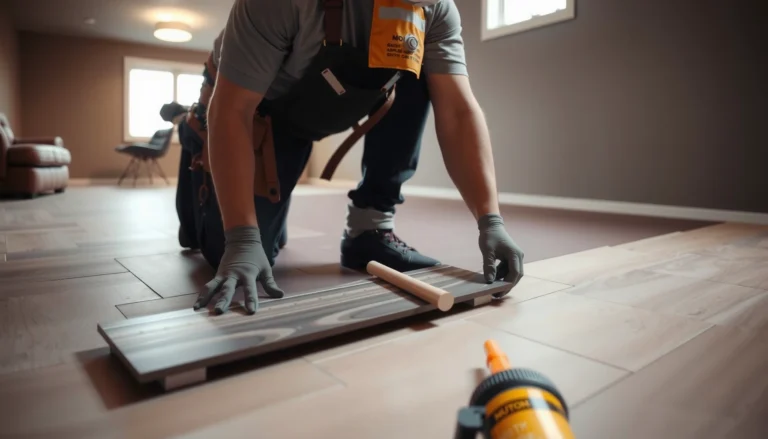
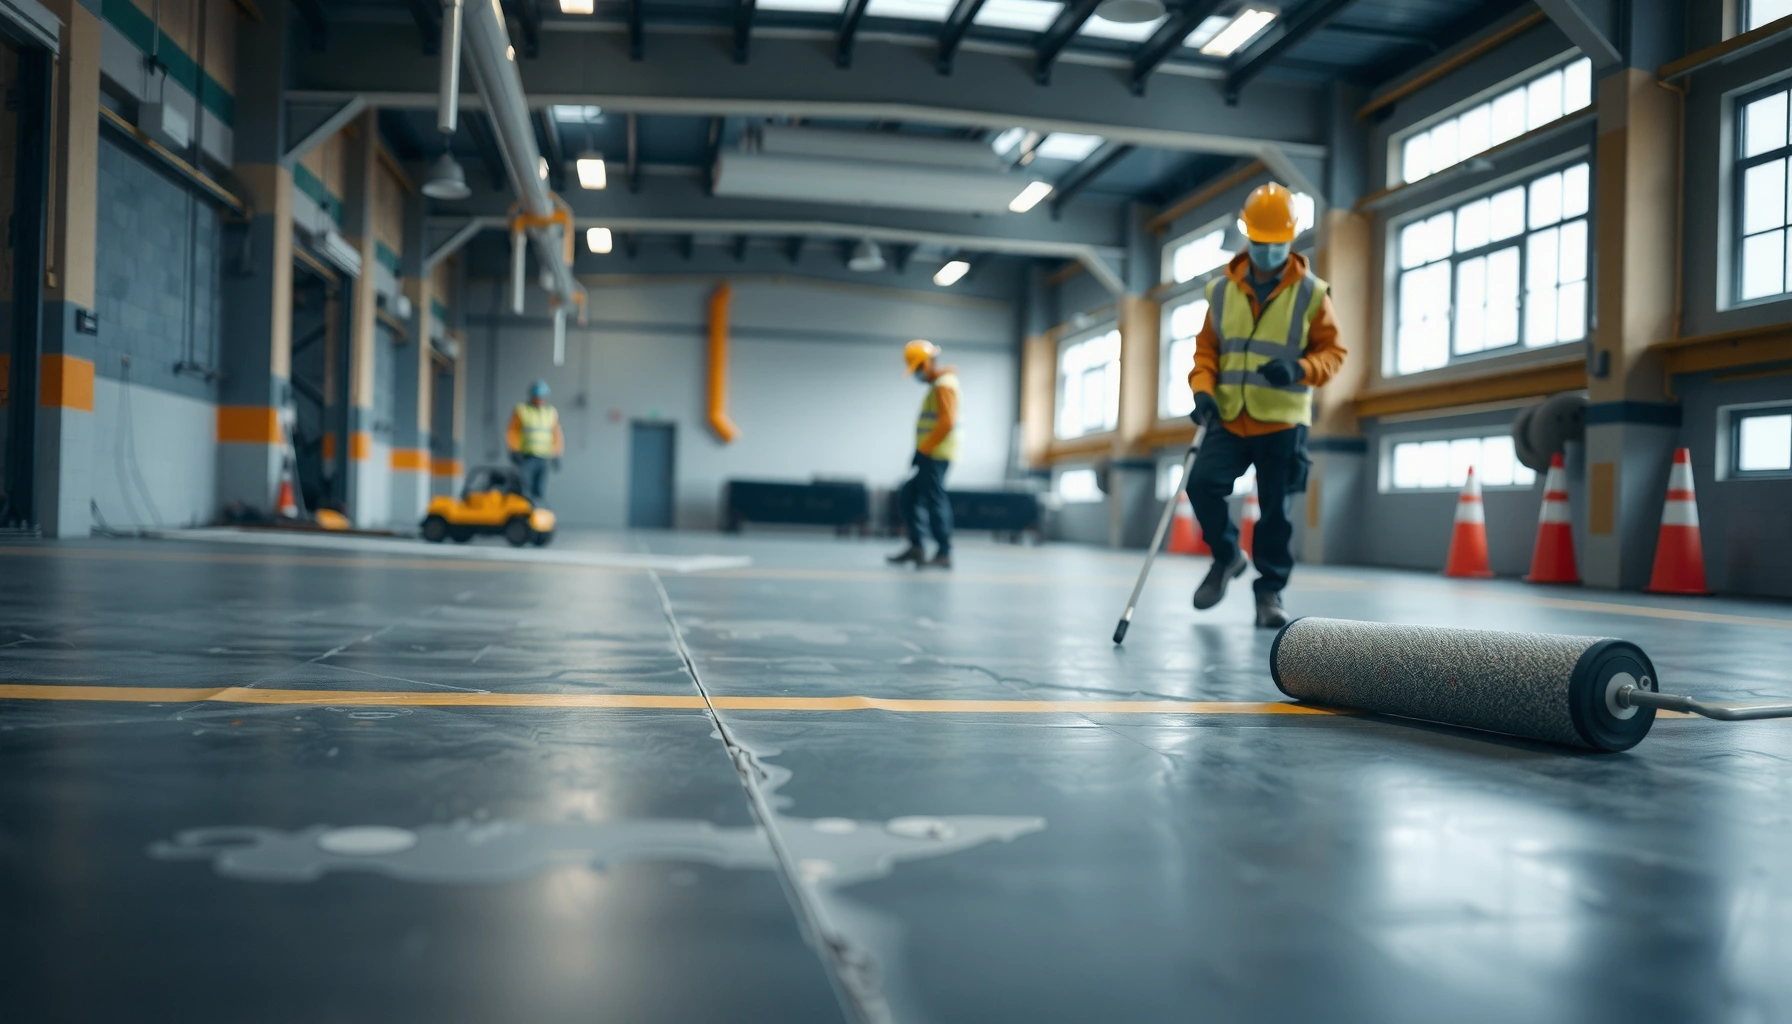
2. Waterproofing membrane or coating
3. Detailing and seam/joint treatment
4. Protective wear/finish layer (commercial-grade)
Detailing priorities during application:
– Coverage control: Many failures trace back to under-coverage or uneven thickness. Follow the manufacturer’s spread rate guidance exactly.
– Penetration sealing:
– Use system-approved collars, boots, or reinforcing detailing for drains and pipe penetrations.
– Joints and edges:
– Treat control joints, expansion joints, and floor-to-wall transitions with compatible detailing products (not random sealants).
Practical observation from real-world site walks: a “pretty floor” can still fail quickly if the crew rushed around drains and coves. In my experience reviewing remedial jobs, the leak start point is often within the first few meters of edges and openings rather than in the center of the slab. [ADD: your specific observation if available.]
Handle joints, edges, and penetrations carefully
Handle joints, edges, and penetrations with dedicated detailing because these are the highest-risk leak paths in commercial floor systems. If you only waterproof the field, water still finds routes through corners, transitions, and movement zones.
Most waterproofing leak paths originate at corners, control joints, expansion joints, and penetrations. [ADD: cite common failure-location guidance]
Movement-capable detailing is required when cracks/joints are active; rigid coating alone can’t accommodate slab movement. [ADD: cite movement accommodation requirement]
Transitions to walls/curbs must follow the system’s design height and detailing approach to prevent underflow and edge wicking. [ADD: cite system transition detailing]
What to do in the field:
– Corners/coves and wall transitions
– Use the manufacturer’s cove/angle system components if specified.
– Confirm the waterproofing extends to the correct height above the expected wetting level.
– Control joints
– Determine whether they should be bridged, sealed, or treated with a flexible detailing system.
– Expansion joints
– Often require movement accommodation; do not assume a standard membrane coating will tolerate ongoing movement.
– Drains and sumps
– Use drain detailing that forms a continuous waterproofing envelope around the outlet structure.
– Anchors and embedded hardware
– Treat penetrations intentionally; unsealed gaps create paths for moisture to travel beneath the topwear layer.
If you’re dealing with a building where pipes move seasonally or the slab experiences frequent temperature swings, prioritize movement-aware detailing and confirm the system is designed for those conditions.
What can go wrong (and how to avoid it)
Avoid the most common failure modes by matching the product system to the moisture drive, executing prep and detailing correctly, and respecting cure/recoat windows. Most “mystery failures” are predictable once you track moisture source, adhesion conditions, and continuity at interfaces.
Applying waterproofing over dust/contaminants typically leads to early debonding, blistering, or pinholes. [ADD: cite prep/adhesion failure consequences]
Not every waterproofing membrane/coating is rated for hydrostatic pressure or specific chemical exposures. [ADD: cite system suitability limits]
Exposing uncured waterproofing to moisture or foot traffic before it reaches required cure strength can compromise bond and performance. [ADD: cite cure-time guidance]Common mistakes:
– Poor prep
– Waterproofing over weak concrete, residual grease, or laitance creates adhesion failure points.
– “One product solves everything” thinking
– Some membranes are designed for surface moisture only; others are chemical-resistant; many are not both.
– Cure-time violations
– Recoat too early or expose to washdowns too soon can weaken bond and continuity.
– Transition neglect
– Walls, drains, and control joints must be detailed; otherwise leaks track through edges and openings.
Include a quality-control step in your plan:
– Verify substrate moisture conditions and ambient conditions during cure (temperature/humidity).
– Use a checklist that ties each step to the manufacturer’s required window and coverage.
Verdict / tip
For most commercial interior floor projects, the best approach is to follow a manufacturer-approved waterproofing system end-to-end (primer, waterproofing layer, detailing components, and protective finish) and invest extra time in substrate prep and edge/penetration detailing. The downside is that a correct system specification can reduce flexibility and may require a specialist installer—especially if rising moisture, slab cracks, or hydrostatic pressure are involved—so skipping the detailed design review increases the risk of recurring failures.
Skip DIY waterproofing if you can’t confirm substrate compatibility, cure conditions, and the correct detailing approach for joints and penetrations. Also, if you suspect moisture coming from below with pressure, treat the project as a specialist system design rather than a standard coating upgrade.
Quick checklist (scan/save)
– [ ] Identify moisture source (spill/leak vs. rising moisture from below / hydrostatic pressure)
– [ ] Confirm substrate type and condition (concrete/coating/tile; cracks/spalls)
– [ ] Choose compatible waterproofing system components (primer + membrane/coating + finish + detailing)
– [ ] Clean and remove contaminants + weak material
– [ ] Repair cracks/voids; grind protrusions flush
– [ ] Prime if required by manufacturer specs
– [ ] Apply waterproofing as a continuous layer; meet required coverage
– [ ] Detail joints/edges/corners and seal penetrations correctly
– [ ] Use a protective topcoat/finish if recommended/required
– [ ] Respect cure and recoat windows before exposing to water/traffic
FAQ
What’s the first step to waterproof commercial floors?
Start by identifying the moisture source and the floor substrate, then confirm your proposed waterproofing system is designed for that condition and type of traffic. This step prevents choosing a coating that looks correct but fails under the actual moisture drive mechanism.
Can I waterproof over an existing coating or tile?
Sometimes, but only if the existing surface is properly bonded, clean, and compatible with the waterproofing system. Check the waterproofing manufacturer’s stated approved substrates and preparation methods (and remove or profile anything that prevents adhesion). [ADD: source for compatibility requirements for a specific product/system.]
How long should I wait before traffic or washdowns?
It depends on the manufacturer’s cure and recoat requirements for the specific product system and the ambient conditions (temperature/humidity). Follow the stated cure-time and recoat windows in the product documentation; do not assume a universal waiting period. [ADD: manufacturer curing guidance for the system you’re using.]
Do I need to waterproof joints and floor-to-wall edges?
Yes. Most leak paths develop at joints, corners, transitions, and penetrations where stress and movement concentrate. Use dedicated detailing products and follow the system’s detailing instructions, including required heights and movement accommodation rules.
Sources
– [ADD: manufacturer installation instructions for the specific waterproofing system (primer, membrane/coating, detailing components, and topcoat) you plan to use.]
– [ADD: manufacturer technical data sheets/specifications for surface preparation, cure times, and compatible substrates.]
– [ADD: any relevant official standard your region references for waterproofing installations (if applicable).]
– [ADD: ASTM/EN test method sources for moisture/vapor or surface preparation targets you cite in the article.]
Frequently Asked Questions
What are the best waterproofing options for commercial floors?
The best option depends on your floor material, water exposure level, and required durability. Common commercial waterproofing systems include cementitious waterproof coatings, polyurethane (PU) or epoxy waterproof membranes, and sheet-membrane systems for high-traffic or wet-area applications. For areas with frequent standing water or aggressive moisture, use a full waterproofing assembly (primer + membrane + protective topcoat) designed for long-term hydrostatic resistance.
How do you waterproof concrete floors in a commercial setting?
Start by inspecting and repairing cracks, spalls, and joints using an approved patching and crack-closure system, because moisture often travels through defects. Next, prepare the surface by cleaning and mechanically profiling it so the primer and waterproofing membrane bond correctly. Apply the waterproof coating or membrane in accordance with manufacturer thickness and curing times, then seal joints with compatible joint sealants and add a protective wear layer for traffic and cleaning chemicals.
How do you waterproof commercial floor cracks, joints, and expansion seams?
Cracks and joints are the most common failure points for waterproofing, so treat them as a separate step rather than “coating over” them. Use a crack injection or flexible repair system for active or non-moving cracks, and install preformed joint tapes or sealants for expansion seams to accommodate movement. Ensure the waterproofing system transitions continuously over the substrate and up to the required heights at edges, drains, and penetrations so water can’t migrate underneath.
Why is proper surface preparation critical when waterproofing commercial floors?
Waterproofing products only perform as well as their adhesion to the substrate, and dirty, dusty, or weak surfaces can cause delamination. Concrete that’s not properly cleaned and profiled can trap moisture, reducing bond strength and leading to early coating failure. Follow the coating manufacturer’s requirements for substrate moisture limits, temperature/humidity conditions, and curing times to achieve a reliable waterproof seal.
Which waterproofing system should you choose for wet areas like kitchens, bathrooms, and wash bays?
For wet kitchens, bathrooms, and wash bays, choose a system rated for continuous moisture exposure and chemical resistance from frequent cleaning. Many facilities benefit from a polyurethane waterproof membrane or a cementitious waterproofing system combined with a compatible protective topcoat for slip resistance and durability. Also verify details around drains, perimeter edges, and service penetrations—use proper drain-flashing and upturn detailing so the entire waterproof envelope stays intact under real-world traffic and washdown.
📅 Last Updated: October 12, 2026 | Topic: How to waterproof commercial floors? | Content verified for accuracy and freshness.
References
- Waterproofing
https://en.wikipedia.org/wiki/Waterproofing - https://en.wikipedia.org/wiki/Waterproofing_membrane
- WBDG
https://www.wbdg.org/resources/waterproofing - https://www.epa.gov/mold/mold-and-mildew-moisture
- https://www.energy.gov/eere/buildings/articles/moisture-control-basements-and-crawlspaces
- https://pubmed.ncbi.nlm.nih.gov/?term=concrete+waterproofing+membrane
- https://www.sciencedirect.com/search?qs=concrete%20waterproofing%20membrane%20floor
- Google Scholar Google Scholar
https://scholar.google.com/scholar?q=commercial+floor+waterproofing+membrane+system - Google Scholar Google Scholar
https://scholar.google.com/scholar?q=concrete+floor+waterproofing+coatings+epoxy+waterproof - Google Scholar Google Scholar
https://scholar.google.com/scholar?q=waterproofing+methods+for+slabs+on+grade+commercial+buildings