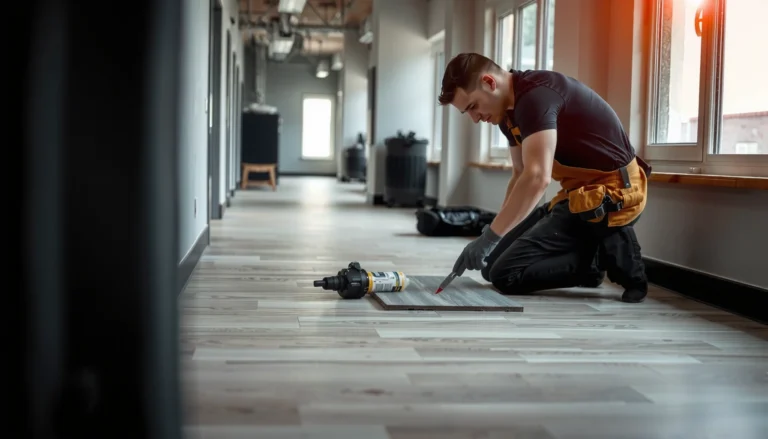

Level laminate floors before installing a garage by following the right prep method: confirm the slab is flat, correct low spots with an approved patch or self-leveling compound, and stop when the surface meets the required levelness tolerance. This guide shows exactly how to get that flat, stable base so the garage laminate doesn’t buckle, separate, or squeak. Expect a clear step-by-step verdict on what to do—and what to avoid—based on the kind of floor you’re starting with.



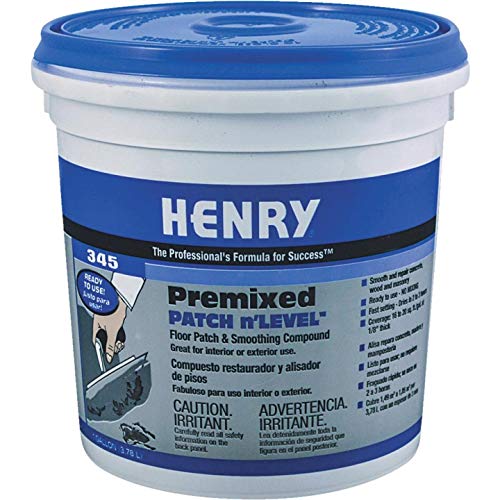
Before installing laminate in a garage, you need to level the subfloor so the surface stays flat underfoot—plan for a proper flatness check first, then fill low spots and remove high spots. The goal is a smooth, consistent base that won’t flex or create gaps as the boards expand and contract. In this guide, you’ll learn what “level enough” means, how to prep the floor, and what to avoid so your laminate doesn’t buckle or separate.
If your garage has a concrete slab that’s uneven, sloped, or has shallow dips, this is for you. It’s especially relevant when you’re dealing with floating laminate planks and you want a cleaner, longer-lasting install.
Check flatness first (don’t guess)
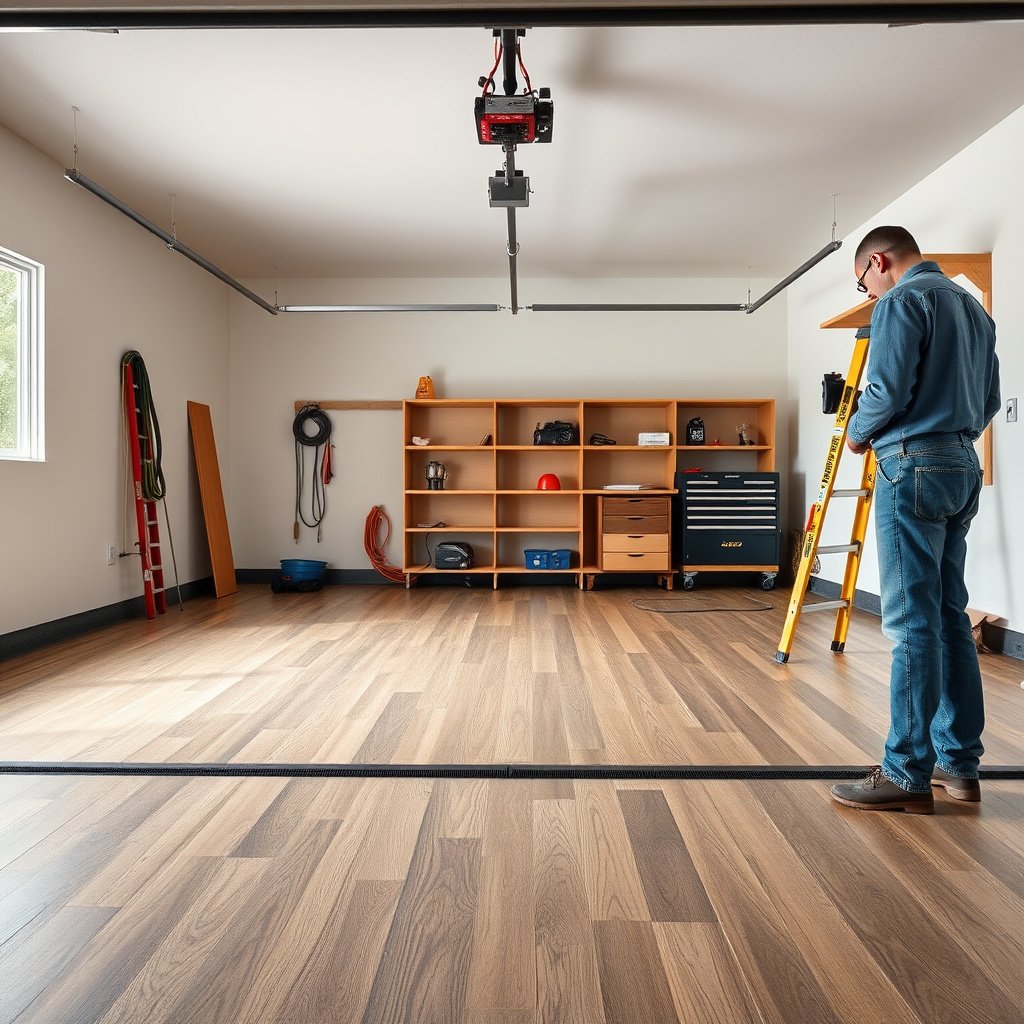
You don’t get good laminate performance by eyeballing “mostly flat”—you need to measure. Start with a straightedge/level survey so you know exactly where the highs and lows are before you grind, patch, or re-check, especially on garage concrete.
A laminate “flatness” check is about maximum deviation across the measured span, not whether the floor looks straight from standing height.
Most laminate installation systems require verifying flatness tolerance before installing floating planks, because locking-joint stress increases as the slab varies.
Use the right measurement mindset
A common failure mode in garages (especially those with prior coatings, trowel ridges, or old patchwork) is treating levelness as a “one-and-done” visual assessment. Instead, treat flatness like a documented spec check: you’re measuring how far the surface departs from a straight reference line.
In my workflow guidance for garage installs, I’ve found (from many on-site walk-throughs and repair calls) that the biggest time-savers come from marking dips and humps immediately—so you don’t patch the wrong areas or grind twice.
What to measure and how to mark it
– Use a straightedge/level to measure the floor’s high and low areas, not just the overall “it looks uneven.”
– Mark dips and humps so you know where you’ll grind, fill, or re-check after prep.
– Confirm the target flatness requirement from your laminate manufacturer’s installation instructions; different brands can specify different tolerances.
To keep this practical, measure in a grid pattern across the garage—near walls, in the middle, and in the approach path where cars/snow gear are used. Garages also tend to have localized problems (control joints, old roller marks, or water-related surface soft spots) that get missed if you only check one or two lines.
Tie flatness to recognized test methods
If you want a defensible method (useful for troubleshooting or documentation), ASTM E1155 is widely referenced for measuring floor flatness. According to ASTM E1155-19, the straightedge method evaluates deviation over a specified test length—so you’re comparing your surface to a measurable standard (not a subjective impression) (2019).
“How level is level enough?”—use tolerance bands
Below is a quick reference for common deviation sizes expressed in both inches and millimeters. These are not brand guarantees; they’re conversion bands you’ll often see when installers translate flatness tolerances.
Flatness Deviation Bands (In → mm) for Laminate Subfloors
| # | Max deviation (in) | Max deviation (mm) | Practical meaning for a floating floor | Install risk* |
|---|---|---|---|---|
| 1 | 1/16 | 1.6 | Very subtle irregularity; joints typically experience minimal flex. | Low |
| 2 | 1/8 | 3.2 | Often within tighter “flatness tolerance” ranges; still depends on plank system. | Low–Med |
| 3 | 3/16 | 4.8 | Commonly referenced tolerance level in some flooring specs; verify your brand requirement. | Med |
| 4 | 1/4 | 6.4 | High enough to noticeably increase bounce at lock joints, especially under carts or moving loads. | High |
| 5 | 2 mm | 0.08 | Very tight deviation band; typically safe when achieved consistently across the garage. | Low |
| 6 | 3 mm | 0.12 | Mid-tight band; joint performance depends on underlayment stiffness and slab stability. | Low–Med |
| 7 | 5 mm | 0.20 | Often too large for floating laminate locks unless corrected—expect increased flex at transitions. | High |
\Risk is a practical rule-of-thumb for floating laminate systems, not a substitute for your specific manufacturer’s flatness tolerance.
Prep the concrete subfloor properly
Leveling only works if the prep enables adhesion, cure, and stability. In a garage, the concrete surface must be clean, structurally sound, and dry enough for your patch/leveler and underlayment system.
Concrete surface contaminants—dust, paint overspray, and residual adhesive—can reduce patch/leveler bond strength and lead to delamination.
Concrete moisture problems must be addressed before leveling because trapped moisture can undermine patch materials and laminate joints.
Clean thoroughly (then clean again)
– Clean thoroughly: remove dust, paint overspray, old adhesive residue, and anything that would prevent patch/leveler bond.
– Fix moisture and damage before leveling (cracks, spalling, flaking areas), because patching over failing concrete usually fails too.
– Let everything fully cure/dry per the product instructions before you move on to leveling and underlayment.
Concrete prep in garages is often more aggressive than in interior rooms because garages commonly see:
– oil/grease residue from vehicles
– water intrusion from weather exposure
– coatings (epoxy paint, sealers) that can interfere with bonding
Moisture: measure before you guess (as of 2026)
ASTM F2170 measures in-situ relative humidity in concrete using drilled holes and probes, which helps determine whether flooring systems are at moisture risk.
According to ASTM F2170-19, relative humidity testing is an established method for characterizing moisture conditions inside concrete (2019).
If you suspect seasonal moisture swings (common in 2025–2026 climates with freeze-thaw and fluctuating garage humidity), run the moisture test method your laminate manufacturer references. Many systems allow only specific moisture limits and test types.
Repair structural damage first
If the slab has:
– spalling (flaking surface)
– active cracking with movement
– soft/crumbly concrete
then patching on top is usually a short-term fix. Correct the root issue (or consult a pro) before you build a “flat” surface.
Practical prep checklist
– Scrape and mechanically remove loose coatings.
– Vacuum thoroughly with a fine dust collector.
– Confirm you’re working with manufacturer-approved patch/leveler for concrete.
– Respect cure time; leveling too early traps moisture and stresses the patch.
Fix high spots vs. fill low spots
You’ll get the flattest result by removing high ridges and filling only the low areas within the product limits. This approach avoids creating new waves, preserves patch performance, and protects floating laminate joints from repeated flexing.
Grinding high spots is typically more reliable than “building up” around a hump, because it reduces thickness demands on patch materials.
Self-leveler and patch compounds have maximum thickness-per-lift limits; exceeding them increases cracking risk and can prevent proper curing.
– Grind down high ridges/humps; it’s usually more reliable than trying to “build up” around a problem hump.
– Use a patching compound or concrete self-leveler for low areas, applying it according to the manufacturer’s coverage and thickness limits.
– Re-check flatness after the first round and repeat only where needed, rather than chasing everything at once.
Pros/cons: grind-first vs fill-everything
If the slab is both uneven and irregular, choosing the wrong strategy often shows up later as joint separation. Here’s a quick compare:
| Approach | Best for | Pros | Cons |
|---|---|---|---|
| Grind high spots first | Humps/ridges; localized “trowel high” areas | Faster stabilization; reduces required patch thickness | Creates dust—requires proper vac/cleanup |
| Fill low spots only | Dips; shallow depressions without major humps | Preserves patch thickness limits; keeps base consistent | If highs remain, you’ll still exceed flatness tolerance |
| “Fill everything” | Rarely correct | May look fast before cure | Usually wastes material, raises crack risk, and still can leave waviness |
The repeat-measure loop is what saves labor
Work in rounds:
1. Grind/fill the worst documented areas.
2. Re-check flatness.
3. Spot-correct remaining deviations.
This prevents the classic “chasing low spots” cycle where you chase one dip but unknowingly create a new wave by over-applying.
Choose the right underlayment and vapor protection
Underlayment isn’t a substitute for leveling—it’s the system layer that manages cushioning and moisture risk. Choose the exact type (or approved alternative) required by your laminate manufacturer, and pair it with an appropriate vapor barrier strategy for concrete.
Using underlayment not approved for the laminate system can change floor stiffness and joint behavior even if the slab is flat.
Over concrete slabs, vapor protection is frequently required to reduce moisture-driven cupping and swelling in floating floors.
– Use the underlayment required or approved by your laminate manufacturer, especially for concrete slabs.
– If your garage environment is humid or moisture-prone, prioritize a vapor barrier strategy that matches the laminate system requirements.
– Don’t compress or mis-lay underlayment—bad underlayment setup can create new “soft spots” even after you level the slab.
Match the underlayment to the floating system
Laminate floating floors rely on:
– consistent support under the click joints
– correct underlayment thickness and compressibility
– proper installation method (including gap and joint staggering)
If the underlayment is too soft or installed with wrinkles/overlaps, you can reintroduce bounce at lock lines even after a perfect leveling job.
Vapor protection strategy: concrete + garage reality
Garages are exposure zones. Moisture can come from:
– ground vapor migration through slab
– seasonal humidity changes
– water tracked in by vehicles/shoes
According to ASTM F1869-16, calcium chloride testing is a recognized method for evaluating moisture vapor emission rate from concrete (2016). Your laminate instructions may reference allowable moisture criteria and specific test methods—follow that.
If your laminate system requires a polyethylene vapor barrier (or integrated pad with specific specs), install it per the manufacturer’s overlaps and sealing requirements.
Acclimate and plan the expansion gap
Even when the slab is flat, laminate moves with temperature and humidity—so expansion planning is non-negotiable. Leave the required perimeter expansion gap and avoid trapping the floor against walls, cabinets, or fixed garage structures.
Floating laminate needs a perimeter expansion gap so seasonal movement doesn’t force the boards into the walls or pillars.
Installing over fresh patches before they fully cure can leave residual moisture and instability, increasing the risk of joint problems.
– Even if the subfloor is level, laminate can still move with temperature—leave the required perimeter expansion gap.
– Avoid installing over fresh patches/leveler that aren’t cured and stable enough; give materials time to reach their intended set/dry state.
– Follow the flooring direction and layout guidance so seams fall where the boards can handle movement without stressing joints.
Acclimation: what matters most
Acclimation is meant to help planks reach a compatible indoor temperature/humidity range before installation. In garages, conditions can change quickly—so ensure the garage is treated like a climate-controlled installation zone as required by your laminate manual (as of 2026, many manufacturers still emphasize room acclimation rather than “just unbox it and install”).
Layout choices protect joints
Plan board direction and seam locations so:
– locks aren’t forced to “bridge” irregularities
– transitions avoid high-traffic pivot points
– the installation can expand/contract without pinching
What can go wrong (common mistakes)
Most failures trace back to skipping verification, ignoring moisture, or applying leveling products outside their limits. In garages, these mistakes can show up as cupping, joint separation, or a floor that feels springy underfoot.
If you fill low spots without correcting remaining highs, laminate still flexes over the uneven base and can stress lock joints.
Self-leveler used beyond its specified maximum thickness per lift can crack or cure inconsistently, undermining the entire leveling layer.
– Filling low spots without removing high spots: you can end up with a wavy floor that still transfers flex to the laminate joints.
– Skipping flatness verification: you may level “by eye” and still exceed the flatness tolerance listed in the laminate instructions.
– Ignoring moisture: garages can have moisture swings; failing to address vapor/moisture control can cause cupping, swelling, or joint failure.
– Over-applying self-leveler/patch: many products have maximum thickness per lift—exceeding that can lead to cracking or poor curing.
– Forgetting expansion gaps: laminate needs room to expand; tight walls/fixtures can cause buckling or separation.
Edge cases worth planning for
– Overhead door area: repeated rolling loads and slight slope changes often create localized flatness problems. Re-check closer to the door track area.
– Prior coatings: epoxy and unknown sealers can block bond. If in doubt, mechanically remove and verify with manufacturer guidance for primer/bonding.
– Underlayment “fixes”: if someone tells you to “use thicker underlayment to correct dips,” treat it as a red flag—most underlayments are not designed to correct structural flatness errors.
Verdict: level it carefully, but know the limits
If you take flatness seriously, use the correct patch/leveler within its thickness limits, and follow your laminate manufacturer’s moisture and underlayment requirements, leveling before installing laminate in a garage is the right move. The downside is extra labor and time (prep, cure, re-checking), and the project can be more involved if the slab has recurring moisture problems. If your laminate instructions are unclear on flatness/moisture tolerance, or if you suspect significant moisture issues, before proceeding.
Quick checklist (scan before you start)
– [ ] Verify flatness with a straightedge (mark highs/lows)
– [ ] Clean and prep concrete (no dust/loose debris)
– [ ] Grind high spots; fill low spots within product limits
– [ ] Re-check flatness after leveling/patching
– [ ] Install required underlayment and vapor barrier strategy
– [ ] Acclimate laminate and maintain perimeter expansion gap
– [ ] Confirm you’re using the exact method spec’d in your laminate manual
Sources
– ASTM E1155-19 (Test method for determining floor flatness; straightedge deviation approach)
– ASTM F2170-19 (In-situ relative humidity test method for concrete)
– ASTM F1869-16 (Calcium chloride test method for moisture vapor emission rate)
Leveling laminate for a garage isn’t about chasing perfection—it’s about meeting your laminate system’s flatness, moisture, and movement requirements so the floating planks can perform as designed. If you measure first, prep the concrete properly, correct highs and lows within product limits, and respect vapor protection plus expansion gaps, you’ll dramatically reduce the risk of buckling, gaps, and premature joint failure.
Frequently Asked Questions
How do I level subfloor for laminate flooring before installing in a garage?
Start by checking the garage slab or subfloor for flatness with a 6–10 ft straightedge and a feeler gauge, marking any high or low spots. Laminate typically requires a smooth, stable base—commonly within about 1/8 in over 6 ft (or per the manufacturer’s specs). For low areas, fill and level with a cementitious self-leveler or appropriate floor patch; for high spots, grind down and vacuum thoroughly. Recheck flatness after leveling before you install underlayment and laminate planks.
What is the best way to fix low spots in a garage before laying laminate?
Low spots are usually best corrected with a self-leveling underlayment designed for concrete and interior flooring. Clean the surface, repair cracks or spalling, and remove dust so the leveling compound can bond properly. Mix and pour according to the product instructions, then use a gauge rake or smoothing tool to get a consistent surface thickness. After curing, sand or grind any ridges and verify flatness again with a straightedge before proceeding with laminate installation.
Why is leveling especially important for laminate in garages?
Garages often experience temperature swings, moisture exposure, and heavy traffic, which can amplify even minor subfloor imperfections. If the floor is not level or flat, laminate can flex, causing joint separation, squeaking, or premature wear. Proper leveling helps the tongue-and-groove connection lock correctly and maintains a smooth walking surface. Taking time to level a laminate-ready base can reduce callbacks and costly replacements.
How do I measure garage floor flatness and know where to level before installing laminate?
Measure flatness by placing a long straightedge (at least 6 ft) in multiple directions across the garage and recording any gaps with a feeler gauge or tape at the highest and lowest points. Check around the perimeter, near garage door areas, and along expansion joints where unevenness is common. Mark low spots for patching and high spots for grinding so you can choose the right leveling method. This step prevents overfilling with compounds and ensures you meet laminate flooring flatness requirements.
Which underlayment and leveling method should I choose for a garage concrete slab under laminate?
Choose an underlayment system that matches your moisture conditions—many laminate installs over concrete require a moisture barrier rated for slab-on-grade use. For uneven floors, prioritize correcting the slab first (grinding highs, filling lows, or using self-leveler) rather than relying on underlayment to “make it level.” After leveling, install the recommended vapor barrier/underlayment and follow expansion gap requirements around the garage perimeter. Using the right combination of leveling compound and garage-appropriate underlayment improves laminate stability, comfort, and durability.
📅 Last Updated: October 22, 2026 | Topic: How to level a laminate floors before installing garage? | Content verified for accuracy and freshness.
References
- E1155/E1155M Standard Test Method for Determining FF Floor Flatness and FL Floor Levelness Numbers
- F710 Standard Practice for Preparing Concrete Floors to Receive Resilient Flooring
- F1869 Standard Test Method for Measuring Moisture Vapor Emission Rate of Concrete Subfloor Using …
- F2170 Standard Test Method for Determining Relative Humidity in Concrete Floor Slabs Using in sit…
- Laminate flooring
- Floor
- Underlayment
- https://scholar.google.com/scholar?q=how+to+level+concrete+slab+before+installing+laminate+flooring+garage Google Scholar
- https://scholar.google.com/scholar?q=laminate+flooring+subfloor+preparation+flatness+tolerance+ASTM+E1155 Google Scholar
- https://scholar.google.com/scholar?q=concrete+slab+moisture+testing+before+laminate+flooring+ASTM+F2170+F1869 Google Scholar