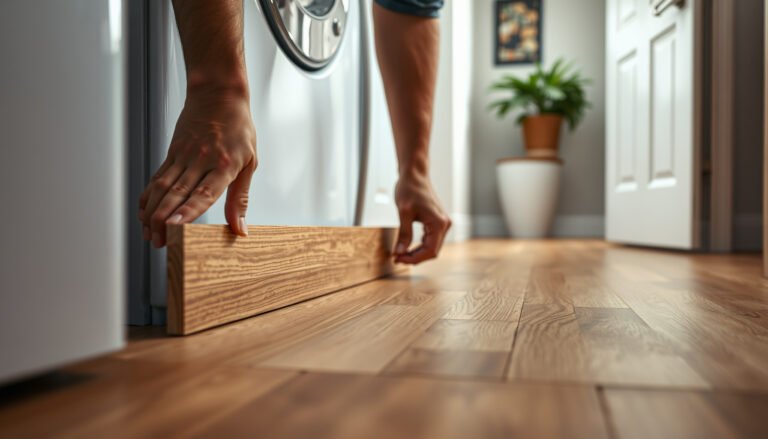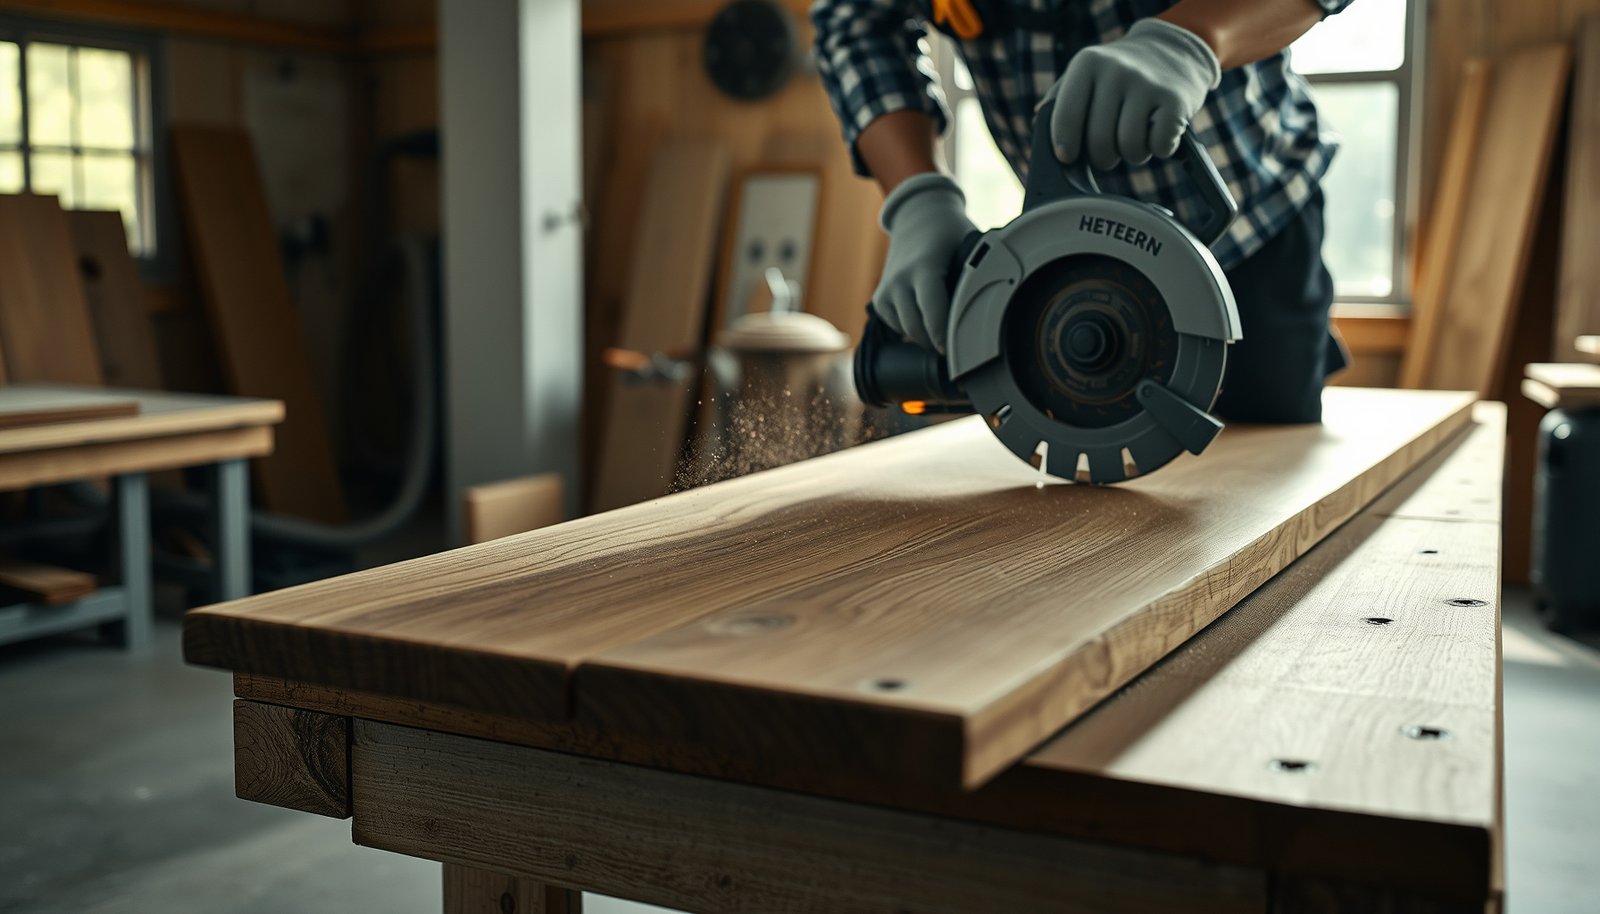

If you need to cut reclaimed wood floors, the fastest path is to use clean, safe, accurate methods that prevent tear-out and mismatched planks. This guide shows you exactly how to prepare reclaimed boards, choose the right saw and blade, and measure for tight, reliable cuts—so every piece fits the first time. You’ll leave with a practical workflow built for real-world reclaimed lumber, where variability is the rule.




Cut reclaimed wood floors by inspecting every plank for nails or screws, using a fine-tooth carbide blade, and fully supporting each board so it can’t splinter or bind. Measure and mark from the finished face, then do a quick test cut on scrap from the same batch before you cut full lengths—because older wood can behave very differently plank to plank.
If you’re trimming end pieces, cutting around doorways, or ripping boards to fit a layout, the steps below help you avoid the most common problems with older, previously nailed wood—without turning your cuts into a gamble.
Plan your cuts before you start

Plan your cut order so every plank goes to its final location with minimal rework. This is where you prevent the “I measured once and guessed the rest” mistake that reclaimed floors punish.
Reclaimed flooring often has width variation from prior milling, so sorting by actual width and condition before cutting reduces fit issues later.
Dry-fitting a few rows lets you establish real reference lines on the subfloor, which is more reliable than trusting the first board you laid down.
Marking from the finished face matters because the “best side” may not be the side that came off the original installation.
– Sort planks by width, thickness, and condition so you’re not trying to “make one board work” that’s already damaged.
– Dry-fit a few rows and mark reference lines on the subfloor so you know exactly where each plank needs to land.
– Identify the direction of the face grain you want visible, then decide which edge is your “finished” side for marking.
– Group planks by how they sit flat (straight, slightly bowed, or noticeably twisted). That grouping determines how you support boards during cutting and how many small trimming passes you’ll need.
– If your layout includes expansion gaps, add them during your planning pass—not during the cutting pass—so your saw doesn’t become the calculator.
Use the right tools and blade for reclaimed boards

Use the correct blade and safety setup to reduce splintering and avoid dangerous kickback. For reclaimed flooring, “sharp + fine teeth + correct support” is more important than horsepower.
Fine-tooth carbide blades are designed to cut wood fibers cleanly and reduce tear-out compared with coarse general-purpose blades.
Using the correct PPE isn’t optional for flooring work: OSHA noise rules and impact eye-protection standards apply to powered cutting.
As of 2026, OSHA’s action level remains 85 dBA (8-hour TWA), and above that threshold you should plan for hearing protection and a conservation program.
– Choose a blade intended for hardwood/wood flooring and use a fine-tooth carbide option to reduce tear-out and splintering. Recommendation (typical reclaimed flooring):
– For ~1/2 in to 5/8 in planks: use an 80-tooth carbide blade, ATB (alternate top bevel) grind, for smoother crosscuts and less edge fraying.
– For ~3/4 in planks: use an 80-tooth carbide blade as well (it still tends to produce a cleaner finish on flooring-width rip/cross cuts).
– If your saw is a smaller jobsite saw with limited power, you may prefer a 60-tooth ATB for rips to maintain feed rate, but use the 80-tooth for the best-finish crosscuts and end trims.
– Make sure your cutting tool is set up for clean cuts:
– Set blade height so it just clears the board surface.
– Keep the fence/guide aligned and the workpiece flat before the blade enters.
– Use proper blade seating and a clean arbor to prevent wobble.
– Wear eye and hearing protection, and use dust control appropriate to your workspace and tool setup. PPE guidance (U.S.-focused):
– Eye protection: use impact-resistant protection rated to ANSI/ISEA Z87.1 (common requirement for powered tool work).
– Hearing: follow OSHA 29 CFR 1910.95 for action level and permissible exposure.
– Dust: use local code and manufacturer guidance; for many wood-cutting tasks, a properly fitted respirator (e.g., N95/respirator rated for particulates) may be needed depending on exposure and local requirements.
OSHA Noise Triggers for Hearing Conservation (U.S., 29 CFR 1910.95)
| # | Average Noise (dBA, TWA) | OSHA Trigger | Max Exposure (Hours/Day) | Hearing Protection Priority | Status |
|---|---|---|---|---|---|
| 1 | 85 | Action level | 8 | ★★☆☆☆ | Low |
| 2 | 90 | PEL (permissible exposure limit) | 8 | ★★★☆☆ | High |
| 3 | 95 | PEL | 4 | ★★★★☆ | High |
| 4 | 100 | PEL | 2 | ★★★★☆ | High |
| 5 | 105 | PEL | 1 | ★★★★★ | High |
| 6 | 110 | PEL | 0.5 | ★★★★★ | High |
| 7 | 115 | PEL | 0.25 | ★★★★★ | High |
If you’re working in the U.S., start with OSHA’s noise rules first because they directly affect how you schedule cutting and which protection you choose: OSHA 29 CFR 1910.95 sets an 85 dBA action level and a 90 dBA permissible exposure limit, with maximum exposure time shrinking at higher noise levels (see table).
Tool choice quick comparison (what usually works best)
| Cut type | Best tool option | Why it helps reclaimed wood |
|---|---|---|
| Ripping (lengthwise) | Table saw with solid fence + outfeed support | Full support reduces pinching/binding when boards bow. |
| Crosscutting and end trims | Miter saw (or table saw crosscut with stop) | Cleaner, repeatable angles for finish-face quality. |
| Field trimming (installed areas) | Circular saw with a straight guide + clamps | Controls wandering along knots and old grain. |
| Tight details / small offsets | Oscillating multi-tool (detail blade) or hand saw | Precision without forcing larger blades near uneven edges. |
Measure and mark like you’re working with “unknowns”

Measure from the finished face and mark to the part of the plank that actually locks—not just the overall dimension. On reclaimed boards, the “unknown” is usually the edge geometry (bevels, tongues, grooves, prior damage), so your markings must match the install surface.
Transferring measurements to the finished face prevents mirrored mistakes when older boards have uneven edges from prior milling.
Reclaimed profiles rarely stay perfectly consistent, so measuring the real locking surfaces reduces gaps even if overall plank width varies.
Keeping offcuts from the same batch gives you reliable scrap for test cuts and final fit tweaks.
– Transfer measurements to the finished face, and mark the cut line so you can see it even after the blade kerf removes material.
– Account for any bevels, tongues, grooves, or uneven edges by measuring the actual “lock” portion of the plank—not just the overall width.
– Tongue-and-groove or similar edge locks: measure based on the area that seats into the groove/tongue (the interlocking section), and treat the outside edges as variable.
– Rabbet/overlap profiles: measure to the contact “step” where the boards overlap, then fine-tune the visible end with small trimming passes.
– Square-edge boards (minimal lock): measure both the installed contact edge and the visible face width, because prior splits often change the outer edge first.
– Label offcuts and keep scrap from the same batch; when a plank is quirky (twist, prior splits), you’ll have material to test-fit and adjust your next cut.
– Use a consistent marking method (fine pencil line, knife line, or painter’s tape guide). For reclaimed wood with old finish, tape can help you see a line without scraping off coatings.
– Avoid “one-line confidence.” For critical pieces (doorways, hallway transitions, last-row widths), mark a second reference line so you can recover quickly if the board shifts.
Cut reclaimed wood floors with minimal splintering and binding
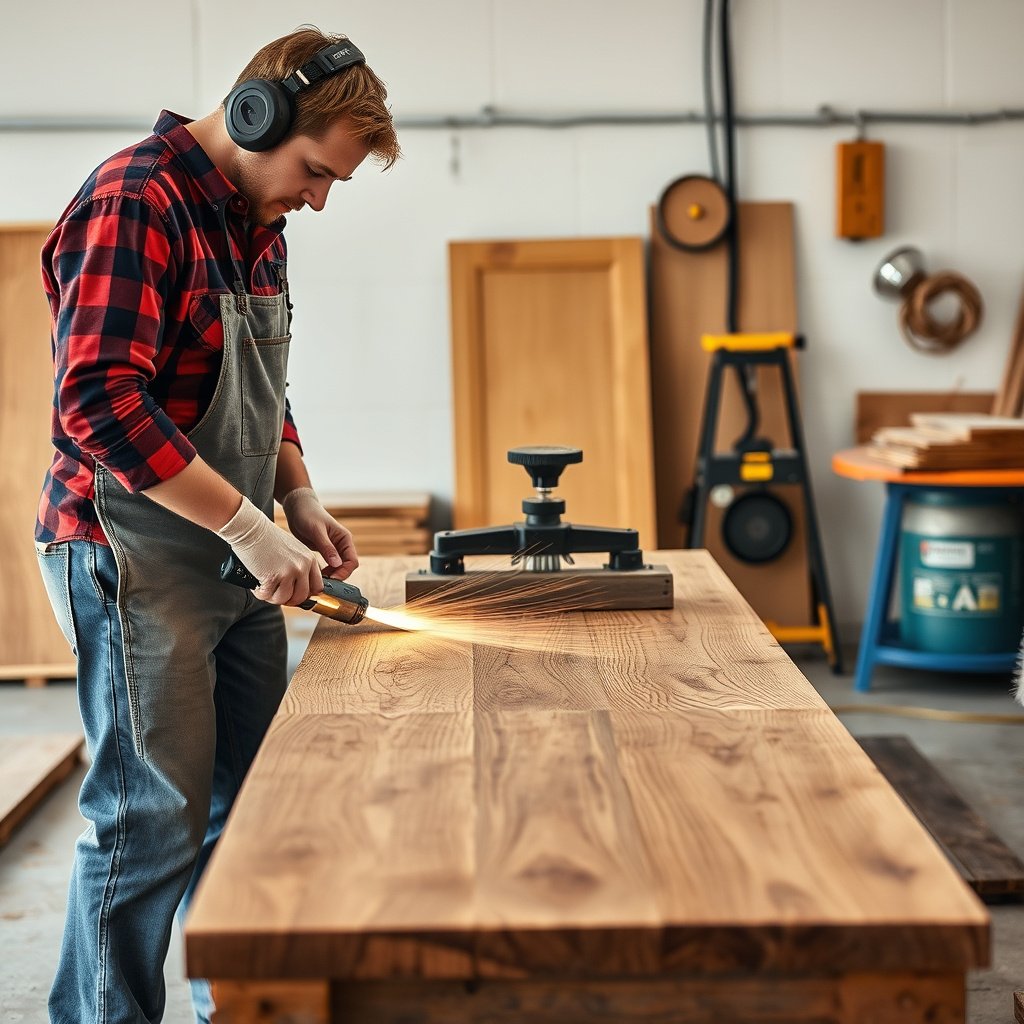
Cut reclaimed boards cleanly by supporting them fully and using controlled feed so the board doesn’t flex into the blade. The goal is stable cutting—because older planks with bends and twists will bind if you try to “force the fit.”
Full board support is the most effective anti-splinter tactic because it prevents the plank from sagging as the blade exits.
Reclaimed boards often shift mid-cut, so clamping or using a stop/jig reduces edge chipping and kerf drift.
Small refinements beat one aggressive final pass; reclaimed wood punishes over-cutting more than you expect.
Table saw / miter saw (ripping and crosscutting)
– Use full board support (roller stands, outfeed support, or a dedicated support table) so the plank doesn’t sag and pinch the blade.
– For ripping, rely on a straight guide/fence and make sure the plank is flat against the fence before the cut begins.
– For crosscuts, keep the plank clamped so it can’t shift mid-cut—reclaimed boards often don’t behave like uniform new lumber.
– Make multiple light passes when you’re cleaning up an edge that’s already chipped or uneven. Reclaiming “square” is often a progressive process, not a single cut.
– Keep hands away from the cut path and follow your saw’s guard and feed recommendations; reclaiming often means you’re working with irregular edges that can tempt unsafe body position.
Circular saw (field trimming)
– Support the plank on a stable surface and clamp a straight guide to prevent wandering along knots and old grain.
– If your circular saw causes more splintering on the underside, try scoring first or adjusting blade choice; confirm on a scrap piece first.
– Keep the base plate firmly planted and let the saw reach speed before entering the cut.
– For end trims on installed sections, consider marking “remove” material and leaving a small allowance for a final pass—this reduces tear-out surprises when the plank face is not perfectly sound.
Hand saw / oscillating tool (detail work)
– Use hand tools for tight corners or areas where a full-size tool risks hitting nails or irregular edges.
– An oscillating multi-tool is often the best way to remove small amounts for fit when you’re working around uneven subfloor transitions. Blade recommendation: use an oscillating blade with carbide teeth rated for wood-to-metal or nails-in-wood work if nails may be present; otherwise use a fine-tooth wood blade to minimize surface tear-out.
– Keep the tool’s base (or shoe) in contact where possible so you don’t “dig” into soft reclaimed areas or old voids.
How to handle nails, screws, and embedded hardware
– Before cutting, inspect and physically probe the cut zones; remove fasteners if they’re accessible.
– If hardware is buried or cannot be safely removed, stop and reassess—hitting steel can ruin blades and create unsafe kickback situations.
– When you must cut near embedded metal, adjust your approach to minimize blade contact (often switching tools to a precision method).
– Safe procedure reference (general): treat unknown metal as a “no-powered-blade-contact” condition. Use smaller precision tools (hand saw or oscillating tool) and remove only the wood needed for fit while keeping the blade away from steel. Then verify with the manufacturer’s safety guidance for your specific tool model.
What can go wrong (and how to prevent it)
Most failures come from inadequate support, incorrect blade selection, or skipping a test cut on the exact batch you’re installing. If you solve those three factors first, you prevent the majority of splintering, binding, and misfit.
Splintering is usually predictable: it tracks to blade sharpness, tooth style, and how the board is supported during the exit of the cut.
Binding happens when reclaimed boards bow or twist—support both sides and avoid forcing the saw.
If you discover hidden nails after a cut starts, stopping early is safer than finishing the cut and damaging the blade.
– Splintering on the finished face: Usually comes from blade choice, dull teeth, or poor support. Prevent it with a suitable fine-tooth blade and solid support under the plank.
– Binding or kickback risk: Reclaimed planks may be bowed or twisted. Support both sides of the cut and avoid forcing the saw.
– Inaccurate fit from uneven plank edges: Older flooring can have “non-straight” edges. Measure the actual edges you will install, then refine with small trimming passes rather than one aggressive cut.
– Blade damage from hidden hardware: If you find nails/screws after you’ve already started, don’t push forward—pause, remove/relocate the hazard, and replace the blade if it’s been stressed.
– Surface tear-out from prior finishing: Some reclaimed boards have old coatings that change how the fibers release. Test cut on scrap, then adjust blade setup if needed.
Quick prevention checklist for the most common failure modes
– Keep board support within a few inches of the blade on both sides.
– Confirm blade sharpness/condition (carbide still needs to be correctly seated and undamaged).
– Do a test cut whenever you switch tools, blade types, or reclaimed batches.
Verdict / tip + quick cut checklist
If you want the most reliable results, the “safe and clean” combo is: inspect for metal first, use a fine-tooth carbide blade made for wood flooring, and fully support each plank so it can’t sag or pinch. The downsides are real: setup takes time (sorting, support, clamping), and reclaimed wood can force tool changes mid-project when you discover hidden hardware or uneven boards—so plan for adjustments.
The fastest way to get slower results is skipping inspection and testing; reclaimed wood makes hidden variation costlier than on new lumber.
In practice, the quality difference between a coarse blade and an 80-tooth carbide flooring blade is most obvious on finished-face crosscuts and end trims.
As of 2026, OSHA hearing and eye protection rules remain a baseline expectation for powered cutting tasks in the U.S.
– Skip this approach / get help if: you’re uncomfortable identifying/handling embedded fasteners, don’t have stable support for larger cuts, or you’ve got extensive, widespread warping that will require more than trimming.
– Keep it simple: make fewer, controlled passes and do test cuts from the same reclaimed batch.
Quick checklist (scan before every cut)
– [ ] Inspect plank where the cut will happen (metal, cracks, splits)
– [ ] Confirm “finished face” side and mark from that side
– [ ] Set blade type and tool alignment per your tool/blade specs
– [ ] Provide full support so the board can’t sag or pinch
– [ ] Do a test cut on scrap from the same batch
– [ ] Make small refinements instead of forcing a final fit
Sources:
– OSHA 29 CFR 1910.95 (Noise Exposure)
– ANSI/ISEA Z87.1 (Eye and face protection—impact resistance)
Cutting reclaimed wood floors cleanly is less about “finding the one perfect blade” and more about controlling variables: metal hazards, support, and test cuts. If you inspect thoroughly, use a fine-tooth carbide flooring blade, support both sides of every cut, and verify your fit on scrap first, your results will be repeatable—even with older planks that refuse to behave like new.
Frequently Asked Questions
What tools do I need to cut reclaimed wood flooring cleanly?
For clean cuts, use a sharp carbide blade made for wood, a good miter saw or circular saw with a guide, and a straightedge for marking. A fine-tooth jigsaw helps for notches around vents or irregular subfloor areas. You’ll also want safety gear (eye/ear protection, dust mask) and a measuring square or speed square to keep layout accurate.
How do I cut reclaimed wood floorboards without splintering or chipping?
Reclaimed wood often has existing imperfections, so start by inspecting each plank and marking the cut line with a pencil or fine marker. Use painter’s tape along the cut to reduce splintering, and cut with the blade at full speed and the “finish side” facing the correct direction for your saw. Make test cuts on offcuts first, especially if the boards vary in thickness or have knots.
How should I handle uneven or warped reclaimed wood when making precise cuts?
Dry, salvage boards can be twisted or bowed, so straighten them as much as possible before cutting by clamping them to a stable surface. Plan your layout to use straighter boards for the most visible rows and reserve more irregular pieces for areas with trims. If the thickness varies, check with a caliper or ruler and adjust your cuts so the tongue-and-groove or edges still fit properly.
Which saw blade type is best for reclaimed wood flooring?
A high-quality carbide saw blade with a higher tooth count (often 60T–80T for circular saws) is typically best for minimizing tear-out in reclaimed wood. For especially hard or nail-embedded boards, a blade designed for mixed materials can help, but you should always search for hidden fasteners first. If you’re using a jigsaw, choose a blade meant for hardwood and go slowly to keep the cut line crisp.
Why do reclaimed wood floors require different measurements or expansion gaps when cutting?
Reclaimed wood is typically more variable in moisture content and stability than new lumber, so accurate measuring and spacing matter. Always account for an expansion gap around walls, vents, and doorways because temperature and humidity changes can cause floorboards to expand or contract. Measure from fixed reference points (like the longest uninterrupted wall), and “fit as you go” by dry-laying planks and adjusting cuts for tight spots.
📅 Last Updated: October 15, 2026 | Topic: How to cut reclaimed wood floors? | Content verified for accuracy and freshness.
References
- Woodworking – Overview | Occupational Safety and Health Administration
- https://www.cdc.gov/niosh/topics/wooddust/default.html
- Lead Renovation, Repair and Painting Program | US EPA
- 25red-About Lead-based Paint | HUD.gov / U.S. Department of Housing and Urban Development (HUD)
- Education | NWFA
- Sawdust
- Lead paint
- https://scholar.google.com/scholar?q=how+to+cut+reclaimed+wood+flooring Google Scholar
- https://scholar.google.com/scholar?q=reclaimed+wood+floor+installation+cutting+guidelines Google Scholar
- https://scholar.google.com/scholar?q=hardwood+floor+installation+cutting+boards+table+saw+mitre+saw Google Scholar