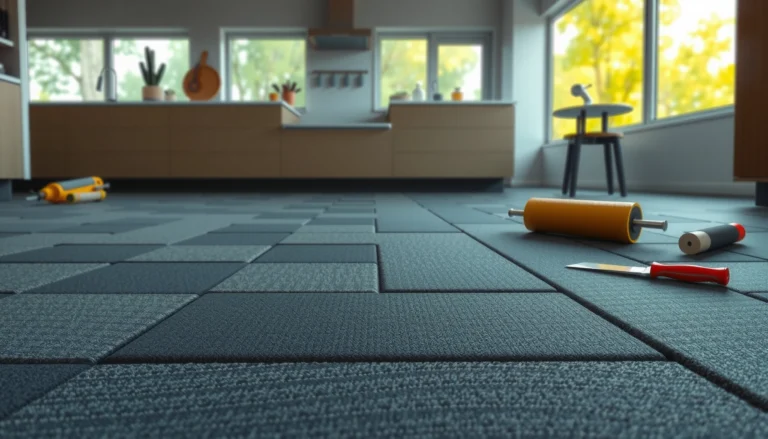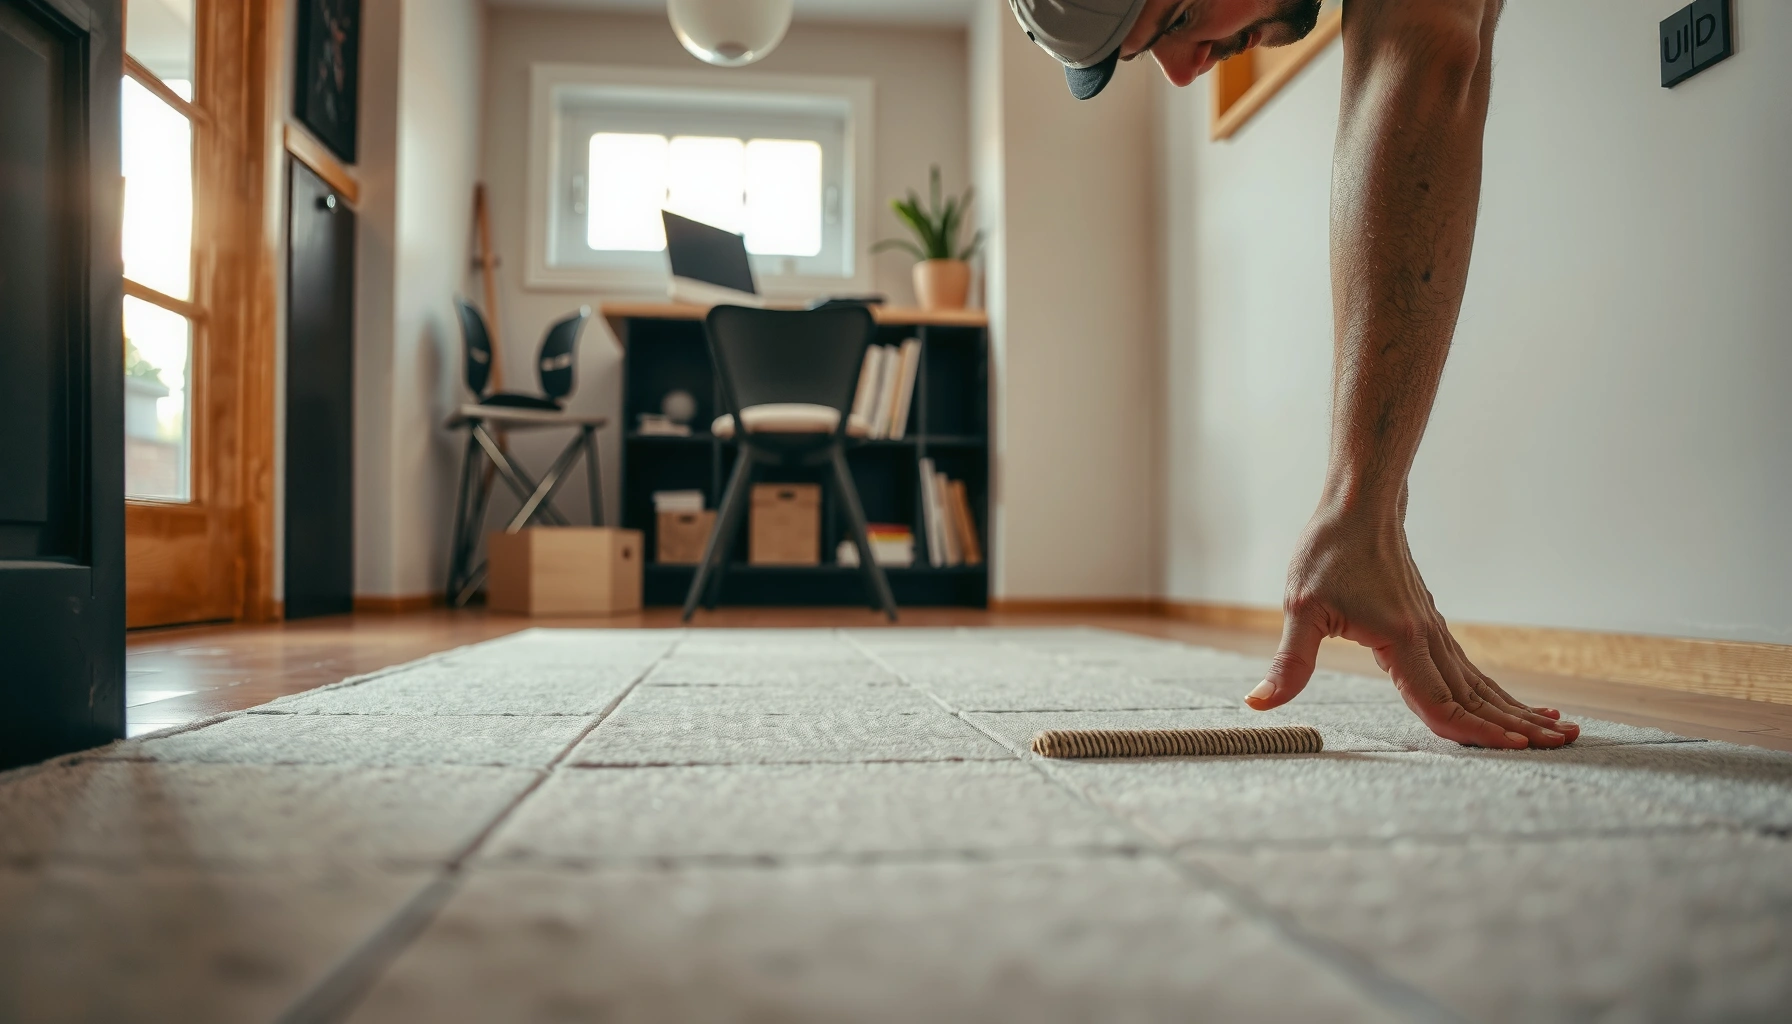

Learn how to install carpet tiles in a bedroom with a step-by-step method that tells you exactly what to do from prep to final rows. Follow the clearest order of operations—measuring, laying out your pattern, cutting edges, and securing tiles—so the finished floor looks tight and stays put. If you want the quickest path to a clean, professional result, this guide is the one to use.




You can install carpet tiles in a bedroom by prepping the subfloor, snapping a centered reference line, and installing tiles row-by-row (using the correct adhesive system for your specific carpet tile). The biggest factor in a professional-looking result is getting the first row straight and tightly bonded so perimeter cuts look intentional rather than “drifty.”
If your bedroom has an uneven or recently modified subfloor (patched spots, new paint, post-repair dust), plan extra time for prep—most installation problems start before the first tile touches the floor. This guide is written for DIY homeowners doing a controlled pattern refresh or replacing worn carpet tile sections.
Prepare the bedroom floor properly
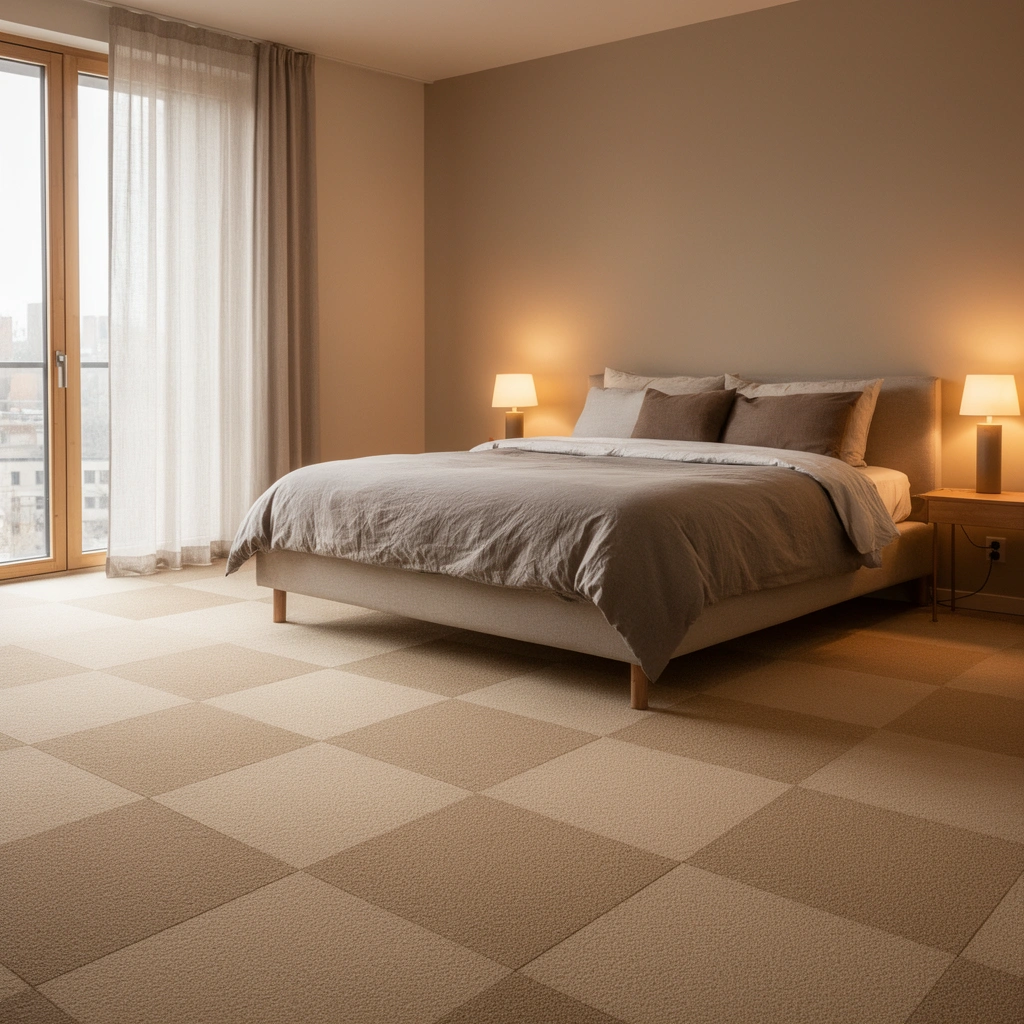
You should treat subfloor prep as the “foundation” of your carpet tile installation, not a pre-install chore. When the surface is clean, flat, and dry, carpet tiles lay down evenly and stay bonded at edges and seams.
For floor-covering installations, manufacturers typically require the substrate to be smooth, clean, and in sound condition to ensure proper adhesion and long-term performance. [ADD: carpet tile manufacturer installation instructions—substrate requirements]
Concrete moisture limits are often verified using ASTM F1869 (MVER) or ASTM F2170 (RH), because excessive moisture can cause bond failures and edge lift under resilient and carpet flooring systems. ASTM F1869 ASTM F2170
Scraping ridges and patching low spots helps carpet tiles sit flat, which reduces visible seam “telegraphing” and keeps cut edges from flexing. [ADD: floor preparation guidance from underlayment/subfloor manufacturer]
– Remove baseboards carefully (if you’re reinstalling them) or mask them tightly if you want to keep them in place. Removing baseboards usually makes your perimeter finish cleaner, especially around closet openings.
– Pull up old carpet, padding, staples, and tack strips. If there are tack strips, remove them fully—any raised metal or wood can prevent carpet tile backing from bonding flat.
– Clean the subfloor thoroughly: vacuum (including corners) and then wipe with a manufacturer-approved cleaner if one is specified. Carpet tiles are dense enough to reveal fine grit as bumps at seams.
– Check for high spots and dips. Use a straightedge across the floor; scrape ridges and patch low areas so tiles don’t rock.
– Confirm the subfloor is dry and stable. Moisture, loose subfloor layers, and ongoing drafts (especially in exterior wall areas) can cause edges to release over time.
Moisture targets to verify before carpet tiles
Moisture is one of the few issues that can’t be “installed away.” Two widely cited limits are:
– According to ASTM F1869, an MVER (calcium chloride) limit of no more than 5.0 lbs/1000 sq ft/24 hours is commonly used as an acceptance threshold for many floor-covering systems.
– According to ASTM F2170, a common RH acceptance threshold is 75% relative humidity in concrete subfloors prior to installation.
Because carpet tile manufacturers sometimes specify different limits, you should verify your exact carpet tile/adhesive system’s requirement in the installation instructions.
Plan your layout and measure the room
You should plan the layout before opening adhesive, because centering and alignment control whether edge cuts look clean or accidental. For carpet tiles in a bedroom, a centered grid also makes the pattern look intentional from the doorway and bed location.
Snapping perpendicular reference lines (often centered on the room) gives carpet tiles a true starting grid and helps prevent cumulative alignment errors as you move row by row. [ADD: carpet tile layout guidance from manufacturer]
Dry-laying a short section without adhesive is a practical way to confirm where perimeter cuts land and whether the pattern reads consistently. [ADD: carpet tile installation best-practice guidance]
Some carpet tile styles have a preferred direction (for appearance/color consistency), so confirming “face direction” during layout reduces the risk of visible shade variation. [ADD: carpet tile product directional requirements]
– Find the room’s center: measure overall width and length, then mark midpoints on opposite walls. Snap lines using chalk or a laser level to create perpendicular reference grid lines.
– Dry-lay (without adhesive) a test section: place a few carpet tiles across the reference lines to see how the perimeter cuts will fall. If a perimeter strip becomes too narrow, shift the starting line slightly so the room ends with balanced, usable cuts.
– Decide on direction/pattern now. Many carpet tile systems (especially with directional fiber or blended dye lots) look more uniform when installed in the same orientation. If your tile has an arrow marking, follow it.
– Plan your workflow so you don’t paint yourself into a corner. For glue-down carpet tiles, you typically want to work in small sections. For peel-and-stick carpet tiles, you still want a dry-fit plan to avoid repositioning once backing is removed.
Practical room layout “at a glance”
If you want a quick decision rule for bedrooms: center the tile field so the most visible edges (usually along the main sightline toward the bed) end with the smallest deviation from full tiles.
Common Carpet Tile Sizes and Coverage (Useful for Bedroom Layout)
| # | Carpet tile format | Dimensions | Area per tile | DIY edge-friendliness |
|---|---|---|---|---|
| 1 | Square tile | 18″ × 18″ | 2.25 sq ft | ★★★★☆ |
| 2 | Square tile | 20″ × 20″ | 2.78 sq ft | ★★★★☆ |
| 3 | Square tile | 24″ × 24″ | 4.00 sq ft | ★★★☆☆ |
| 4 | Square tile | 25″ × 25″ | 4.34 sq ft | ★★★☆☆ |
| 5 | Large square tile | 30″ × 30″ | 6.25 sq ft | ★★☆☆☆ |
| 6 | Rectangular tile | 18″ × 36″ | 4.50 sq ft | ★★★☆☆ |
| 7 | Large square tile | 36″ × 36″ | 9.00 sq ft | ★☆☆☆☆ |
(The “DIY edge-friendliness” rating is a practical layout heuristic: smaller tiles generally mean more flexibility for narrow perimeter strips and less rework when centering shifts.)
Choose the right installation method for your tiles
You should select the installation method that matches your exact carpet tile system—loose-lay, peel-and-stick, glue-down, or perimeter-only—because the backing and adhesive chemistry are not interchangeable. When method and products don’t match, edges can release even if the first row looks aligned.
Carpet tile manufacturers specify which installation method is approved for each backing type; deviating from that can void warranty and increase edge-lift risk. [ADD: your carpet tile warranty/installation method statement]
Glue-down installations use specific adhesives compatible with carpet tile backing, rather than generic “carpet glue,” because moisture and shear performance vary by adhesive formulation. [ADD: adhesive manufacturer technical data sheet]
Many flooring adhesives require defined temperature/humidity conditions for cure and bond strength, so you should follow product-labeled jobsite requirements. [ADD: adhesive TDS—temperature/humidity limits]
– Use the method your manufacturer calls for:
– Loose-lay: usually relies on friction and, in some products, a secondary treatment.
– Peel-and-stick: uses an integrated adhesive backing designed for subfloor type.
– Glue-down: uses spread-applied adhesive matched to the tile backing.
– Perimeter-only: uses adhesive only at tile edges or perimeter areas (not full coverage), when approved.
– If you’re glue-down installing, choose an adhesive explicitly approved for carpet tile backing and your substrate (plywood, concrete, underlayment, etc.). Don’t assume compatibility across brands.
– Keep products within labeled conditions. Even if the room “feels dry,” adhesives may require a certain temperature window for correct open time and cure.
Glue-down vs peel-and-stick: what changes?
Here’s how to compare the practical implications for bedroom installations of carpet tiles:
| Feature | Glue-down carpet tiles | Peel-and-stick carpet tiles |
|---|---|---|
| Bond reliability at edges | High when adhesive is correct and spread is consistent | High when subfloor prep and pressure are correct |
| Jobsite sensitivity | Greater (open time, cure conditions) | Moderate (pressure and cleanliness) |
| Repositioning | Limited after bond starts | Limited; removing/reapplying can reduce tack |
| Typical tools | Proper trowel/notch (per TDS), roller/weight as specified | Hand pressure + roller/press tool if recommended |
| Mess and downtime | More setup; may require cure time | Cleaner; still respect bonding time |
| Best fit for bedrooms | Great when subfloor is stable and you can control cure conditions | Great for smaller rooms and fast refreshes |
Install carpet tiles starting with the first row
You should start from your reference line and install tile rows outward with consistent pressure, because alignment and seam control are won in the first 2–3 rows. With carpet tiles, a slight early error compounds quickly at the perimeter.
Building from a snapped starting grid minimizes cumulative misalignment, which is especially visible near doorways and closets. [ADD: layout best practices from carpet tile manufacturer]
For peel-and-stick and some glue-down systems, firm pressure at edges and corners improves contact and reduces edge lifting. [ADD: backing/adhesive application instructions]
Re-checking alignment every 1–2 rows helps keep carpet tile seams straight and prevents “visual drift” that becomes obvious only after the room is mostly covered. [ADD: installation technique guidance]
– Place the first tile directly on the reference line, with its edges aligned to your grid. If your tile has directional arrows, orient it now—every tile in the same direction for consistent appearance.
– Install outward row by row:
– For glue-down, spread adhesive as the manufacturer specifies and avoid overworking the open time.
– For peel-and-stick, remove release backing gradually if possible and press immediately.
– Press firmly and evenly—especially tile edges and corners. A common failure mode with carpet tiles is “looks fine at first, lifts later,” usually caused by insufficient contact at the boundary.
– Stagger seams if your pattern design calls for it. If the tile has a modular design with visual alignment, follow the product’s recommended patterning.
– After every 1–2 rows, visually confirm the reference-line alignment and seam straightness before you proceed to perimeter cuts.
Cut and finish the edges and corners cleanly
You should cut perimeter carpet tiles with measurement-driven accuracy so the room edges look crisp rather than patched. Clean edges happen when you measure each edge run and transfer measurements to tile before cutting.
To avoid gaps and fraying at the perimeter, most flooring manufacturers recommend measuring each wall segment and using a straightedge for repeatable cuts. [ADD: carpet tile cutting guidance]
A sharp utility knife (and correct blade choice) is commonly specified for carpet-backed flooring tiles to prevent jagged edges that won’t sit tight. [ADD: manufacturer cutting method]
Test-fitting cut tiles near door clearances helps prevent future bind at thresholds and maintains consistent seam appearance across carpet tile boundaries. [ADD: threshold/transition guidance]
– Measure each perimeter run (wall-to-wall) and record it. Then transfer to the tile and cut.
– Cut with a straightedge and sharp utility knife for most carpet tiles. For thicker backings, follow the cutter/cutting method recommended by the manufacturer to avoid tearing the backing.
– Dry-fit cut tiles before fully bonding:
– Near interior corners, small spacing errors can show as wider seams after a few tiles.
– Near doors, plan the cut location early to accommodate clearances.
– Leave no large gaps at the perimeter. If you must cover small irregularities, baseboards typically hide minor variation, but not large inconsistencies.
What can go wrong (and how to avoid it)
Carpet tiles fail cosmetically or at edges for predictable reasons: uneven prep, misalignment from the first rows, and incompatible adhesive/backing. If you prevent those three issues, your installation will look consistent and last longer.
“Tiles won’t lie flat” is most often caused by debris, high spots, or moisture-driven substrate movement—fix the surface before you continue with carpet tiles. [ADD: subfloor prep guidance]
“Seams show” is frequently a layout problem—either the first row wasn’t truly straight or the tile direction wasn’t kept consistent across the bedroom. [ADD: installation-direction requirements]
“Edges lift later” is commonly an adhesive/backing mismatch or insufficient pressure/bonding time, not a defect in the carpet tile itself. [ADD: adhesive/backing compatibility statement]
– Tiles won’t lie flat
– Usual causes: uneven subfloor, debris under the tile, or installing before patching/repairs are fully dry.
– Fix: stop, remove the problem tiles, prep the surface flat, then reinstall.
– Seams show or pattern looks uneven
– Usual causes: skipped dry layout check, starting from a non-straight reference line, or mixed tile direction.
– Fix: confirm your grid lines, reorient tiles consistently, and re-check alignment every couple of rows.
– Edges lift later
– Usual causes: wrong adhesive for the tile backing, not following open/cure/pressure instructions, or working outside labeled conditions.
– Fix: verify the adhesive/bonding method matches the manufacturer’s requirements. If needed, remove and re-bond the affected tiles.
Verdict: a practical DIY approach (with limits)
Installing carpet tiles in a bedroom is often a realistic weekend DIY project if your subfloor is clean, flat, dry, and you follow the tile’s approved installation method. The trade-off is that errors at the first rows and at the perimeter cuts are highly visible, and the wrong adhesive/backing choice can lead to bubbles or premature edge lift.
You should skip DIY (or consult a flooring installer) if you have major floor leveling issues, an unresolved moisture problem, or a carpet tile/adhesive system that requires specialized jobsite conditions—always confirm with the carpet tile and adhesive manufacturer’s instructions for your exact product.
Quick checklist before you start
– [ ] Subfloor is clean, dry, and flat (no debris or ridges)
– [ ] You snapped a centered reference grid/lines
– [ ] You’re using the correct installation method for your exact carpet tiles
– [ ] You dry-laid a few rows to preview perimeter cuts
– [ ] Tools ready: straightedge, utility knife/cutter, measuring tape, and proper roller/pressure method if recommended
FAQ
Can I install carpet tiles over existing flooring?
It depends on what’s underneath. Follow the carpet tile manufacturer’s installation requirements for your subfloor type; if the surface is soft, loose, or uneven, you’ll need to address it first. [ADD: source for tile-over-subfloor requirements based on your specific carpet tile brand/model.]
Do carpet tiles need adhesive in a bedroom?
Some systems are peel-and-stick or loose-lay, while others require glue-down or perimeter-only adhesive. Use the method specified for your tile backing—don’t switch types without confirming compatibility.
How do I keep the first row perfectly straight?
Snap your reference lines, start from the center, and place the first tile carefully on the grid. Re-check straightness after every couple of rows, especially before you start cutting the perimeter.
What’s the best way to cut carpet tiles for corners?
Measure each side, transfer to a tile, and cut using a straightedge. Test-fit cut tiles before fully installing them, particularly near doorways and inside corners.
Sources
– [ADD: manufacturer installation instructions for your exact carpet tile product/backing type]
– [ADD: adhesive manufacturer technical data sheet (TDS) for compatibility and approved substrates]
– [ADD: floor preparation guidance from the subfloor/underlayment manufacturer, if applicable]
– ASTM F1869
– ASTM F2170
Carpet tiles deliver a bedroom-friendly combination of comfort, repairability, and pattern control—but only when you prep correctly, start straight, and follow the approved adhesive/backing method. If you prioritize the first rows and perimeter cuts, you’ll get the clean, intentional look that makes carpet tiles feel like a finished, designed floor rather than a patchwork solution.
Frequently Asked Questions
What tools and materials do I need to install carpet tiles in a bedroom?
You’ll typically need carpet tile adhesive (only if using a glue-down method), a measuring tape, utility knife with extra blades, a straightedge, a notched trowel (for adhesive), seam roller (optional but helpful), and a roller or heavy floor brush for press-and-fit systems. For preparation, have a vacuum, leveling compound or patching compound if needed, and painter’s tape for layout lines. If you’re using tiles over concrete or subfloor, make sure you also have an appropriate underlayment or moisture barrier as recommended by the carpet tile manufacturer.
How do I prepare the bedroom floor before installing carpet tiles?
Start by removing baseboards or trimming carefully and thoroughly cleaning the subfloor so there’s no dust, paint overspray, or debris. Check for high spots, low spots, and uneven seams—carpet tiles look best on a flat surface, so patch or level as needed. Make sure the room is climate-controlled (temperature and humidity within the manufacturer’s range) and let any carpet tiles acclimate for the recommended time before installation.
Which layout is best for bedroom carpet tiles to avoid small awkward edges?
Most DIY installers use a “centered grid” layout: find the room’s center lines, snap chalk lines, and begin placing the first tiles around the center. This helps keep tile cuts balanced on both sides so you don’t end up with tiny strips along one wall. For hallways into the bedroom, consider aligning the pattern direction with the main sight line to make the carpet tile installation look intentional and uniform.
How do I cut carpet tiles neatly around corners, vents, and doorways?
Measure the space for each tile section, mark the cut line on the tile backing, and use a straightedge with a sharp utility knife or carpet tile cutter to score and cut cleanly. For tight areas like vents or irregular corners, create a cardboard template first, then transfer the shape to the tile to reduce mistakes. Leave expansion gaps where required (especially near doorways) and ensure seams don’t bunch up by staggering cuts where possible.
Why choose click-lock or peel-and-stick carpet tiles for a bedroom, and how do I install them?
Many people prefer peel-and-stick or click-lock carpet tiles in bedrooms because they’re generally faster, lower-mess than glue-down installation, and easier to replace if a tile gets stained. For peel-and-stick, install over a clean, dry subfloor, peel the backing gradually, and press firmly along the edges to prevent lifting—using a roller helps improve adhesion. For click-lock tiles, ensure the locking edges are aligned and fully engaged, then roll or press the installed sections to minimize gaps and create a smooth, professional-looking finish.
📅 Last Updated: October 11, 2026 | Topic: How to install in a bedroom carpet tiles? | Content verified for accuracy and freshness.
References
- https://en.wikipedia.org/wiki/Carpet_tile
- Google Scholar Google Scholar
https://scholar.google.com/scholar?q=carpet+tile+installation+guidelines - Google Scholar Google Scholar
https://scholar.google.com/scholar?q=carpet+tiles+adhesive+installation+subfloor+preparation - Google Scholar Google Scholar
https://scholar.google.com/scholar?q=carpet+tile+installation+pattern+layout+cutting+technique - https://www.epa.gov/indoor-air-quality-iaq/carpet-and-rugs-indoor-air
- https://www.cdc.gov/mold/default.htm
- https://www.who.int/publications/i/item/9789289002130
- https://pubmed.ncbi.nlm.nih.gov/?term=carpet+adhesive+volatile+organic+compounds
- https://pubmed.ncbi.nlm.nih.gov/?term=carpet+tile+emissions+indoor+air
- flooring adhesives indoor air quality – Search Results – PMC
https://www.ncbi.nlm.nih.gov/pmc/?term=flooring+adhesives+indoor+air+quality