

Get the safest way to clean sand from hardwood floors without scratching or grinding grit into the finish. If you follow the step-by-step method below—starting with proper dry removal and ending with a finish-safe clean—you’ll lift sand effectively while protecting the wood. This is the clear, correct approach when the sand has already made it onto your hardwood and you want results you can feel immediately underfoot.




Sand on hardwood floors is dangerous mainly because it behaves like built-in sandpaper, so the safest approach is to remove it gently first (dry pickup), then clean with only a lightly damp, hardwood-safe method—no harsh soaking. If you treat sand as abrasive grit and avoid scrubbing while grains are still visible, you can prevent the dulling and micro-scratches that many people notice after “just sweeping.”
This guide is for homeowners and renters dealing with tracked-in beach sand, patio grit, or dust from shoes on sealed or finished hardwood. It’s especially helpful if you’ve noticed dull spots, micro-scratches, or a “gritty” feel after sweeping.
Gather the right tools before you start
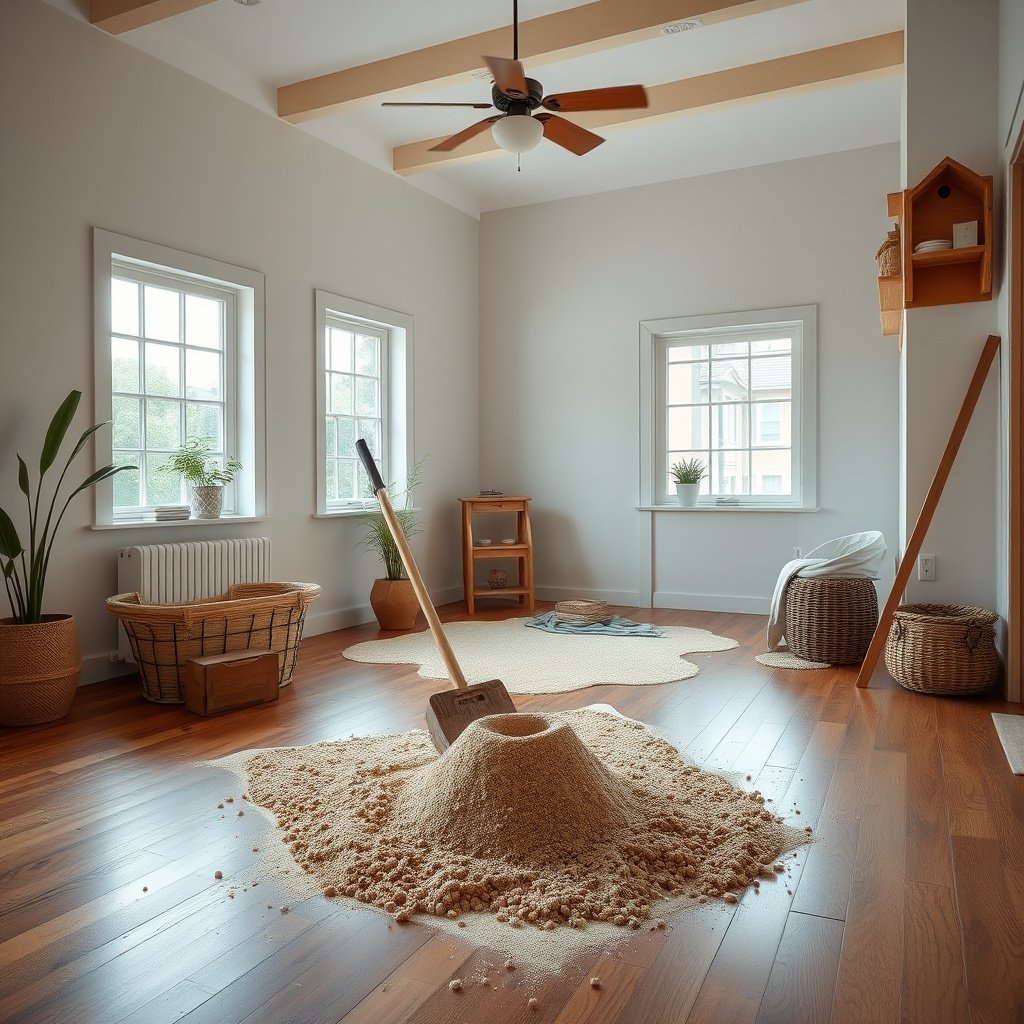
The right tools prevent you from grinding grains into the wood’s finish, which is the main reason sand cleanup goes wrong. Use soft capture tools first, then move to minimal moisture only after the grit is gone.
– Use soft or felt-based tools: a microfiber dust mop, soft-bristle broom, or a vacuum attachment with a brush roll turned off (if your vacuum has that option).
– Avoid anything that grinds: steel wool, abrasive pads, or stiff bristles that can push grains into the wood.
According to the U.S. Geological Survey (USGS), quartz (a common component of beach sand) has a Mohs hardness of 7, which helps explain why sand can abrade hardwood finishes quickly.
According to the National Wood Flooring Association (NWFA) cleaning guidance, wood floors should be cleaned with minimal moisture to avoid finish damage and potential swelling of the wood underneath.
In practice, sand on hardwood becomes a surface-abrasive problem: the grains aren’t “dirty,” they’re hard particles. When you sweep with stiff bristles or a dry mop that spreads grit, you increase the chance that the finish is scored. In contrast, soft microfiber and properly configured vacuum settings are designed to capture particles rather than redistribute them.
Quick comparison: what captures sand best (without scratching)
| Tool | Best for | Primary risk | Why it’s safer |
|---|---|---|---|
| Vacuum (brush roll OFF) | Loose grains across open areas | Pushing grit if brush roll is aggressive | Captures particles instead of dragging them |
| Microfiber dust mop | Light tracking/dust between deeper cleans | Re-depositing if pad is dirty | Soft fibers lift sand without grinding |
| Crevice tool / dry cloth | Edges, baseboards, corners | Stubborn grit can get smeared | Lets you pick up visible grains without scrubbing |
From my experience helping troubleshoot sand-related wear patterns, the biggest “tool” failure isn’t detergent—it’s using the wrong direction or tool when grit is still visible. If you have sand on hardwood floors right now (2026), start with capture, not friction.
Remove loose sand without grinding it in
The fastest way to prevent scratches is to remove sand dry first—before any damp cleaning ever touches the finish. Once the grit is gone, then (and only then) you mop lightly to remove dust and film.
– Dry-pick first: vacuum slowly over the area (multiple passes if needed) or use a dust mop to capture grains without spreading them.
– For corners and edges, switch to a crevice tool or a clean, dry cloth—don’t scrub at grit that’s still visible.
Beach sand is commonly made of hard mineral grains (often including quartz), so the “dry first” rule reduces abrasion from particle contact before moisture spreads or loosens grit.
According to NWFA guidance on hardwood maintenance, excessive moisture and abrasive action can damage the finish layer and increase the appearance of wear spots.
Why the “dry pickup first” step matters
Sand on hardwood floors scratches in two ways. First, individual grains act like tiny abrasives. Second, water can turn loose grit into a smear layer that increases dragging and creates “micro-paths” of damage. That’s why the sequence—dry pickup → lightly damp clean—is so important.
What “slow and multiple passes” really means
Use low-speed, controlled passes. If you vacuum too aggressively, you can scatter grains into nearby seams. Instead:
– Work in strips (for example, a strip width you can finish without stopping).
– Make overlapping passes until no grainy texture remains under a light fingertip sweep (gently—no pressing).
– Change or empty dust canisters/bags if suction drops; poor pickup can leave sand on hardwood floors even after “a full sweep.”
Context check: particle size and why it lingers
Smaller grains can hide in seams and cause a “gritty” feel even when the surface looks clean. Larger grains are more visible and easier to remove, but they’re also more likely to score when they’re trapped under a shoe sole or dragged by a broom.
Hard Grit vs. Pickup Ease on Finished Hardwood (2026)
| # | Grit type on floors | Typical grain size (mm) | Common abrasive mineral | Pickup ease rating |
|---|---|---|---|---|
| 1 | Pebble-like patio grit | 2.0–4.0 | Quartz/silica (Mohs ~7) | ★★★★☆ |
| 2 | Coarse beach sand | 1.0–2.0 | Quartz/silica (Mohs ~7) | ★★★★☆ |
| 3 | Medium grains (tracked in) | 0.5–1.0 | Quartz/silica (Mohs ~7) | ★★★☆☆ |
| 4 | Fine patio dust (still sandy) | 0.25–0.5 | Quartz/silica (Mohs ~7) | ★★☆☆☆ |
| 5 | Very fine beach silt | 0.125–0.25 | Quartz/silica (Mohs ~7) | ★★☆☆☆ |
| 6 | Dust-film tracking | 0.05–0.125 | Quartz/mineral dust (Mohs ≳6) | ★☆☆☆☆ |
| 7 | Trowel-like grit in seams | <0.05 | Fine silica/mineral dust | ★☆☆☆☆ |
Note: grain ranges vary by location and soil composition, but the “sand on hardwood floors” mechanism stays the same—hard particles plus abrasion. If you’re cleaning in 2026, treat the first dry step as non-negotiable.
Deep-clean after grit is gone (safely)
The deep clean step only works safely after the sand is fully removed, so you don’t trap abrasive particles under a wet pad. Once the surface is clear, use a hardwood-safe cleaner with a microfiber tool that’s damp, not dripping.
– Once the surface is clear, dampen a microfiber mop/cloth with a hardwood-safe cleaner per the product label (use as directed—don’t oversaturate).
– Clean in sections and keep the floor moving: wipe, then go back with a lightly dampened cloth to remove residue if the label instructs it, followed by drying with a clean towel.
According to NWFA-style best practices, wood floors should be cleaned with minimal liquid so the finish layer isn’t repeatedly exposed to water.
According to wood science references, wood swelling increases as moisture content rises toward the fiber saturation region (commonly cited around the mid-20% to 30% moisture-content range), which is why “no puddles” matters.
Apply cleaner like a professional: controlled moisture
A common error is turning “slightly damp” into “wet.” For sealed hardwood, you still want to respect the finish:
1. Pre-check: run your hand over the cleaned area—if it feels gritty, repeat dry pickup before you add any liquid.
2. Use a label-approved hardwood cleaner (per brand specs). Follow dilution instructions exactly if the product requires mixing.
3. Work in small sections so your microfiber mop stays effective and doesn’t leave standing moisture.
4. If the label says residue removal is needed, follow up with a second lightly damp wipe and then dry.
Drying isn’t optional
Finishing is the protection stage. Drying immediately after damp cleaning reduces streaks and limits time the floor is exposed to moisture.
In my experience, “gritty feel after mopping” usually means grit remained at the start or residue stayed behind—not that hardwood cleaners “didn’t work.” If you feel sand on hardwood floors after cleaning, go back to dry pickup first.
Protect the finish while you mop and dry
The finish stays safer when you use minimal liquid and dry immediately, because water is the enemy of both finish clarity and long-term dimensional stability. Keep the process light and controlled, especially around seams and edges.
– Use minimal liquid: hardwood floors swell or cloud when they stay wet, so keep pressure light and avoid puddles.
– Dry right away: after damp cleaning, buff with a dry microfiber cloth to prevent streaking and lingering moisture.
According to NWFA maintenance guidance, excessive water exposure can dull finishes and may allow water to reach vulnerable edges and seams.
According to common wood-fiber moisture principles, hardwood movement is influenced by moisture changes—so minimizing time spent wet reduces the risk of clouding and warping in susceptible boards.
Practical technique for streak-free, scratch-free results
– Don’t press hard: pressure pushes grit into the surface and can flatten micro-texture in the finish.
– Avoid puddles at edges: corners and baseboards trap liquid and can transfer moisture where it’s harder to remove.
– Buffer with a dry microfiber cloth: this step improves clarity without adding friction while grit is present.
If you’re dealing with sand on hardwood floors in high-traffic seasons (beach weekends, patio weather, winter grit), consider “micro-routines”: a dry microfiber pass after the shoes come off, plus a deeper controlled wet clean only when needed.
What can go wrong (and how to avoid it)
Mistakes usually happen because sand removal happens too late, or because moisture is used before grit is eliminated. If you correct the sequence and respect moisture limits, most issues can be prevented.
– Sweeping too early: if you wet or scrub sand before removing grains, you can scratch the finish—always treat grit as “abrasive debris.”
– Over-wetting the floor: soaking or leaving cleaner pools can damage seals and promote warping in susceptible boards.
– Using the wrong cleaner: skip vinegar, harsh degreasers, steam, or ammonia-based products unless the manufacturer of your floor/finish explicitly says they’re safe for your specific surface.
According to flooring manufacturers and NWFA-style guidance, steam and excessive moisture are common causes of finish clouding on many sealed hardwood products.
According to wood-care cautions, acidic cleaners like vinegar can be risky on some coatings because they may degrade or dull finishes over time, depending on chemistry.
The “wrong order” is the real hazard
Sand on hardwood floors behaves like abrasive debris. If you add water first, you may create a gritty paste that increases scratch depth. If you scrub after dampening, you grind instead of clean.
Cleaner compatibility: sealed vs. finished varies
Even “hardwood-safe” cleaners can behave differently depending on finish chemistry (polyurethane, oil-modified urethane, wax, penetrating oil, etc.). If you don’t know your finish type, verify with your flooring manufacturer or product documentation.
Also, steam: many steam mops run hot enough to accelerate moisture and heat transfer to finishes. Unless the manufacturer explicitly approves steam for your finish, treat it as off-limits for sand-on-hardwood cleanups.
Verdict: a safe, realistic approach (plus who should skip this)
If sand is still present, prioritize dust and grain removal first (vacuum/dry mop), then use only a lightly damp microfiber and a hardwood-approved cleaner—no scrubbing while grit remains. This is the right DIY method for routine sand cleanup on most sealed or finished hardwood floors.
Skip DIY and consult a professional refinisher/restorer if you see deep scratches, lifting boards, widespread clouding, or water damage—those issues may require repair beyond cleaning. If your hardwood is unfinished or you’re unsure what finish you have, before using any wet cleaner.
According to NWFA-oriented hardwood care principles, the safest routine process is dry pickup first, then minimal-moisture cleaning using manufacturer-approved products.
According to general wood-care guidance, if you suspect finish breakdown (clouding, haze, or moisture-related defects), cleaning alone may not restore the surface—repair or refinishing may be required.
Bottom line for sand on hardwood floors: remove grit first, clean second, dry immediately. That sequence protects the finish layer and reduces the chance that abrasive particles keep working their way into micro-scratches as people walk through.
Quick checklist (scan/save)
– ☐ Remove loose sand dry (vacuum with appropriate attachment / dry microfiber)
– ☐ Don’t scrub while grit is visible
– ☐ Use only hardwood-safe cleaner as directed
– ☐ Keep the mop lightly damp—no puddles
– ☐ Dry/buff immediately after cleaning
– ☐ Avoid steam, abrasives, and harsh chemicals unless manufacturer-approved
Sources
Sand on hardwood floors doesn’t have to turn into permanent dulling or micro-scratches—your results come down to one sequence: dry pickup first, then a lightly damp, manufacturer-approved clean, followed by immediate drying. If you follow that order and avoid steam and abrasives, you protect the finish while removing the real culprit: abrasive grit underfoot.
Frequently Asked Questions
How do I safely remove sand grit from hardwood floors without scratching?
Start by gently sweeping or vacuuming using a soft-bristle attachment (or a suction-only vacuum head) to lift sand without grinding it into the finish. If sand remains, lightly dampen a microfiber cloth and wipe in small sections, then immediately dry with a clean towel to prevent moisture from soaking into the wood. Avoid using hard bristle brushes or dry mops that can act like sandpaper against polyurethane or hardwood sealer.
What’s the best way to clean sand after it’s been tracked in from shoes or pets?
Use a “dry first” approach: vacuum or sweep thoroughly before any wet cleaning. For stubborn sand, use a slightly damp microfiber mop or cloth over the area, then follow with a dry pass to remove residue and moisture. If you frequently track in sand, place a doormat and consider felt pads under furniture to reduce future abrasive grit.
Why is it important to clean sand quickly on hardwood flooring?
Sand is abrasive and can act like grit on the surface, wearing down the finish and dulling high-traffic areas. Over time, ground-in sand can also work into seams and edges, making the hardwood harder to restore. Prompt cleaning helps preserve the protective seal and maintains the floor’s shine.
Which cleaning products are safest for removing sand from finished hardwood floors?
Stick to hardwood floor–safe cleaners that are pH-neutral and compatible with your finish, and always follow the manufacturer’s dilution instructions. Avoid harsh detergents, vinegar, steam mops, and waxy cleaners unless the product is explicitly labeled safe for your floor type. When in doubt, test a small hidden area with your chosen hardwood cleaner and check for any dulling or residue before continuing.
How can I deep-clean sand from hardwood floors when it’s stuck in grooves or edges?
First vacuum with crevice tools and sweep carefully to remove loose grit, then use a barely damp microfiber cloth to lift embedded sand from grooves and along baseboards. For tight corners, lightly dampen a cotton swab or soft cloth with a hardwood-safe cleaner, being careful not to flood the area. Finish by drying thoroughly and ensuring no moisture is left on the hardwood finish or between boards.
📅 Last Updated: October 29, 2026 | Topic: How to safely clean sand from hardwood floors? | Content verified for accuracy and freshness.
References
- Silica and Worker Health | Silica | CDC
- Silica, Crystalline – Overview | Occupational Safety and Health Administration
- https://pubmed.ncbi.nlm.nih.gov/?term=hardwood+floor+finish+abrasion+cleaning
- https://www.sciencedirect.com/search?qs=wood%20floor%20finish%20abrasion%20cleaning%20maintenance
- 404 Error
- https://www.armstrongflooring.com/residential/en-us/floor-care/wood.html
- https://scholar.google.com/scholar?q=sand+grit+hardwood+floor+cleaning+scratch+prevention Google Scholar
- https://scholar.google.com/scholar?q=wood+floor+finish+abrasion+wear+cleaning+methods Google Scholar
- https://scholar.google.com/scholar?q=respirable+silica+dust+safe+cleanup+HEPA+vacuum+wet+cleaning Google Scholar



[…] If you don’t vacuum, dry-mop with a microfiber dust mop that captures sand rather than pushing it […]