
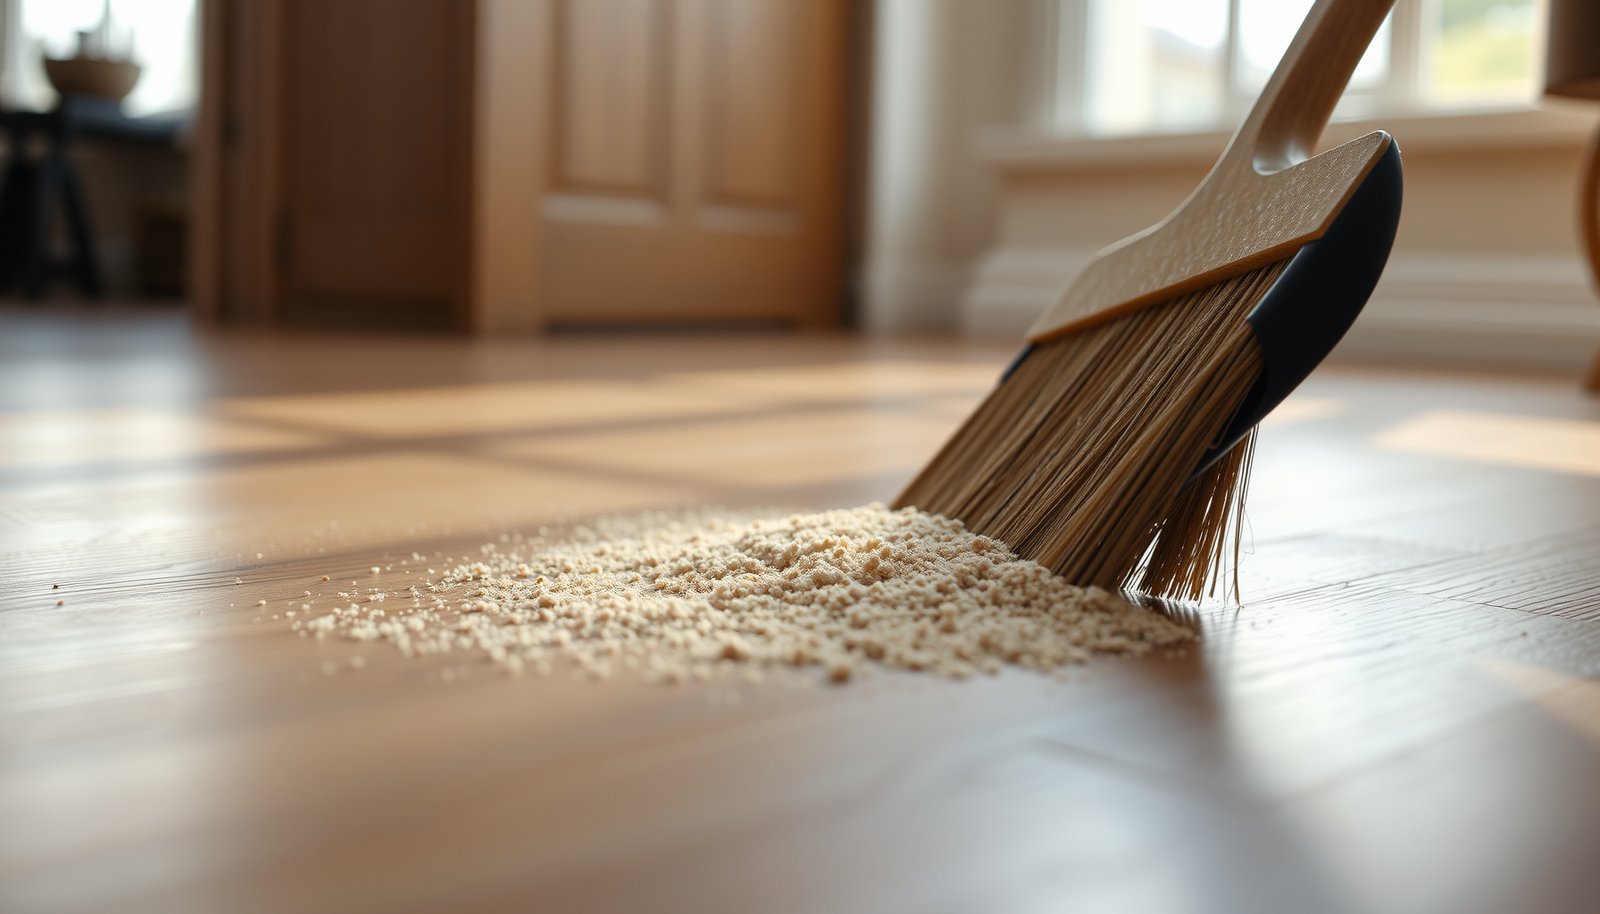

Learn how to clean sand from hardwood floors without damaging the finish, using the safest method first: dry removal to get grit up before it can abrade. If you vacuum with a soft brush and use a slightly damp microfiber only after all loose sand is gone, you’ll lift particles cleanly without dulling or scratching. This is the winner for real-world grit—works fast, minimizes risk, and keeps your finish looking intact.




Sand on hardwood floors usually causes scratches because grit gets dragged into the finish—so remove it dry first, then clean gently with a barely-damp method. If you catch sand early and work in the right order (dry lift → targeted wipe → approved cleaner on microfiber → immediate drying), you can clean most polyurethane-finished hardwood floors without turning tracked grit into visible dulling. This guide is for sand tracked in from outdoors, beach sand, or construction grit left after outdoor entryways—especially on polyurethane or similar surface finishes.
Prep first: stop the grit from grinding
The quickest way to prevent finish damage is to stop new sand from being tracked across the floor while you clean what’s already there. Set boundaries immediately, then remove loose grains from the perimeter first so you’re not spreading them into higher-traffic areas on polyurethane-finished hardwood floors.
A “no-shoes” zone reduces the chance of additional grit being dragged across polyurethane-finished hardwood floors while you clean.
Dry sweeping or edge-vacuuming first helps prevent loosened grains from being pushed deeper into the floor finish.
Vacuuming with a hardwood-floor attachment is preferred over rotating brushes when sand is present.
Before you touch any cleaning product, clear the room and cordon off the area with a “no shoes” zone—this is especially important after beach days or construction work. Sand behaves like fine abrasive particles: every new pass can re-scratch micro-surfaces in the polyurethane finish. From there, focus on control: keep pets out, close doors, and move lightweight items out of the cleaning zone so your broom or microfiber cloth doesn’t catch and redistribute grains.
Then start at the edges. Sand often concentrates along baseboards, transitions to tile, and door thresholds. If you begin in the middle, you’ll likely push grit outward and then have to re-clean the entire area. When you do the initial perimeter pass first, you’re essentially “trapping” the heaviest load of grit before it can migrate across polyurethane-finished hardwood floors.
What “dry-first” really accomplishes
Finish scratching is usually not caused by the sand being wet or dry—it’s caused by grit being ground and dragged. Dry lifting removes the sand layer before you introduce any moisture that can soften oils and increase smearing. This approach aligns with core hardwood care principles: avoid abrasive action and avoid soaking while cleaning.
Remove sand the right way (dry steps)
The right dry method is simple: lift grains without grinding them, then vacuum thoroughly with a hardwood-safe attachment. For polyurethane-finished hardwood floors, this step matters because leftover grit will act like sandpaper when you later wipe or mop.
Using a soft broom or dust mop helps lift sand grains instead of dragging grit across a hardwood finish.
A vacuum attachment designed for hardwood floors is recommended when sand is present to reduce abrasive contact.
Avoid beater bars/rotating brush heads during sand cleanup because they can worsen scratching.
Start with a soft broom or a dust mop made for hard surfaces. Sweep with light pressure and short strokes, aiming to pick up grains rather than push them. You’re looking for “lift,” not “polish.” If you hear or feel friction increasing, you’re probably grinding grit into the polyurethane finish—stop and switch tactics (or use a vacuum immediately).
Next, vacuum the area thoroughly with a hardwood-floor attachment and no beater bar. If your vacuum has a rotating brush, don’t use it on sand. Fine grit can get caught in brush bristles and then get pulled back across the floor, which is exactly what you want to avoid on polyurethane-finished hardwood floors.
A practical, low-risk dry workflow
– Do 2–3 passes with the soft broom/dust mop, working from perimeter toward the center.
– Follow with vacuum passes in the same direction.
– Pay extra attention to baseboard lines and the first 6–12 inches (15–30 cm) around doorways—these zones typically carry the heaviest tracked sand load.
Get the sand you can’t see (targeted cleaning)
The goal here is to remove remaining grit that isn’t visible, using contact pressure that lifts—not scrubs. A barely damp microfiber cloth can capture residual grains from polyurethane-finished hardwood floors without turning them into new scratches.
Lightly pressing a microfiber cloth can capture remaining grit without aggressive circular scrubbing on polyurethane-finished hardwood floors.
Working with edges and corners using a clean cloth segment prevents re-depositing loosened sand.
After vacuuming, you’ll often still feel “roughness” with your hand or notice slightly dull patches once light hits the grain. Use a microfiber cloth that is barely damp—think “wrung until almost dry,” not wet. Press lightly over the affected area and lift. Avoid circular scrubbing; circles increase the odds of dragging tiny grains across the finish.
Use the cloth in sections: fold to a clean face, then move to a new section as the cloth picks up grit. If the cloth becomes sandy, switch to a fresh, clean side—otherwise you’re wiping sand back into the polyurethane finish.
For corners and along baseboards, use a clean cloth edge or a soft detail brush (not a stiff bristle scrub brush). The key is containment: gently loosen, then immediately wipe to collect. Repeat as needed until the cloth stops picking up discoloration or visible grit.
Why this step is protective
Even with polyurethane-finished hardwood floors, moisture can loosen surface residues and help grit slide. That’s why the method is “barely damp” and “lift, don’t scrub.” You’re using moisture as a capture tool, not as a deep cleaning mechanism.
Wet cleaning without over-wetting
The safest wet approach for sand-impacted hardwood is to apply an approved cleaner to the cloth (not the floor) and then dry immediately. This reduces the risk of moisture-related issues like finish haze near seams and edges on polyurethane-finished hardwood floors.
Hardwood care guidance commonly emphasizes applying cleaner to the microfiber cloth rather than pouring liquid onto the floor to limit moisture exposure.
Immediately drying after cleaning helps prevent moisture from sitting in seams, especially along edges and near baseboards.
Use a cleaner approved for the specific finish type (e.g., polyurethane) rather than generic all-purpose products.
Choose a hardwood-floor cleaner that’s approved for your floor’s surface finish. If you’re unsure whether your finish is polyurethane, aluminum-oxide, or another system, defer to the manufacturer’s care instructions. In practical terms, the “approved” part matters because some cleaners are designed to remove waxes or leave residues—both can dull sheen and complicate future refinishing decisions.
Apply the cleaner to your microfiber pad/cloth—lightly. Then wipe with the grain (direction of wood boards), not across it. After the cleaning pass, immediately follow with a clean, dry microfiber to remove remaining moisture. This “wipe then dry” sequence is how you reduce the chance of water migrating into seams or staying long enough to affect the polyurethane finish.
Moisture management matters on polyurethane-finished hardwood floors
Wood flooring performance is strongly linked to indoor humidity stability. According to National Wood Flooring Association (NWFA) — wood floor acclimation and indoor climate guidance, maintaining indoor relative humidity in the typical 35%–55% range helps minimize dimensional movement that can worsen edge/strip behavior around cleaning moisture (guidance published as part of NWFA’s wood flooring care materials in recent years).
What can go wrong
If sand remains and you clean aggressively afterward, scratches and haze become far more likely. The most common problems happen when grit is left behind, when you apply too much water, or when you use the wrong tools or cleaners on polyurethane-finished hardwood floors.
Scratches often occur when sand is left behind and later mopped or wiped with enough force to drag grit.
Over-wetting can increase the risk of dulling or finish haze, particularly near seams, edges, and high-sand entry lines.
Here’s what to avoid—and why—framed for real-world sand situations:
- Grinding leftover grit
- Consequence: visible micro-scratches and a dull, “worn” look in traffic lanes on polyurethane-finished hardwood floors.
- Soaking mops or leaving liquid to dwell
- Consequence: finish haze and potential swelling effects near seams and edges.
- Harsh abrasives (steel wool, scouring pads, heavy scrapers)
- Consequence: direct damage to the finish film layer and permanent sheen loss.
- All-purpose cleaners
- Consequence: residue buildup, streaking, and accelerated dullness because the chemistry may not match your polyurethane system.
A second failure mode is “inconsistent wiping”: you loosen sand, then wipe with a saturated mop head that smears grit into the polyurethane. That’s why the sequence matters: dry lift, vacuum, targeted barely damp capture, approved cleaner on cloth, then dry immediately.
Pros/cons: your tool choices for sand
– Soft broom / dust mop
– Pros: lifts grains without rotating contact; good first pass
– Cons: can miss embedded grit; needs follow-up vacuum
– Vacuum with hardwood attachment
– Pros: pulls grit reliably from grooves and board lines
– Cons: still requires good vacuum technique in corners
– Rotating beater bar vacuum
– Pros: fast on rugs
– Cons: high risk for sanding action on polyurethane-finished hardwood floors
– Steam mop
– Pros: not needed for sand removal
– Cons: adds heat/water that increases risk of finish haze and moisture intrusion
Verdict / tip (and who should skip DIY)
If you catch sand early, this dry-first + gentle wipe approach usually restores cleanliness without harming the finish. If the sand has been ground in for a while, you see persistent dulling/finish wear, or you’re dealing with a large area needing repeated abrasion, stop DIY and get a hardwood-floor pro involved—refinishing may be the only real fix for embedded damage on polyurethane-finished hardwood floors.
DIY is most successful when sand is removed before it becomes ground into the finish layer on polyurethane-finished hardwood floors.
If you notice visible sheen loss after careful dry cleaning, continuing to scrub increases the likelihood of permanent finish damage.
If you can’t confirm your floor’s finish system, follow manufacturer care guidance before applying cleaners.
Also skip DIY if you’re unsure what finish is on your floor (polyurethane vs. penetrating oils vs. waxed surfaces). The “approved cleaner” concept depends on that finish. Even within polyurethane systems, manufacturers may specify different product categories or dilution practices. Use the manufacturer’s care instructions or ask for confirmation before you apply anything beyond what’s explicitly approved for your floor.
Finally, if you’ve already mopped repeatedly and the area looks worse (more hazy, more dull, or more streaked), your best next step is assessment—not more agitation. Finish haze can be compounded by repeated wetting even if the sand is gone.
Quick scan checklist (save this)
| Step | What to do | What to avoid |
|---|---|---|
| 1 | Dry sweep with a soft broom/dust mop | Rubber-bristle brooms that scrape |
| 2 | Vacuum with a hardwood attachment | Beater bar / rotating brushes |
| 3 | Light wipe with barely-damp microfiber | Scrubbing hard or circular buffing |
| 4 | Apply approved cleaner to the cloth | Pouring liquid directly on the floor |
| 5 | Dry immediately | Letting moisture sit near seams |
Tool & Method Finish-Safety Guide for Sand on Polyurethane-Finished Floors (Decision Scores)
| # | Dry/Wet Tool or Method | Finish-Safety Score | Sand-Removal Effectiveness | Best Use Case |
|---|---|---|---|---|
| 1 | Soft broom / dust mop (dry lift) | 9.5 | ★★★★☆ | First pass before any moisture |
| 2 | Vacuum + hardwood-floor attachment (dry) | 9.3 | ★★★★★ | Captures residual grit in board lines |
| 3 | Barely-damp microfiber “press & lift” wipe | 8.6 | ★★★★☆ | Targets sand you can feel but can’t see |
| 4 | Approved cleaner applied to cloth (not poured) | 8.2 | ★★★★☆ | Finishes removal after grit capture |
| 5 | Dry microfiber dry-buff (no liquid) | 7.4 | ★★★☆☆ | Quick spot touch-ups after vacuuming |
| 6 | Mop (wet) without grit control first | 2.3 | ★★☆☆☆ | High risk if sand is still present |
| 7 | Steam mop / excessive moisture | 0.8 | ★☆☆☆☆ | Not recommended for sand cleanup |
> Note: These scores synthesize widely shared care principles for polyurethane-finished wood floors (dry-first grit removal, avoid rotating brushes, limit moisture, and use finish-approved cleaners). For your exact floor system, confirm guidance with your floor manufacturer.
Sources
– National Wood Flooring Association (NWFA) — care and maintenance guidance for wood floors (wood-floor cleaning principles, including moisture management).
– Bona — hardwood floor care guidance for cleaners and microfiber-wiping practices.
– Manufacturer care instructions (e.g., Bruce/Flooring company guidelines) for “approved cleaners” and moisture limits.
Sand removal is the key: lift grit dry first, then clean with a hardwood-approved, lightly applied method—ending with thorough drying. If you follow that order and avoid abrasive tools or soaking, your polyurethane-finished hardwood floors are far less likely to end up scratched or hazy, even after beach trips or outdoor tracking. If you’re seeing finish damage or widespread dulling, pause and get the right next step (often professional assessment) rather than repeating aggressive cleaning.
Frequently Asked Questions
How do I remove sand from hardwood floors without scratching the finish?
Start by dry vacuuming with a soft brush attachment to lift sand particles before they grind into the wood. Avoid using a wet mop right away because sand can act like abrasive grit. After vacuuming, lightly dampen a microfiber cloth or use a hardwood floor cleaner to pick up remaining residue, then dry the area thoroughly. For extra protection, place a mat at entryways to prevent new sand from being tracked in.
What’s the best way to clean sand from hardwood floors after a beach day or storm?
Begin with a thorough dry vacuuming pass, working from the edges toward the center of the room to capture loose grains. Next, use a microfiber mop lightly dampened with a hardwood floor cleaner (not soaking wet) to remove any gritty film left behind. If the sand has made the floor feel rough, rinse the mop head frequently and do a final dry pass with a clean, dry microfiber cloth. Let the hardwood dry completely to prevent streaking and moisture damage.
Why does sand damage hardwood floors, and how can I prevent it?
Sand is abrasive and can scratch the protective finish, dulling the sheen and exposing the wood to further wear. It can also get into small gaps between boards, making spot cleaning harder later. To prevent damage, use doormats and shoes-off rules at entry points and vacuum high-traffic areas regularly. Keeping humidity stable also helps hardwood resist swelling and long-term wear.
Which cleaning method is safer for sandy floors: vacuuming, sweeping, or mopping?
Vacuuming is usually the safest first step because it removes grit without dragging particles across the finish. Sweeping can work if you use a soft broom, but it often pushes sand into corners and along seams. Mopping should be last and only with a lightly damp microfiber mop and a hardwood floor cleaner, since excess water can penetrate and warp wood. Always dry immediately after cleaning to protect the hardwood finish.
How do I clean sand out of seams and gaps between hardwood boards?
After vacuuming, use a slightly damp microfiber cloth to target along the seams, then follow with a dry cloth to remove any loosened grit. For stubborn sand in cracks, use a soft toothbrush or detail brush to lift debris gently, then vacuum again to remove what’s been dislodged. Avoid metal tools that can scratch hardwood or the finish. If you frequently deal with sand buildup, consider using a vacuum with a crevice tool and maintaining mats to reduce tracking.
📅 Last Updated: October 29, 2026 | Topic: How to clean sand from hardwood floors? | Content verified for accuracy and freshness.
References
- https://www.cdc.gov/coronavirus/2019-ncov/prevent-getting-sick/cleaning-disinfection.html
- https://www.epa.gov/coronavirus/cleaning-and-disinfecting
- https://pubmed.ncbi.nlm.nih.gov/?term=hardwood+floor+abrasion+particles+sand
- https://www.armstrongflooring.com/support/how-to-clean.html
- 404 Error
- My Link
- Wood flooring
- https://scholar.google.com/scholar?q=how+to+clean+sand+from+hardwood+floors Google Scholar
- https://scholar.google.com/scholar?q=sand+grit+hardwood+floor+scratching+removal+vacuum+broom Google Scholar
- https://scholar.google.com/scholar?q=hardwood+floor+care+prevent+abrasion+particulates Google Scholar


